


We may receive a commission when you use our affiliate links. However, this does not impact our recommendations.
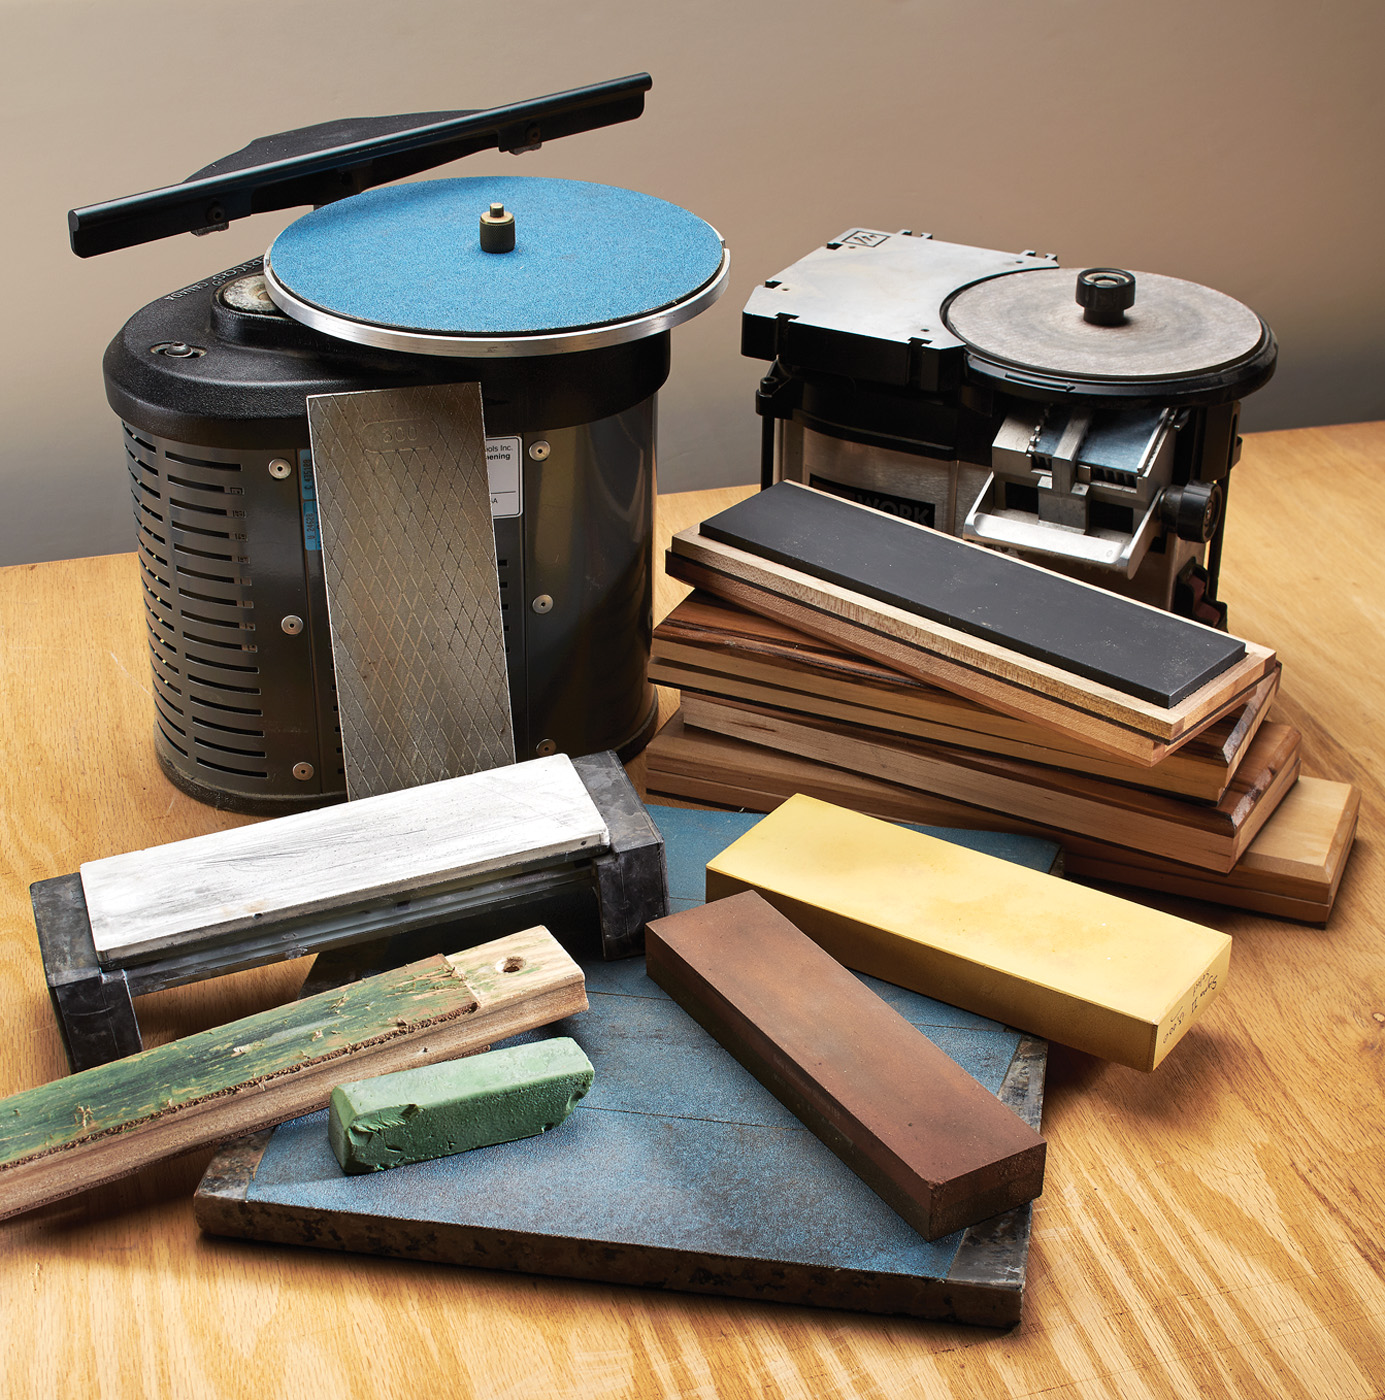
Awash in options. The choice of sharpening media is legion. The key is to choose from one system a grinding, honing and polishing item (maybe two polishers) – and stick with them.
Grind, hone, polish: the basics of all sharpening.
Among the fundamental skills necessary for good woodworking, I’d put knowing how to sharpen your edge tools at the top of the list. Even if you consider yourself a power-tool woodworker, I’ll bet you have at least a chisel (or two) and a block plane in your kit that need sharpening from time to time.
There are many different ways to sharpen: waterstones, sandpaper, mechanical solutions, oilstones, and more. Now I’m not about to stick my head in the lion’s jaw and recommend one system over another (and I’m certainly not going to tell you whether or not to use a jig).
I will tell you that I use traditional waterstones, and that when my pocketbook allows, I will buy a set of Shapton Pros (waterstones that don’t require soaking). And I’ll tell you that the reason I use waterstones instead of other systems is because I have waterstones – and they’re what I learned on.
That final statement is the key point: I started using one system and stuck with it. Do that, and not only will your sharpening technique improve, your wallet will thank you.
No matter what media you use to sharpen, there are but three operations: grind, hone, polish. (And most of the time, you can skip the first one.)
Additional Reading: Move beyond the 101 and learn how to really sharpen your hand tools.
eLearning: Learn how to sharpen – and the whys behind the hows, by watching “The Perfect Edge,” with Ron Hock.
Grind
Grinding is done with a rough grit: #40 or #80 grit on a power grinder, #40-grit sandpaper on glass, a coarse diamond stone, a hand-cranked grinder, an #80-grit waterstone.
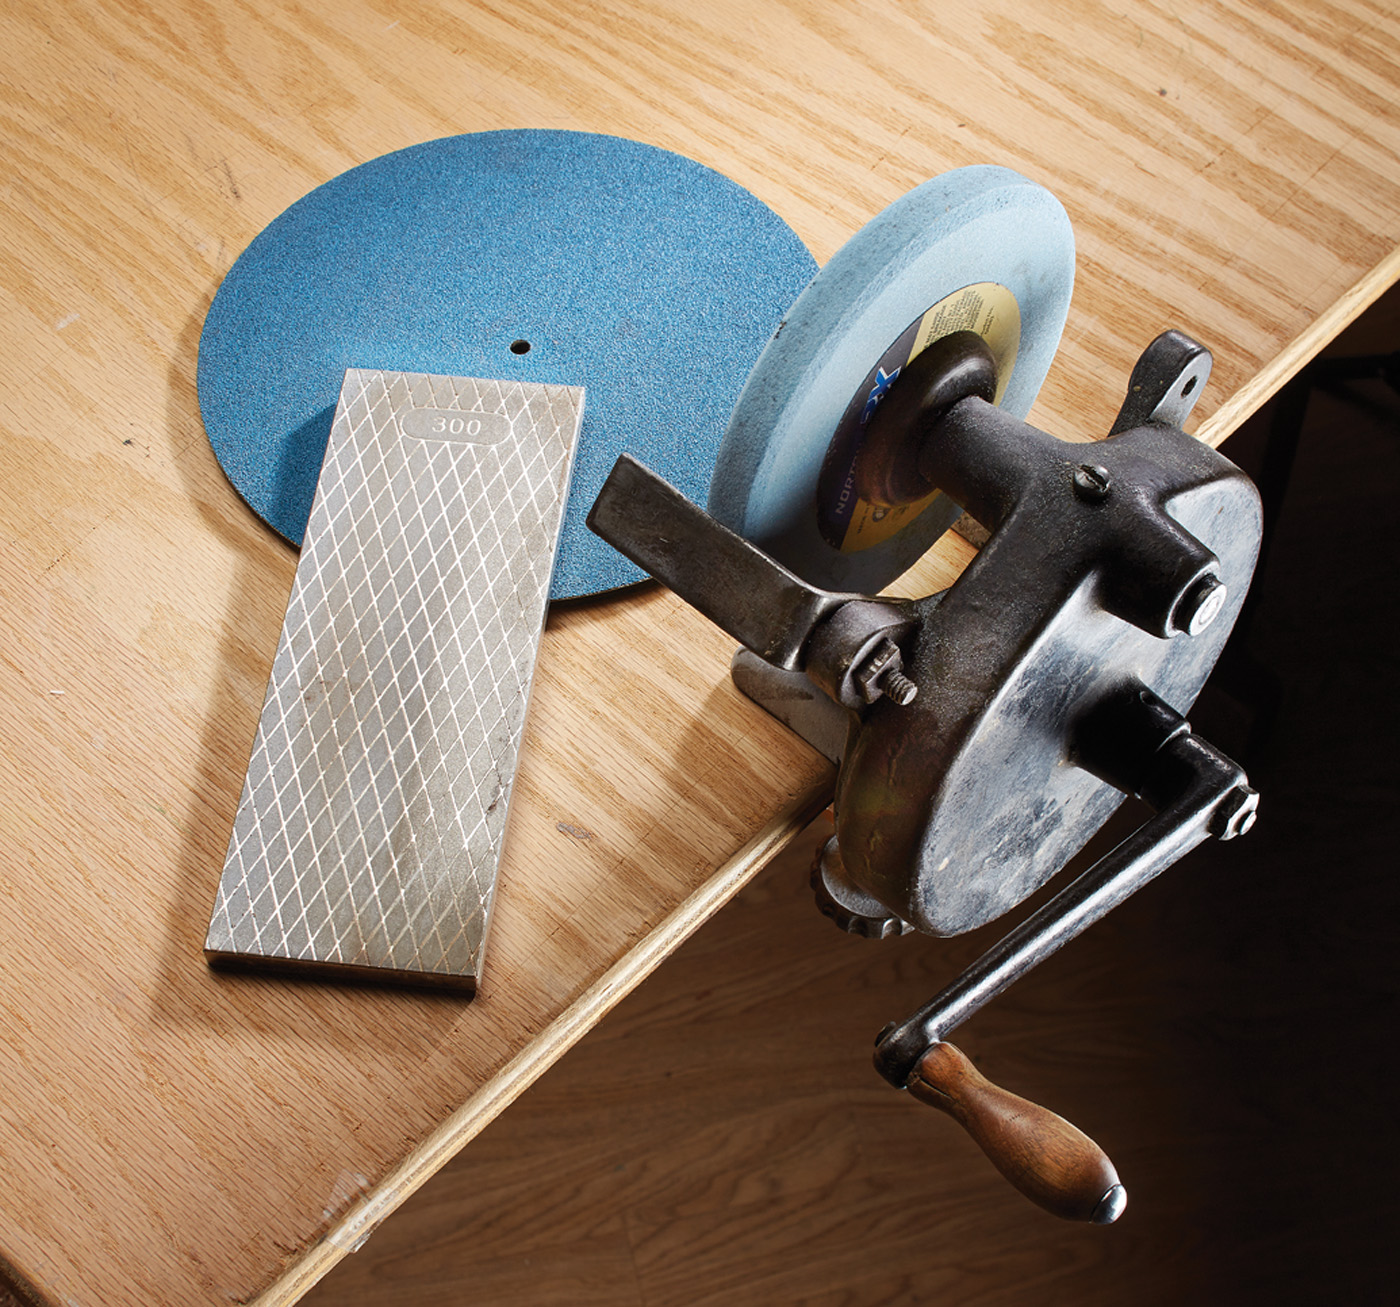
Grind. All of these are used for grinding. The #300-grit diamond stone is considered coarse; the sandpaper on the platen for a powered machine is #80 grit; the hand-cranked grinder is equipped with a #60-grit wheel.
But you don’t grind every time you sharpen – do this only when you need to fix a damaged edge, shrink a secondary bevel that’s become too large, or change the shape of an edge (for example, adding an 8″-radius camber to a new jack plane blade).
Hone
Unless you let your tools go for too long between sharpenings – or you damage a blade – honing is where you’ll start sharpening nine times out of 10.
Honing simply erases the existing dull edge and cuts a new one.
Just run the blade on the rock until you turn a burr on the backside. That burr means you’ve created is a zero-radius intersection of two points – also known as a sharp edge. In fact, that’s as sharp as you can get it.
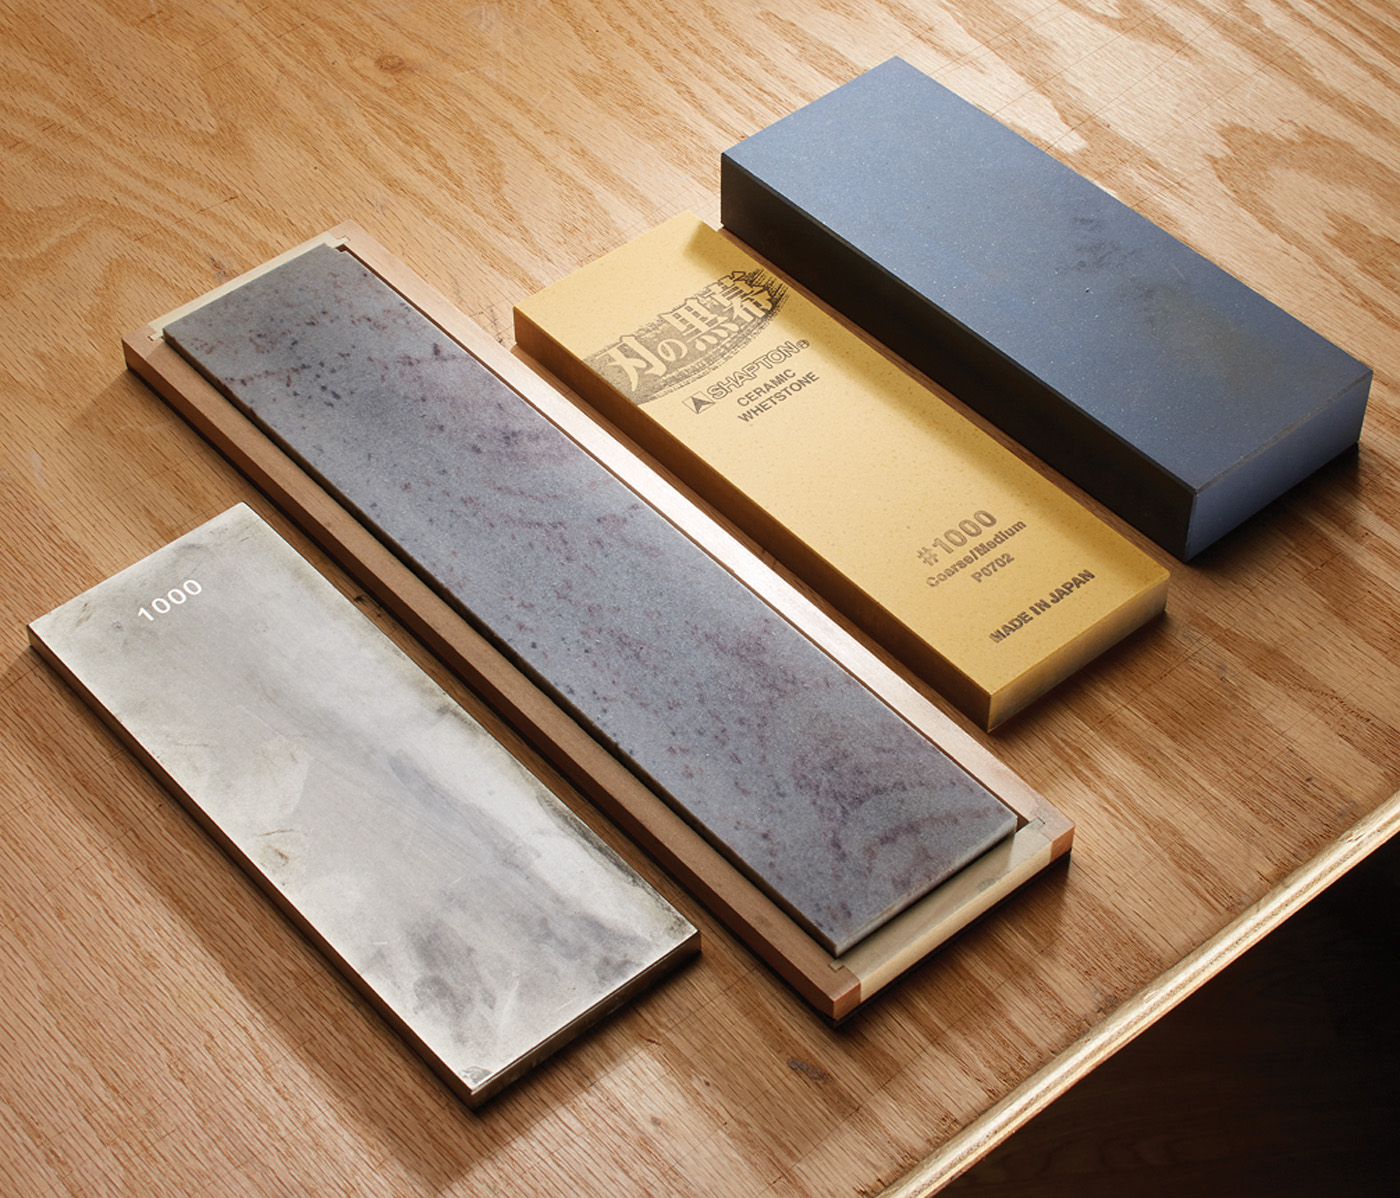
Hone. From front to back are pictured a #1,000-grit diamond stone, a soft Arkansas oilstone, a #1,000-grit no-soak waterstone and a #1,000-grit Japanese waterstone.
For this operation, think soft Arkansas (sometimes called Washita), #200-grit sandpaper, or #800-#1,200 in the waterstone system.
And when it comes to honing media, you need only one waterstone/oilstone/sandpaper grit/sanding disk.
Polish
Everything above honing – from a #4,000-grit waterstone to the miniscule particles in a honing compound to a workaday hard or translucent Arkansas stone to a #30,000-grit Japanese waterstone – is polishing.
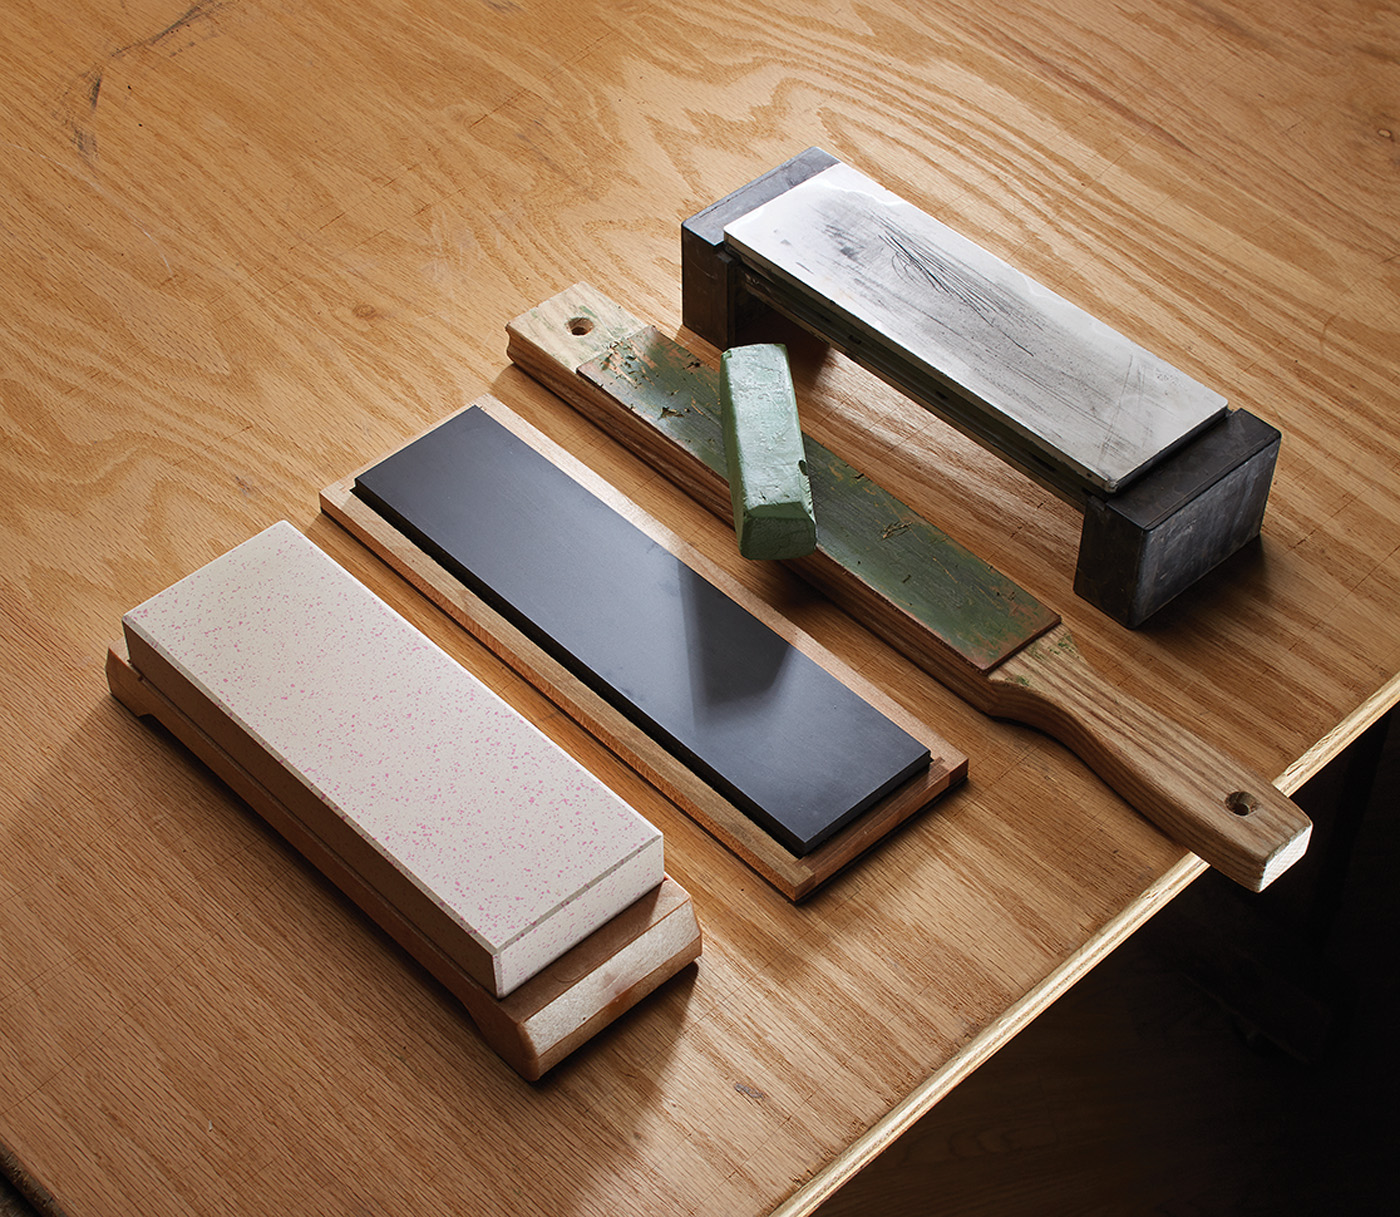
Polish. Here’s where things get crazy; polishing media goes to great heights on the grit scale. Pictured front to back are a #16,000-grit Japanese waterstone, a hard Arkansas oilstone, green stropping compound and an #8,000-grit no-soak waterstone (that a student gouged).
No matter how high you go, all you’re doing is progressing up the scale to a higher polish on the blade – that is, with each higher subsequent grit, you’re erasing the scratches from the previous grit (and creating new, tinier scratches).
This doesn’t make the blade any sharper – you (ideally) achieved a zero-radius while honing. But polishing does make your newly sharp tool a lot more durable. Smaller and shallower scratches mean a less friable edge.
The polish level is completely up to you.
What I Do (Not That You Care)
I’m in the perhaps enviable situation of getting to try out many different types of sharpening systems and many makers within each; I put through the paces everything that comes into the shop to give it proper consideration. But in the end, I come back to what I first learned – and bought – for sharpening edge tools: waterstones (that I flatten with a diamond stone after every use).
And I typically prefer using my tools to using my waterstones. So when I need to grind, I do it on my diamond flattening stone. I hone on a #1,000-grit stone, then polish on a #4,000-grit stone; I remove the burr on the backside with the #4,000-grit stone after polishing. (Unless I’m in the rare mood for super-shiny; then I’ll go up to #8,000 grit or strop with green compound, which are equivalent.)
And while I can certainly sharpen freehand, I typically use an Eclipse-style honing guide – I appreciate the mindless repeatability. Sue me.


