We may receive a commission when you use our affiliate links. However, this does not impact our recommendations.
Quicker than starting from scratch, and you don’t waste any material.
Editor’s note: Nancy Hiller passed away on August 29th, 2022 after a long battle with cancer. In honor of her memory, we will be sharing some of our favorite contributions from her over the years. This article was originally published in the Popular Woodworking Shop blog on June 12th, 2017.
We all know the old saw about measuring twice and cutting once. I’ve even gone one better in my world: Measure three times. Nonetheless, I still occasionally find that I’ve made a door or a drawer the wrong size. (I once made an entire cabinet, complete with four drawers, that was an inch too wide for the opening where it was intended to go…oh, the pain.)
Over the years, I’ve come up with some clever tricks for re-sizing things instead of having to remake them from scratch. For example, a recent kitchen job called for a deep cabinet with two doors over the fridge: fantastic storage for large items you don’t use very often. I measured three times, built the cabinet along with all the others for the kitchen, and delivered everything to the jobsite. A couple of days later, I heard from the general contractor that the cabinet over the fridge was 2-1/2″ too tall. After cutting the cabinet down on my table saw and putting back together the section I’d disassembled, I salvaged the doors as follows. Although these doors were made using a rail and stile cutter set, you can use the same technique for doors made with tenons, Domino fasteners, or even (shudder) biscuits.
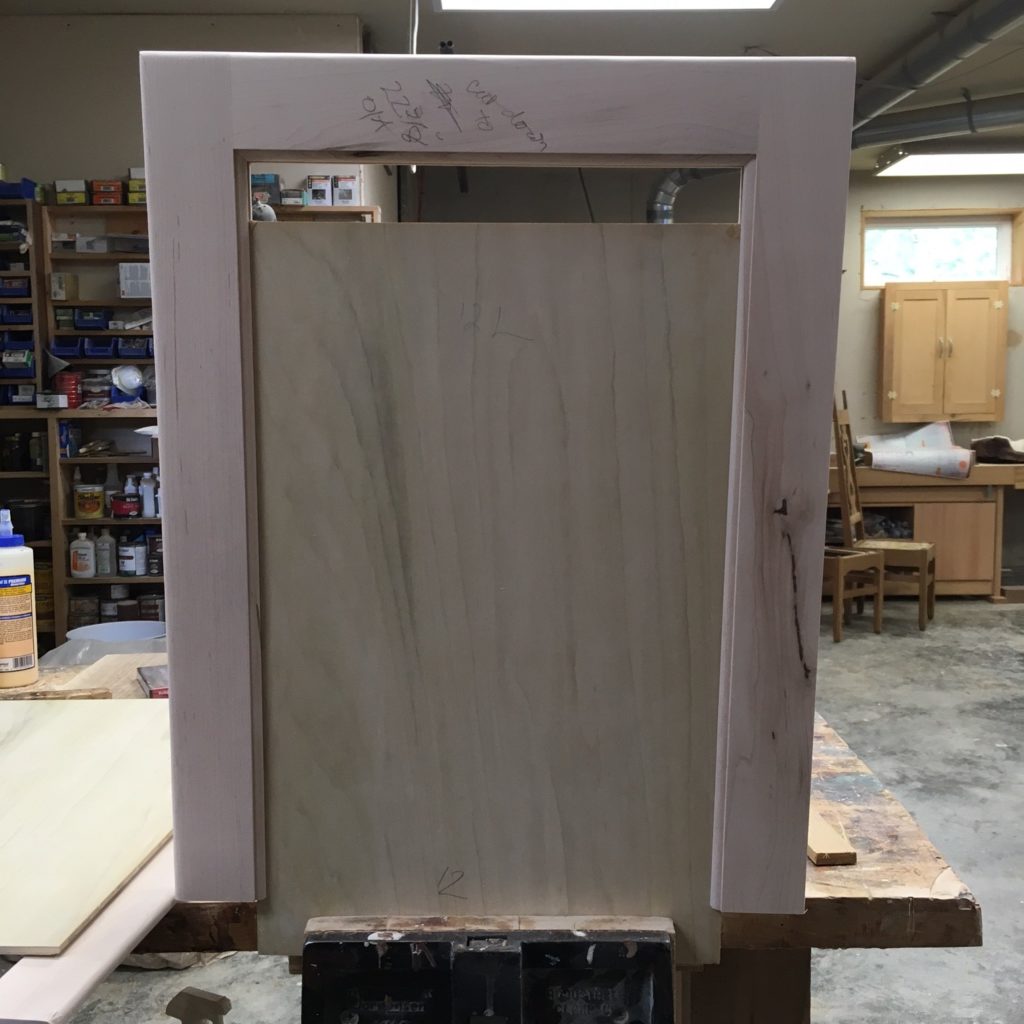
Step 1: Determine how long your door should be. Then cut it down to size. In this case, I cut the doors on the table saw using the fence as a guide.
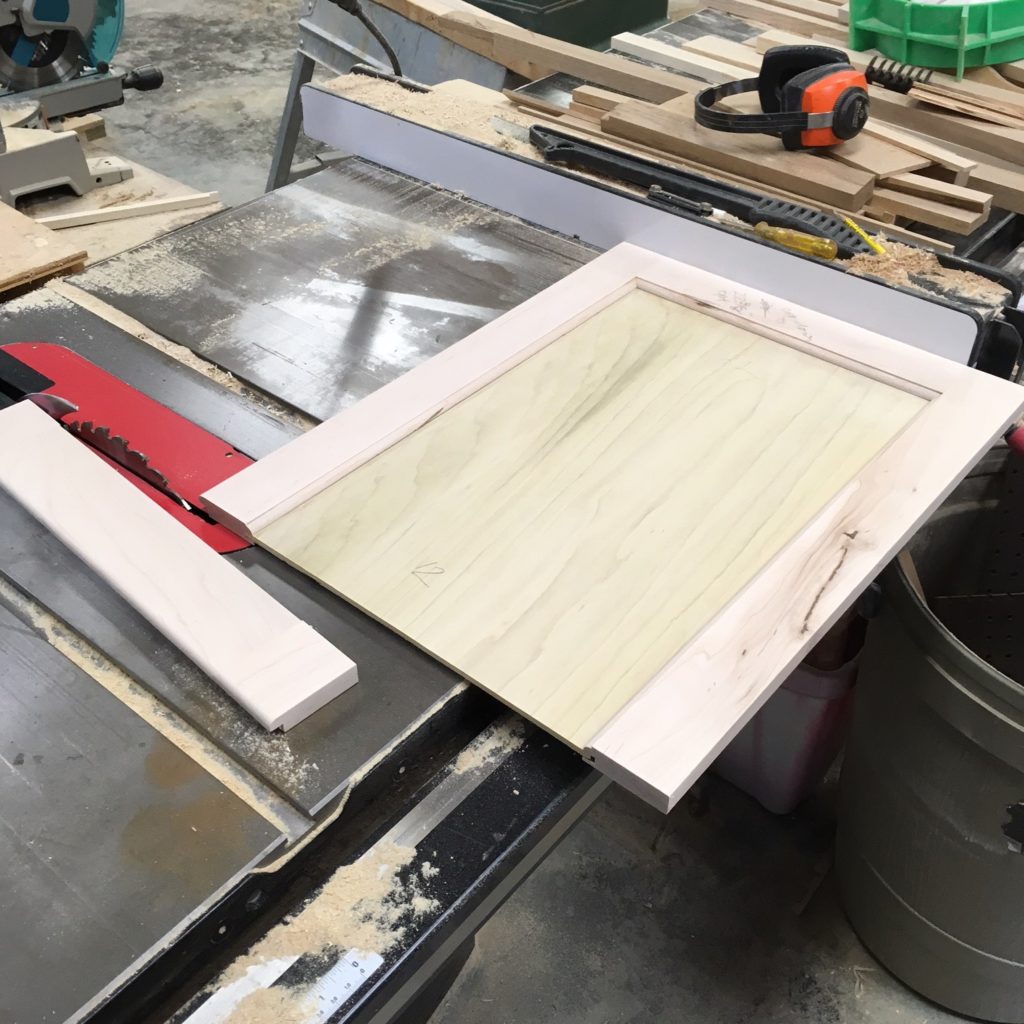
I know, it hurts just to look at this image, but you’ll get over it. Don’t throw that offcut away! You’re going to reuse it.
Step 2: Remove the panel. I’m using solid panels 99 percent of the time, but in this case, I used veneer-core plywood. (I’ll spare you the explanation.) The panel material doesn’t matter at this point, as long as you didn’t glue the panel in place – something you would never think of doing with a solid panel in any case.
While holding both sides of the door at the intact joints to keep them from being damaged, firmly but gently tap the bottom of one stile, then the other, on the edge of your bench to dislodge the panel. Once the panel begins to move, pull it out of the grooves, taking care to minimize any stress on the intact joints.
Depending on how tightly the panel fits in the groove, you may need to use your vise. Here I held the panel in the vise and carefully pulled the frame off of it.
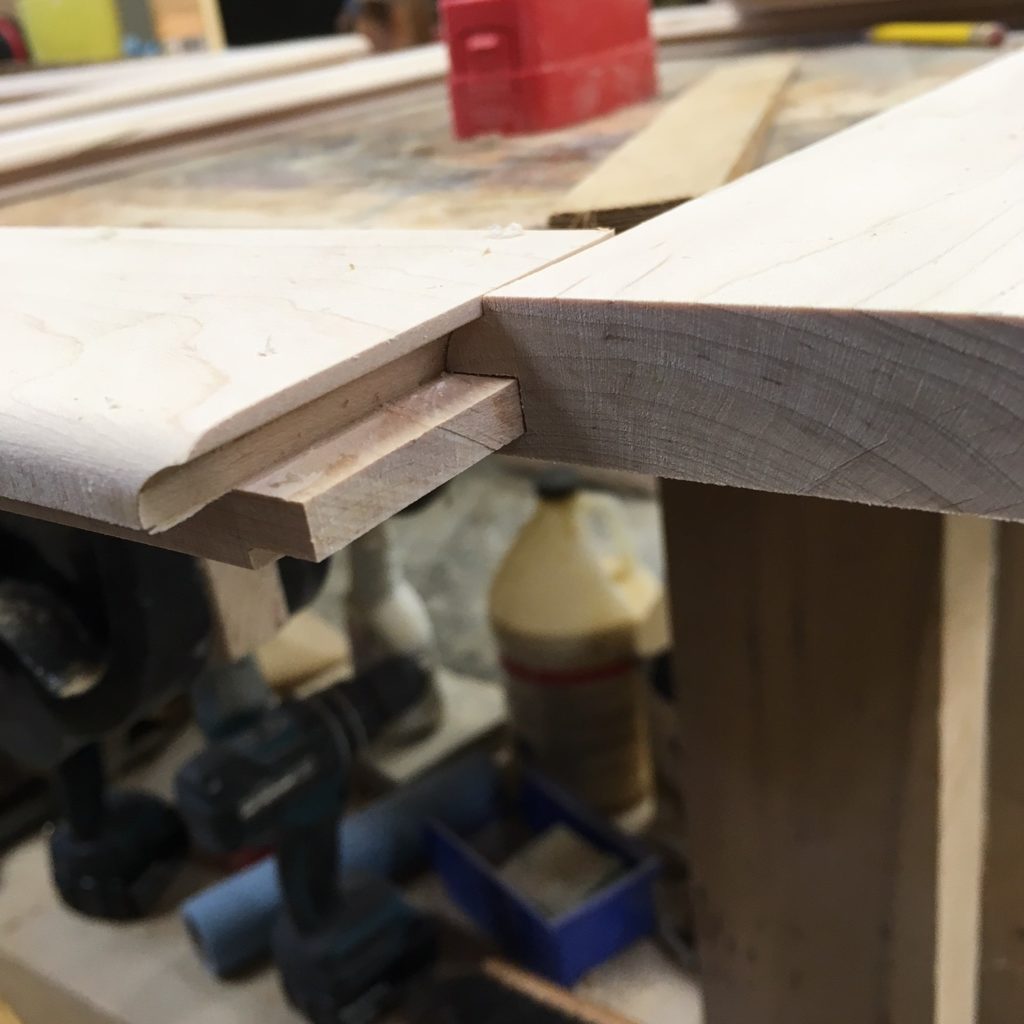
Step 3: Cut the remnants of the stiles off the rail you removed in step 1. Be very careful to cut JUST to the shoulder line. In this case, my door was made with a rail-and-stile set; if your door was made this way, be sure to cut to the appropriate line. You need to preserve the full length of both tenons.
Trim the remaining sections of the stiles from the rail you cut off in Step 1. In other words, cut the rail to its original gross length, including the tenon at each end.
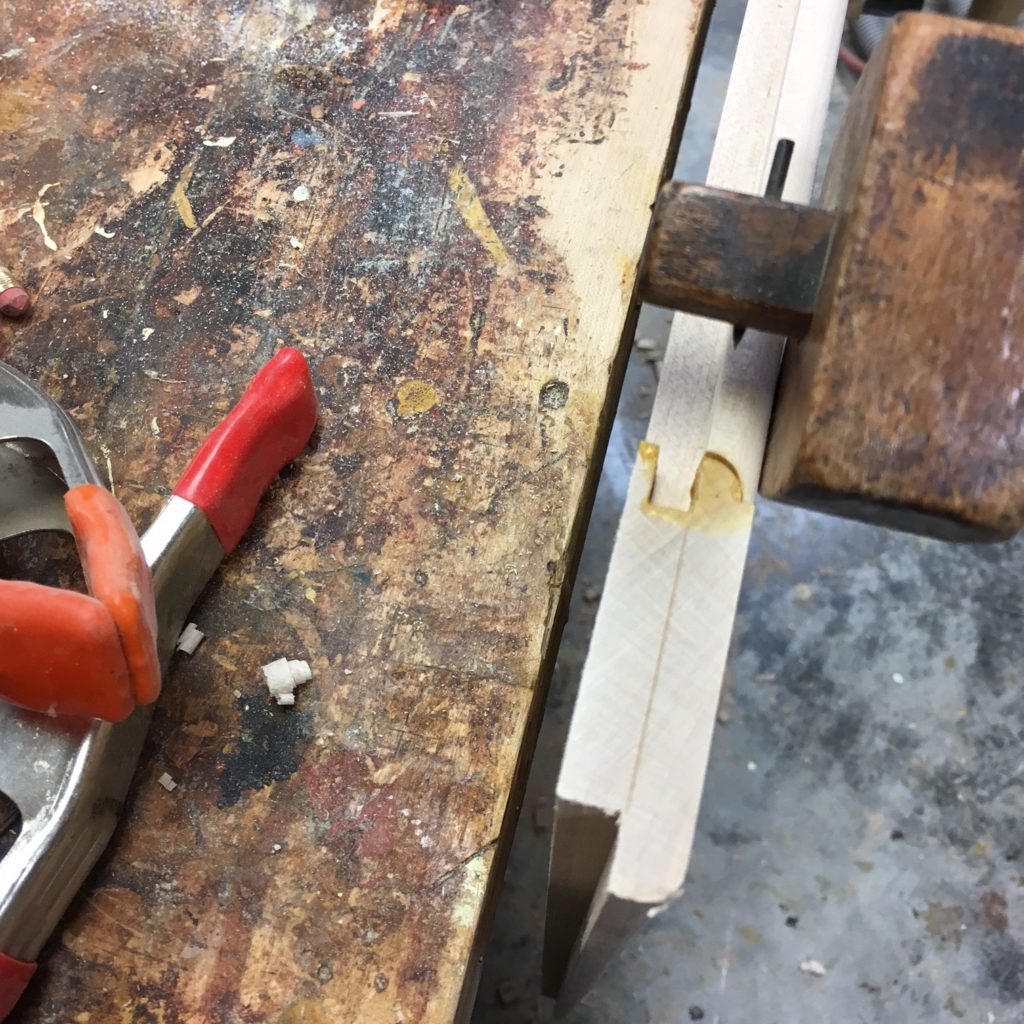
Step 4: Now recreate your tenon setup. If you cut them by hand, go ahead and mark them out, then have at the rail with a backsaw. If you cut them on a router table, as I did, recreate your setup for the coped joint using the opposite profile on the rail (i.e., the profile into which the tenoned section will fit) to guide the setup. Rout the tenons, then check the fit.
Check the fit of the joint.
Step 5: (Not pictured) With the frame dry-fit, measure for the panel (just as you did when you originally made the door), then cut the panel to size. Relieve the thickness at the back if necessary so that it fits it into the groove.
Step 6: Glue and clamp (also not pictured because of the glue and clamp…). If your door is inset or full overlay, you’re ready to re-fit it. In this case, mine had to be rabbeted for its half-overlay application.
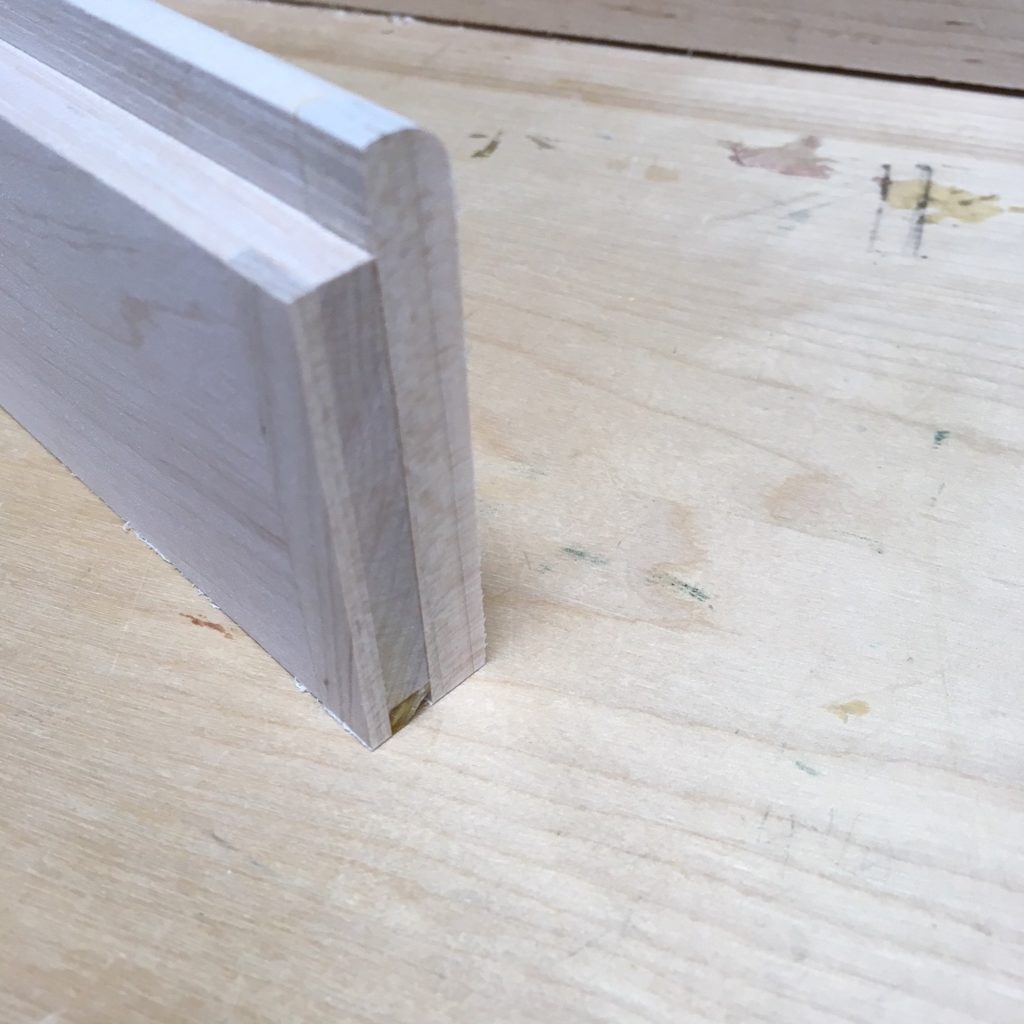
Step 7: Scribe the rabbet’s edge with a marking knife.

Here I have scored the grain of the stile to indicate the line I need to follow in extending the rabbet, which is visible in the upper part of this image. Scoring the grain before you extend the rabbet will help prevent tear-out.
I recommend scribing the end grain for the rabbet also. I know, it’s not pretty at this stage. But it will be.
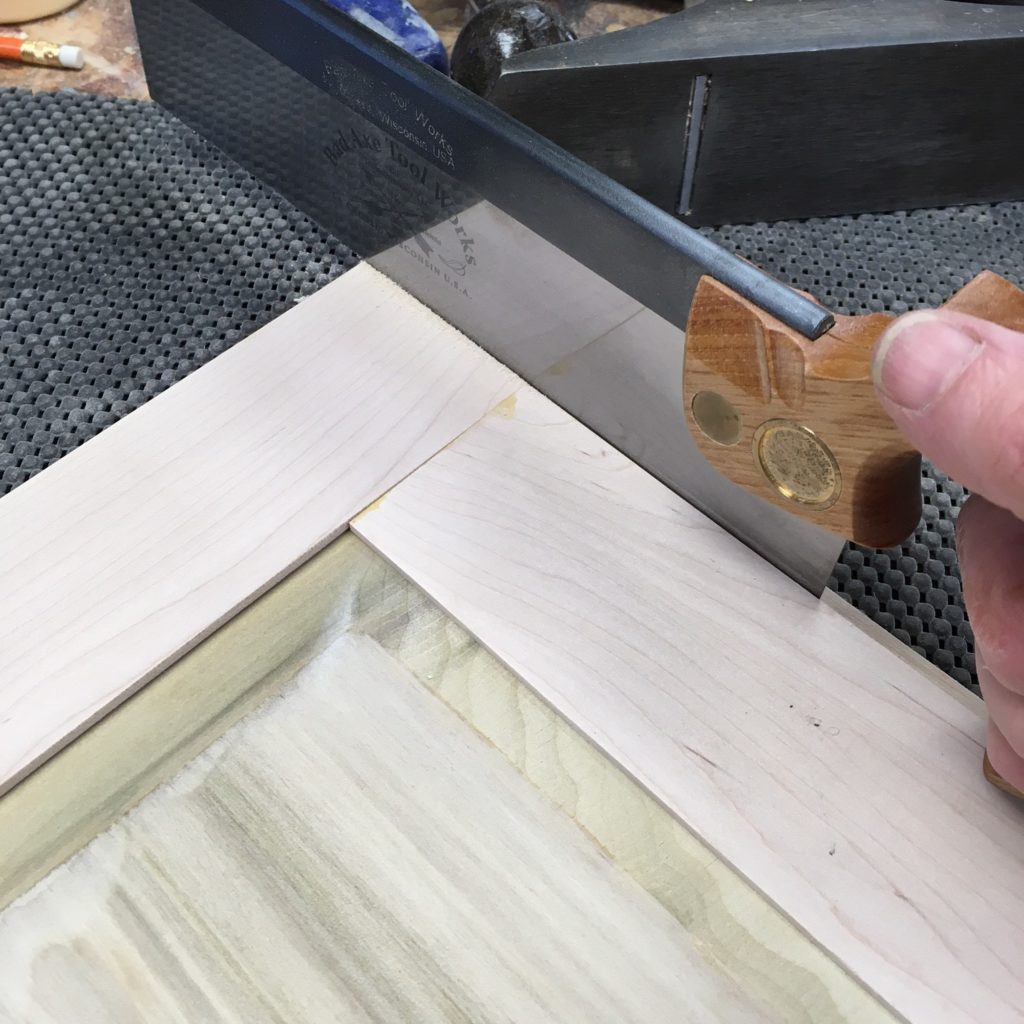
Cutting the rabbet with a backsaw.
Step 9: You can cut the rabbet with a router or on a table saw. I find it speedier to use a backsaw than to set up a machine. Two cuts will form the rabbet you just marked out.
Step 10: (Not pictured) If the door has rounded edges, as the doors in this kitchen did, round them now using whichever technique you used originally – i.e., a router with a roundover bit or by hand.
Now clean up the door and you’re done. Sure, this took some time, but it was a lot quicker than remaking the door from scratch, and you didn’t waste any material.
Here are some supplies and tools we find essential in our everyday work around the shop. We may receive a commission from sales referred by our links; however, we have carefully selected these products for their usefulness and quality.