We may receive a commission when you use our affiliate links. However, this does not impact our recommendations.
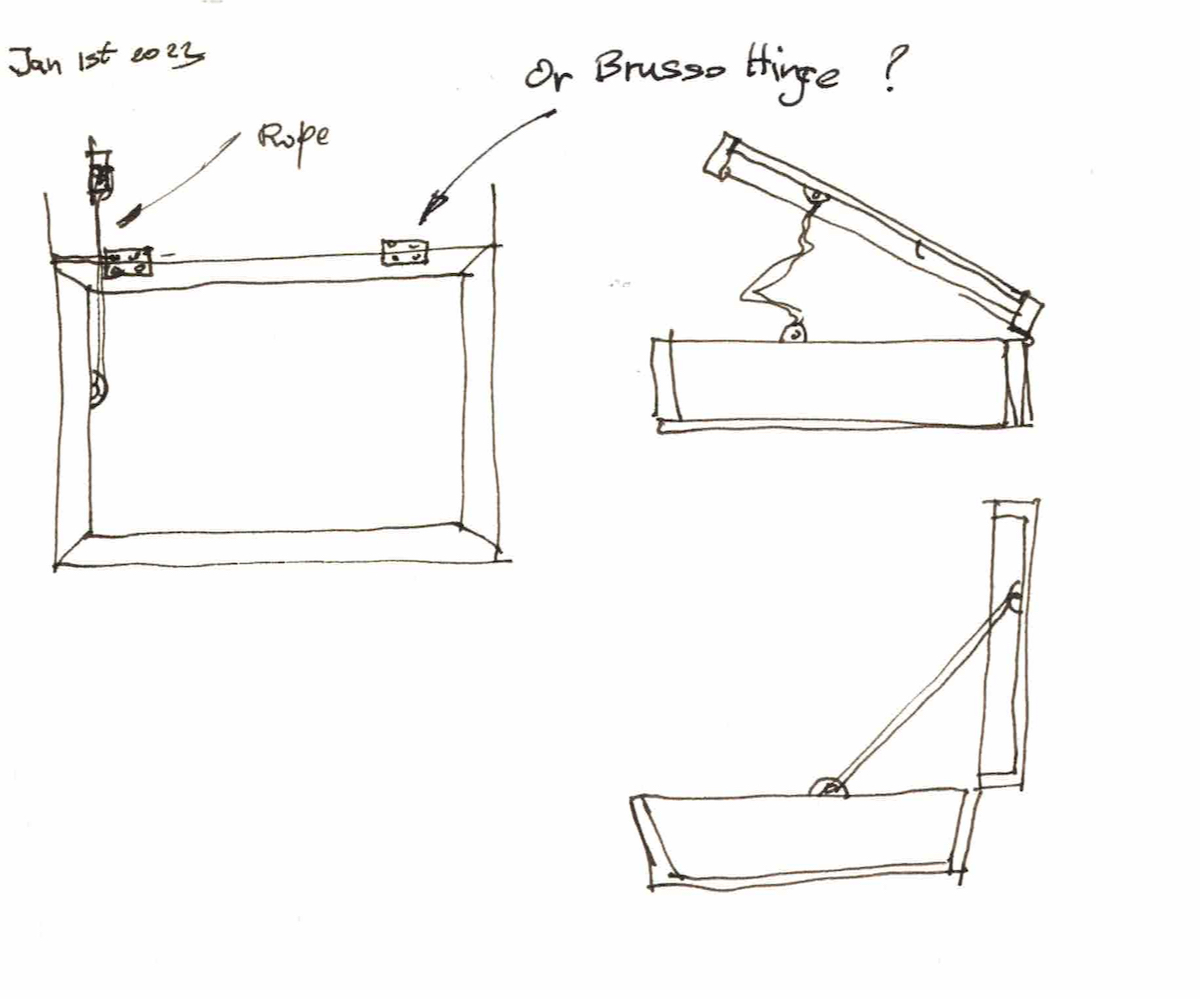
Some early ideas for hinging and preventing over-pivoting of the box’s lid.
Hinges are some of the most important hardware elements at our disposal. We need them for practical reasons, but we also want them to look good – as together with pulls and knobs, they become accented focal points in the furniture or the boxes we make.
Most high-quality extruded brass hinges are installed where their knuckles and the pin are cantilevered outside the piece’s back. In theory, we can push them further inwards as long as we ensure the pin’s locus is kept outside.
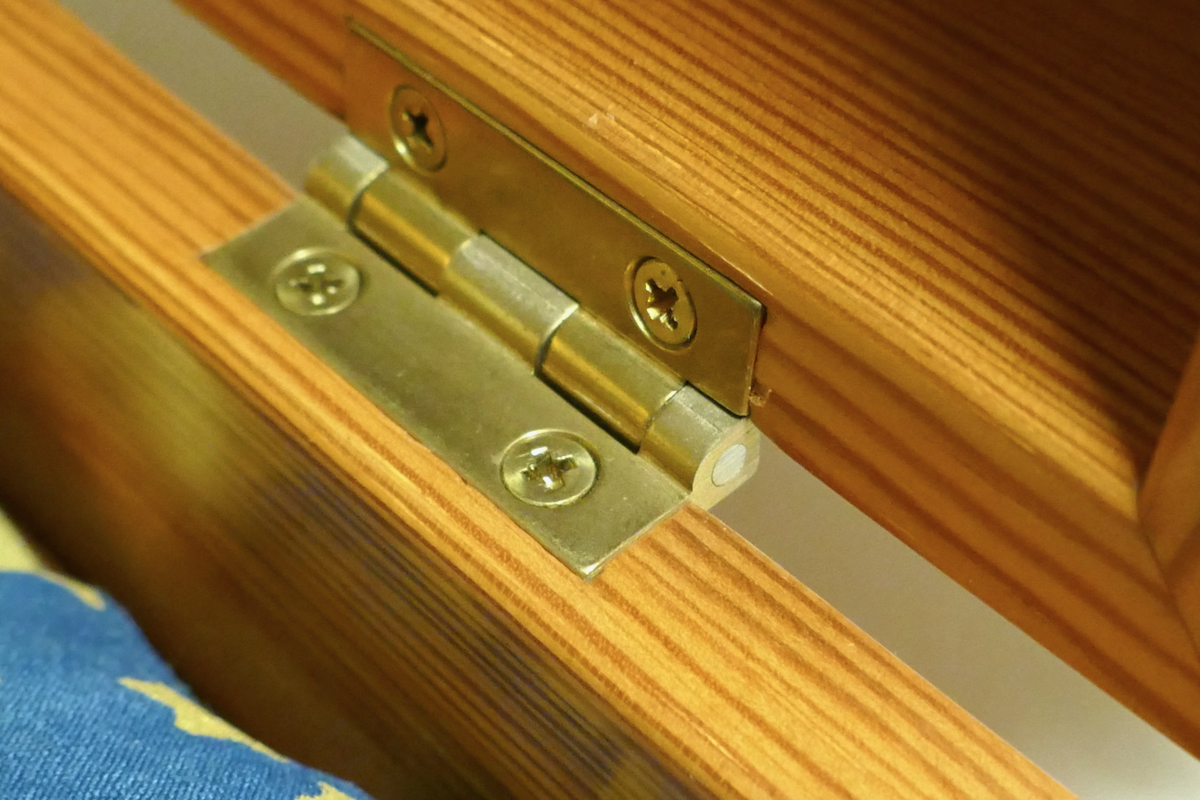
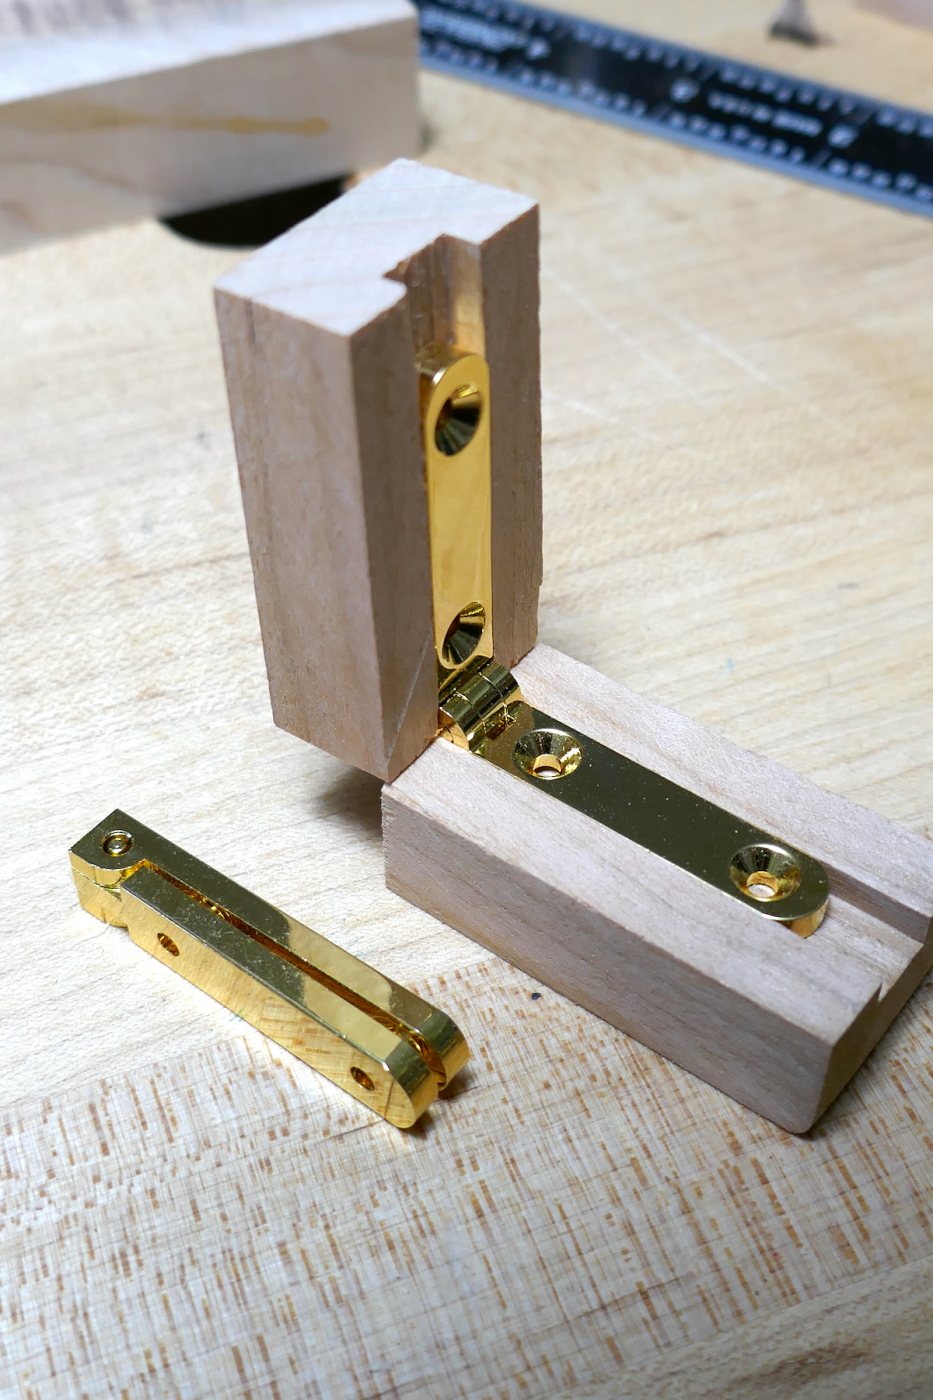
I am in the last stages of building a jewelry box, and for the lid, I decided to choose a high-quality 95 degrees Taiwanees-made solid brass hinge that I bought on Woodcraft. I chose this hinge (officially called “Side Rail Hinge”) because of its design and also for its long-arm leaves, which make it ideal for withstanding prying forces.
The hinge I got had spars or heels that wing out, so the installation instructions stipulate positioning the hinge’s rear at a ¼” or so behind the back of the box.

This is a cross-section of the recommended installation of the Side Rail Hinge I ordered.
This location is typical as most hinges are installed so that the locus of their pivoting pin, and in some cases, the knuckles or barrel surrounding the pin, protrude beyond the edge of the piece. That position ensures that the door or lid will not rub against the box or cabinet. However, in the case of my box, I wanted to find out what would be the minimum amount of protrusion I could squeeze out of these hinges; the reason is two-folded: First, I wanted to maximize inserting the hinge inside the box for aesthetic reasons, and second, a hinge’s leaf installed further into the box can hold better against accessive forces if the lid is pivoted backward too much.
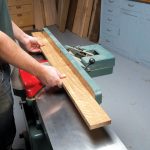
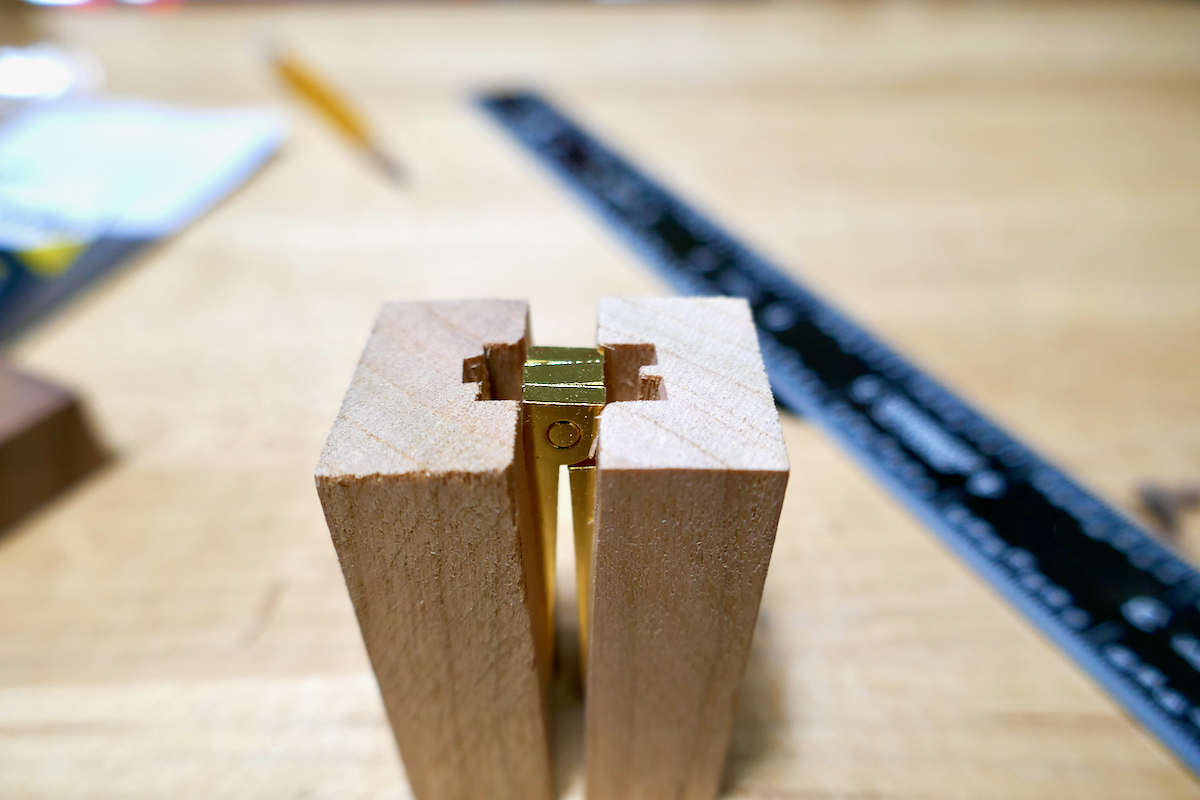
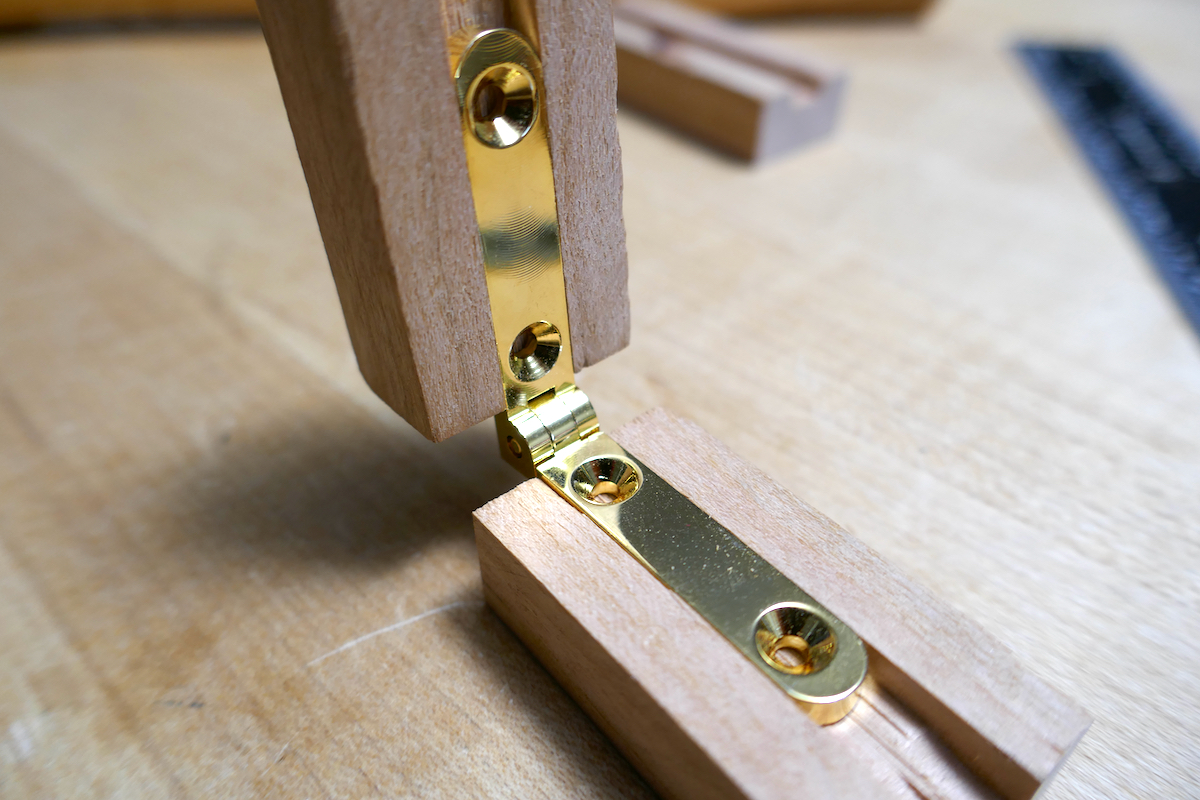
To test the hinge and decide on the best installation location, I created a mockup. I grooved a piece of wood on the table saw and cut it to produce two short parts which nest the hinge’s leaves.

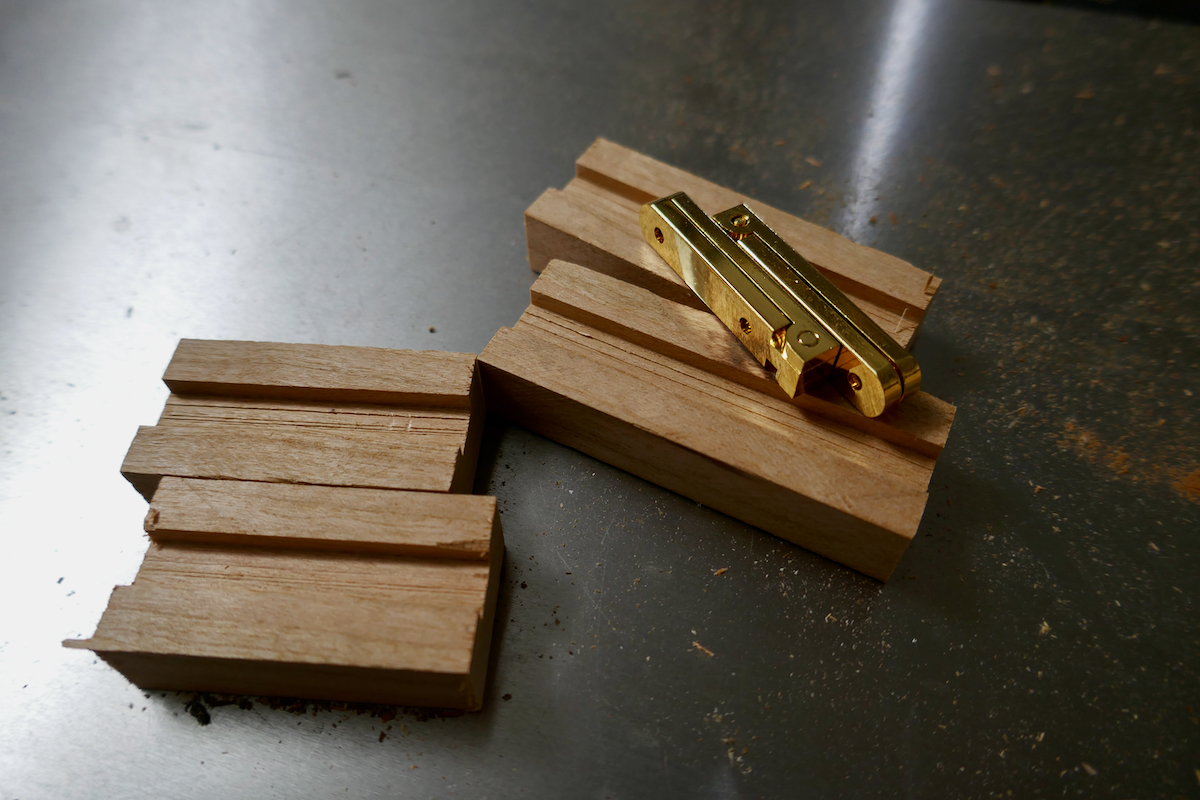
I then used a chisel to excavate notches to accept the hinge’s heels while opening it.
 I tested the hinge first in a flush-with-the-back configuration (A) and found that (as expected) it refused to open, and when I used more force, it departed from the grooves.


When I pushed the hinge outward and let the pin’s circumference flush with the mockup’s back (B), I could open the hinge with no problems.
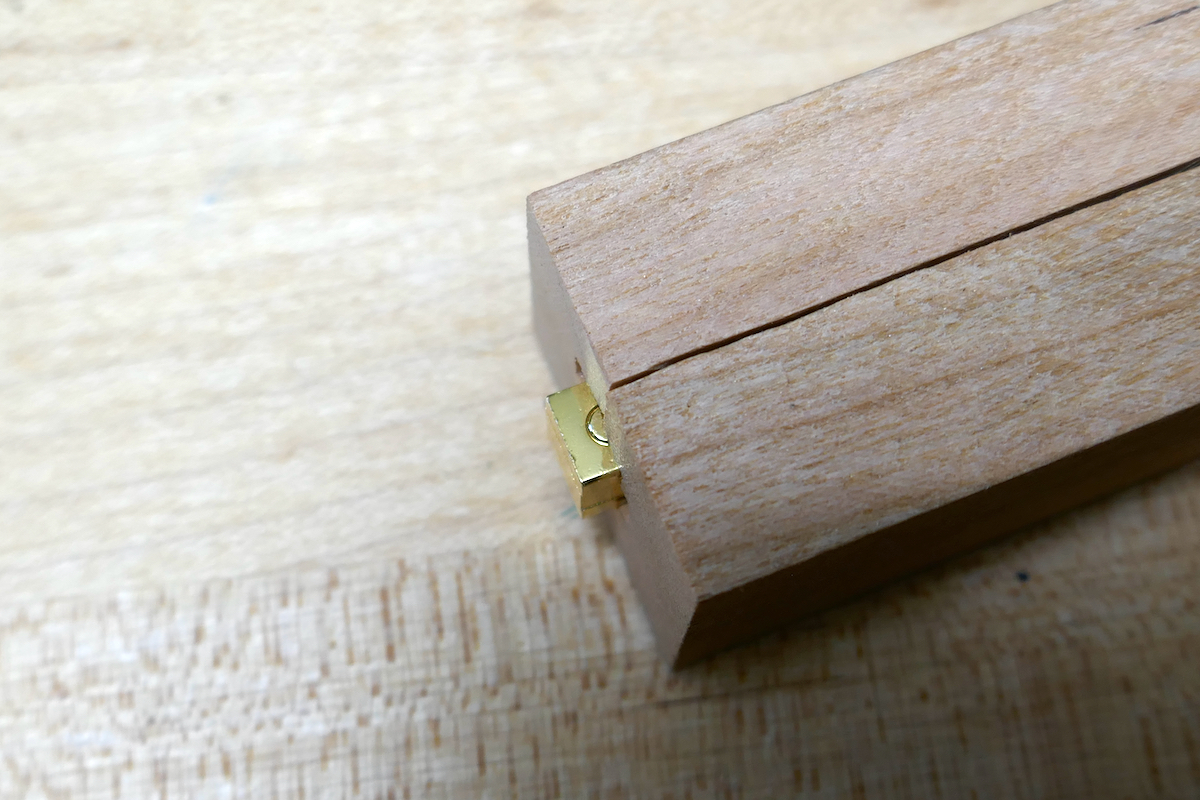
I could open the mockup when I installed the hinge, so its pin’s center was in line with the corners of tested parts (B), but still, the corner of the mockup slightly rubbed against each other.

The best setup (B1) was when I pushed the hinge further out so that the pin’s circumference was almost aligned with the corners of the parts.


When I tested the manufacturer’s recommended position (C) (hinge’s knuckles flush with the back), it provided the biggest gap between the lid and the box – a situation I want to avoid.

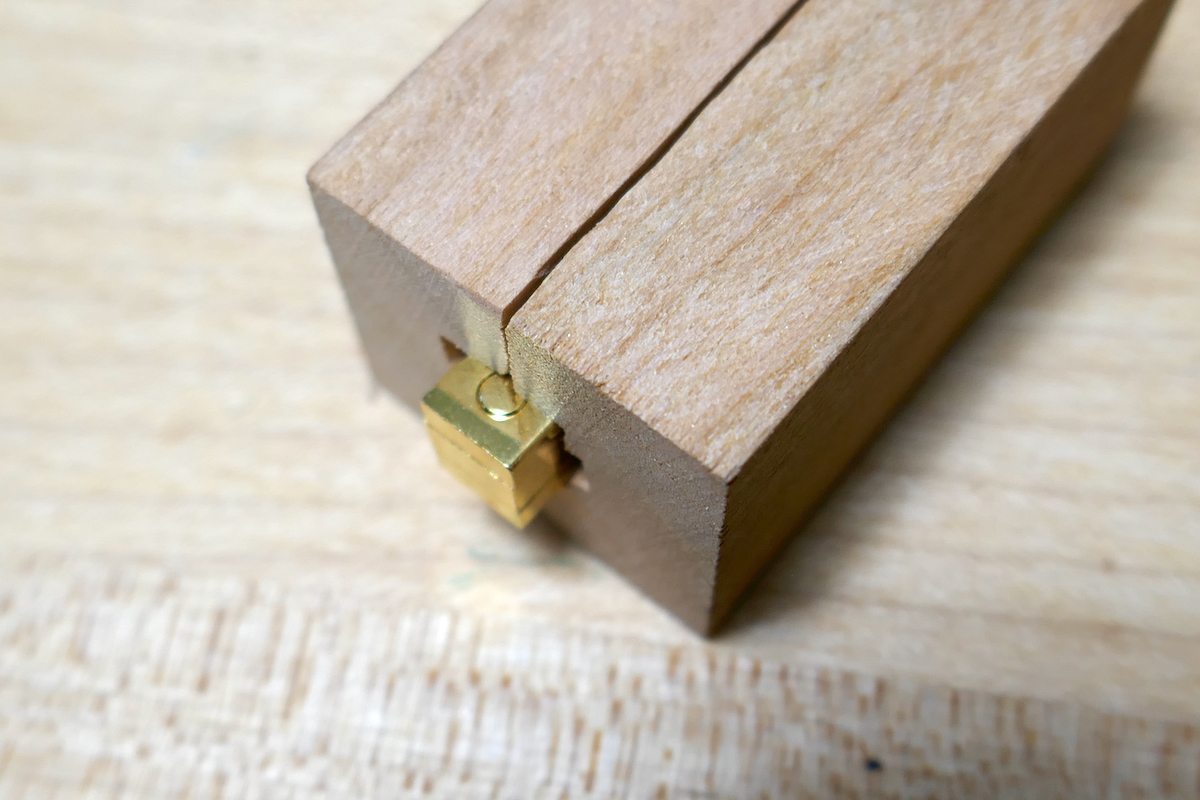
Lastly, I tested a known “trade secret” that allows the hinge’s back to flush with the box while facilitating the lid to open (D). The “secret” is simple – chamfer the two corresponding outer edges of the box/cabinet and the lid/door at a wide 45 degrees facet, and the jamming problem is solved.


I haven’t decided which of the options: (B1) or (D) I should pick, but I promise to update you once I reach a decision.
Here are some supplies and tools we find essential in our everyday work around the shop. We may receive a commission from sales referred by our links; however, we have carefully selected these products for their usefulness and quality.