We may receive a commission when you use our affiliate links. However, this does not impact our recommendations.
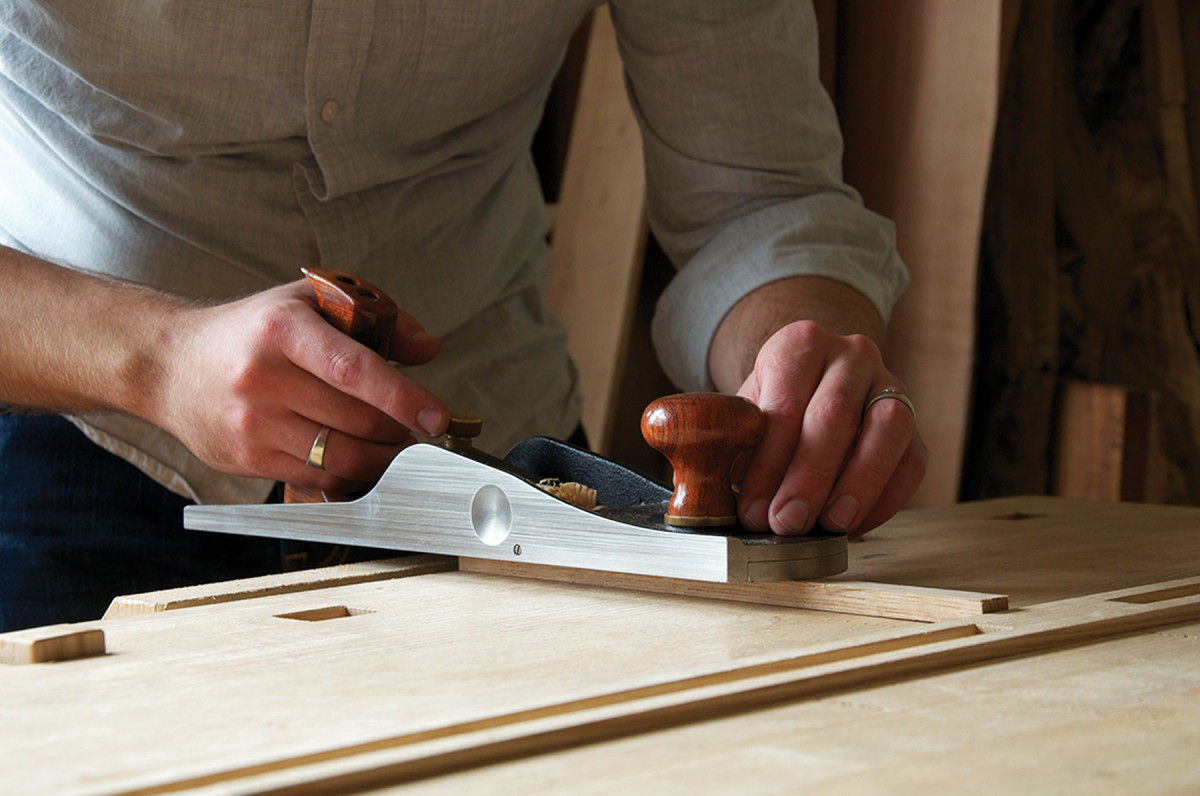
An historical detail adds refinement to projects both period and modern.
The 18th century – a time when human hands were set to work in order to create the objects of material culture; when men and women by their sweat and ingenuity wrought wares in the latest fashions; when the cabinetmaker, toiling away in dusty corners of the world, rode at the vanguard of improvement and progress.
Over the course of that century, anonymous workers of wood trained their planes and chisels on many problems, perhaps none so unassumingly complex as that of making drawers. Their search for elegant and durable methods of affixing bottoms, in particular, led them to one of the final developments in the art of crafting fine drawers by hand: slips.
Drawer slips – slender pieces of wood glued to the sides of a drawer and grooved to accept the bottom – have remained largely mysterious, especially to those of us on American shores. But the time has come for the light of history to shine once again on these milestones of human thought and hallmarks of careful craftsmanship.
In the Beginning
The earliest drawer bottoms were little more than boards nailed to the underside of boxes. This arrangement was perfectly satisfactory, as drawers did not ride upon their bottoms. Instead, grooves plowed into their thick sides engaged with guides attached to the surrounding case.
As time passed, new types of lumber were made available, novel forms of furniture emerged, and fashion began to dictate slimmer drawer components.
English cabinetmakers abandoned the exterior groove, instead designing cases in which drawers rode directly on their bottoms. But the bottoms wore and nails loosened, compromising the integrity of both drawer and case. Something needed to be done.
In particular, the drawer bottom needed to be raised. The most straightforward solution was to affix slender pieces of wood underneath the bottom and sides. These runners, sometimes referred to as “slips” (though of a different sort than the subject of this article), were usually applied with glue and could be easily replaced. The whole arrangement appeared awkward, however, and was sufficiently unsound that further experiments were warranted.
A breakthrough came in the 1720s. Rabbets were cut into the lower, interior edges of the sides and front, allowing both the drawer bottom and runner to be tucked neatly within the confines of the drawer. It was a remarkable achievement in construction. The bottom and runners were stabilized within the rabbets, the runners were still easily replaceable, and, with a nod to appearance, the entire assembly was now hidden from view.
One weakness remained, however: the bottom was fixed in place, unable to shrink and swell with the seasons. Though rabbets-and-runners remained the dominant form of attaching drawer bottoms through decades worth of cyclical expansion and contraction, the inevitable splitting of bottom boards called for more ingenious ways forward.
Slips Onto the Scene
Plow slips, not drawers. Grooves to accept a drawer bottom are plowed into the edge of a wide board, which will then be cut into narrow slips.
References to slips began to appear in print by 1788, when the first edition of the “Cabinet-makers London Book of Prices” included a succinct entry for “slipping drawers.” Later editions of the same work (1793 and 1803) offered more detail in proposing prices for “slipping drawer sides and plowing in bottoms.”
A definitive description of drawer slips was not published until 1803, when the following appeared in Thomas Sheraton’s “The Cabinet Dictionary:”
“Slips are sometimes glued on the inside of drawers, and plained [sic] to receive the bottom, which is the best method for preventing drawer bottoms from splitting, as is too often the case when they are confined by a rabbet, and the slip is glued down at the under side.”
Ten years later, Thomas Martin cribbed Sheraton’s definition for his “Circle of the Mechanical Arts,” an appropriation repeated by Peter Nicholson in his “Practical Carpentry, Joinery, and Cabinet-making” of 1826. Nicholson, at least, elaborated on the reasoning behind the use of slips:
“Drawers made of unseasoned wood, break at the joints: to prevent this, slips are sometimes glued on the inside of drawer-sides or ends, and these are grooved to receive the bottom, and the upper edge rounded; this is esteemed the best method for preventing drawer-bottoms from splitting….”
It is notable that these early chroniclers mention only that slips were employed to avoid split bottoms. This may have been the real problem that spurred period makers to action. Sensing that drawer bottoms would be able to more freely expand and contract in a groove than in a rabbet, they discovered a clever way to retain the best features of earlier systems – an elevated bottom and wide bearing surfaces – while leaving the bottom free to move, even in the thinnest of drawer sides.
This discovery almost assuredly took place in England, where a preference for slipped drawers in bespoke work persists to this day. The English taste for thin drawers never made its way across the Atlantic, where thick sides in softer woods have long been more common. Because slips were likely developed at a time when England’s influence in this country was waning, using rabbets-and-runners and plowing grooves directly into thick sides remained the standard methods of attaching bottoms for American cabinetmakers.
Make Your Own
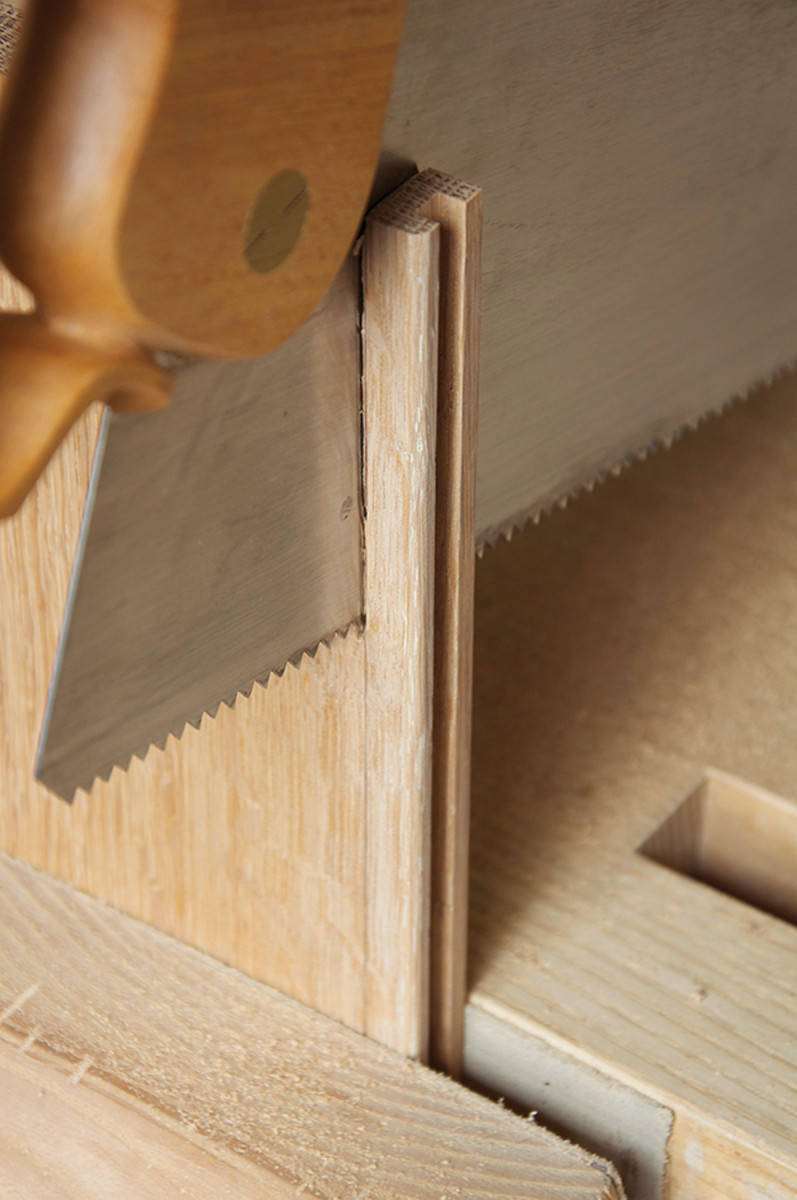
A slip is born. After its groove is plowed and top edge shaped, each slip is marked for width and sawed free.
In examining how slips are made, it’s natural to begin with the rounded version, generally regarded as the earliest form.
First, prepare the front, back and sides of a drawer in the usual manner. Lay out the dovetails in front, keeping in mind that despite using slips along the sides, the drawer front must still receive a 1⁄4” x 1⁄4” groove to support the bottom. Therefore, plan to cover the groove with a full or half tail.
Clean-up work. The back of each slip is planed to remove saw marks and to square up its gluing surface.
With the drawer box assembled, prepare a board from which to cut the slips. It should be longer than the drawer sides and wide enough to produce several slips (which also makes it easy to hold in a vise). Its thickness should be equal to the height of the slips, plus an extra 1⁄64” or so for trimming. In practice, the position of the groove in the drawer front determines the finished height of the slips, because each slip must bear a corresponding groove in its inner face. Also, enough wood must remain to support the bottom; 3⁄16” above and below the groove is a good compromise between strength and appearance.

Two slips, two tenons. Small tenons are formed on the front ends of a round slip (left) and a flush slip (right).
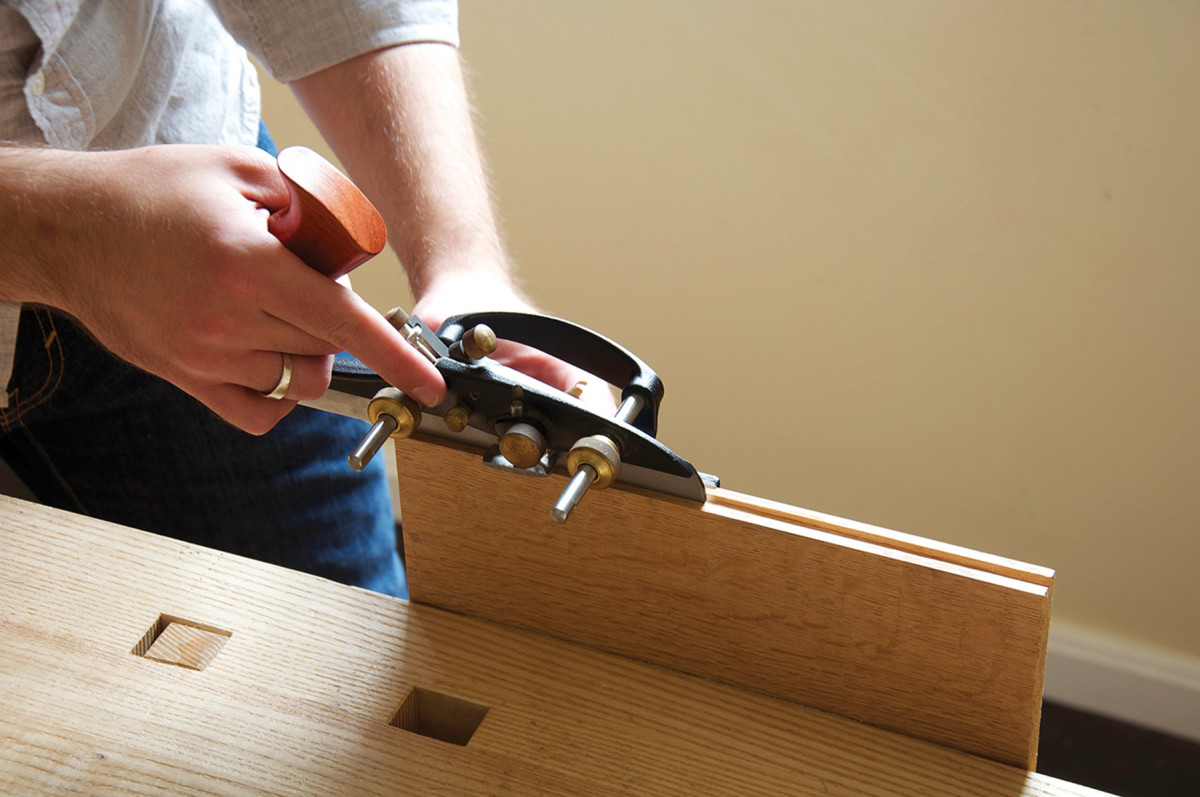
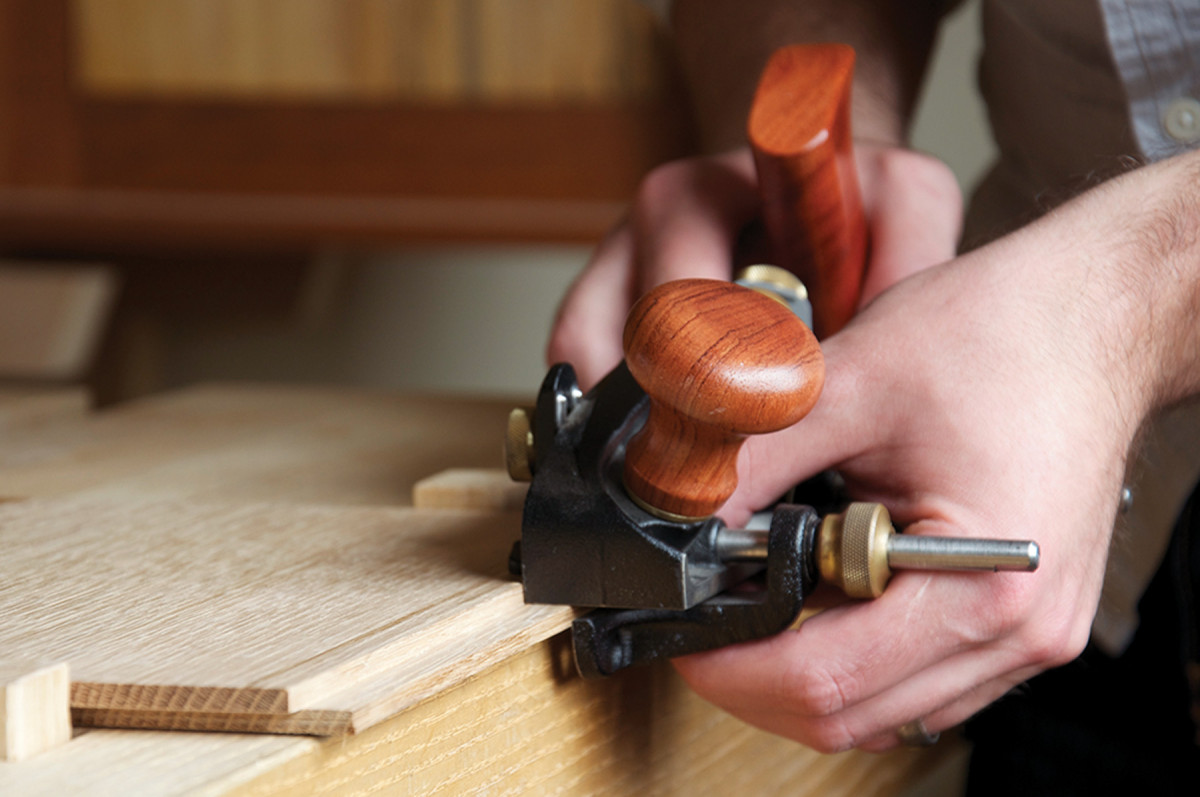
Secure the board, square the upper edge and plow a 3⁄16“-deep groove a hair more than 3⁄16” from the reference face. This slight addition will allow the slip to project from the drawer side so that it may be planed perfectly flush after gluing.
Plane the upper, interior edge of the future slip into a series of long facets, blending them with light passes to arrive at a final rounded shape. Referencing from the grooved edge, scribe the width of the slip on both faces of the board. Saw just outside the line, and plane the resulting slip down to its finished width.
Perfect mate. The round slip’s small tenon fits into a groove in the drawer front, making alignment during glue up a cinch.
Prepare the slip to meet the drawer front and back. First, cut a small tenon at the front end. Mark a shoulder line 1⁄4” from the end, and saw away the material above and below the groove. The resulting tenon is a positive version of the groove’s negative space and should register neatly with the drawer front.
Notch in rear. Round slips are notched to pass under the drawer back and to align their grooves with the back’s bottom edge.
Next, form a notch at the top rear of the slip. Its depth is equal to the amount of material above the groove, which allows the top of the groove and the bottom of the drawer back to align. Butt the shoulder of the slip’s tenon against the back of the drawer front and scribe where the rear of the slip meets the inside and outside of the drawer back. Transfer the latter mark around the entire slip, and cut and plane it to length. Use the inside mark to square across the top of the slip, then transfer it down both vertical faces to the top of the groove. Saw and pare away the waste above the groove.
Make it proud. Affixing a slip to protrude slightly below the drawer side allows you to plane it perfectly flush after gluing.
All that remains is to glue the slips in place, clamping to ensure solid contact along their entire length.
Modern Styling
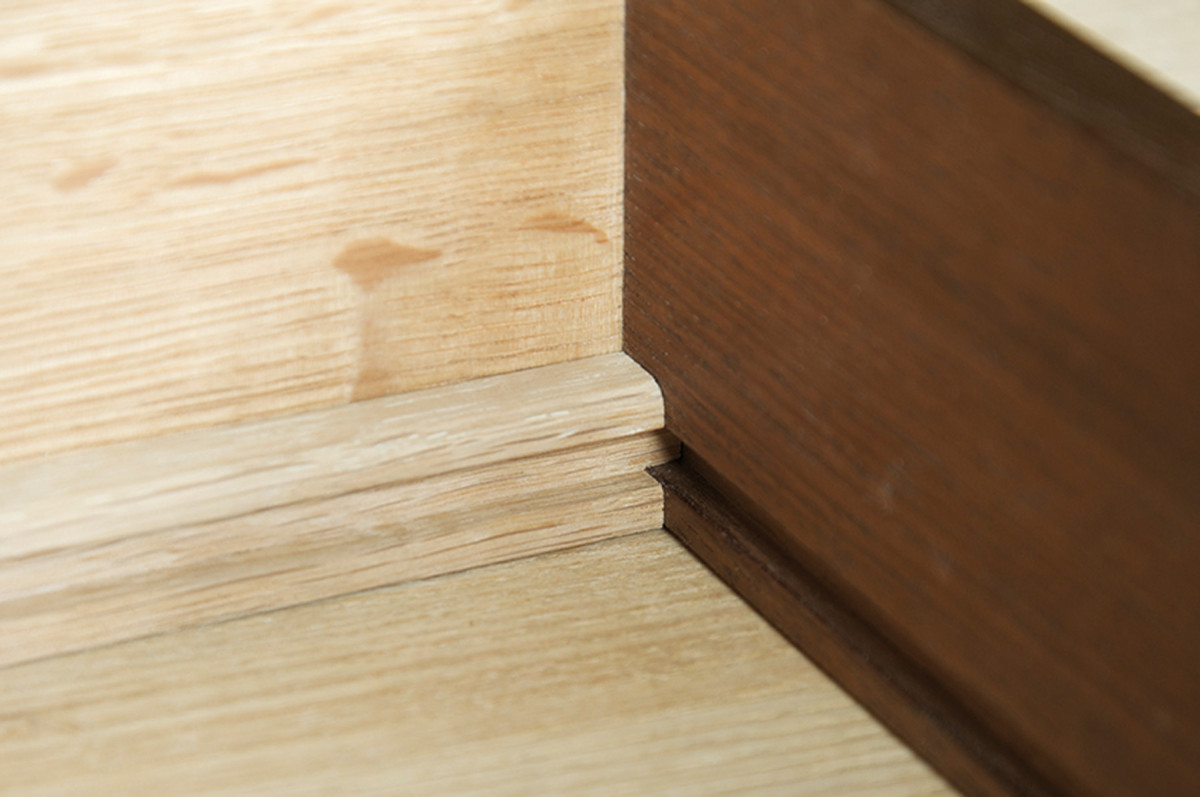
Layered grooves. The groove in the drawer front accepts a flush slip’s tenon and eventually, the rabbeted front edge of the drawer bottom. The bottom’s rabbeted sides slide into grooves in the slip.
Flush slips are so named because the top surface of the drawer bottom sits flush with the top surface of the slips – a look that appeals to more modern sensibilities. In order to achieve this, the sides of the drawer bottom must be rabbeted along their top edges, and the lower, front edge of the bottom rabbeted to fit a groove plowed higher up the drawer front.
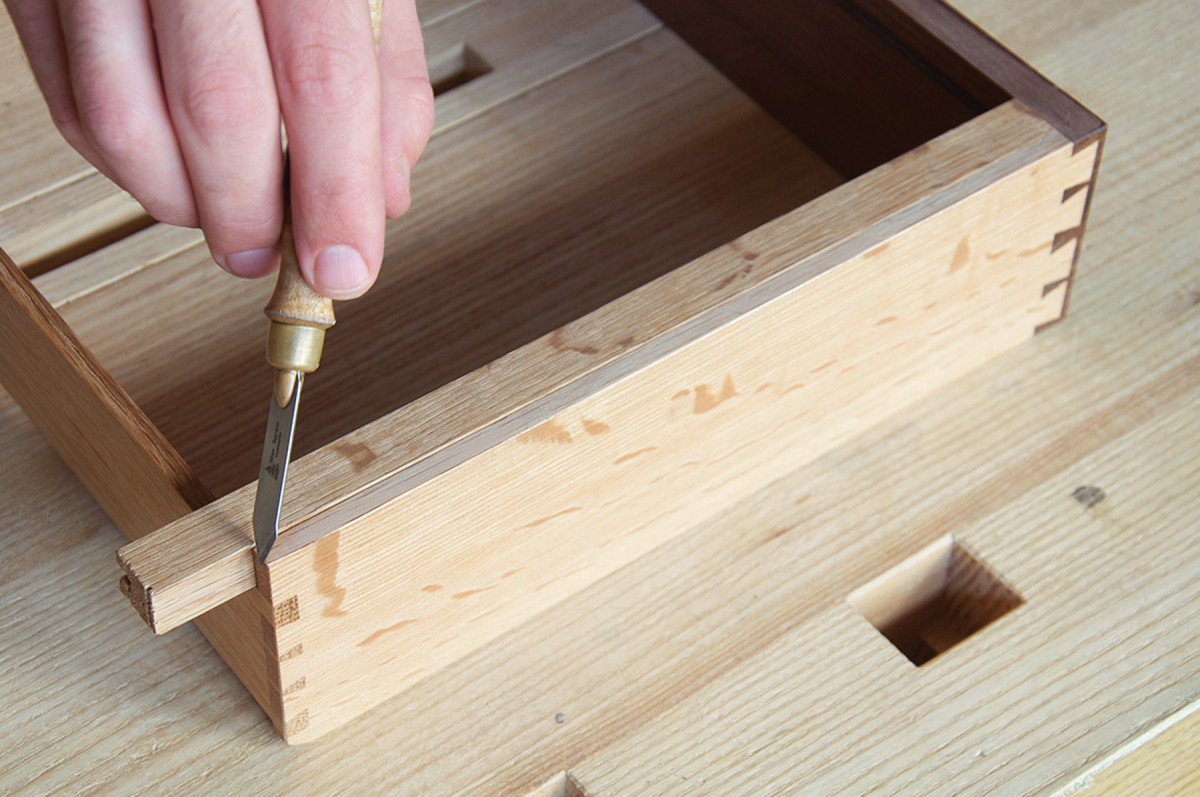
No measuring. With the slip firmly seated against the drawer front, mark its finished length directly from the back of the drawer.
After plowing a 3⁄16“-wide x 1⁄4“-deep groove in each slip, cut a tenon on one end. This time, square across the bottom face of the slip 1⁄4” from the front end, and transfer the mark up the vertical faces to the top of the groove. Saw out this lower portion, then repeat for the other slip.
Because flush slips simply butt against the underside of the drawer back, they don’t require a notch at rear.
Offset rabbets. Flush slips require a specially shaped bottom; it is first rabbeted along the top of one side, flipped over, then rabbeted again along the front edge.
Seat the tenons into the groove in the drawer front, mark and cut the slips to length, and glue them to the drawer sides.
Rabbets, meet slips. To ensure a clean fit, the shoulder of the first side rabbet is pressed against a slip while the second rabbet’s shoulder is scribed directly from the other slip.
Now make the rabbeted drawer bottom. First, cut a rabbet into the top of one side. The rabbet’s depth should be the distance from the top of the slip to the top of the slip’s groove and its width identical to the depth of the grooves. Next, cut a rabbet into the lower front edge of the drawer bottom. Its width is again equal to the depth of the grooves, but this time its depth should be the distance from the bottom of the slips’ grooves to the bottom of the groove in the drawer front.
Sliding home. Flush slips support a drawer bottom along its sides, while a groove in the drawer front receives the bottom’s rabbeted front edge.
Set the drawer box on top of the partially rabbeted bottom, pressing the shoulder of the side rabbet against its corresponding slip. Scribe a line where the bottom meets the other slip; this establishes the edge of the second side’s rabbet. Cut the rabbet into the top edge of the second side to the appropriate depth.
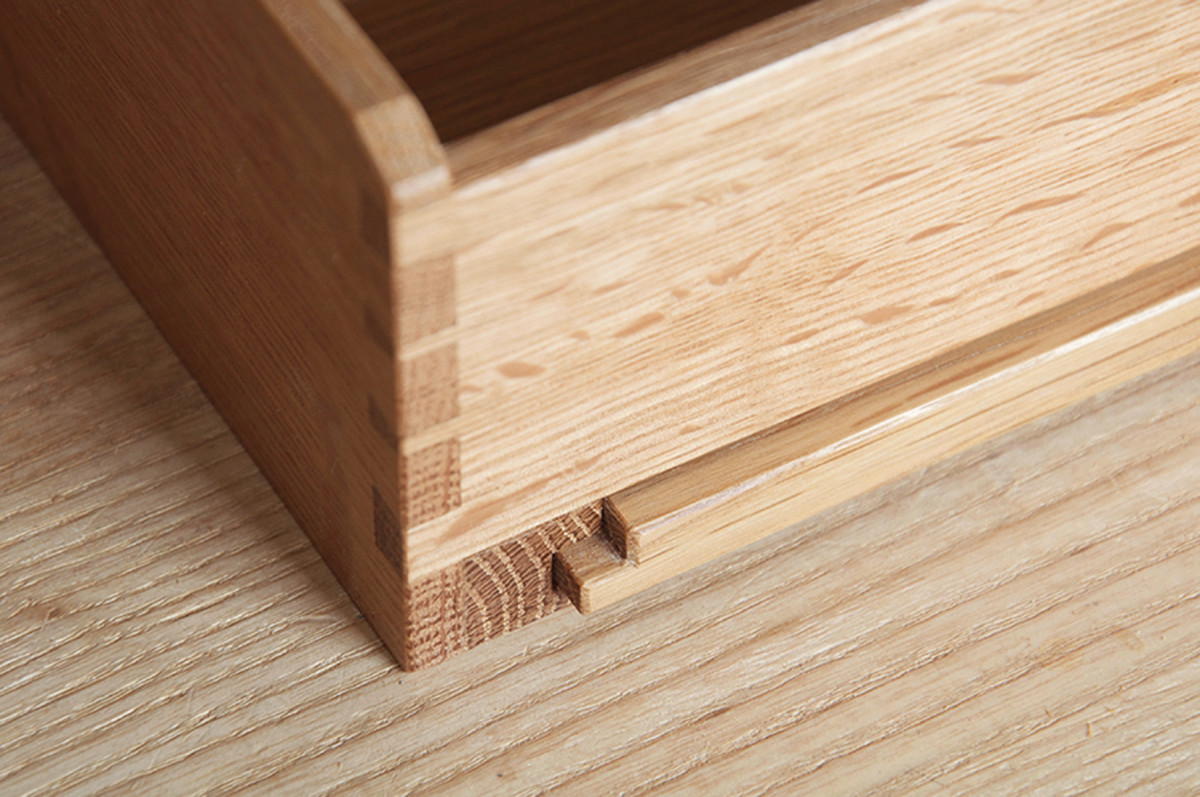
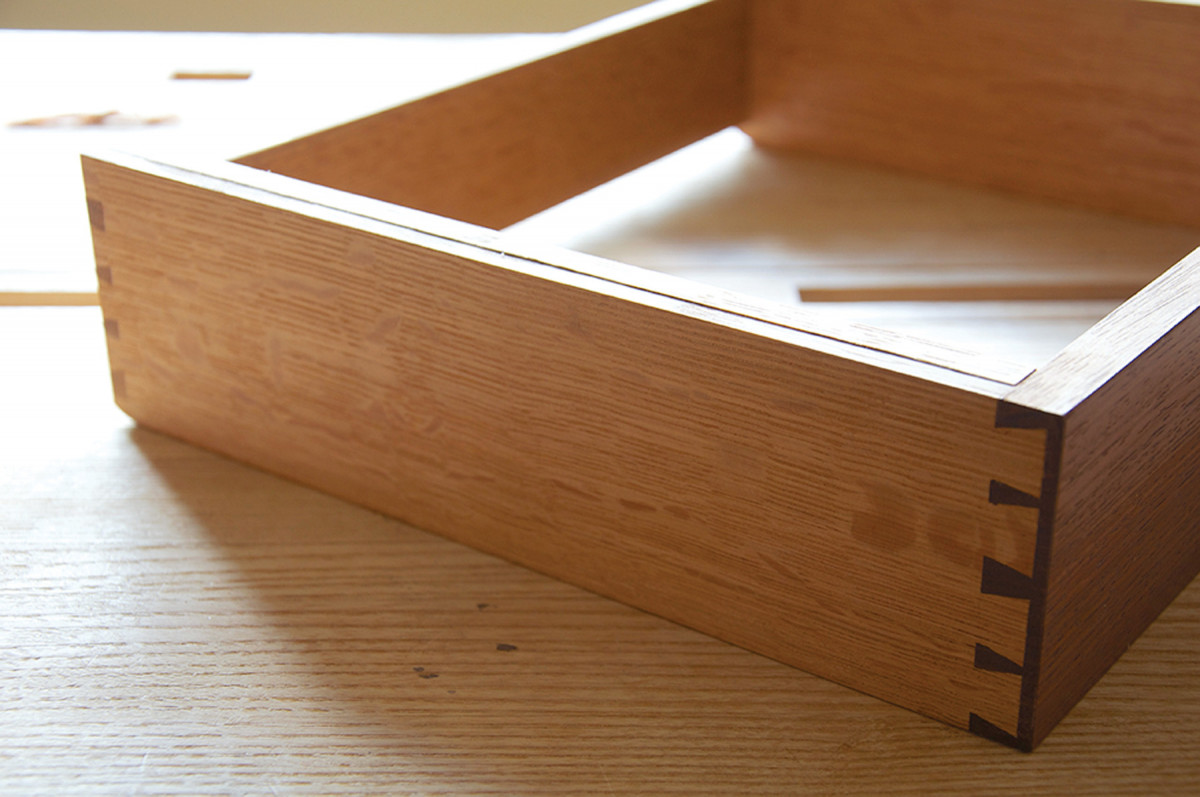
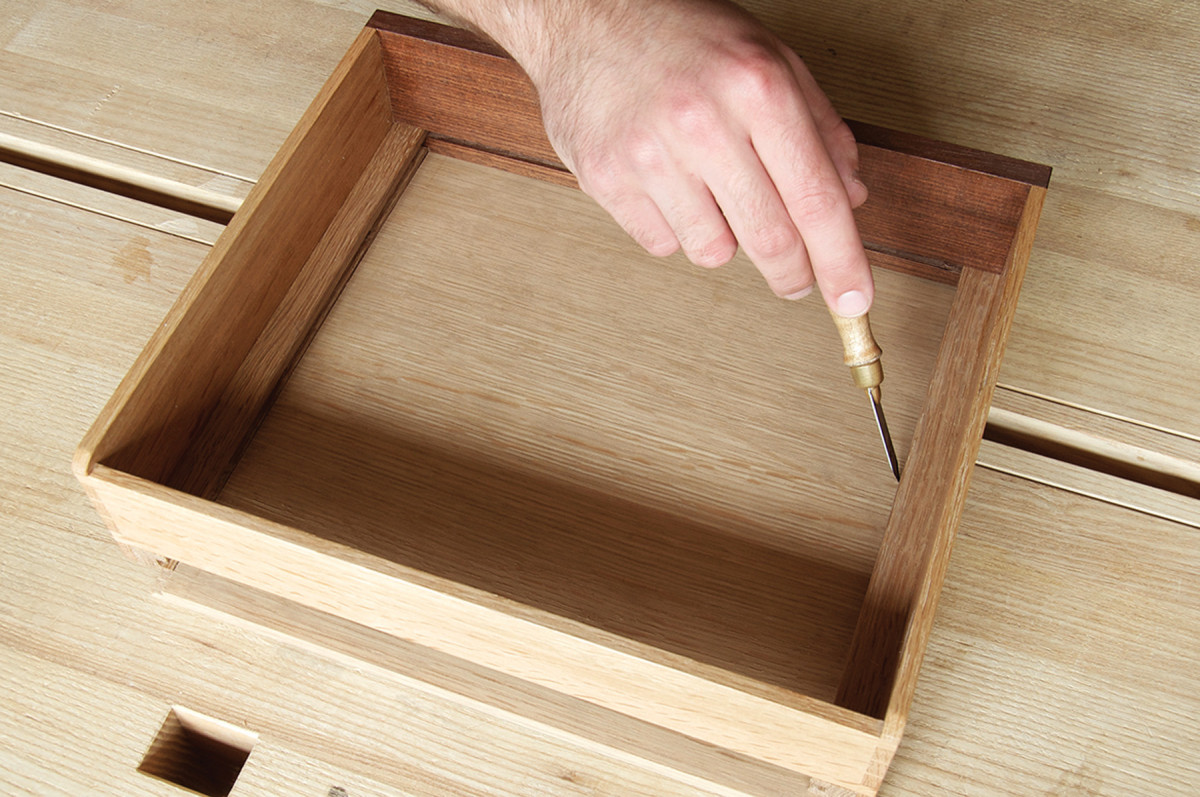
Behind the scenes. A view of the back of a drawer reveals the profile of a flush slip and a rabbeted bottom.
The bottom should now slide in from the rear, its top surface butting against the bottom edge of the drawer back, its sides engaging with the grooved slips and its leading edge ultimately entering the groove in the drawer front.
Another Angle
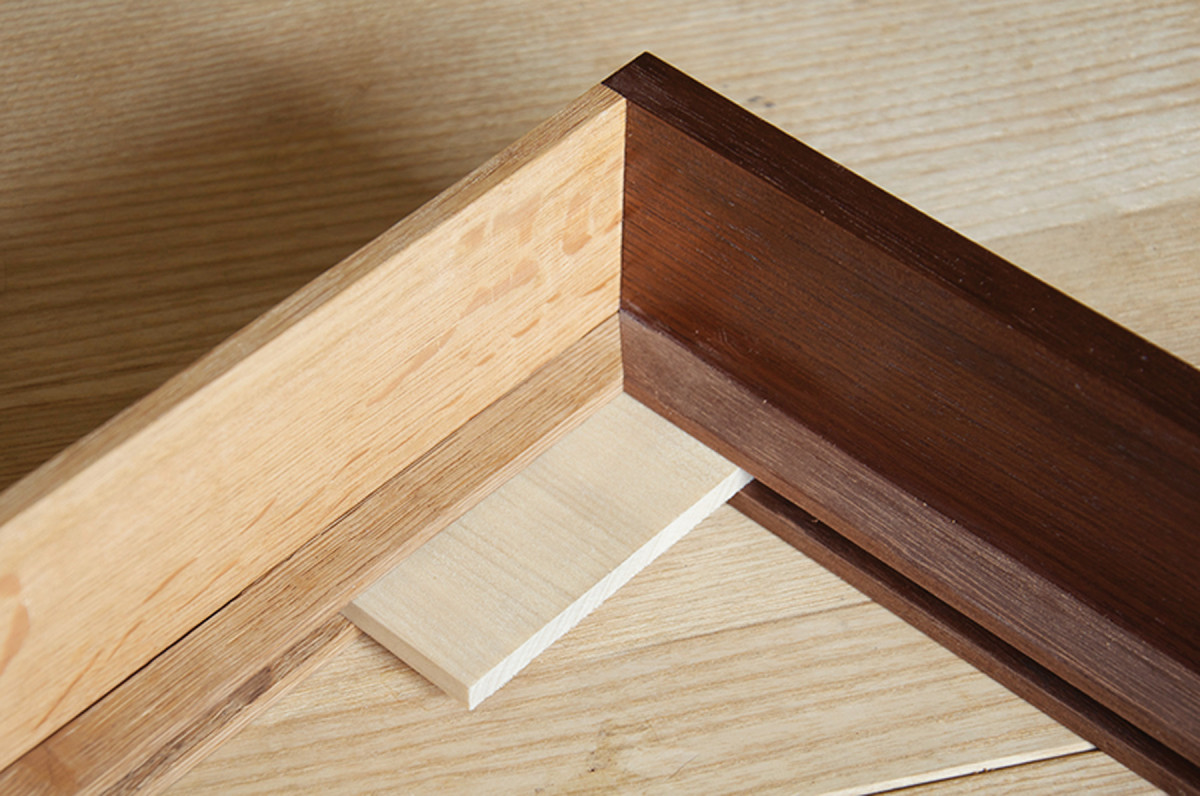
Face first. To simplify the fitting of mitered slips, glue the front slip in place before mitering and notching the side ones.
Mitered slips are perhaps the easiest version to make. Because they do not require a groove in the drawer front, they involve much less initial planning and make laying out symmetrical dovetails a straightforward affair.
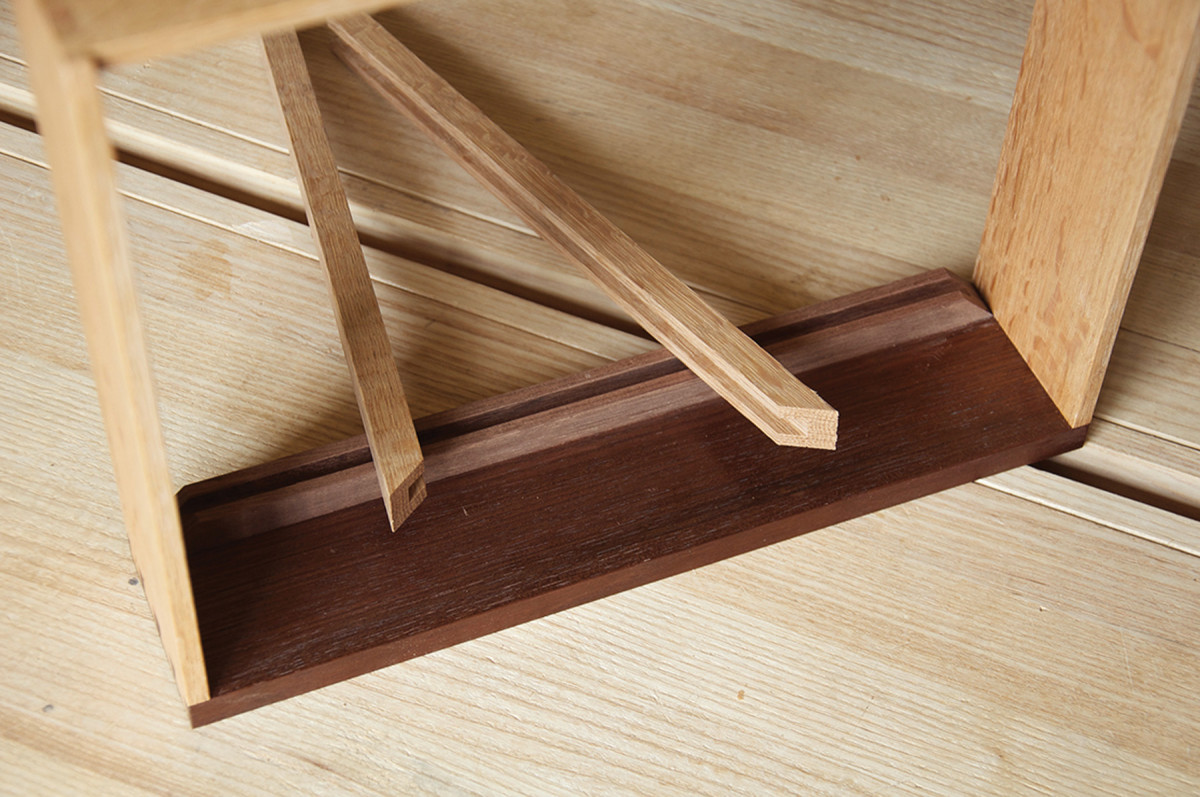
Get in the grooves. A small scrap of wood planed to perfectly fit the grooves of mitered slips guarantees that they’ll be aligned after glue up.
Start by preparing a grooved slip for the front of the drawer. Miter both ends to fit snugly between the drawer sides, profile the top edge to your liking, and glue the slip in place. Next, miter one end of each side slip, press it against the corresponding miter at the front, and mark for length and notching. As in their rounded brethren, the top of the groove in mitered slips should align with the bottom of the drawer back. Cut the notches accordingly, profile the top edges to match the front slip, and glue the side slips to the drawer.
Worth the Effort
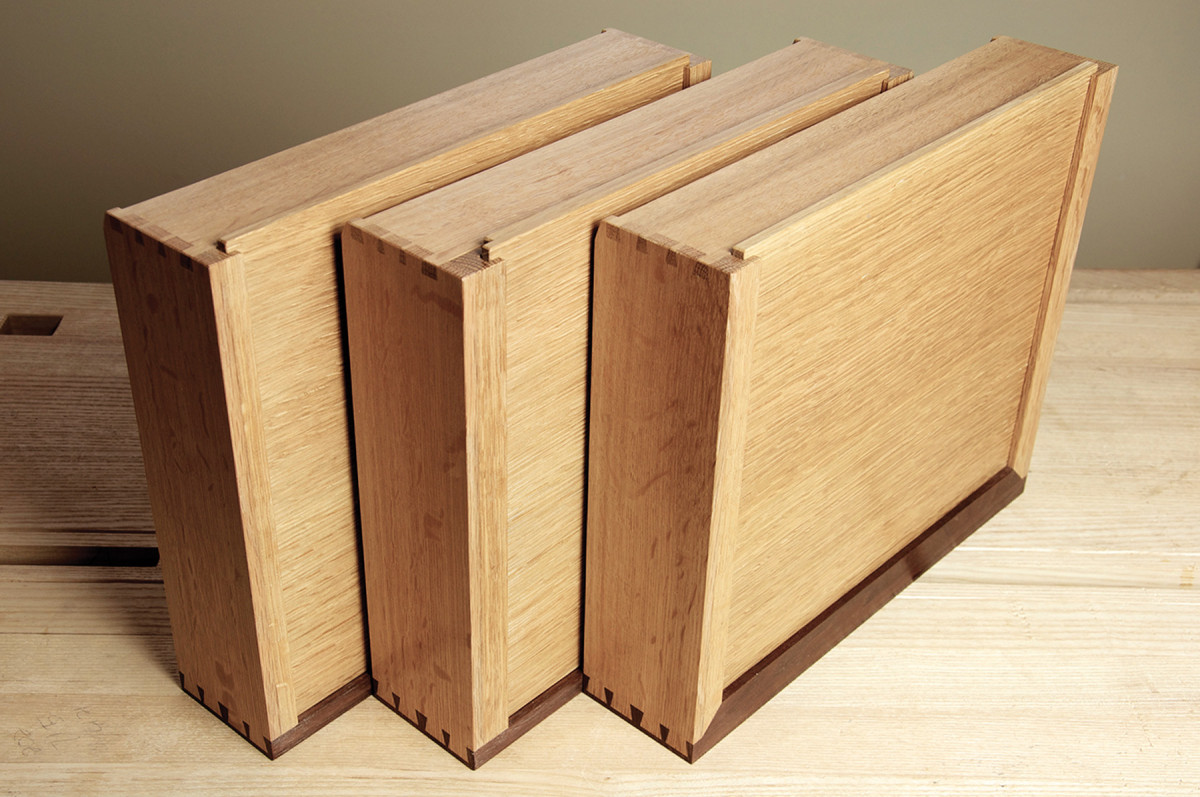
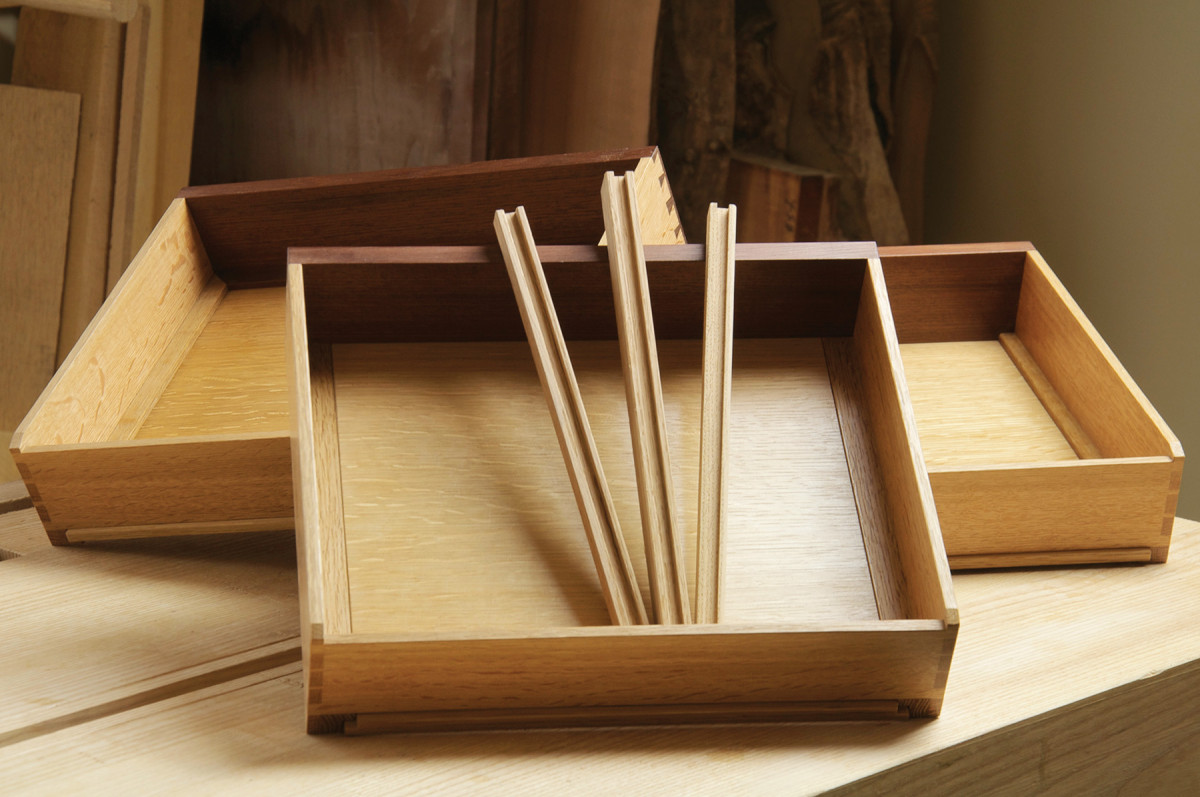
Beauty & brawn. Whether round (left), flush (middle), or mitered (right), slips provide plenty of wearing surface to thin drawer sides while supporting bottoms in expansion-friendly grooves.
Slips do require a bit of extra effort, but as symbols of attentive and thoughtful work, they imbue meaning even to parts normally hidden from view. They evoke, too, the spirit of cabinetmakers past who, through decades of experimentation, wrestled with the intangible forces of weight and wear and the seasonal expansion of wood to produce a tradition of small boxes capable of great endurance and subtle beauty.
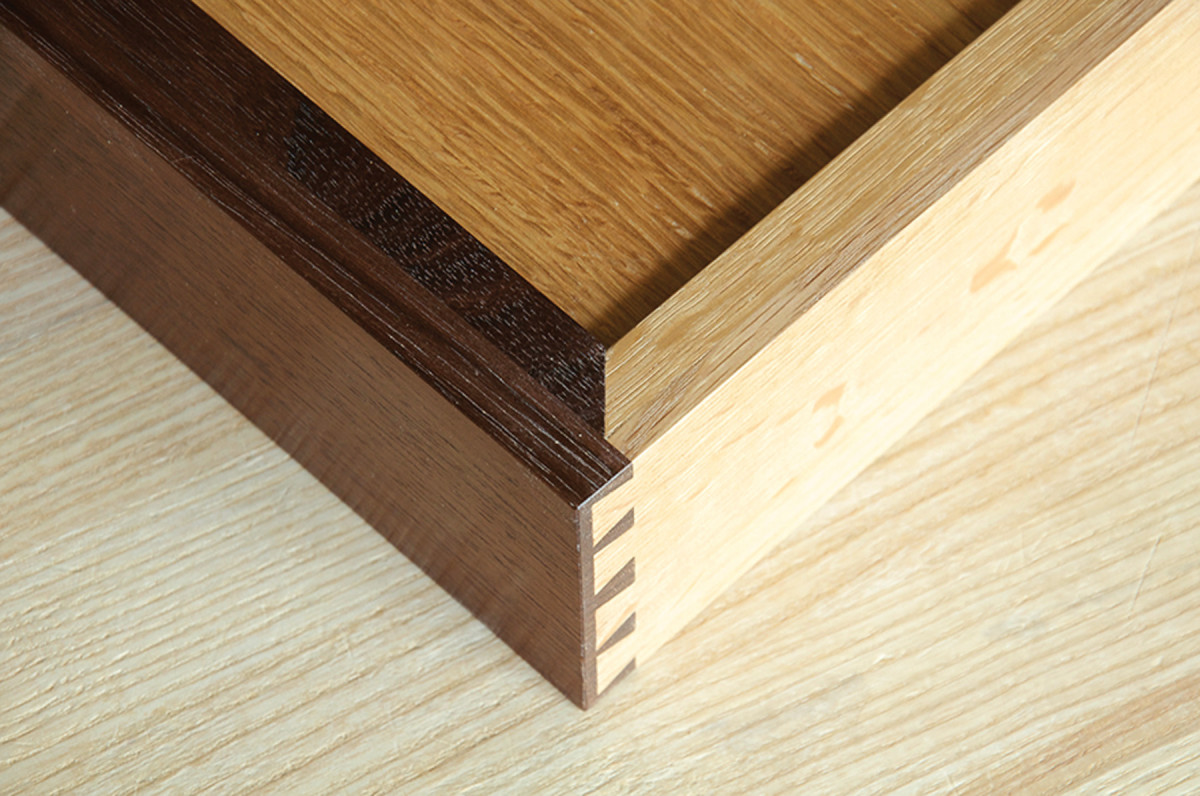
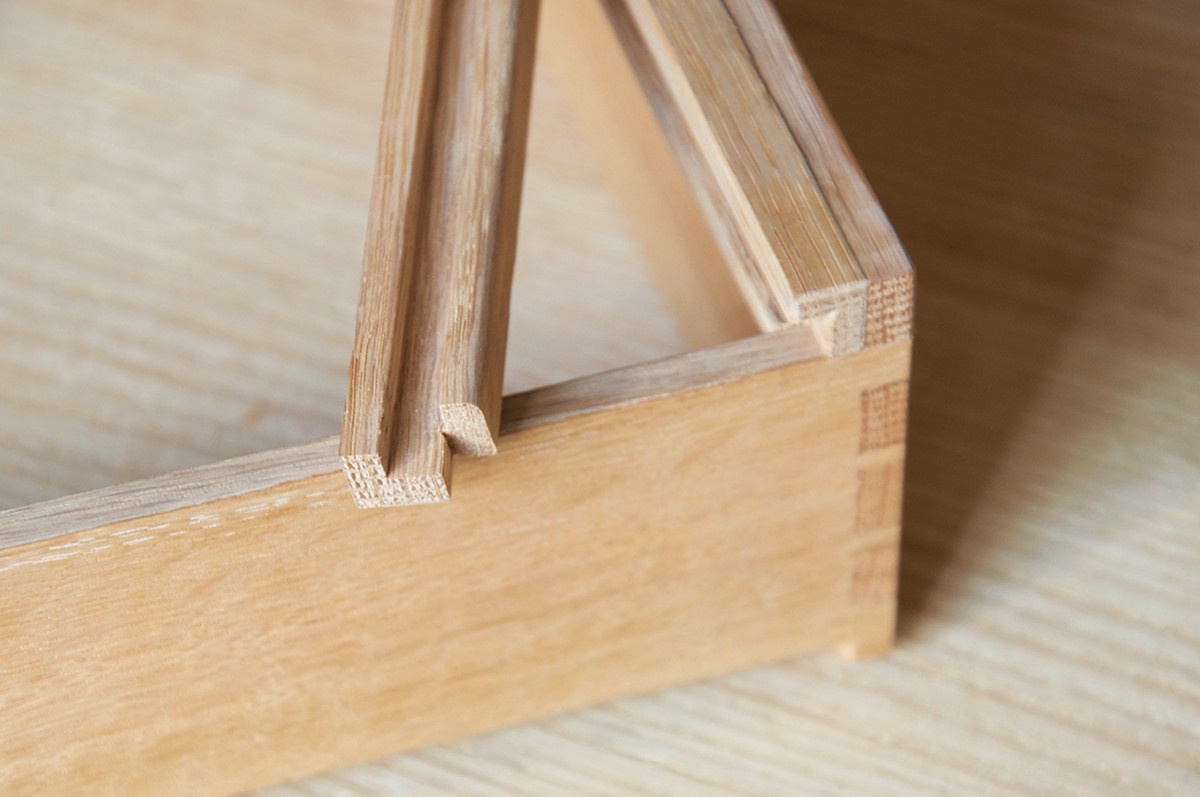
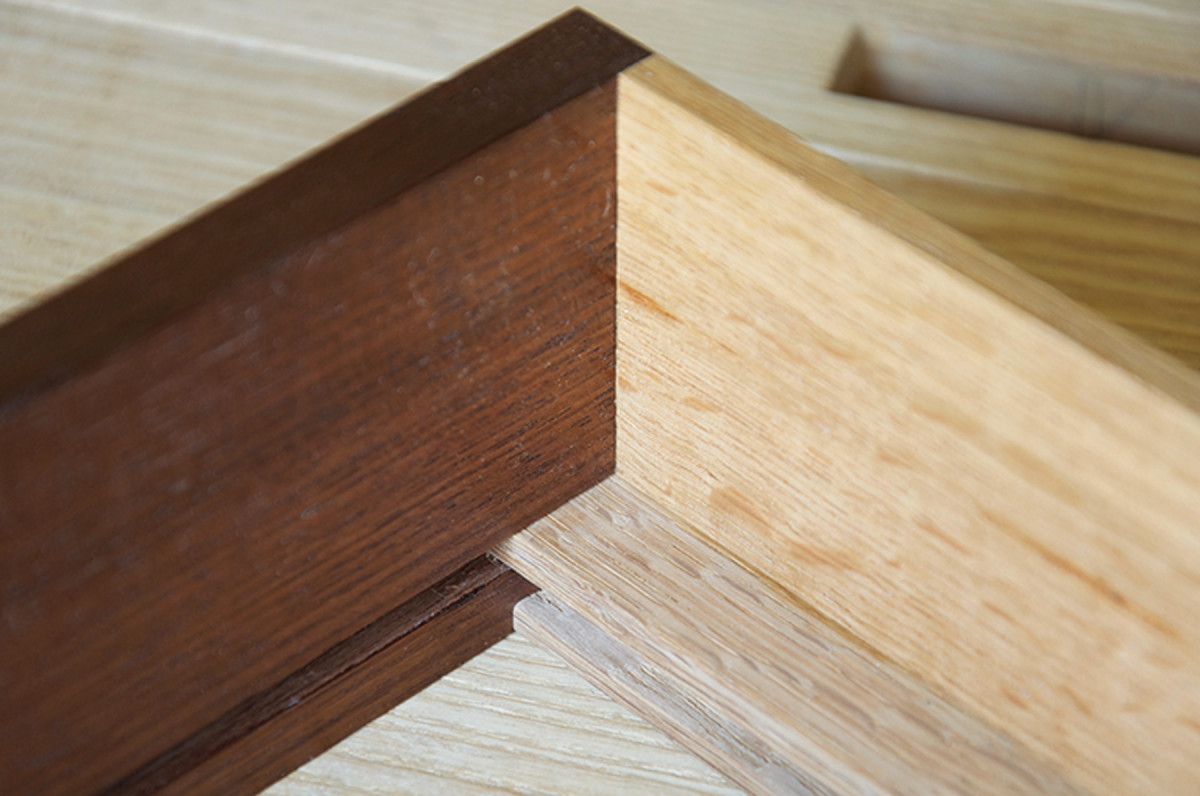
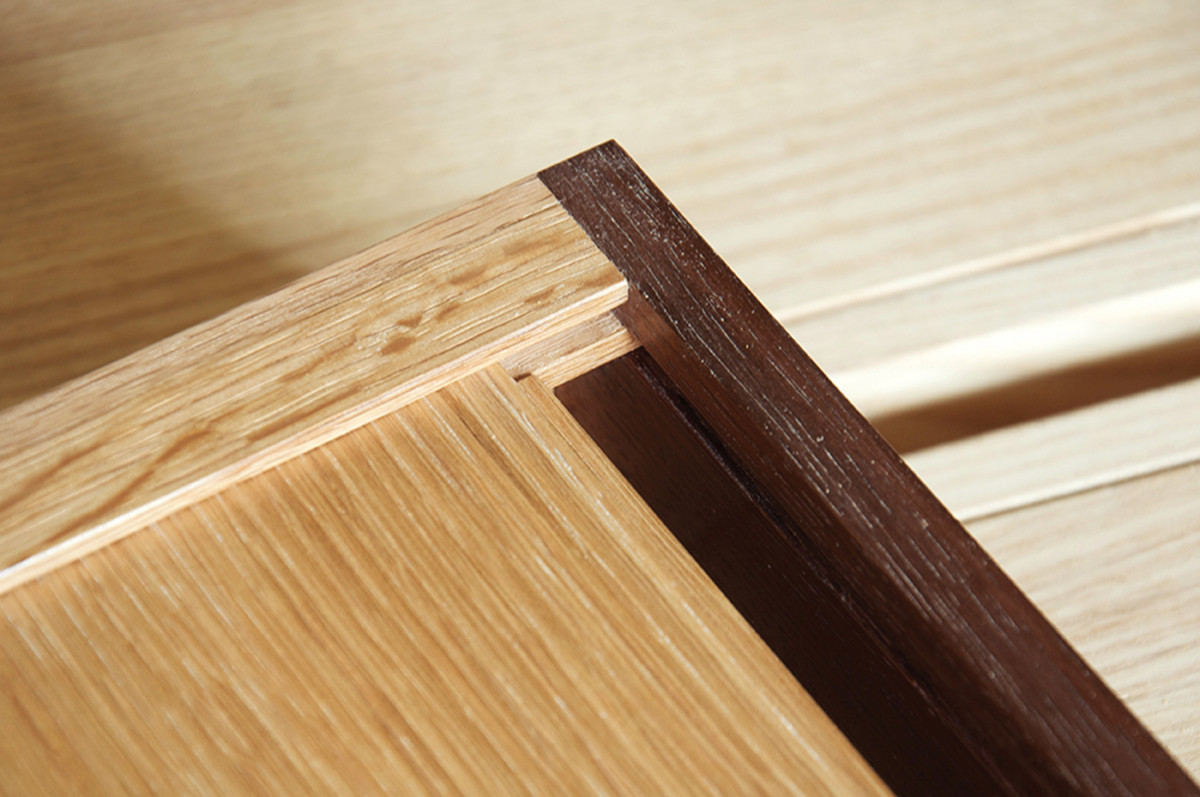
Mitered underbelly. A drawer front, drawer side and two mitered slips combine to form a seemingly complex joint.
Given the vast scale of industry and manufacture governing our era, it is now rare for those devoted to the intimacy of craft to effect such widely influential change. But for those of us engaged in making fine things out of wood, quiet moments of pride at having done the simple things well and beautifully – slipping drawer bottoms, for instance – often prove satisfaction enough.
Here are some supplies and tools we find essential in our everyday work around the shop. We may receive a commission from sales referred by our links; however, we have carefully selected these products for their usefulness and quality.