


We may receive a commission when you use our affiliate links. However, this does not impact our recommendations.
 Notch a few sticks and drive your friends crazy.
Something’s got to give when pieces of wood intersect at 90˚ angles. That’s the reality behind the curious assemblies shown here. Known as burr puzzles (because they resemble seed burrs), these brain-teasers consist of three or more notched pieces that go together at right angles. Give one of these tricksters to an unsuspecting friend and watch the fun. Disassembling each puzzle is the easy part. Putting the pieces back together is the real challenge!
Precision is the key to making the puzzles work effectively. Each part must be accurately marked, milled and cut. One option is to make the parts exclusively with hand tools, as students did almost 100 years ago, when puzzles like these were used to teach woodworking skills in manual arts classes. To follow this option, just take the dimensions from Figs. B, C and D and go to town.
The power tool option
Making the parts using power tools is faster and easier—worthwhile considerations if you plan to make multiple puzzles. The first step for every puzzle is to mill long blanks to final dimensions—be precise, and make sure the blanks are square. Then cut the individual puzzle pieces to exact length from the blanks.

Fig. A) Dadoing Jig
A shopmade jig makes it easy to notch the pieces for all three of these puzzles on the tablesaw, using a dado set (Fig. A). This jig consists of a sled with runners, a clamp and a fence. The runners fit the saw’s miter slots, so the sled makes perpendicular cuts. For clean, tearout-free results, a portion of the jig should be dedicated to each notch size. If, as shown, the blade is offset between the runners, you can use both sides of the sled. The wide fence houses the dado set from both directions, for safety. Stop blocks and spacers precisely position the pieces, so the notches (dadoes, actually) are accurately cut. Like the puzzle pieces themselves, the spacers must be precisely cut. To set up the jig, clamp one stop block to the right of the slot (the exact distance—called the “jig setup dimension”—depends on the puzzle you’re creating). Use a puzzle piece and the spacers to locate and clamp the other stop. After you’ve installed each piece, secure it with the toggle clamp before you cut the dado.
The dadoes have to fit perfectly, so always make extra puzzle pieces, and start by making test cuts. Testing the dado widths and depths is pretty easy, because most of the pieces go together with lap joints. When the dados fit snugly, their widths are correct; when the joint surfaces are flush, the dado depths are correct. The pieces will go together more easily if you lightly sand their edges. That’s it; you’re ready to go.
The three piece burr
In appearance, this simple puzzle is my favorite, because it just can’t be real! It’s the only puzzle of the three that requires cutting dadoes in two sizes.
Make the pieces
- Cut 2-1/4″ long blocks from square 3/4″ stock, including extras for test cuts (Fig. B).

Fig. B)
- Set up the saw and the jig to cut 3/8″ by 3/8″ dadoes.
- Clamp the jig’s right stop block 1-1/8″ from the edge of the 3/8″ slot.
- Snug a test piece and both 3/8″ spacers against the right stop. Butt the left stop block against the spacers and clamp it.
- Make a test cut and check the dado’s width and depth.
- Install Piece #1 and cut the first dado (Photo 1).

Photo 1. Cut a 3/8″ by 3/8″ dado after clamping the stop blocks in position and installing Piece #1 with both spacers to the left.
- Rotate Piece #1, reposition the spacers and cut the second dado (Photo 2).

Photo 2. Cut a second dado in Piece #1 after rotating it 90˚ toward the dado set and re-installing it with one spacer on each end.
- Turn the jig end for end and set it up to cut 3/8″ by 3/4″ dadoes.
- Clamp the right stop block 1-1/8″ from the edge of the 3/4″ slot.
- Repeat Steps 4 and 5.
- Install Piece #2 and cut the first dado (Photo 3).

Photo 3. Use the opposite side of the jig to cut 3/4″ wide dadoes in Pieces #2 and #3. Cut the first dado, rotate each piece 90˚ toward the dado set, and then cut a second dado. Make all cuts with one spacer installed on each end.
- Install Piece #3 and repeat Step 11.
- Rotate Piece #3 and cut the second dado.
- Re-install Piece #2 and repeat step 13.
- Ease the corners of the bridge on Piece #3 to create an octagon.
Assemble the puzzle
- Connect Pieces #1 and #3 (Photo 4).

Photo 4.
- Install Piece #2 from the top (Photo 5).

Photo 5.
- Rotate Piece #3 90˚ clockwise (Photo 6).

Photo 6.
The six piece burr
By all accounts, this burr is the most well known, because the six pieces can be notched in so many different ways and still assemble to create the same form.
Make the pieces
- Cut 2-1/2″ long blocks from square 3/4″ stock, including extras for test cuts (Fig. C).

Fig. C)
- Set up the saw and the jig to cut 3/8″ by 3/4″ dadoes.
- Clamp the jig’s right stop block 1-1/4″ from the edge of the 3/4″ slot.
- Snug a 3/8″ spacer against the right stop, followed by a test piece and the remaining 3/8″ spacer. Butt and clamp the left stop block against the spacer.
- Cut dadoes in a couple test pieces and fit them together to check width and depth of the dadoes. Make any necessary adjustments.
- Install Piece #2 with a spacer at each end and cut a dado. This completes Piece #2. Piece #1 has no dadoes: it’s already done.
- Cut the same dado in Pieces #3 through #6.
- Rotate Piece #3 90˚ toward the dado set and install it with both spacers to the left. Cut a second dado. This completes Piece #3.
- Cut the same second dado on Pieces #4 through #6. Complete these pieces by moving the spacers to the right and cutting a third dado.
Assemble the puzzle
- Connect Pieces #3 and #4 (Photo 7).

Photo 7.
- Drop in Piece #5 from the top. Next, slide Piece #6 in from the front (Photo 8).

Photo 8.
- Slide Piece #2 in from the side (Photo 9).

Photo 9.
- Fill the remaining cavity with Piece #1 (Photo 10).
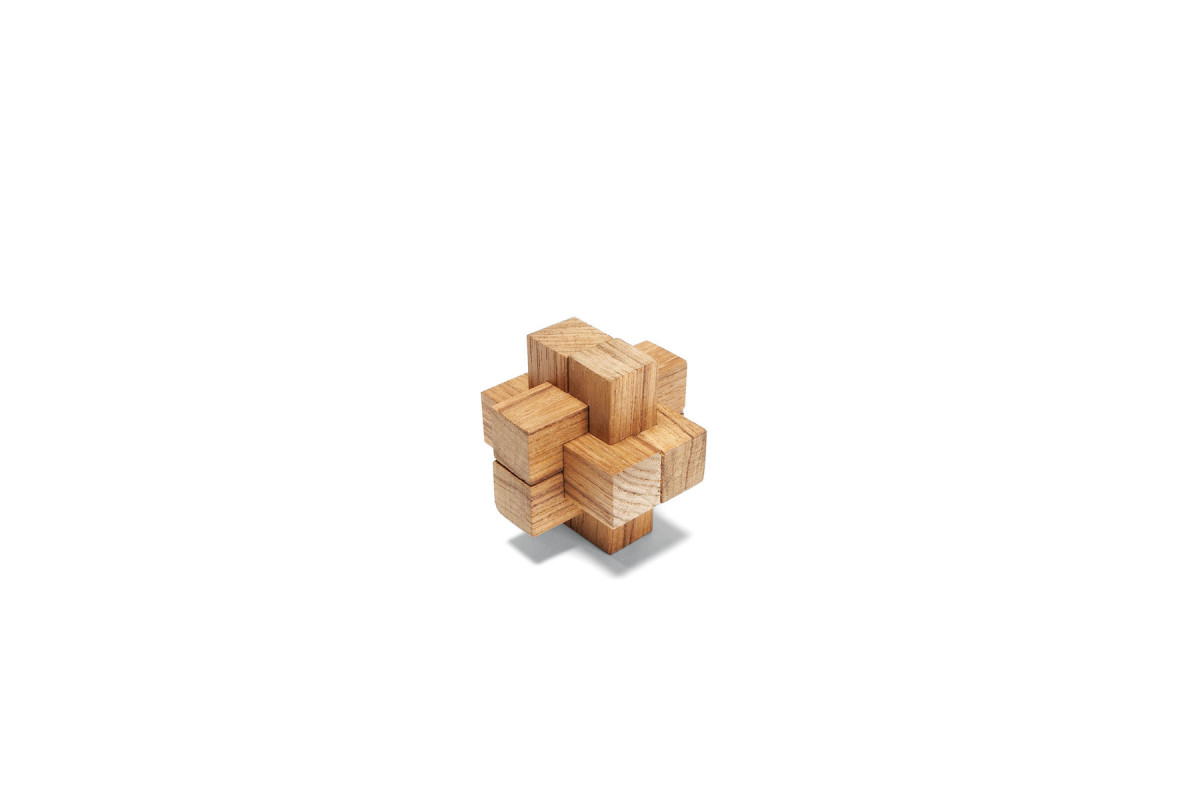
Photo 10.
- There are at least 4 other ways to assemble these pieces to complete the puzzle.
The twelve piece burr
A good nickname for this puzzle is “The Intimidator,” because all twelve pieces are identical, and taking the puzzle apart is as confounding as putting it together.
Make the pieces
- Cut 4-1/2″ long blocks from square 3/4″ stock, including extras for test cuts (Fig D)

Fig. D)
- Make a pair of 3/4″ x 3/4″ x 7/8″ spacers.
- Set up the saw and the jig to cut 3/8″ by 3/4″ dadoes.
- Clamp the jig’s right stop block 1-7/8″ from the edge of the 3/4″ slot.
- Snug a 3/4″ spacer against the right stop, followed by a test piece and the other 3/4″ spacer. Butt and clamp the left stop block against the spacer.
- Cut dadoes in a couple test pieces and fit them together to check width and depth of the dadoes. Make any necessary adjustments.
- Cut this dado in all twelve pieces.
- Flip the piece end for end and reinstall it between the two spacers. Cut a second dado in all twelve pieces. Both dadoes should be in the same face.
- Rotate the piece 90˚ toward the dado set and reinstall it with both 3/4″ spacers on the left. Cut this dado in all twelve pieces. This last cut creates a tab, which can be used to help assemble the puzzle.
Assemble the puzzle
- Assemble four pieces to form a tic-tac-toe grid. “Slip match” the vertical pieces, with their tabs on the left and facing to the front. Then slide in the horizontal pieces as if they were book matched, with their tabs facing inside and to the back (Photo 11). A rectangular space should appear in the center.

Photo 11.
- Slip match the next two pieces and install them with their tabs up and to the left (Photo 12). Slide one piece in from the left side and lock it around the vertical piece. Slide the second piece through the rectangular space from the front, and then move it to the right, and lock it around the other vertical piece.

Photo 12.
- Book match the next two pieces, with their tabs facing in and down. Slide them down from the top and lock them in place (Photo 13). You now have two intersecting tic-tac-toe grids.

Photo 13.
- Slide the vertical tic-tac-toe grid back (Photo 14).

Photo 14.
- Install the last four pieces (Photo 15). Slide in two vertical pieces, one from the front and one from the back and lock them in place. Bookmatch these pieces, with their tabs facing outside and to the right. Then install the two horizontal pieces, one from the top and one from the bottom. Bookmatch these pieces, too, with the tabs facing out and to the left. Lock these pieces in place. You may have to hold onto the bottom piece until you complete the next step.

Photo 15.
- Complete the puzzle by sliding the horizontal and vertical assemblies together (Photo 16).

Photo 16.


