We may receive a commission when you use our affiliate links. However, this does not impact our recommendations.
Stowaway Bench
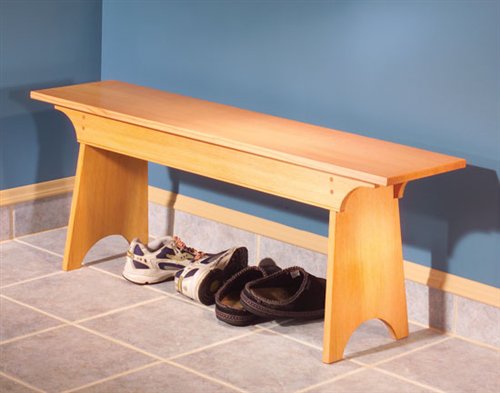
This bench will fit in any entryway, and store your umbrella and gloves too!
By Jon Stumbras
| This country-style bench will cut the clutter by the door and serve as a resting spot to put on your shoes. The lid opens up to reveal a handy storage area. At only 11-in. wide by 44-in. long, it neatly fits in an entryway or mudroom. And it’s simple enough to be a good weekend project. | You may also like… |
| Cut the lid and legs using a crosscut sled because it’s difficult to safely and accurately cut such wide boards with a standard miter gauge. | Click on any image to view a larger version |
| Cut the dadoes in the legs for the bottom of the storage compartment. |
| A vertical cut is the first step in cutting the notches in the legs. Set the miter gauge at 90 degrees and the blade to its maximum height. Your saw may not be able to cut the full 3-1/2 in. that’s required for this cut, but that’s a good thing because the uncut part will keep the scrap from falling out in the next step. Use a tall fence on the miter gauge to support the leg and a stop block on one end to ensure identical cuts on both legs. |
| Crosscut the side of the left notch with the miter gauge set at 95 degrees away from the left side of the blade. Clamp the leg to the tall fence with the dado facing toward the blade and with the bottom end of the leg positioned as shown. Make this cut for the left-side notch on both legs. Do not cut the right-side notch with this setup! |
| Crosscut the right notch with the miter gauge set at 95 degrees away from the right side of the blade. Again, clamp the leg to the tall fence with the dado facing toward the blade and with the bottom end of the leg pointing as shown. |
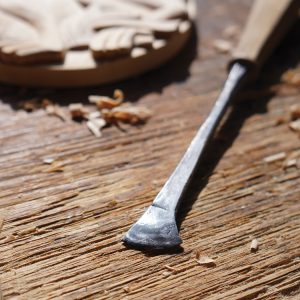
| Clean up the remaining wood inside the corner of the notch that is left after you break off the waste piece by hand. A sharp chisel makes quick work of this task. |
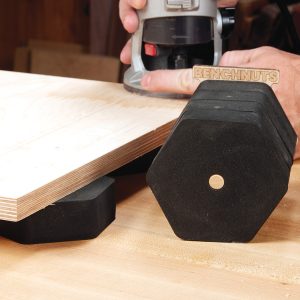
| Rout a bead along the bottom of the rails. Clamp the rail to a thick board. This provides a wide surface on which to balance the router. |
| Cut the curves on the ends of the rails and sand them smooth. |
| Cut mortises in the back rail for the hinges. Use a dado blade and make multiple passes. Clamping the rail to the fence ensures accuracy and prevents the rail from slipping. |
| Custom fit the bottom. Insert the bottom in the leg dado so it’s flush on one side and overhangs on the other. Mark the overhang and saw it off. The bottom needs to be exactly as wide as the dado is long. |
| Glue the bottom and rails to the legs. A shop-made jig simplifies the glue-up process. Wood scraps cut at a 5-degree angle support the legs. It’s like having two shop assistants to help you. |
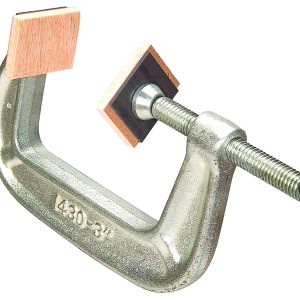
| Add clamps to hold the parts together. One clamp across the top will hold the bottom in the leg dadoes. Clamps along the lower edge of the rails and at the ends will hold the rails in place. Use little blocks of wood as clamping pads to prevent the clamps from marring the bench. |
| Glue and tap the pegs into predrilled holes in the rails and legs. Taper the ends of the peg with a chisel or rasp to make driving the pegs in easier. Cut off the waste with a handsaw and sand the pegs flush with the rail. |
| Attach the hinges to the back rail first and then to the underside of the lid. The hinges should be located so the lid sits centered on top of the bench. |
| This story originally appeared in American Woodworker March 2004, issue #106. |
|


