We may receive a commission when you use our affiliate links. However, this does not impact our recommendations.
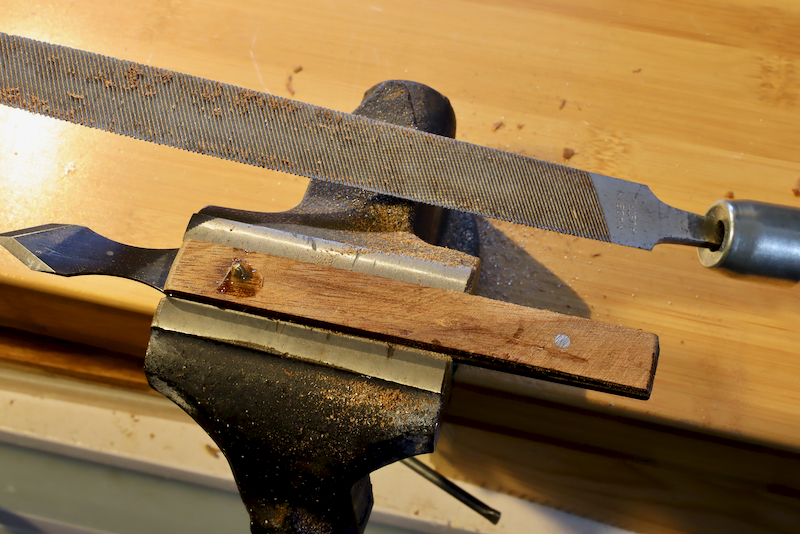
Last week I showed how to make wooden scales for a marking knife’s blade, then glue them in place, and this week we will see the culmination of this project.
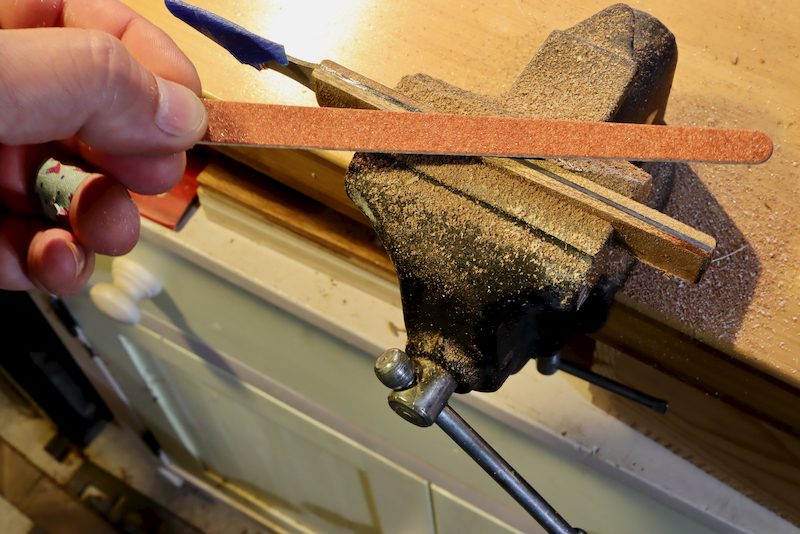
After removing the clamps I held the knife between a vise’s jaws and filed down the brass pins until they were flush with the scales.
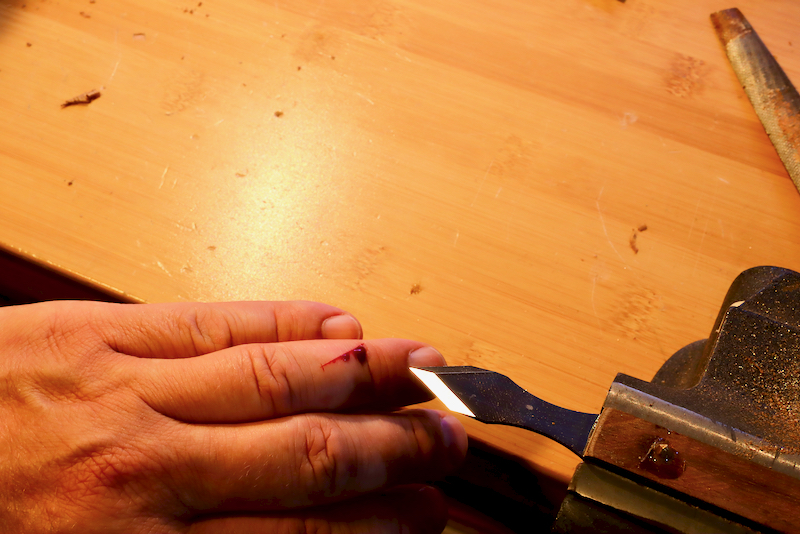
Important Safety Note!
Don’t forget to mask up the exposed blade, or you might get cut – which is exactly what has happened to me!
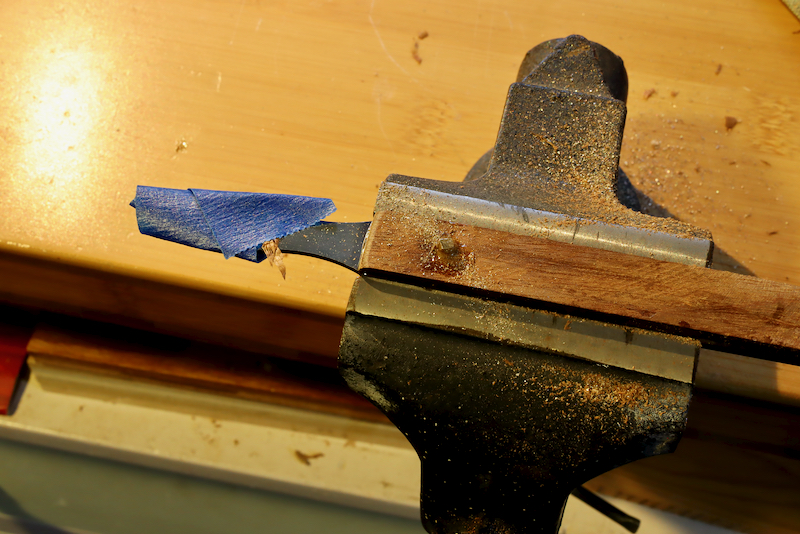
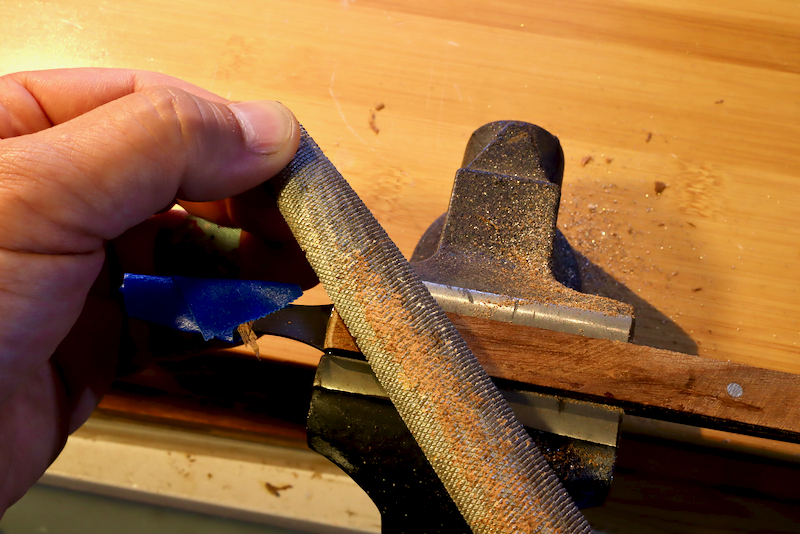
Pinch the file’s tip between your thumb and both index and middle finger to acquire full control of the filing process.
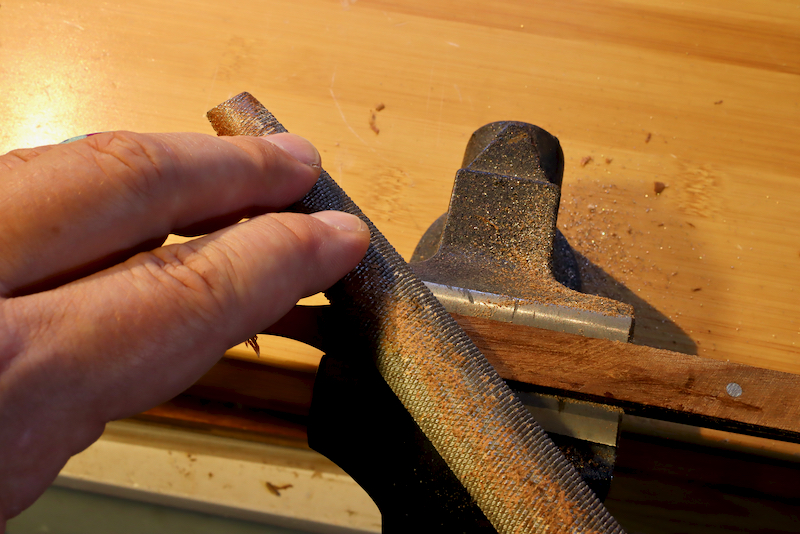
Pressure down with two fingers on the tip is another common way to support filing.
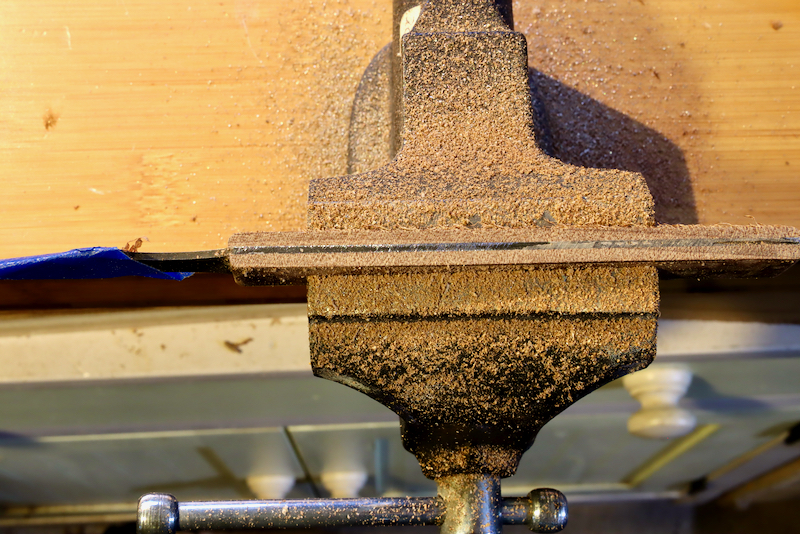
After masking the blade, I finished filing the pins on both faces of the handle and turned to the edges. The edges display the wood-steel sandwich and are a bit tricky to work with.
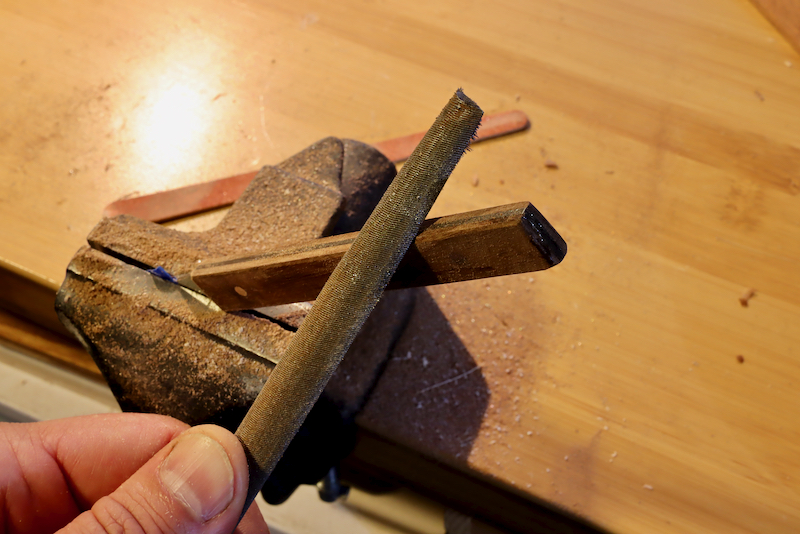
You can use a file and carefully file the access wood and epoxy but be mindful as you get closer to the steel. Your marking knife’s blade could have been hardened in its entirety and that means that a typical mill file will not cut it and can even be damaged. Your options here are two: switch to sandpaper block or use an extra hardened file like the GROBET INOX Hand File.
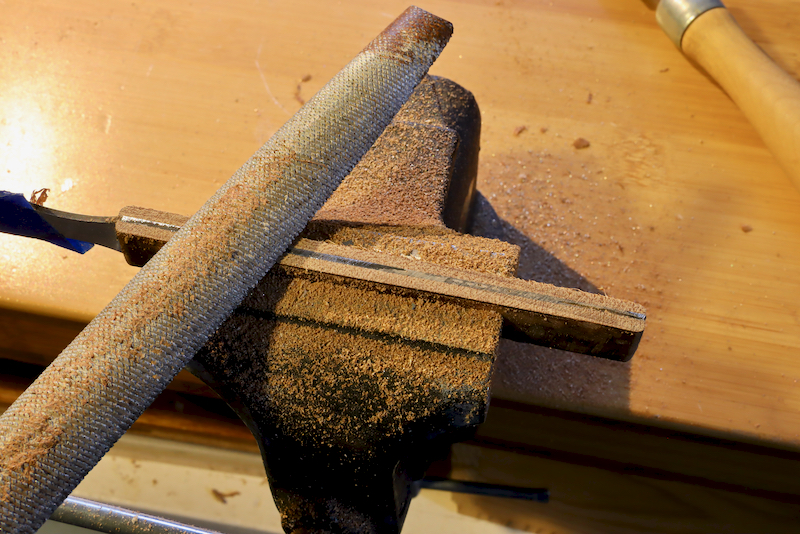
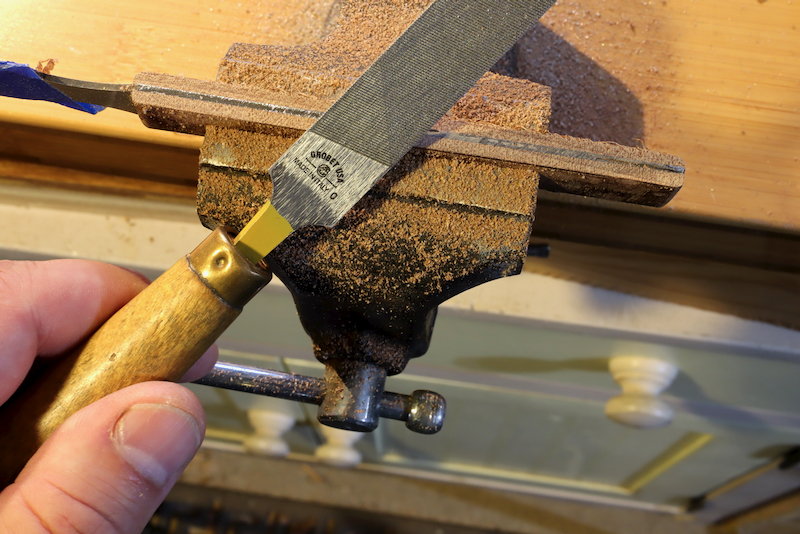
Grobet Inox files are hardened to Rockwell 72 and will be able to handle most blades. However, if you feel that the file slips and can’t cut (it might make a squicky noise too) immediately switch to sandpaper.
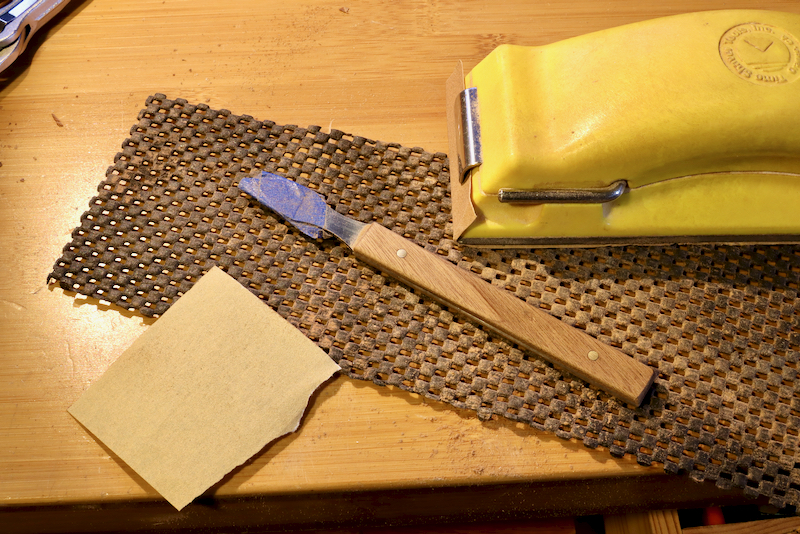
Once the wood and all the metal parts were evened out, use a file or sandpaper, to round over sharp corners, then chamfer the long edges of the wooden scales. Continue sanding with progressive sandpapers and finish with 220 grit.
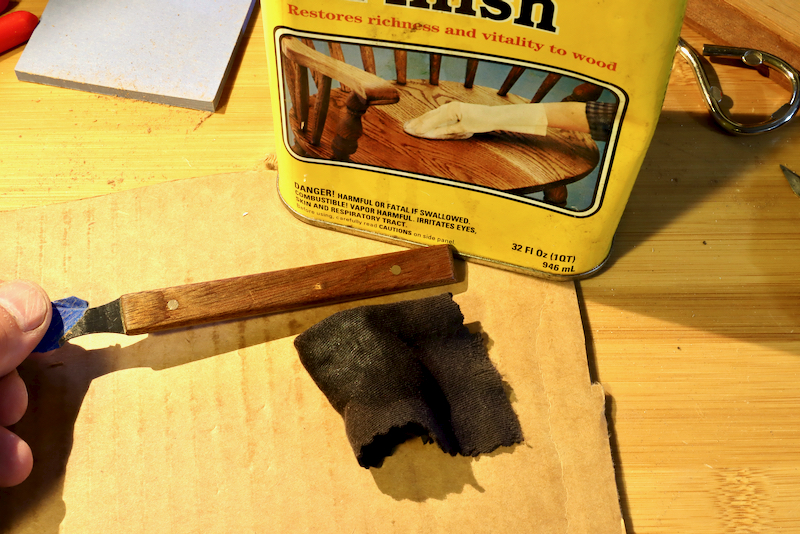
I finished by applying a wipe-on oil-varnish finish, but any finish that complements the wood will work here.
 Creating a handle for a knife is a fun project that will teach you some basic metal skills. Working with brass, steel, and wood you might spark up some future ideas of original hardware or details to augment your projects. Brass (but also aluminum) combined with dark woods like mahogany or walnut can make a stylish accent on any piece of fine furniture, tool, and more.

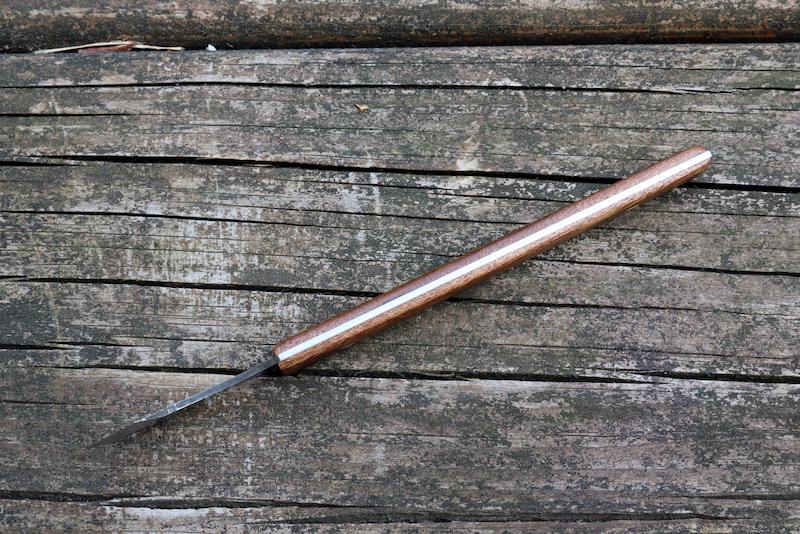
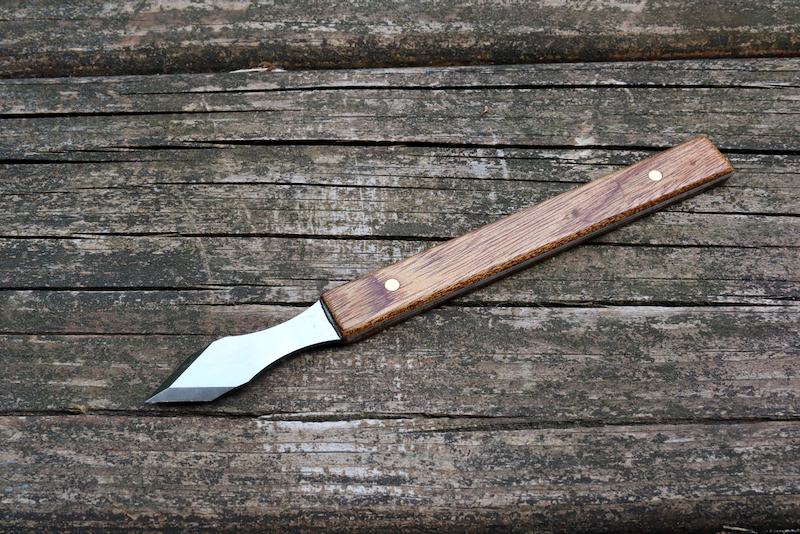
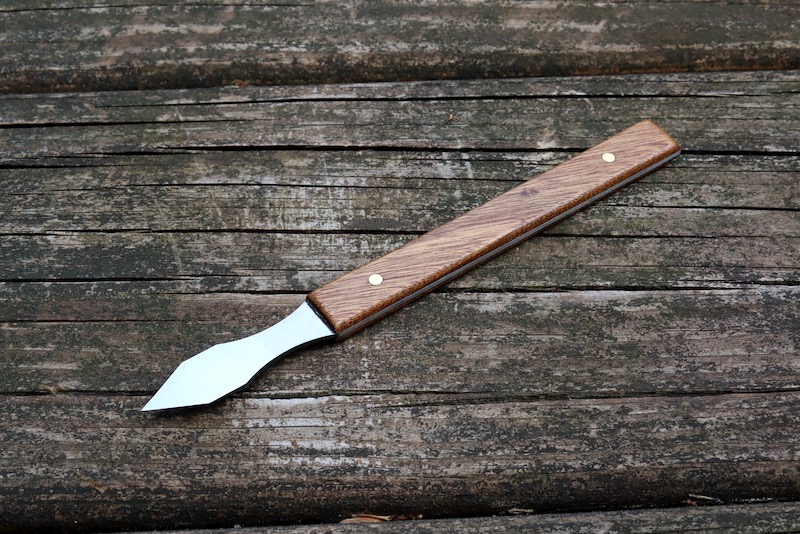
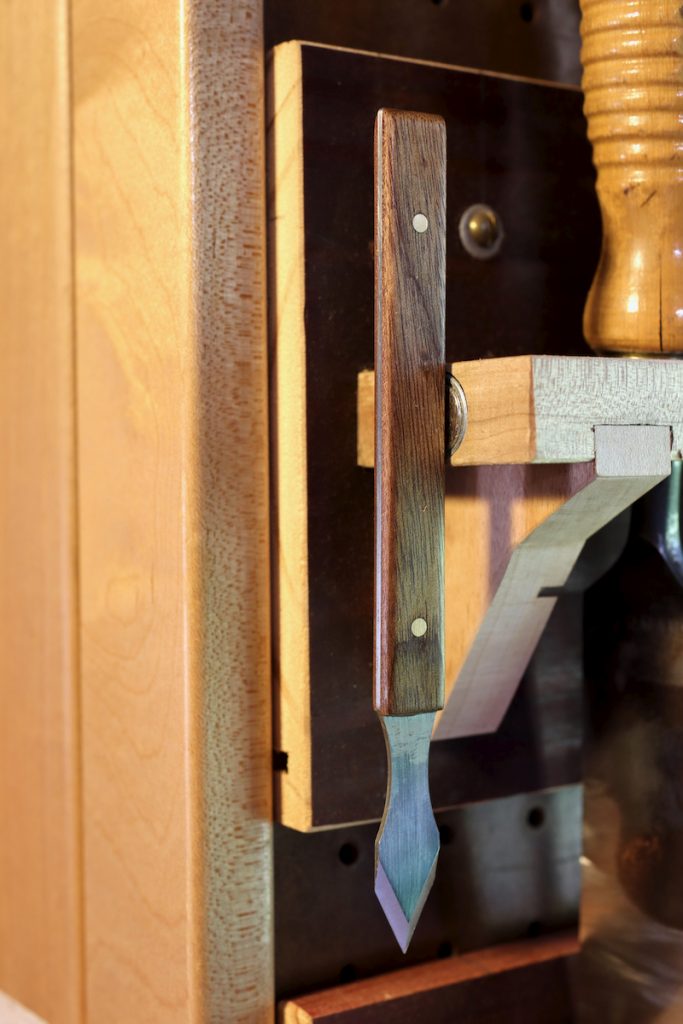
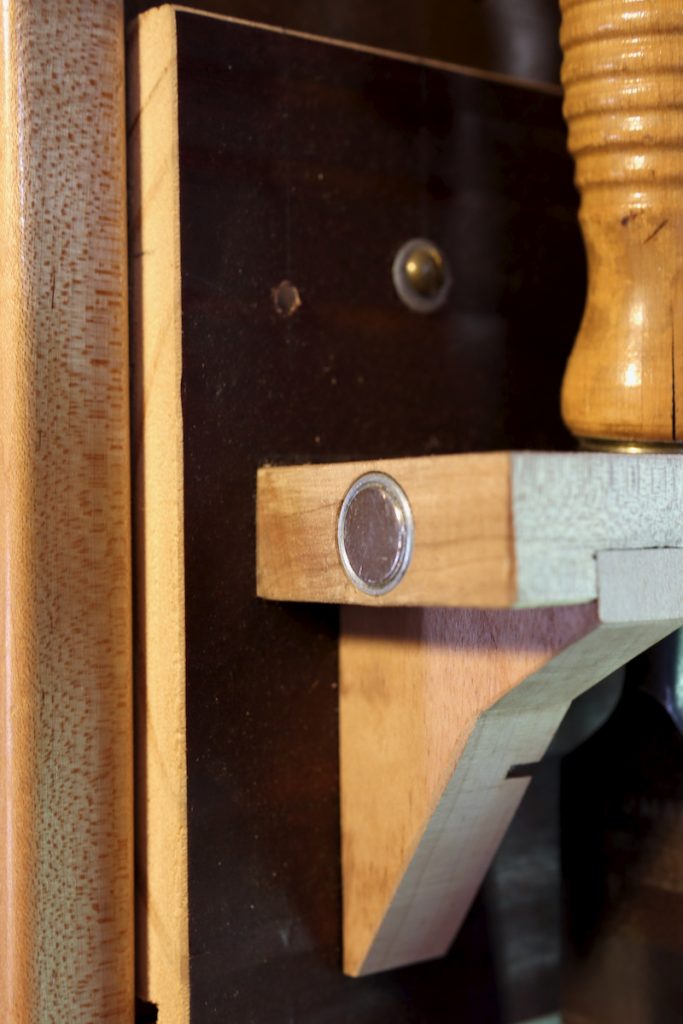
I hanged my knife using a sunken magnet cap next to my chisels. The steel mid-sandwich edge of the knife is perfect for magnetic attraction.
Six years ago I wrote, and illustrated, a blog entry about marking knives and how to use them. You can read it here.
Here are some supplies and tools we find essential in our everyday work around the shop. We may receive a commission from sales referred by our links; however, we have carefully selected these products for their usefulness and quality.


