We may receive a commission when you use our affiliate links. However, this does not impact our recommendations.
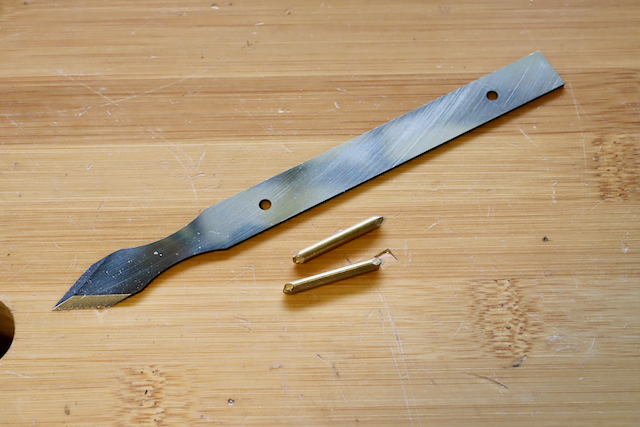
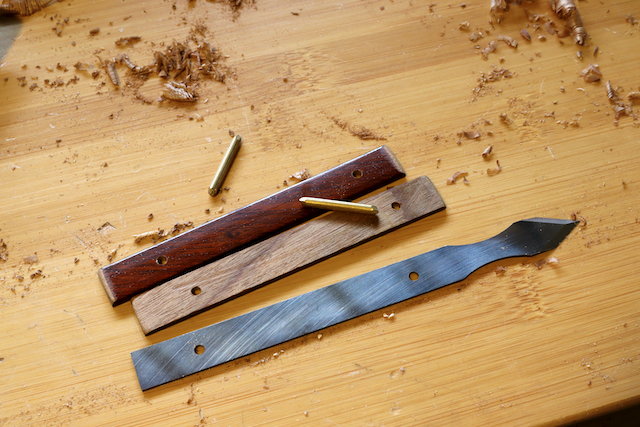
There are plenty of high-quality marking knives on the market. Some have plastic handles, others come with wooden handle scales, and a third kind is just a simple thin piece of steel that was ground to an arrowhead geometry. Recently I found yet another option – a kit made of a blade and two brass pins that allow you to make your own handle by choosing and forming scales of your liking and then gluing them onto the blade.
Building your custom-made marking knife is a fun project which I am sure will interest many, including those who already have a marking knife.
The blade
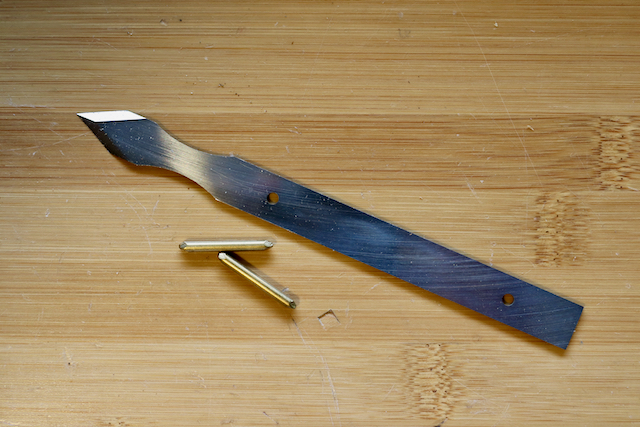
I got my blade from Taylor ToolWorks who imports high-quality blades from Mikov, a legendary knife company from the Czech Republic. Taylor carries a few models that vary in blade thickness and tip geometry. The knife that I decided to “scale up” has an arrowhead tip geometry that is preceded by two coves to allow for comfortable finger nesting.
The scales
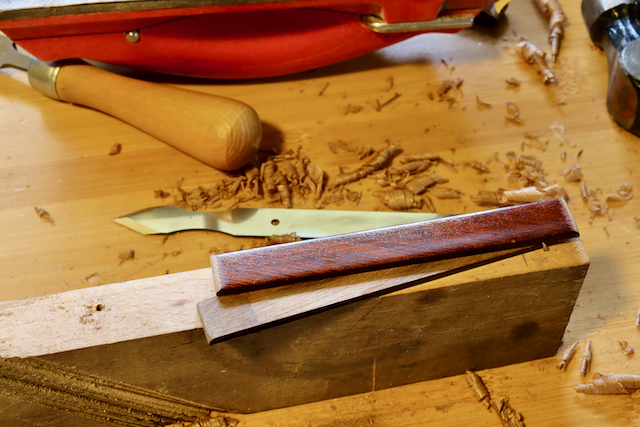
Like many woodworkers, I too have an enormous stash of scrap pieces – including many stips of beautiful woods that I kept for future projects. One of them, a strip of mahogany, was a tad wider than the blade – which made it the perfect stock for making the new scales.
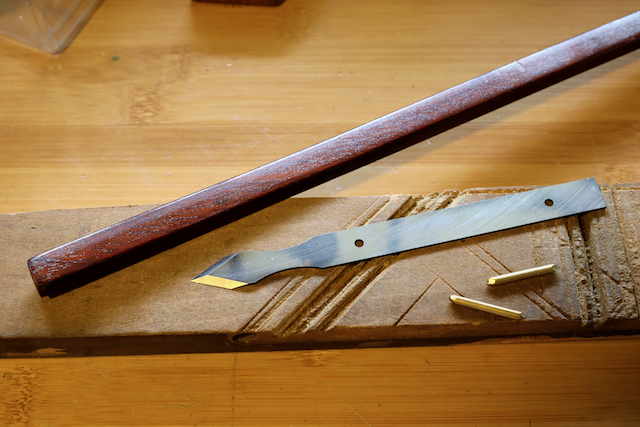
After cutting the strip to length I riped it in the middle and used the two halves as scales.
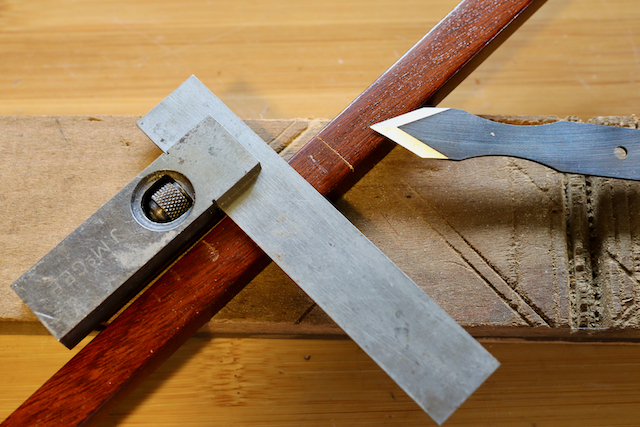
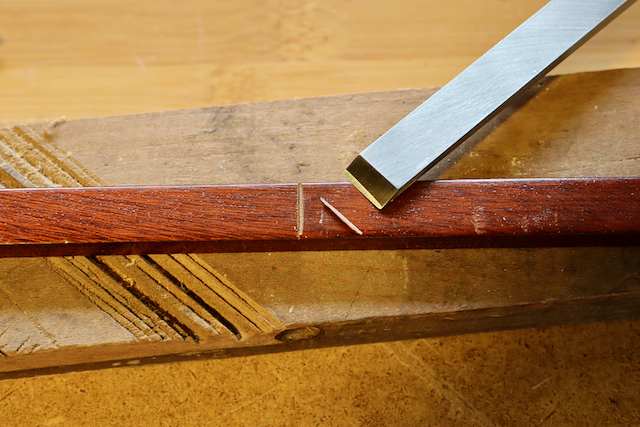
Use the “Knife wall” technique to cut the scales to length. With a square and a marking knife score across the workpiece. Then hold a chisel at an angle to the wood, and shave off a narrow sliver of fibers to the right (or left) of the scored line. Place a saw in this trench and saw through.
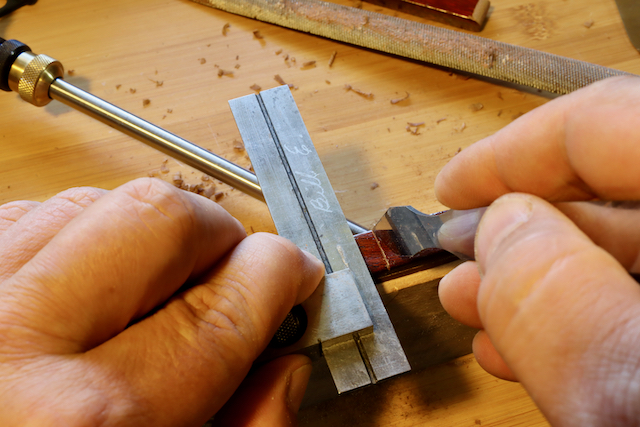
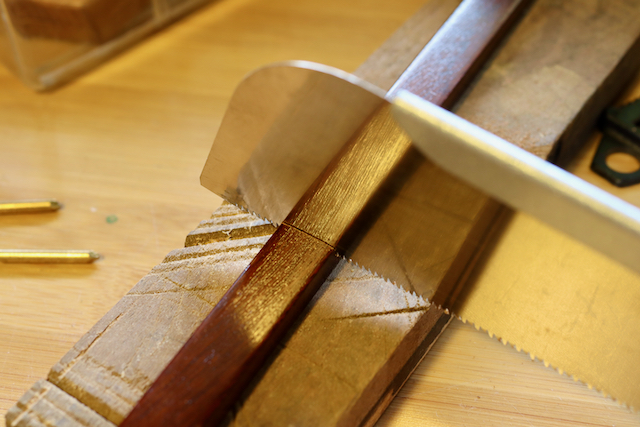
I used a marking gauge and scored a line to guide me while ripping the stock in half.
Planing the scales
To successfully plane these thin scales and eliminate the saw marks I made a miniature planing stop from a wide nail.
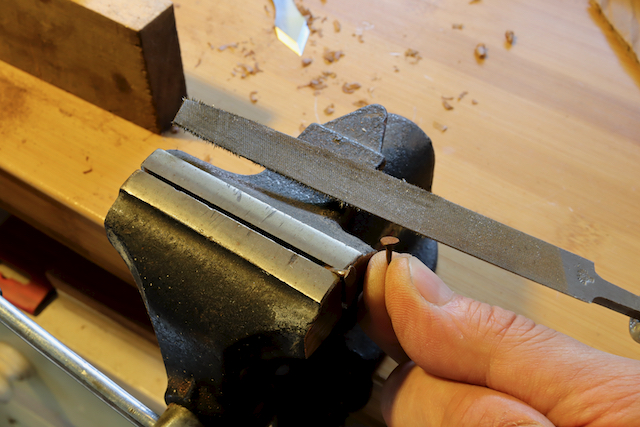
Clamp the nail in a vise and file a slanted flat facet on its circumference; Alternatively, you can partially hammer it into the makeshift planning board and then file the head.

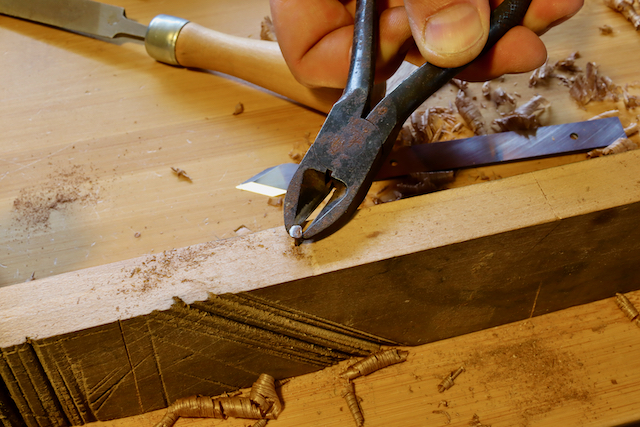
You can leave the nail put for future use or extract it.
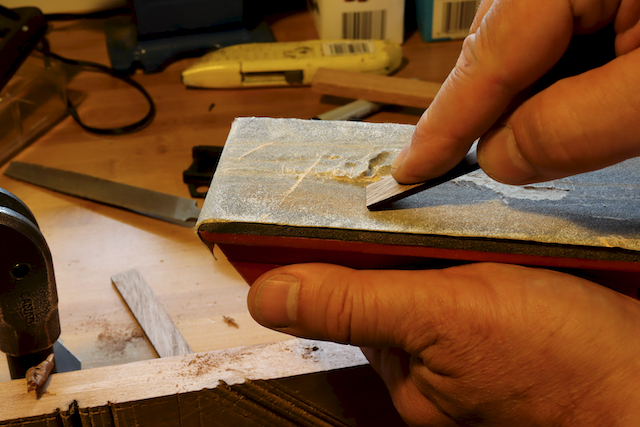
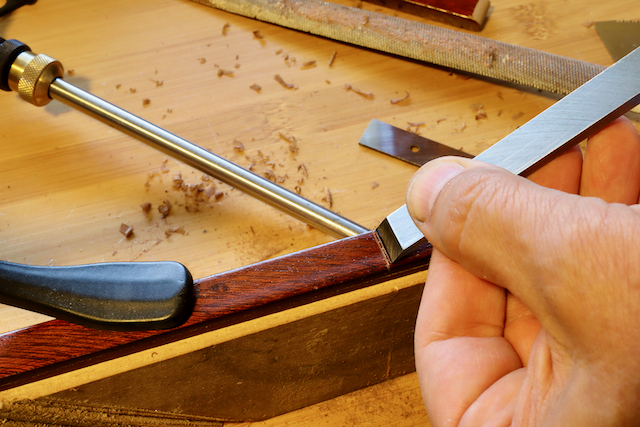
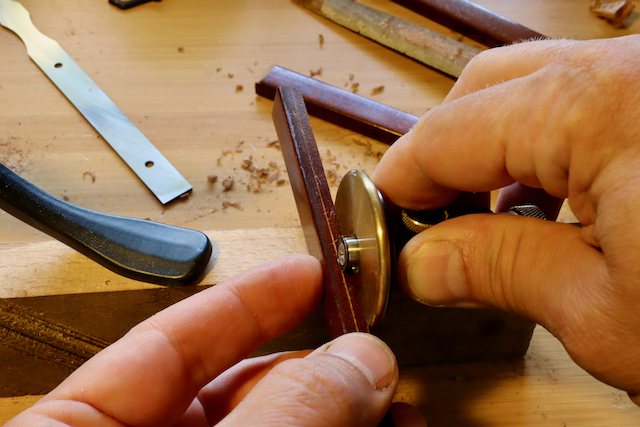
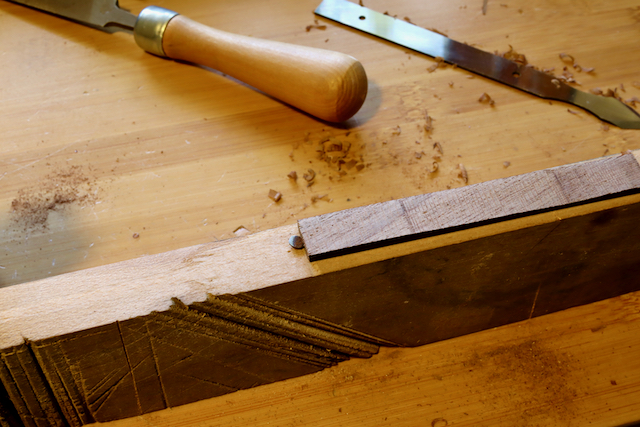
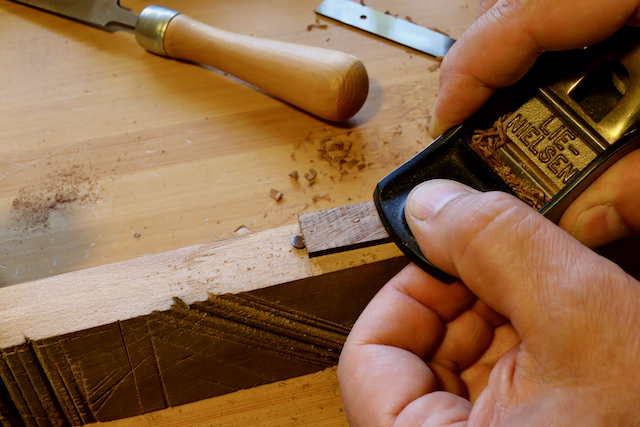
After planing the scales flat, form a chamfer on their’s two ends. A sanding block is very handy for this job.

Instead of sandpaper, you can use a plane for chamfering the corners.
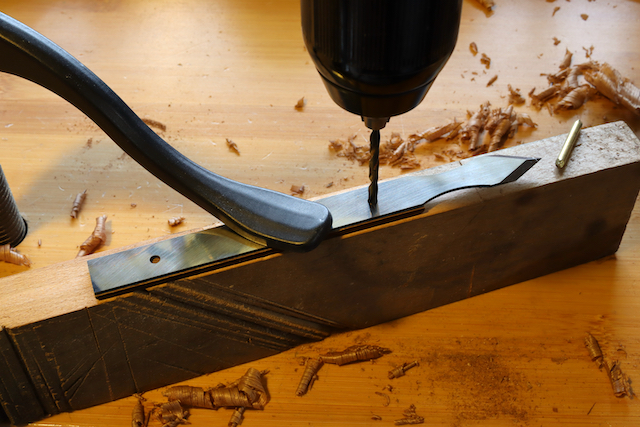
Drilling the Scales
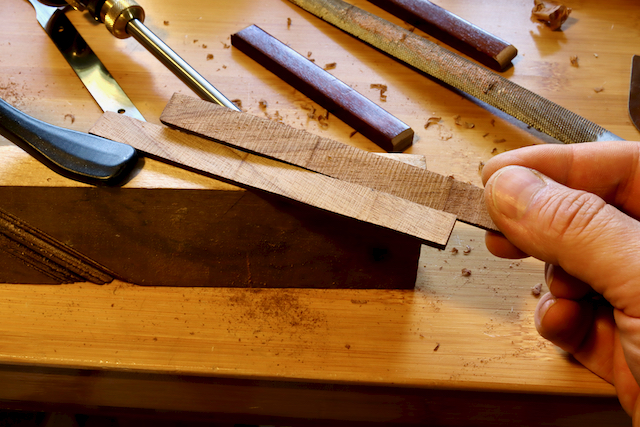
Clamp the first scale to the blade and use the predrilled holes as a drilling template. Drill the two holes with a ⅛” drill bit.
Remove the first scale and affix the second one to the blade with a clamp, then drill the remaining two holes.
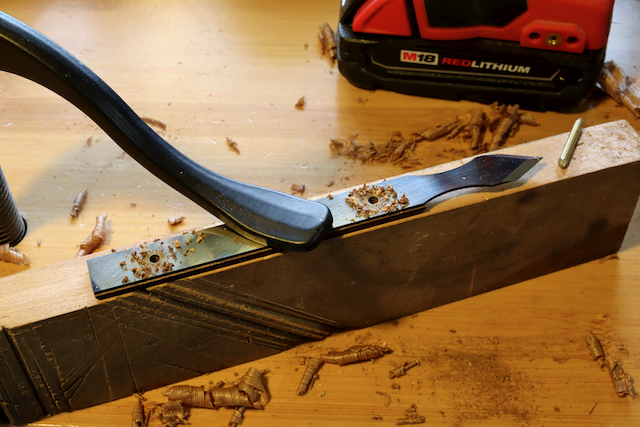
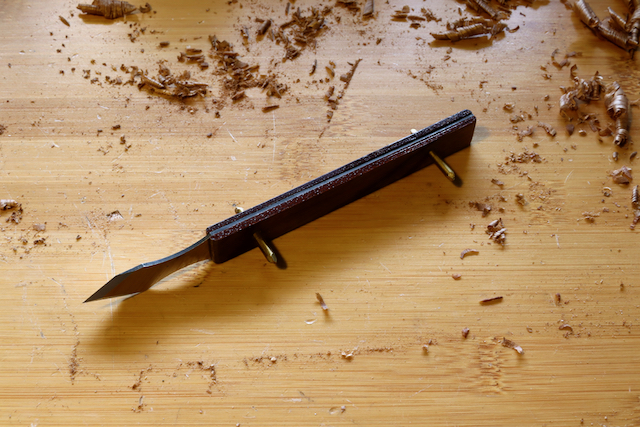
It is always advisable to rehearse before the performance, so conduct a dry fit to check that the parts are all aligned.
Gluing the scales
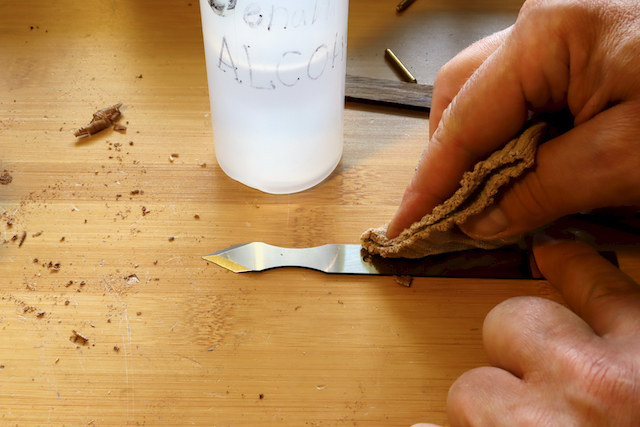
Clean the steel blade with alcohol or acetone to remove any oil residues.
Mix some epoxy and spread it on the scales (or blade) – whichever is more comfortable for you to handle.
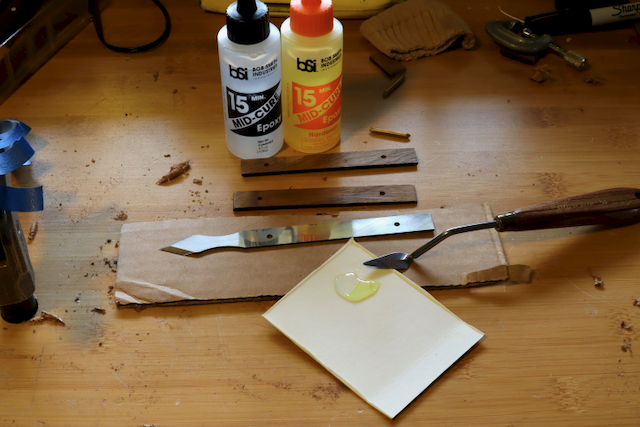
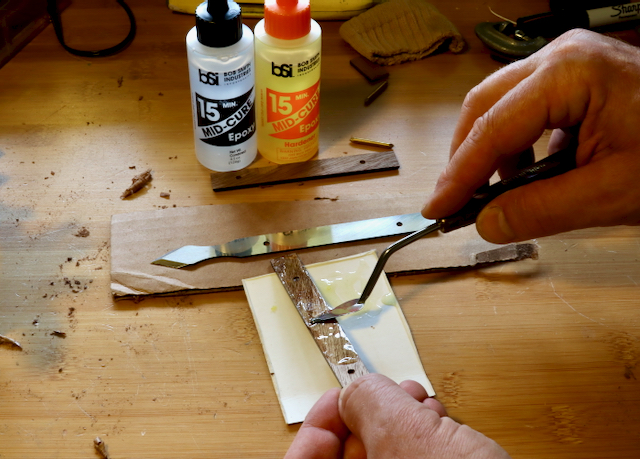
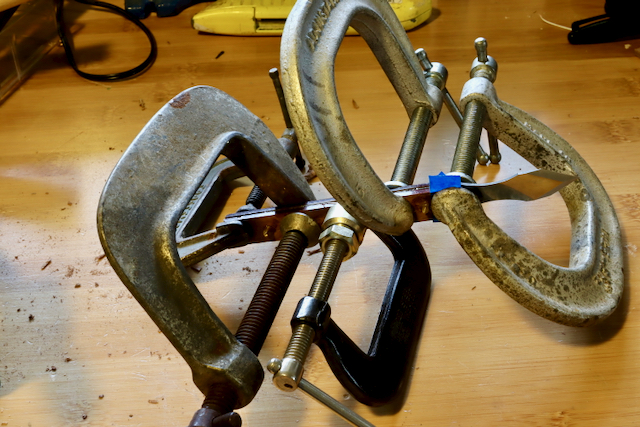
Sandwich the scales and the blade over a piece of corrugated cardboard. Spread some adhesive over the pins and carefully drive them into the holes (make sure to push them through and into the cardboard). Lift the knife and clamp along the scales.
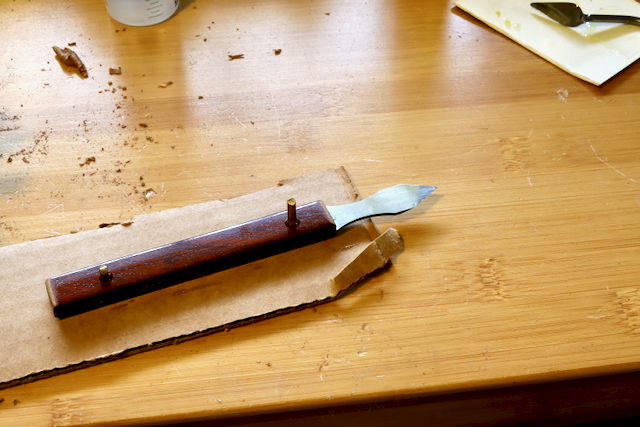
The pins that Taylor Toolwarks provide are plenty long and can be cut in half to fit into a thin handle such as the one I made.
Next time I will show how I finished this project.![]()
Here are some supplies and tools we find essential in our everyday work around the shop. We may receive a commission from sales referred by our links; however, we have carefully selected these products for their usefulness and quality.