


We may receive a commission when you use our affiliate links. However, this does not impact our recommendations.
 In part 1 of this project, I described how my students begin their boat-building journey by sketching and transferring a symmetrical deck design onto a blank—typically a 2×4 or 2×2—and then using gouges, chisels, and rasps to shape the top view of the deck. Once the deck perimeter is carved and clearly defined, we move on to shaping the hull: the side elevation of the boat.
Part 1 • Part 3 • Part 4 • Part 5
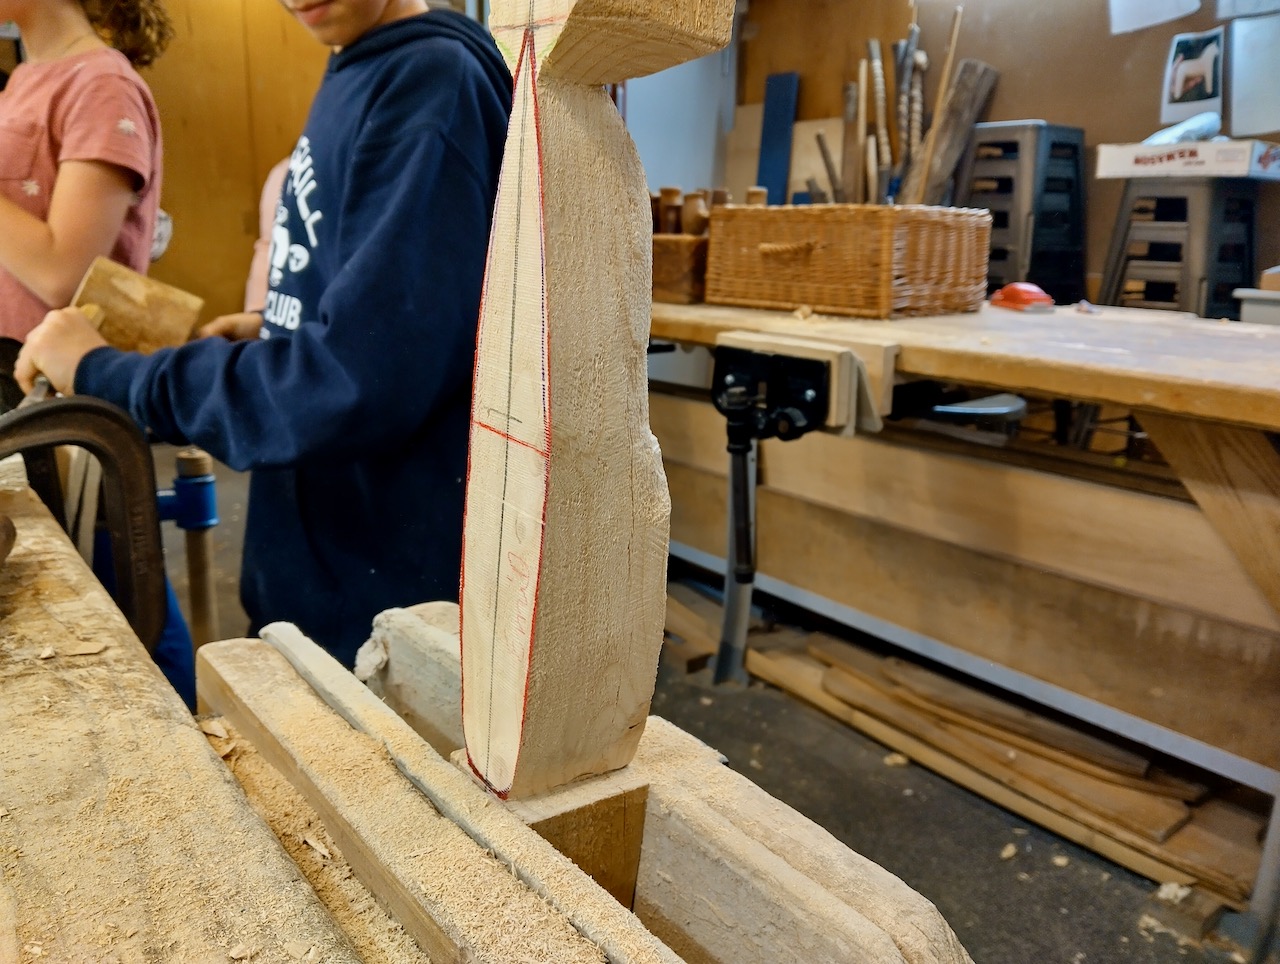
To begin this next stage, I help each student draw the profile of the hull—what we call the elevation—along the shaped side of the blank. This includes outlining the curve of the keel and the slopes leading toward the bow and stern.
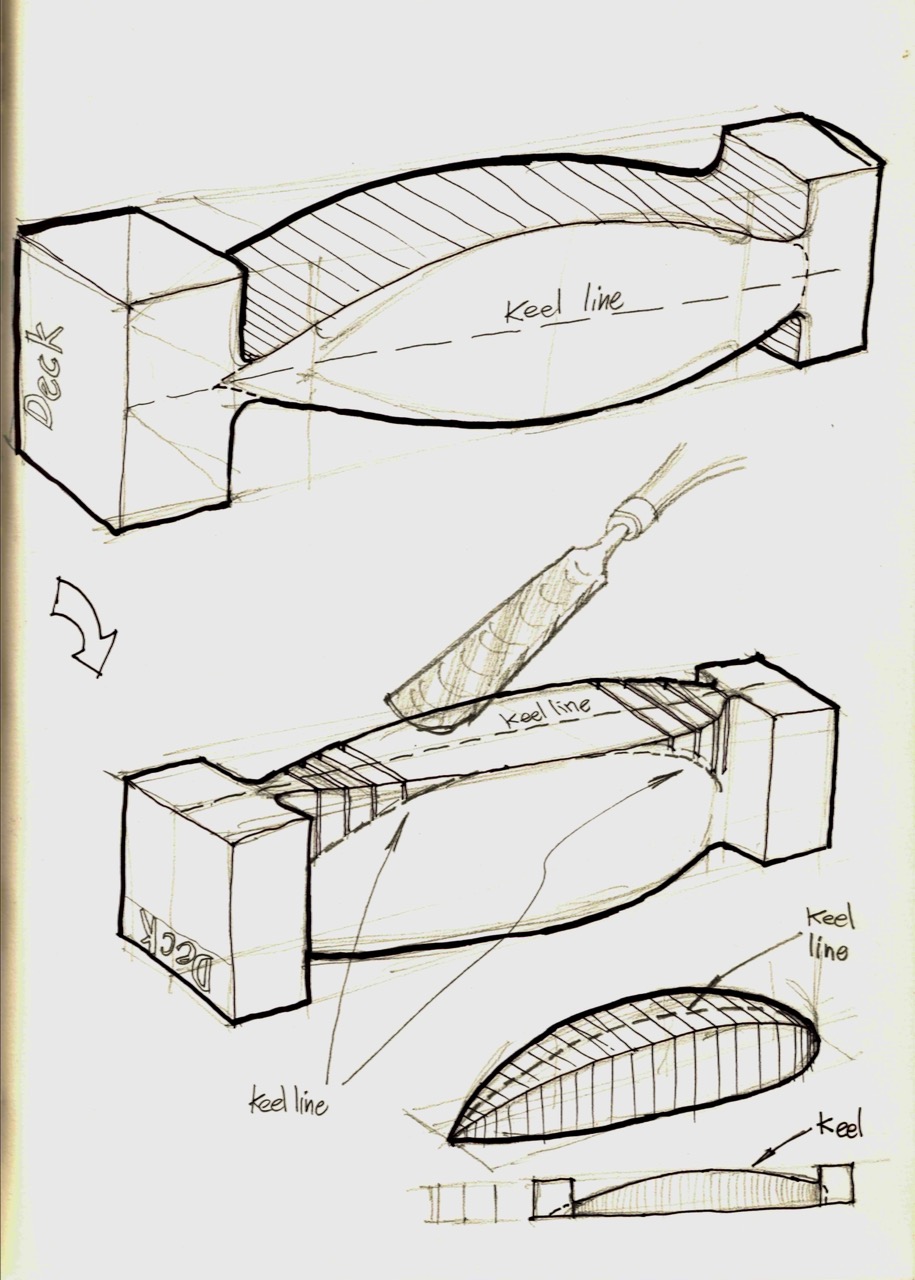
We then secure the boat blank upside down in a vise, deck facing down, keel side up. This position makes it easier to remove wood while shaping the keel. Using a handsaw, the student cuts a series of vertical kerfs down from the flat underside (now the top edge of the vise-held blank) to the pencil line that marks the keel curve. These relief cuts help guide and control the material removal process.
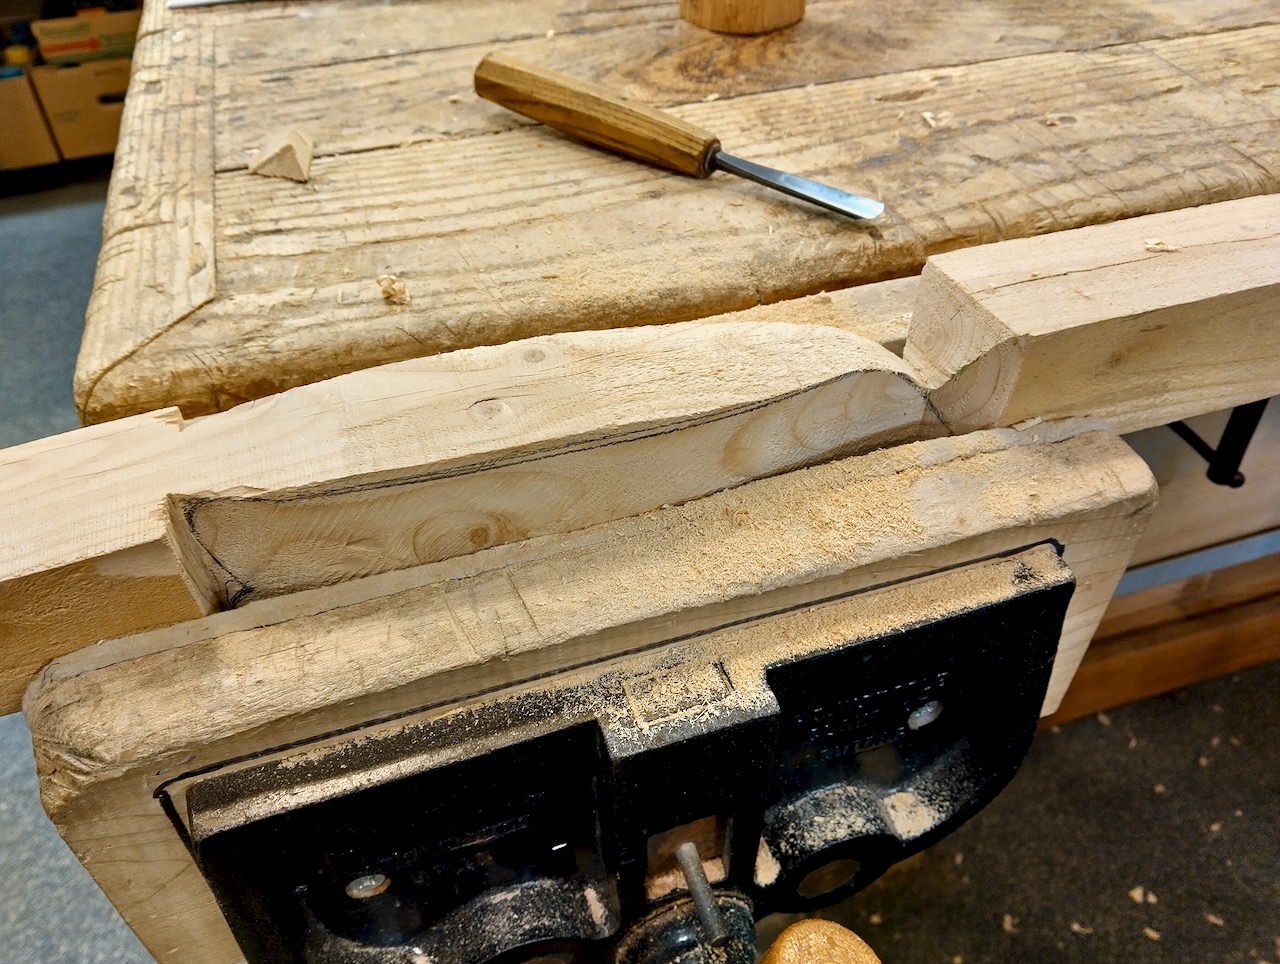
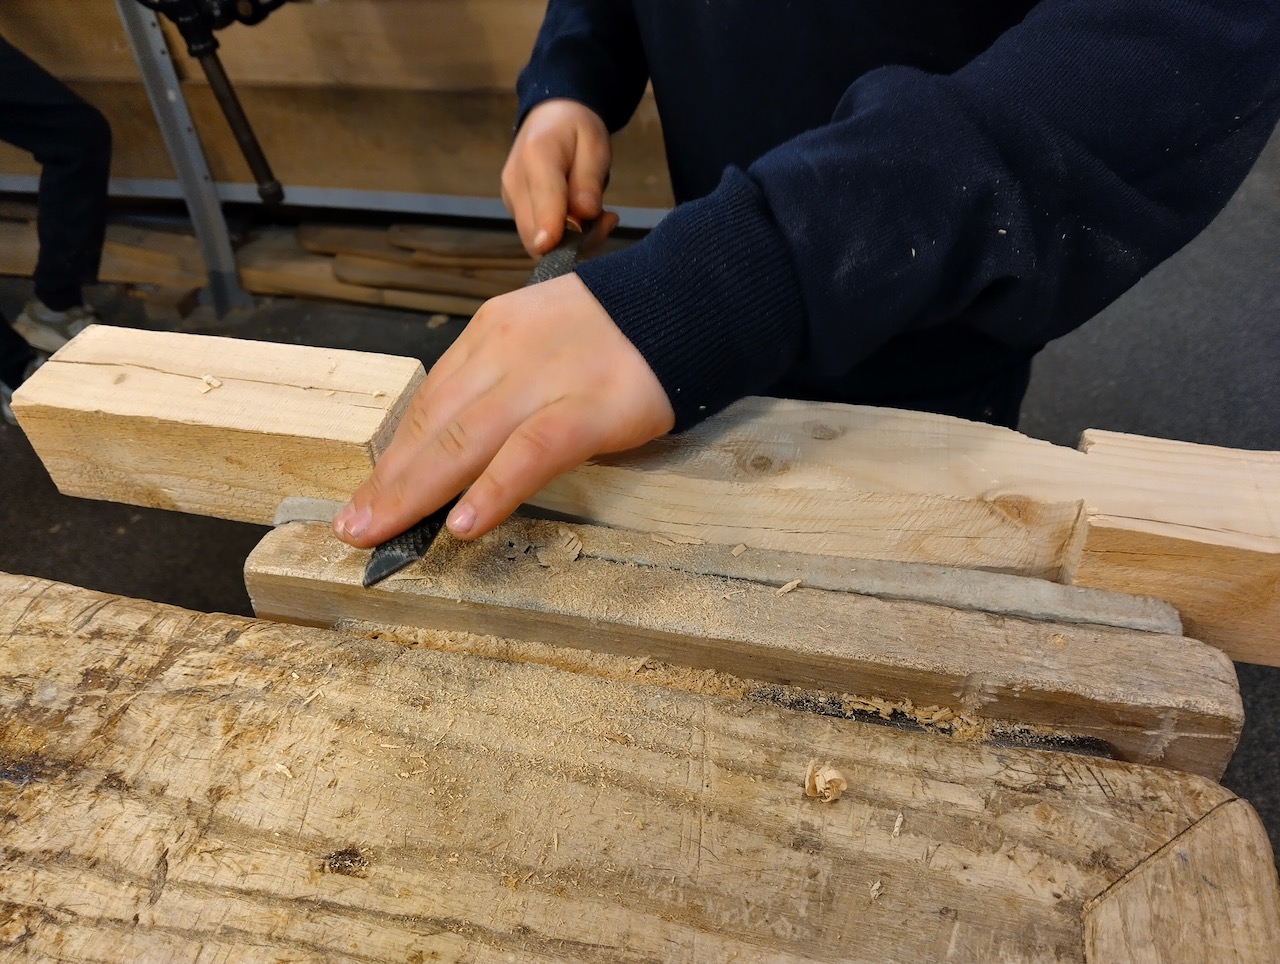
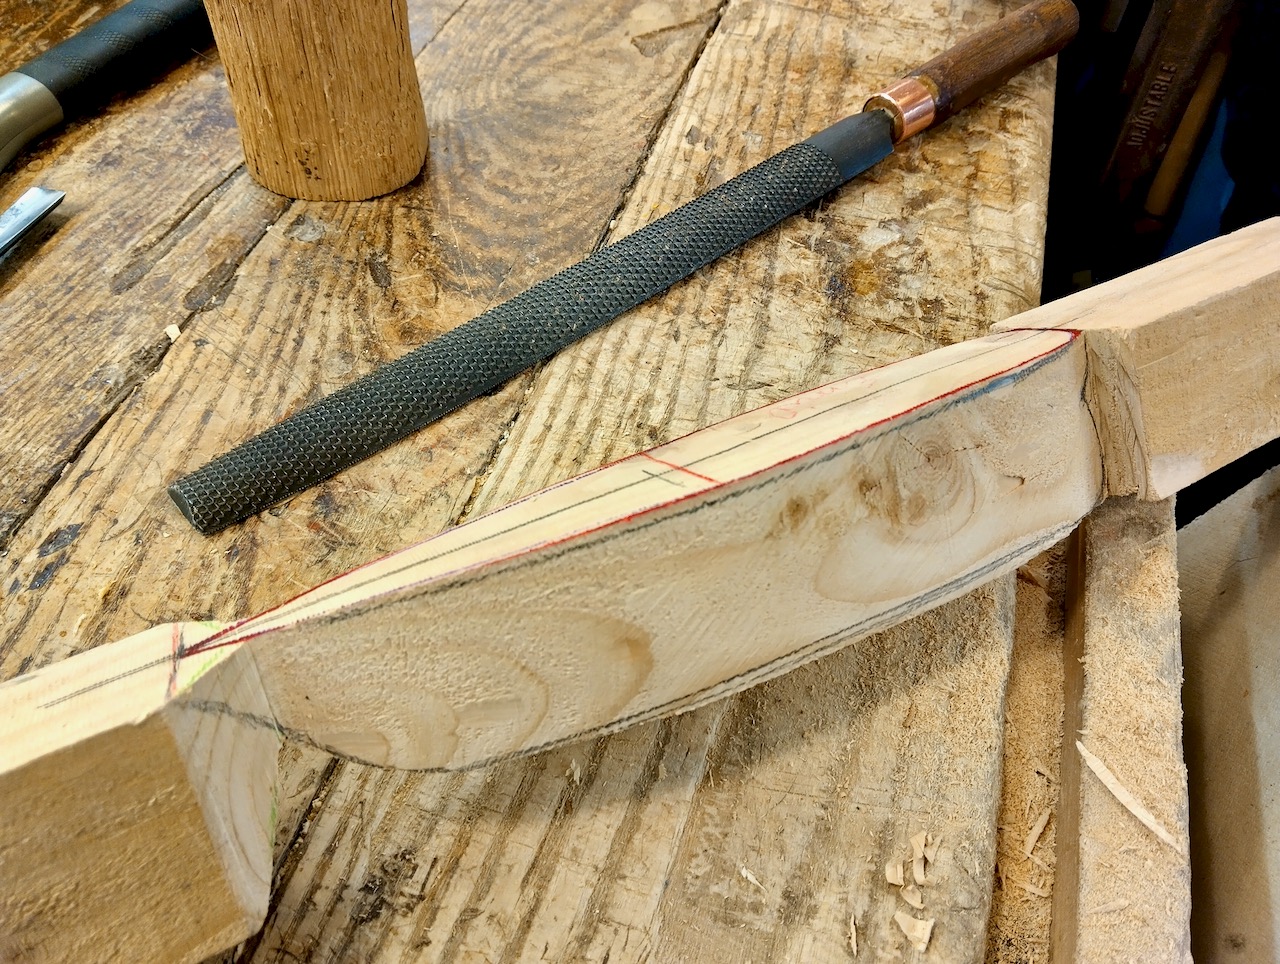
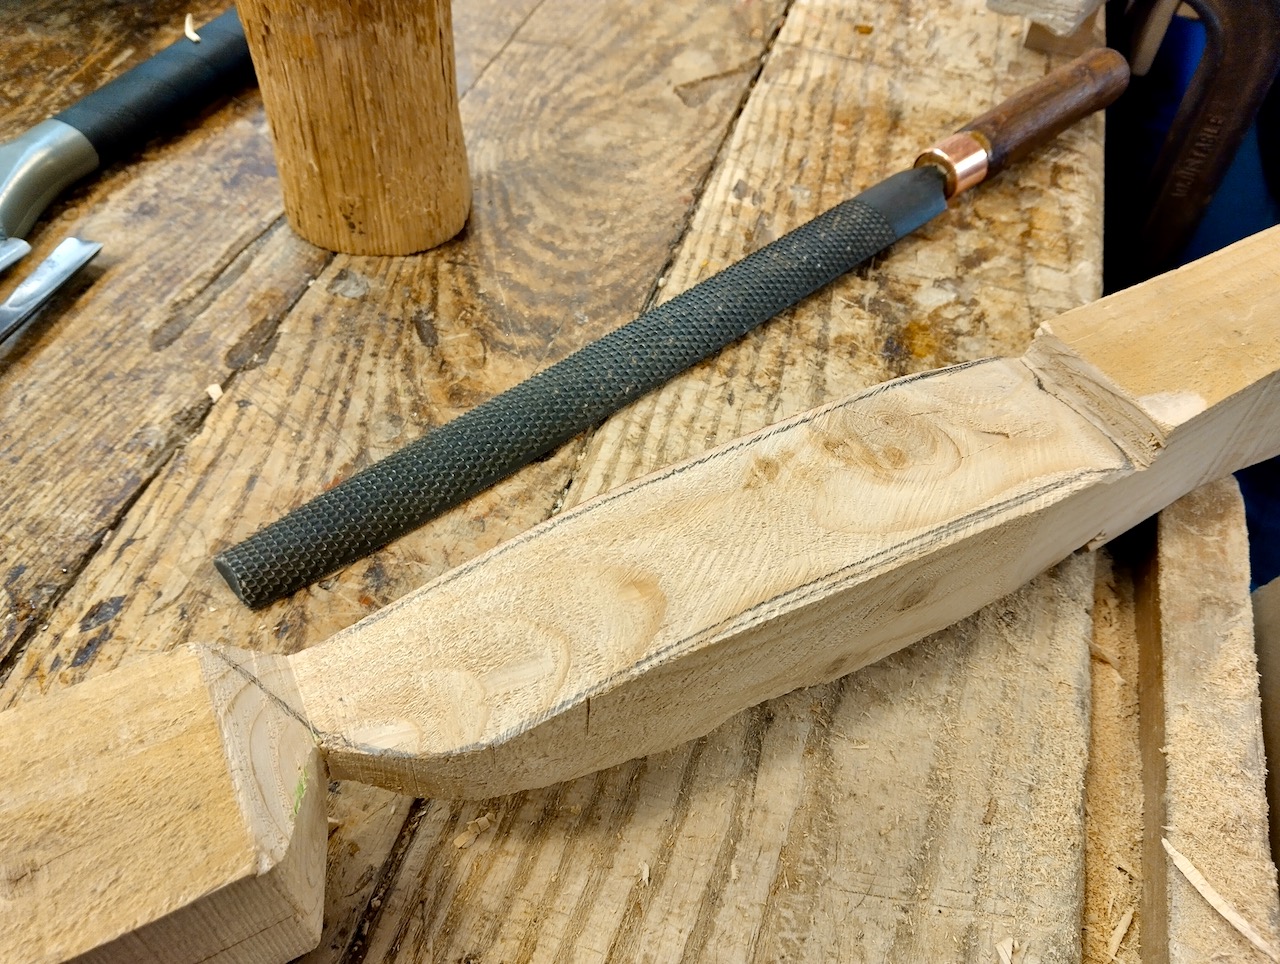
Then, with bevel-down chisels, the student begins to remove the waste wood between the kerfs, gradually carving toward the keel line. Once they get close, they switch to rasps and files to smooth and refine the shape, developing a clean, flowing contour from bow to stern.
At this stage, we deliberately leave small blocks of unshaped wood at the bow and stern. These vestigial parts connect the hull to the original blank and serve a critical function: they give us square, stable clamping surfaces. A rounded and tapered hull is tricky to hold securely in a vise—it tends to shift and move under pressure, especially during vigorous rasp work. These leftover tabs keep the boat steady during shaping and will be removed later.
By the end of this step, the boat has truly taken on its form, moving from rough blank to a hull that suggests speed, direction, and purpose. The students are always excited to see their creation take shape in three dimensions.
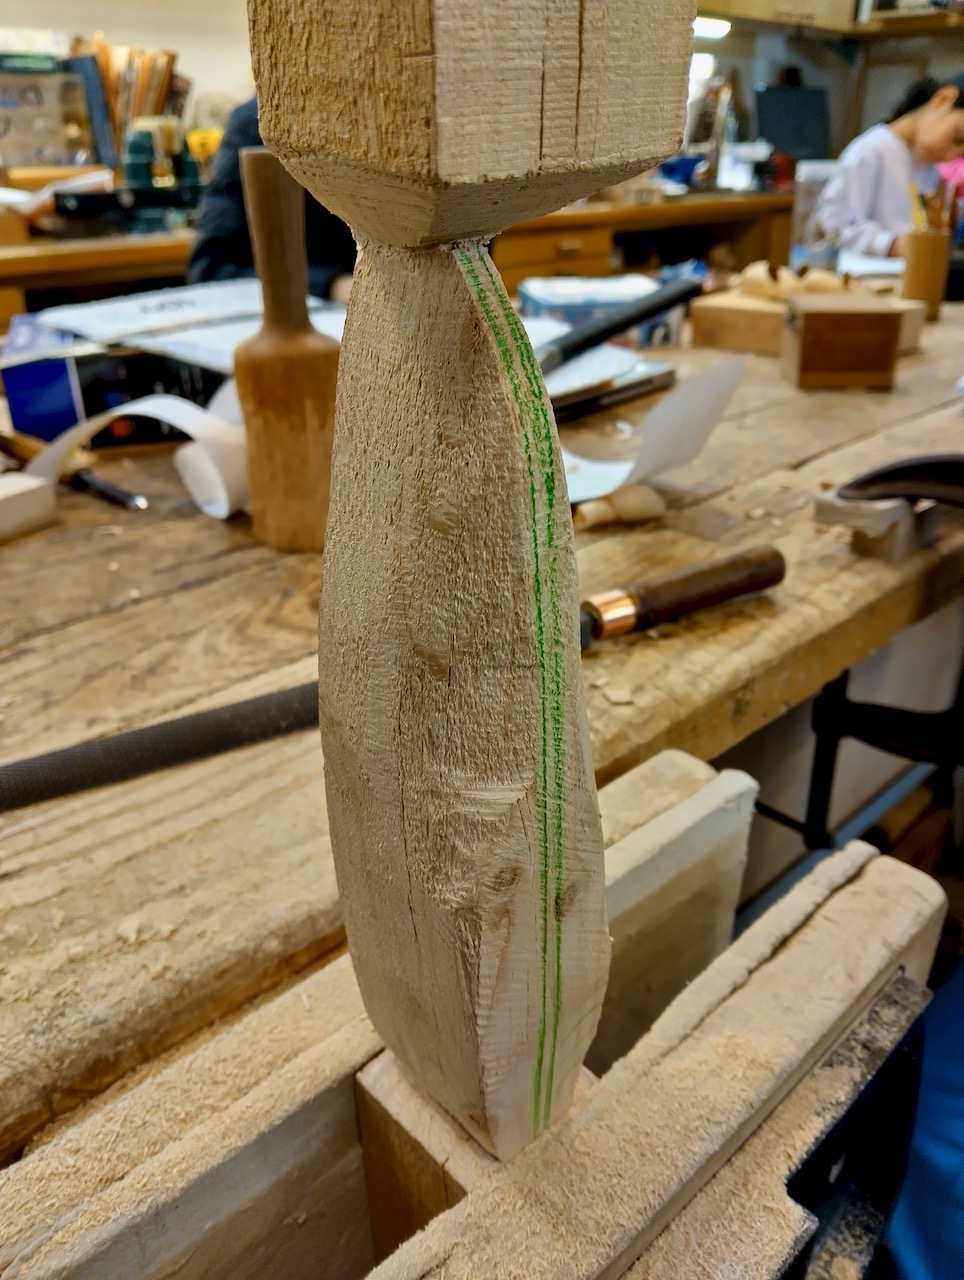
The two green lines denote the keel center line.
In the next installment, I’ll show how we round over and fine-tune the hull so that it truly resembles the graceful, functional body of a real wooden boat.


