We may receive a commission when you use our affiliate links. However, this does not impact our recommendations.
 This trusted servant—an ideal project for using some of the nicer pieces in your scrap bin—will present a stylish and functional addition to your home.
 This trusted servant—an ideal project for using some of the nicer pieces in your scrap bin—will present a stylish and functional addition to your home.
Project #2320 • Skill Level: Beginner • Time: 2 Days • Cost: $65
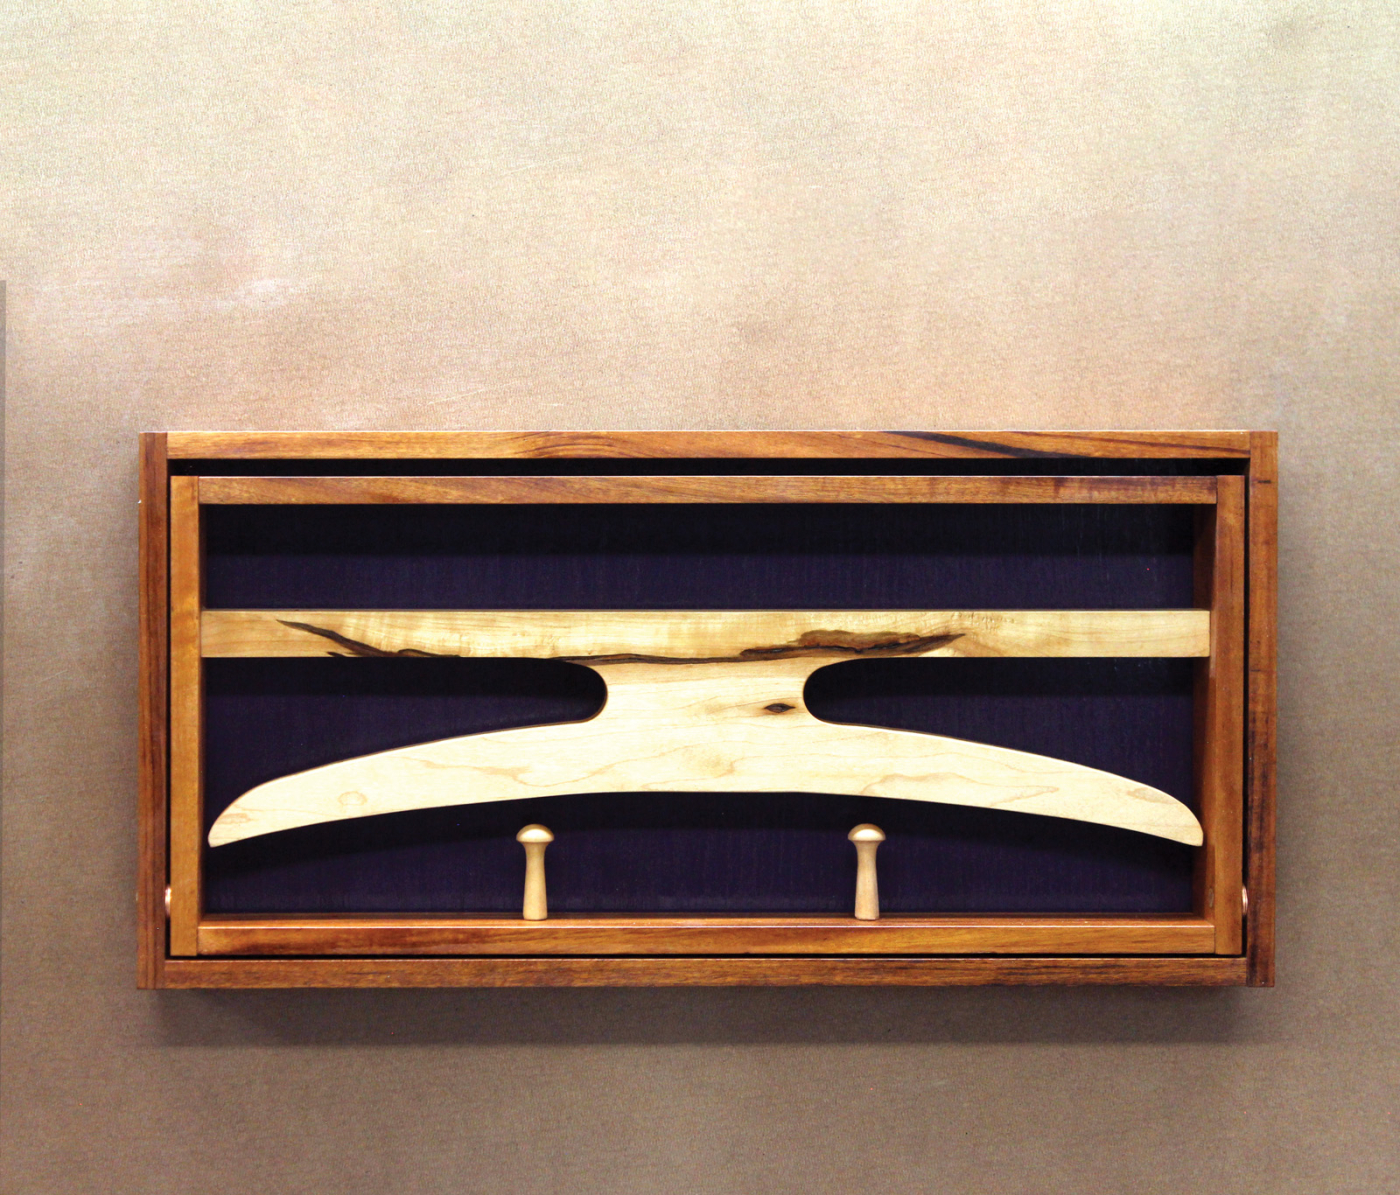
A long-time admirer of Tage Frid’s work, I have an attraction to Danish furniture style and design. So, when I came across some pictures in the public domain of an antique valet made in the 60s by Adam Hoff and Paul Ostergaard for Virum Mobelsnedkeri, Denmark, I knew I wanted one for my shop to handle my work clothes and aprons. Unlike the usual run-of-the-mill valets with a large footprint, this eye-catching piece—with a price tag of over $1,000—is wall-mounted and has a folding feature that allows it to be closed when not in use. The smaller footprint fits the bill for my modest workshop.
 Working from the photos, I set out to build a similar valet for my shop. While retaining the original dimensions of the piece, I made a few minor cosmetic changes to the original design. They included using two species of wood rather than one for a contrasting look and replacing the leather straps with maintenance-free chains. I used lumber (tiger wood and maple) leftover from previous projects and found the chains at a big box hardware store.

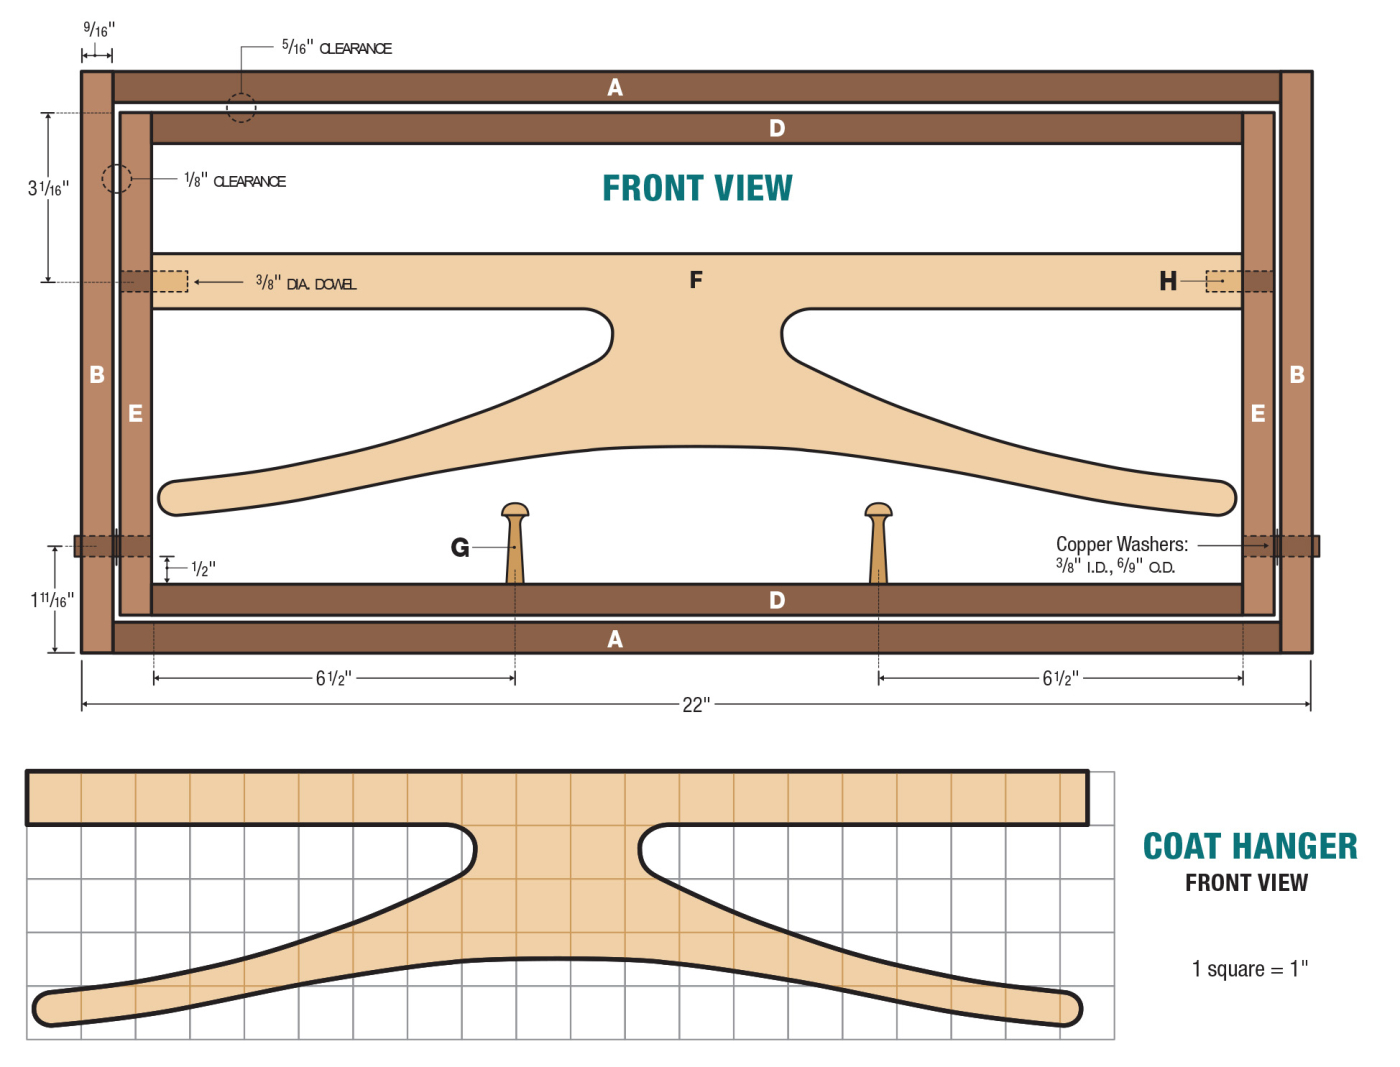
Cutlist and Diagrams
 Choose Your Joinery
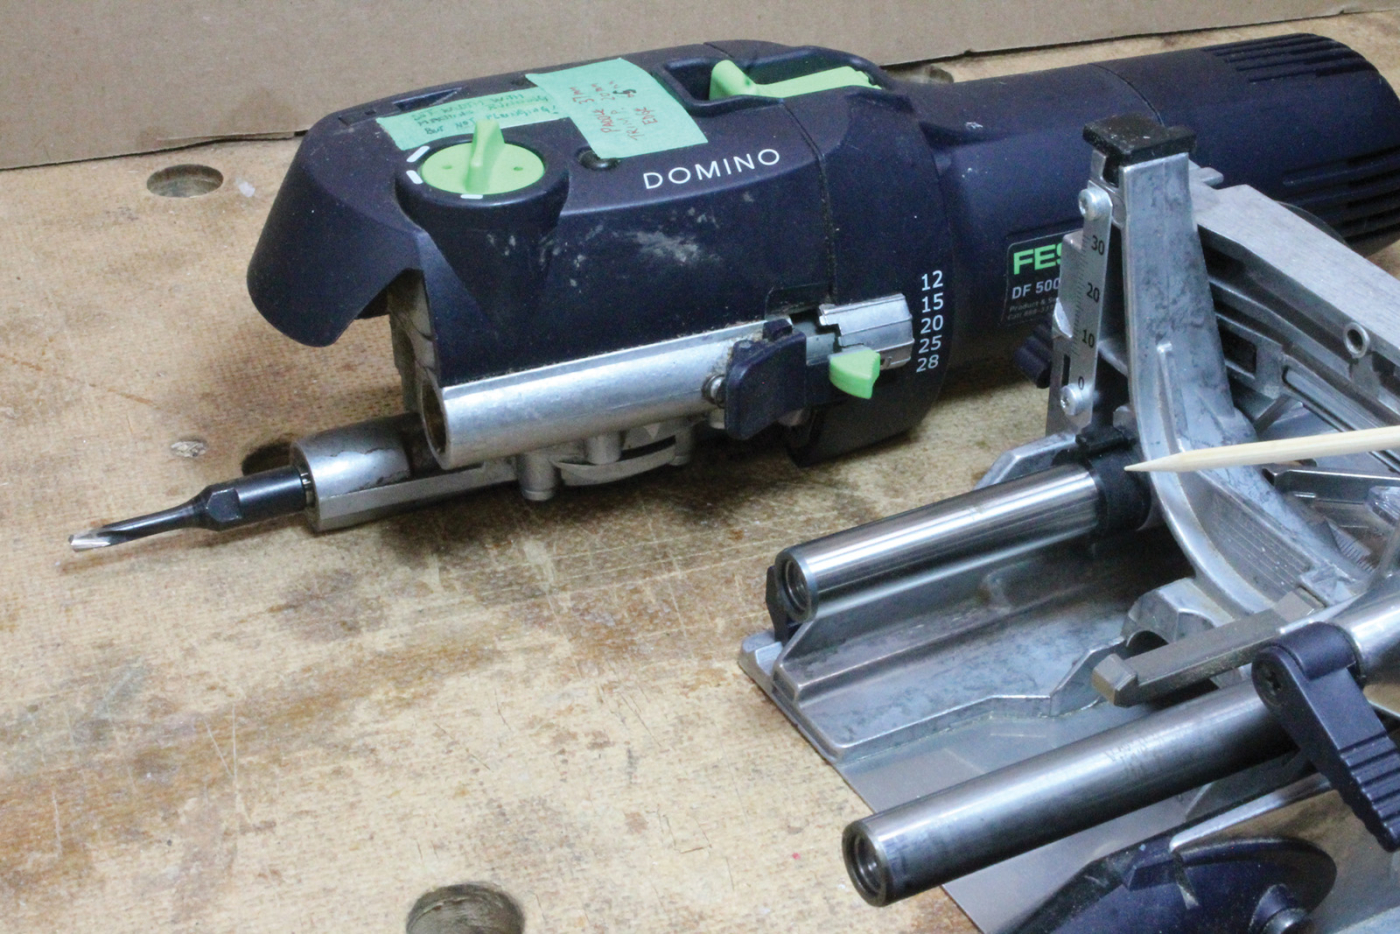
The folding valet is essentially two rectangular frames hinged together, with the inner, smaller one fitted with a coat hanger and pegs. Let’s break down this project into two main components: the outer frame and the inner frame. You can use any joinery of your choice such as dovetail, dowel, or finger joints for the frames. I like to use the loose-tenon joint to build things used in my shop because I find it quick-and-easy to accomplish with the Domino Joiner.
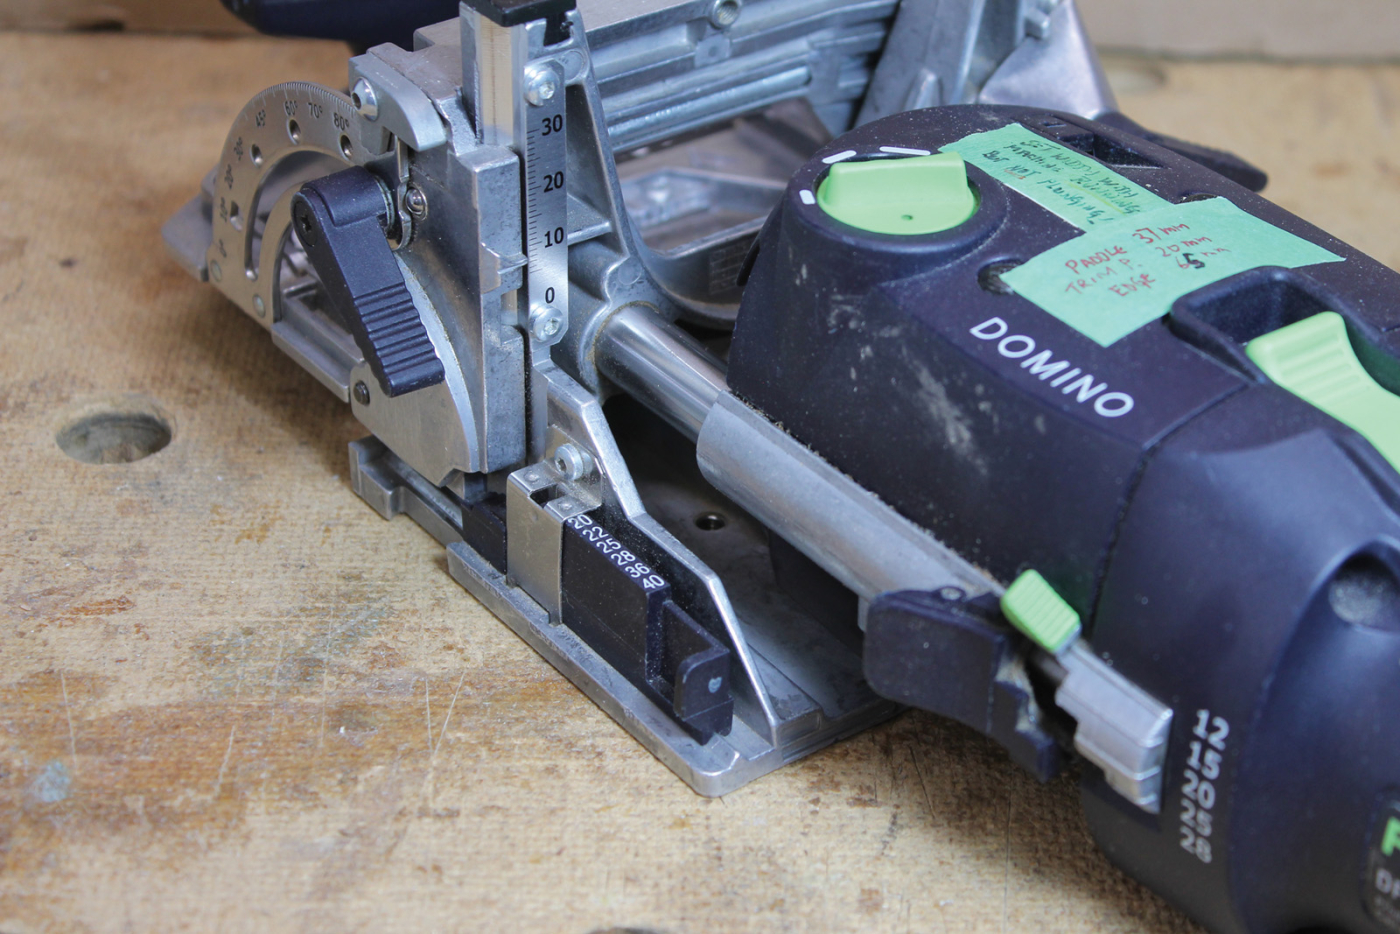
1 The fence height is set at 7mm for the whole project, with the starting plunge depth at 12mm.
Domino Machine Settings
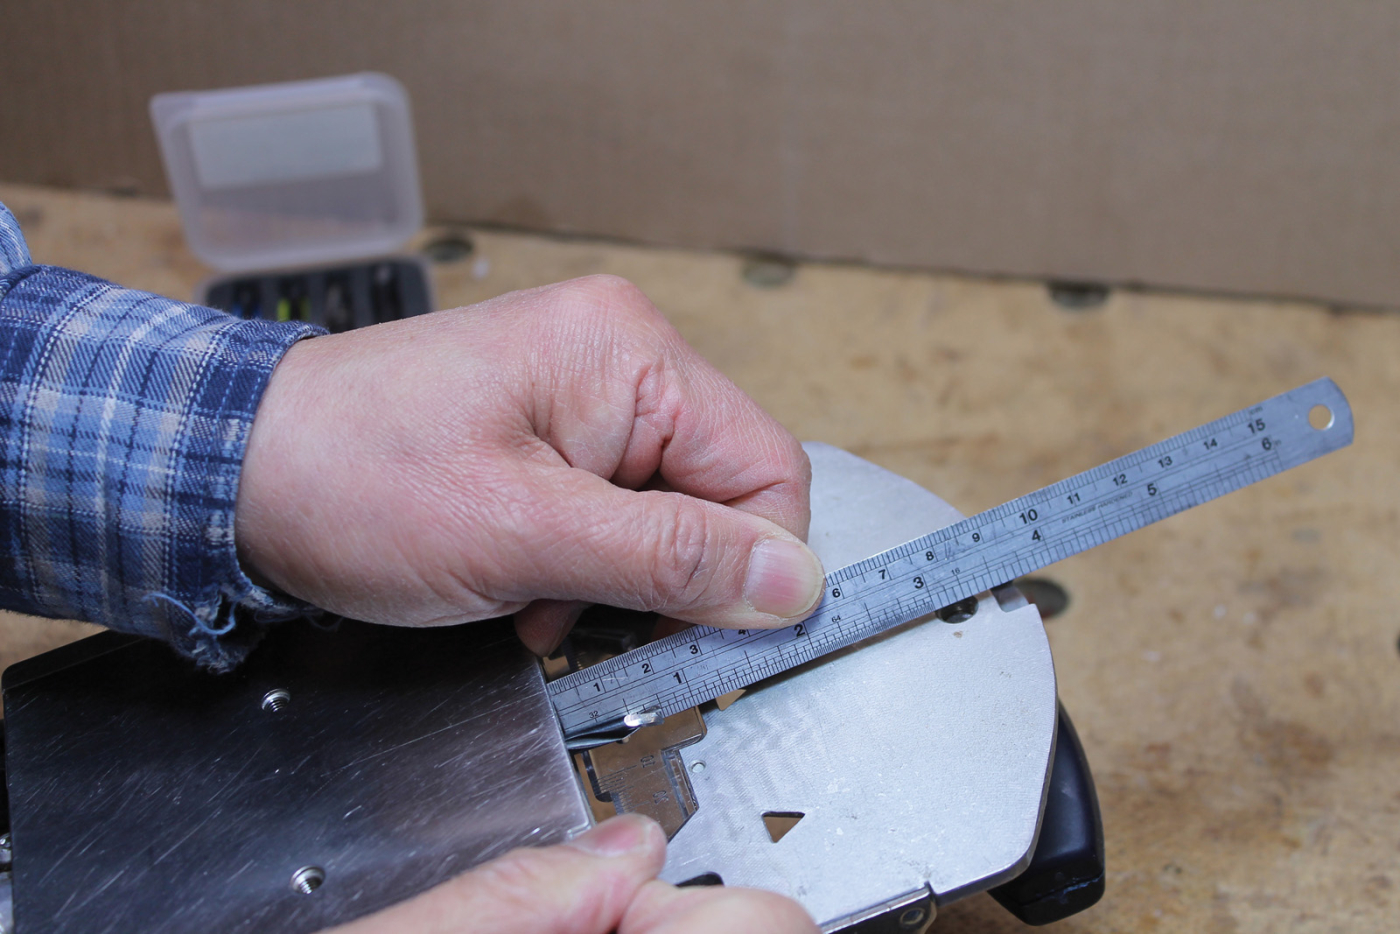
For the thickness of stock used in this project (9/16“ or about 14mm), 5x30mm tenons are recommended.
Throughout the whole project, the 5mm cutter is used with the narrow width and 7mm fence height settings. The cutting depth for mortising the sides is set at 12mm, while the depth for milling the top and bottom pieces is set at 18mm.
2 Mark out the stopped rabbet clearly so you don’t cut a through rabbet by mistake.
Outer Frame
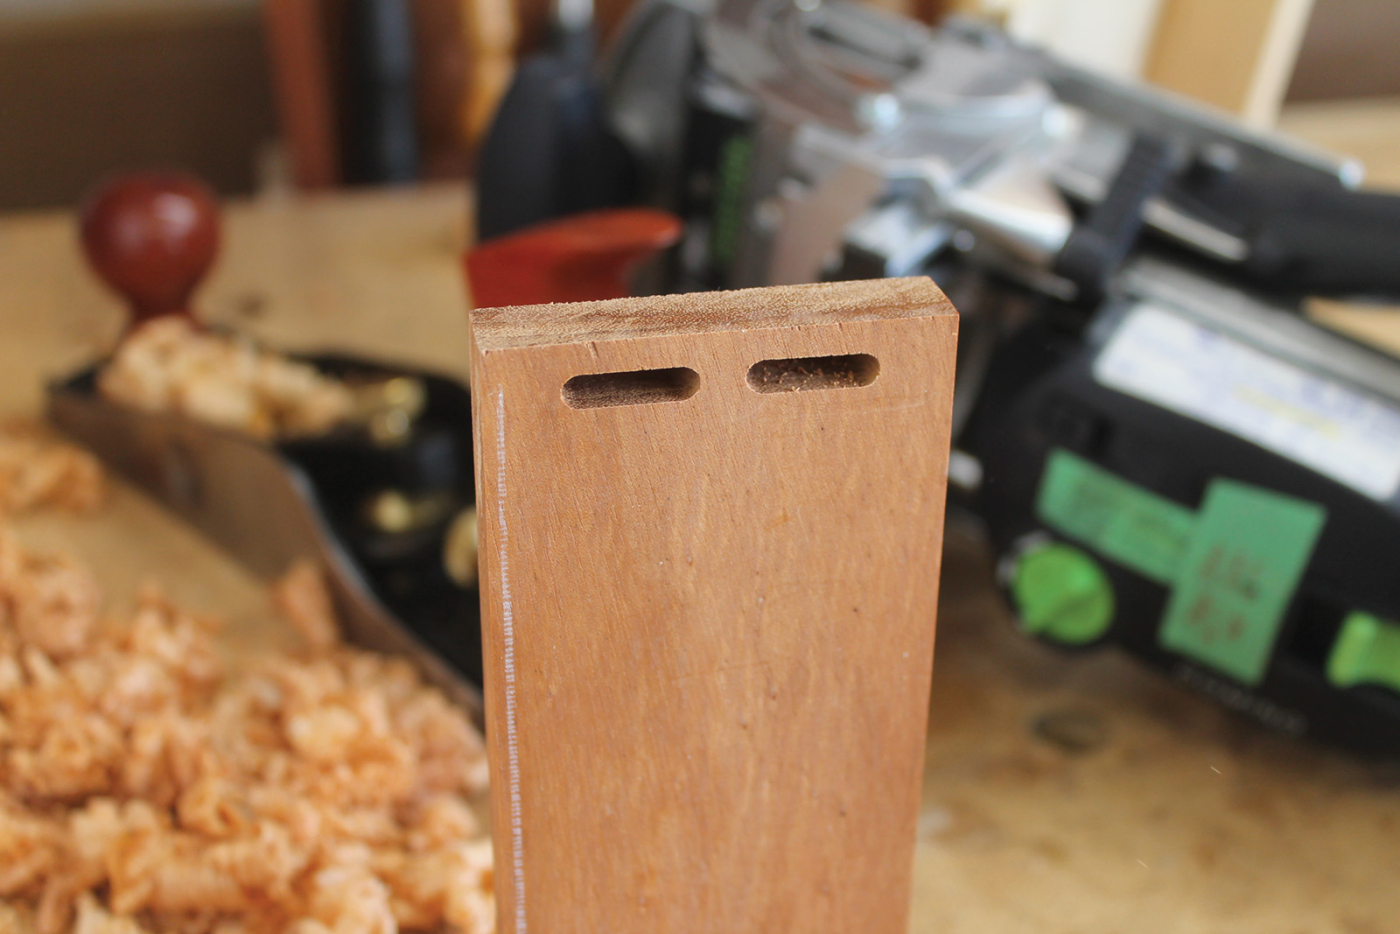
To minimize blow-out mistakes, I always try to finish the components that have the shallower mortises first. That means for both frames, we will first mill the 12mm deep mortises on the side pieces, then change the cutting depth to 18mm to mill the top and bottom. I’ll explain later how you can cut mortises 18mm deep, even though the machine has a 20mm cutting depth setting.
3 Make multiple passes with a 1/4″ router bit instead of one heavy cut to mill the rabbet.
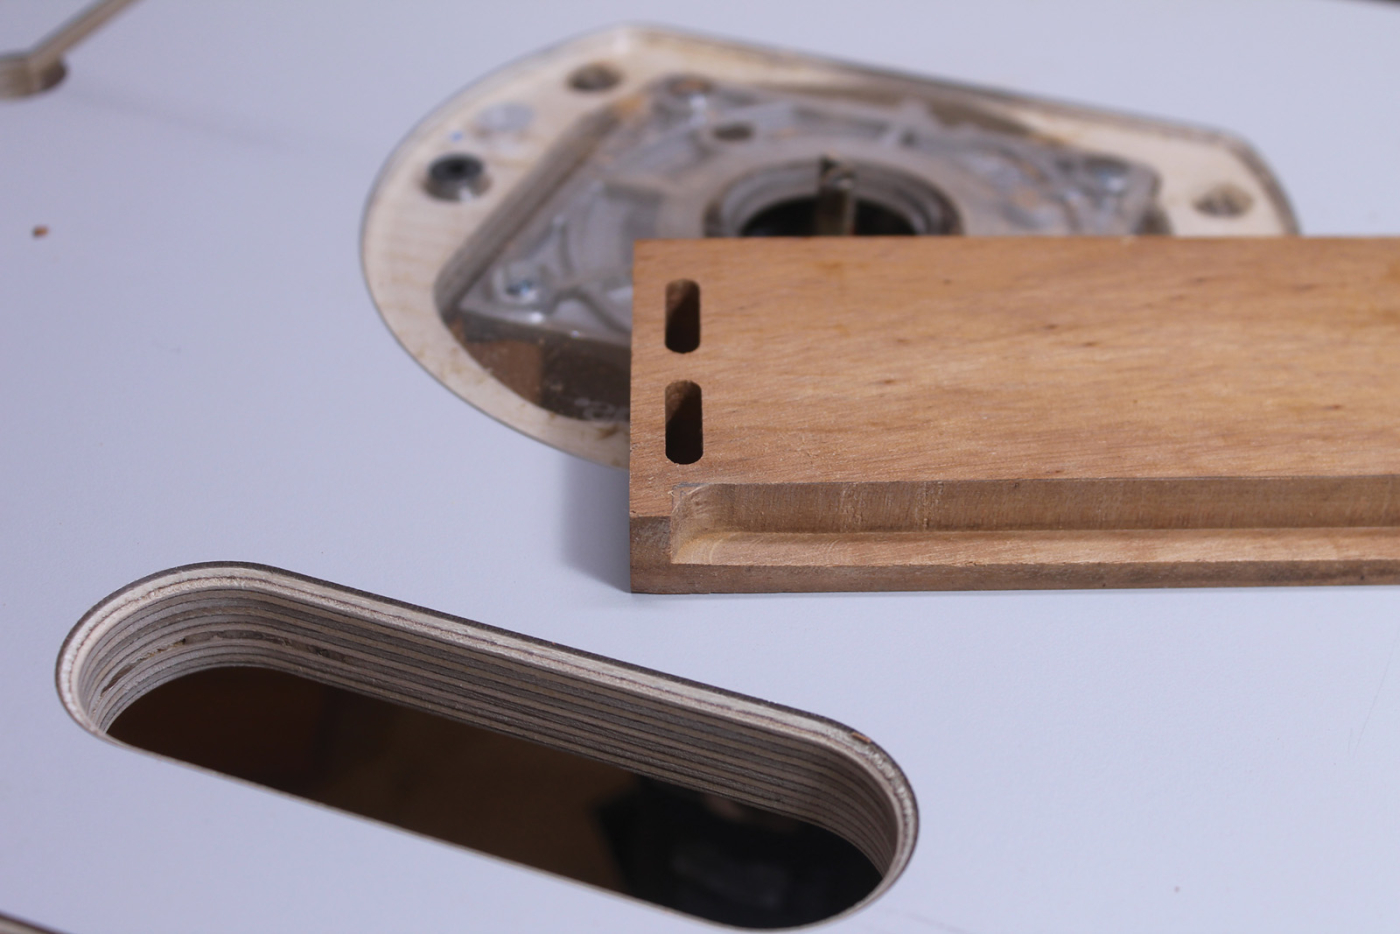
Gather the workpieces for the outer frame and mark out the placement lines as usual. However, if you install the support bracket to the machine, you don’t need the placement lines and you can mortise the two sides, referencing the work with the bracket’s paddles. After finishing the mortises, cut a 1/4“ x 5/8“ stopped rabbet on each side piece with a 1/4“ straight bit on the router table.
4 To reduce the cutting depth from 20mm to 18mm, insert a 10 mm sleeve on the rail.
5 With the sleeve installed, double check the plunge depth.
The Domino machine I use has five cutting depths, including 20mm. To mortise the top and bottom pieces at a depth of 18mm, I used a special plunge cut technique. First, set the cutting depth to 20mm, and then insert a 10mm long sleeve over the steel linear rail to reduce the actual plunge depth by 2mm. The formula to determine the length of the sleeve required is straightforward: length of sleeve = 28mm – the desired cutting depth.
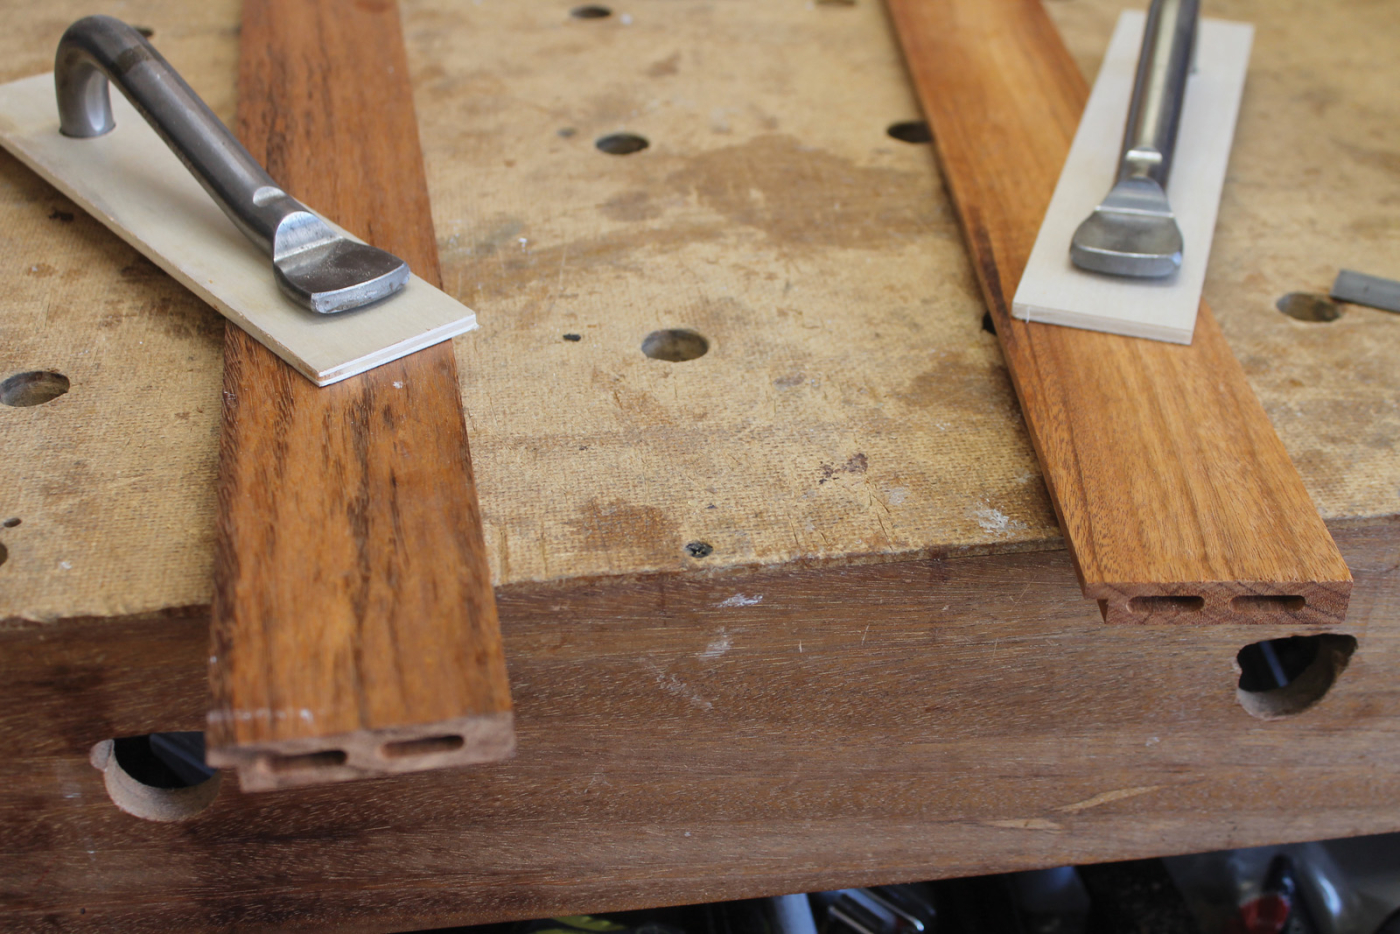
6 The back panel is to be housed in rabbets cut on the outer frame.
After the mortising operation, cut a 1/4“ x 5/8“ through rabbet on the top and bottom pieces on the router table.

7 The trim stop allows the machine to mill center mortises precisely without marking placement lines.
Inner Frame
The inner frame is made slightly smaller than the outer frame. The amount of clearance I chose on each side, as well as the bottom, is about 1/8“, while the amount of clearance on the top is roughly 5/16“. Mortise the inner frame with the same settings and procedures employed for the outer frame. If you use the machine with the trim stop, it will eliminate the need for the marking pencil lines. With the two frames constructed, we can now work on hinging the frames together.

8 Mock-ups are helpful in solving design or placement challenges.
Hinge Frames Together
The inner frame is connected to the outer frame with a 3/8“ diameter dowel on each side. To locate the dowel holes on the sides, I made a copy of the side piece of the inner frame out of cardboard, and through trial and error, figured out the center points for the dowel holes on the outer frame. Using the marking on the cardboard, I transferred the center points to the inner frame. Now, chuck a 3/8“ diameter brad point bit in the drill press and bore the holes on all the side pieces. Lastly, dry-assemble the two frames and insert the dowels and washers to connect them together. Check the swinging movement, looking for an even spacing on the sides between the frames.
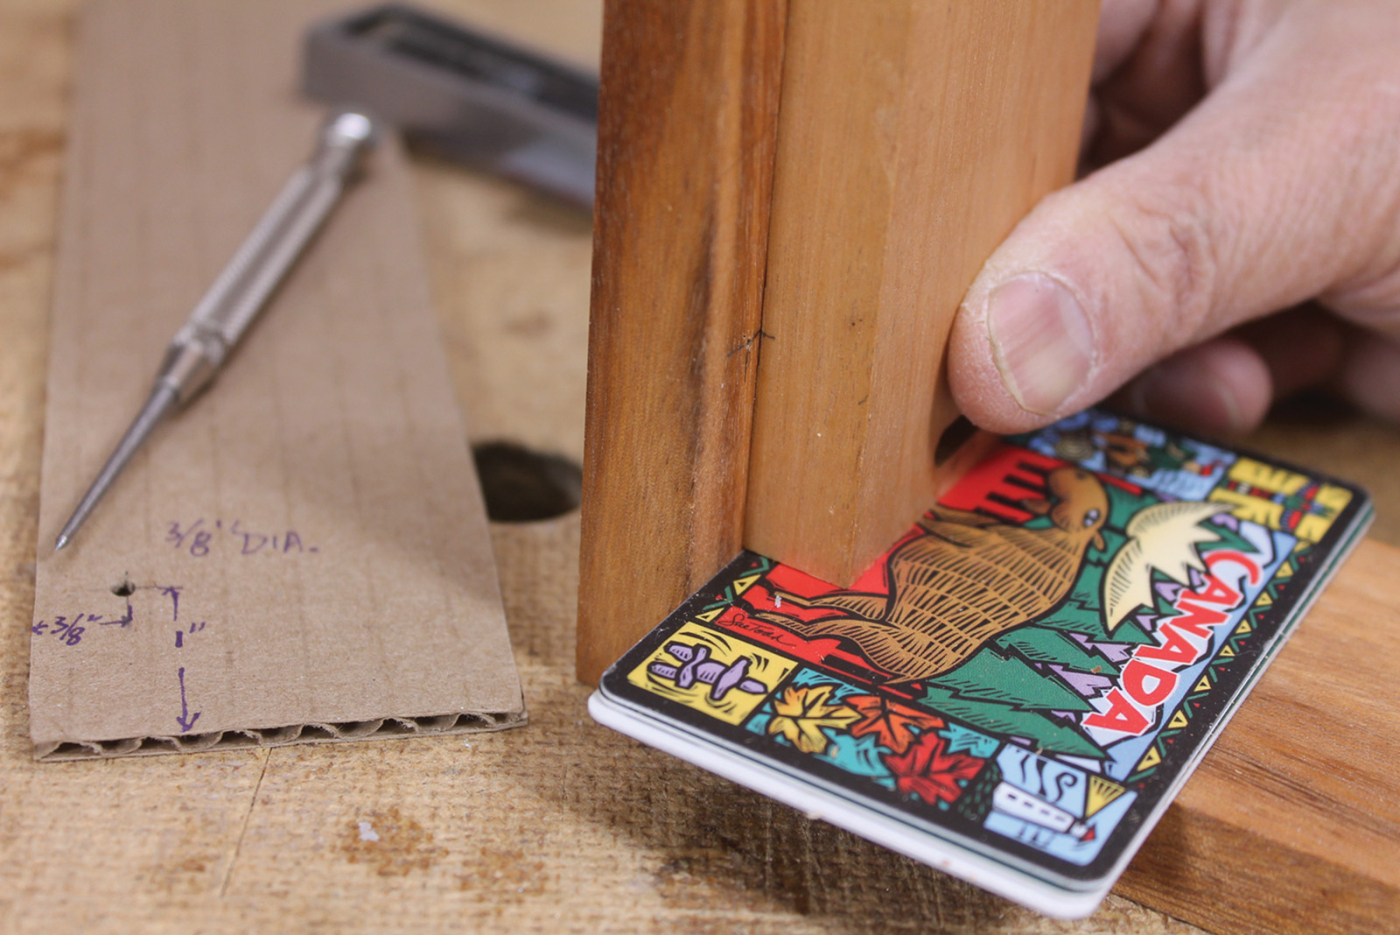
9 The center points on the outer side and inner side are offset by 1/8″, the clearance amount between the bottoms of the frames.
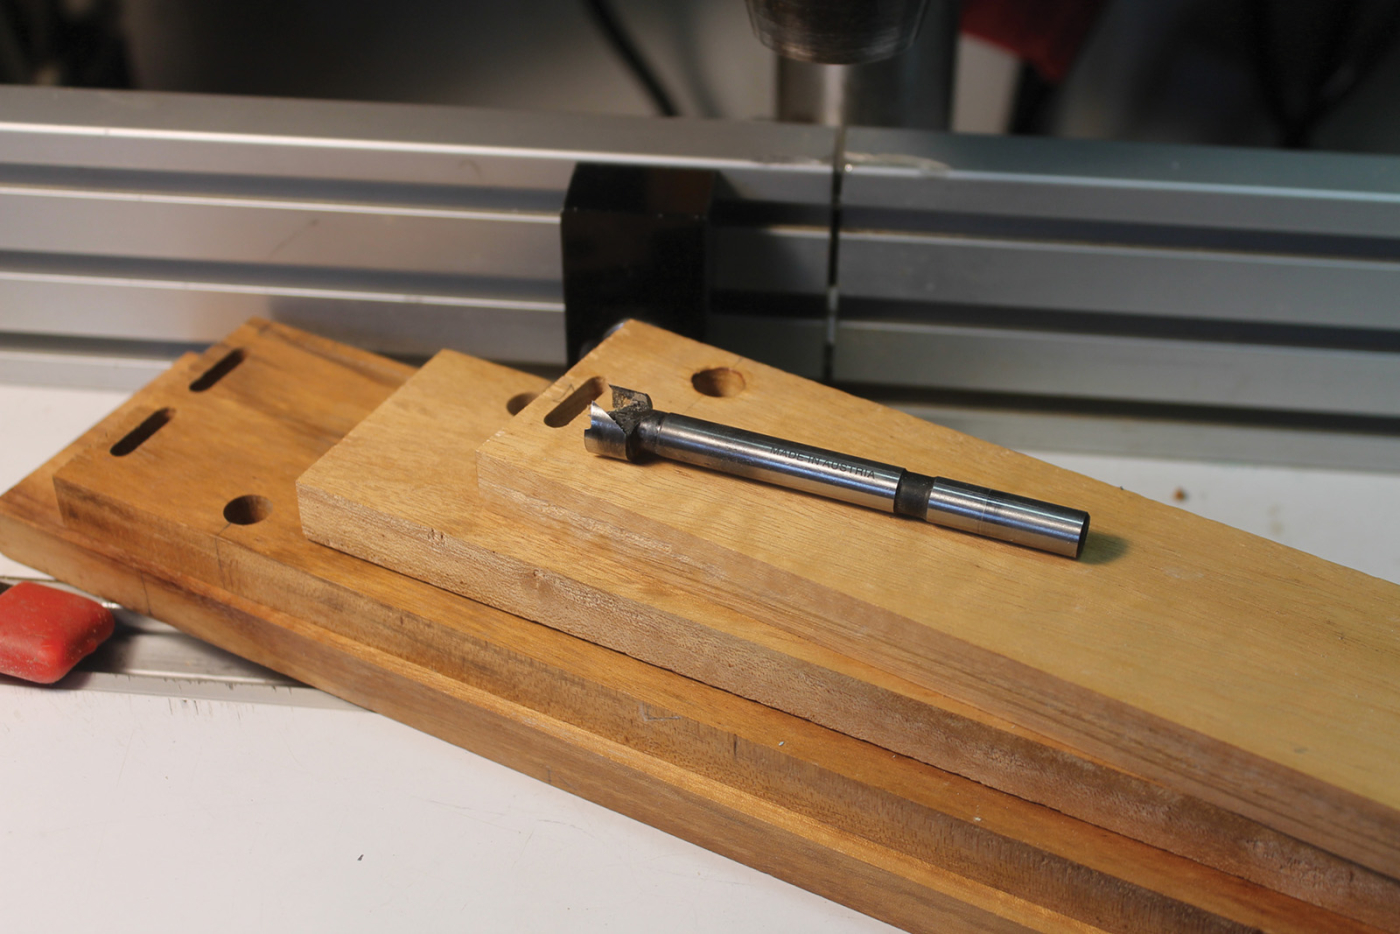
10 Use a stop block on the drill press fence to guide the drilling.
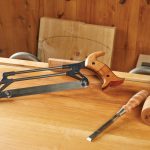
Make the Coat Hanger
The coat hanger and pegs provide the hanging elements for the valet. Lay out the coat hanger pattern on the maple stock. You can easily adapt the hanger design to suit your needs. For a cleaner result, I did the straight cuts on the table saw and finished the stopped cuts with a bandsaw.
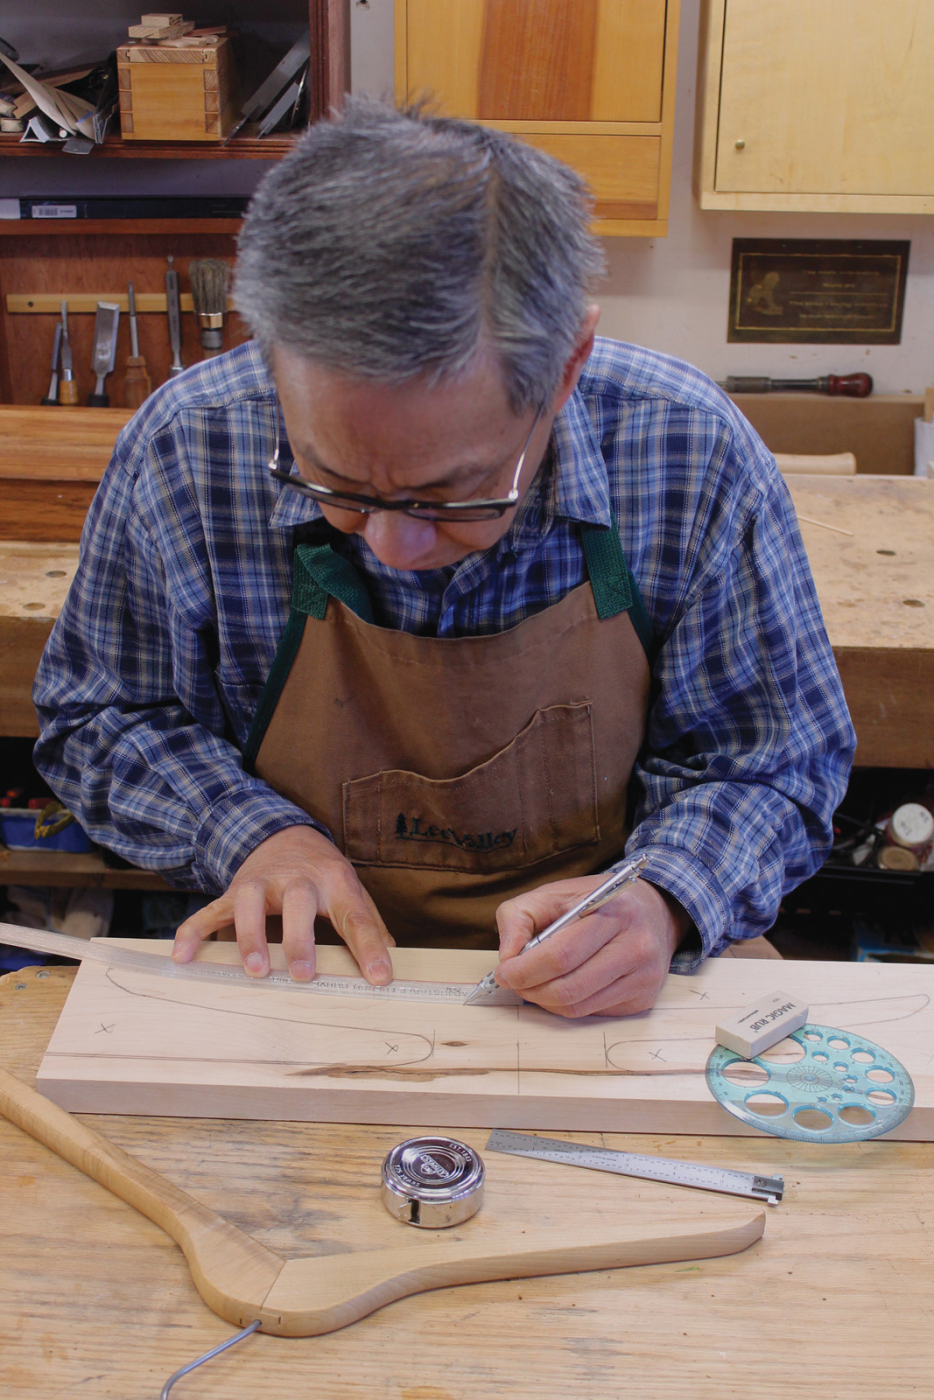
11 Lay out your coat hanger pattern on the maple blank.
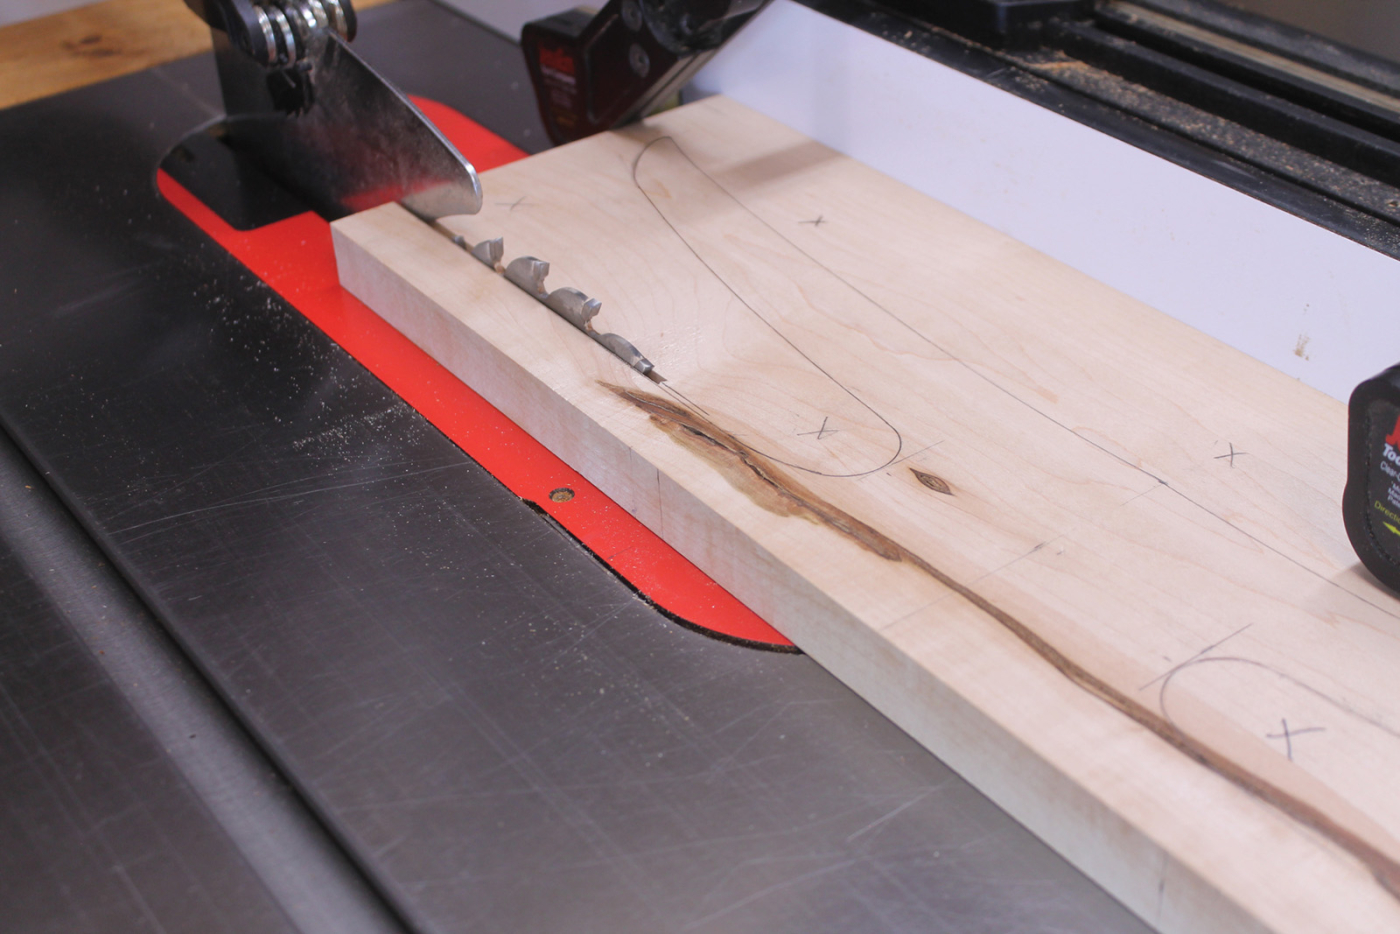
12 Make the stopped cuts for the hanger on the table saw and finish them with a bandsaw.
The coat hanger is doweled to the center of the sides and about 2-1/2“ from the underside of the top of the inner frame. To drill the dowel holes on the hanger, mark the center points on the ends, and drill the holes 3/4“ deep with a 3/8“ diameter bit. Cut two 3/8“ diameter by 1-3/8“ long dowels and glue them in the holes just bored in the hanger. (Alternatively, if you have a tenon cutter, you can cut round tenons on the hanger, but the hanger will need to be 9/16“ wider.)
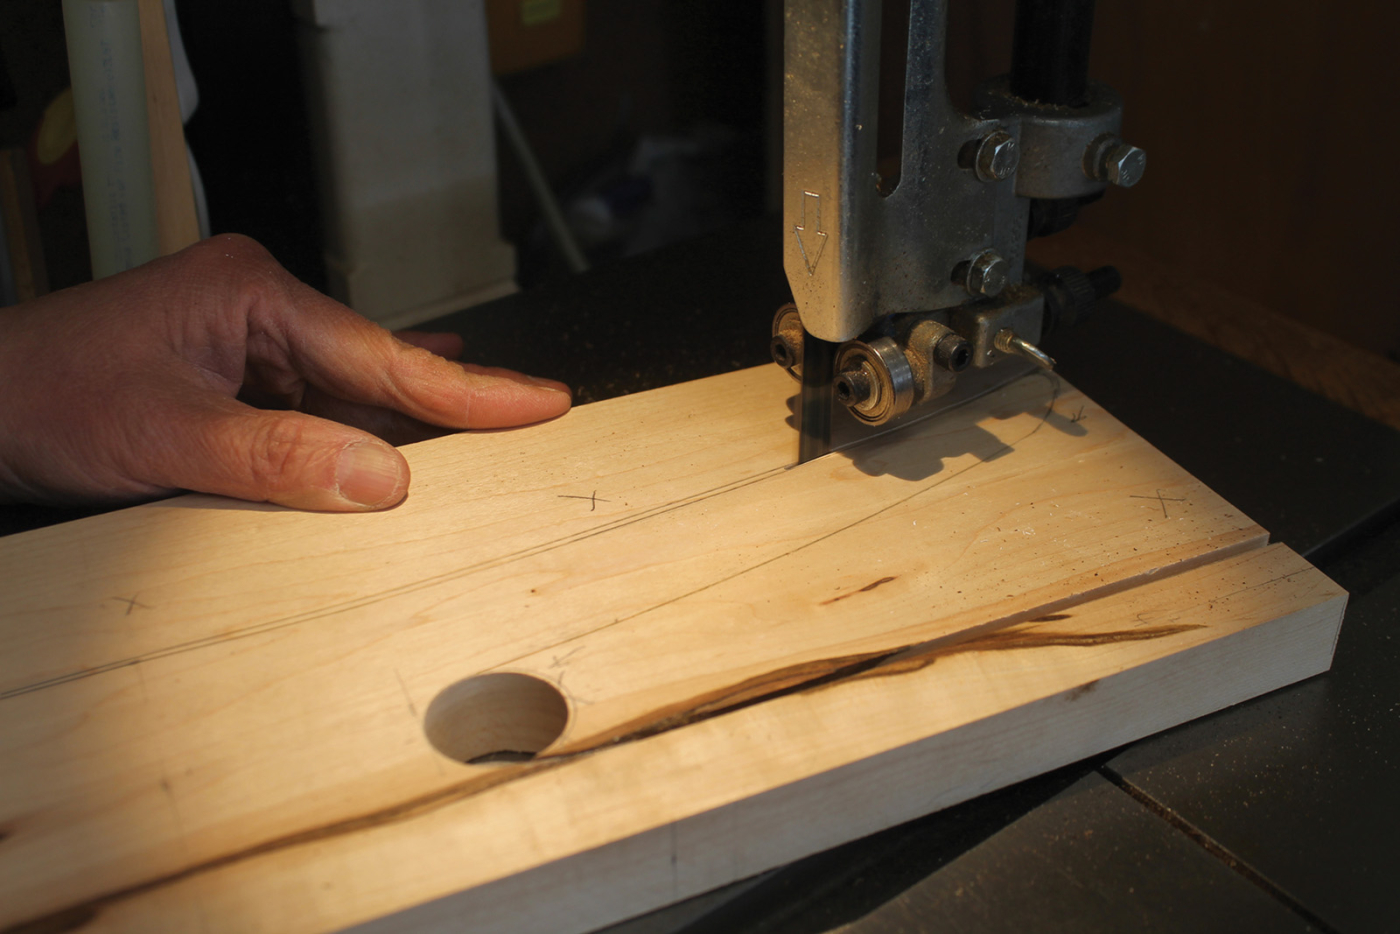
13 Mark two lines and shoot between them, making it less likely to drift past the waste line.
We all learn to draw one line and bandsaw on the waste side of the line. But some people may struggle with following a cut line and staying on the waste side of the line at the same time. Try the trick of marking two parallel lines, about 1/16“ apart, and using the white space between the lines to guide your cuts when you saw the hanger to shape. Lastly, finish the concave curve with a spokeshave and sand the rest smooth on a spindle sander.
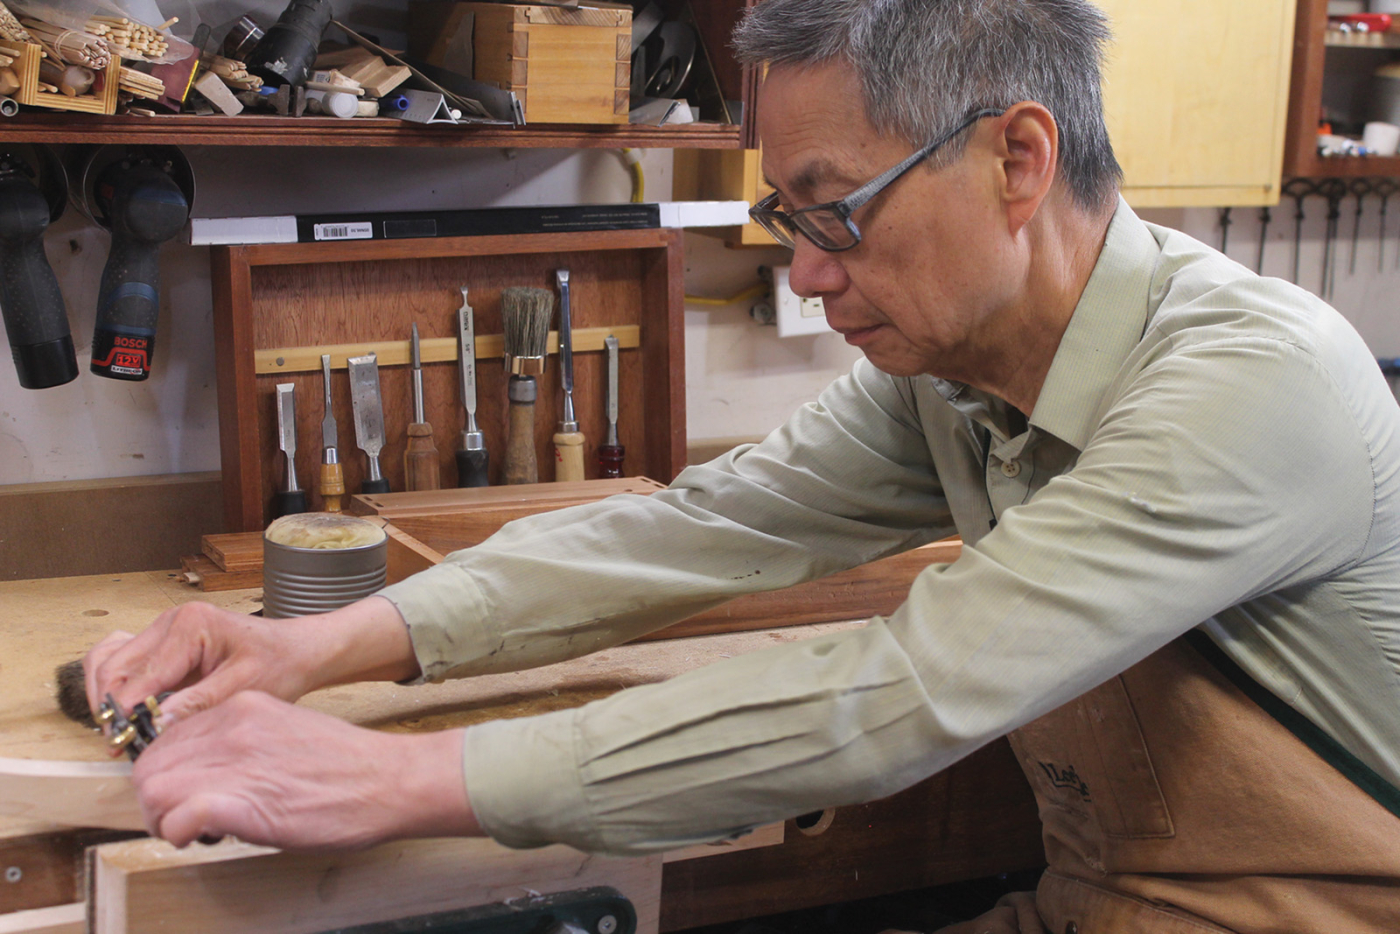
14 The spokeshave is the ideal tool to produce a clean curve on the hanger.
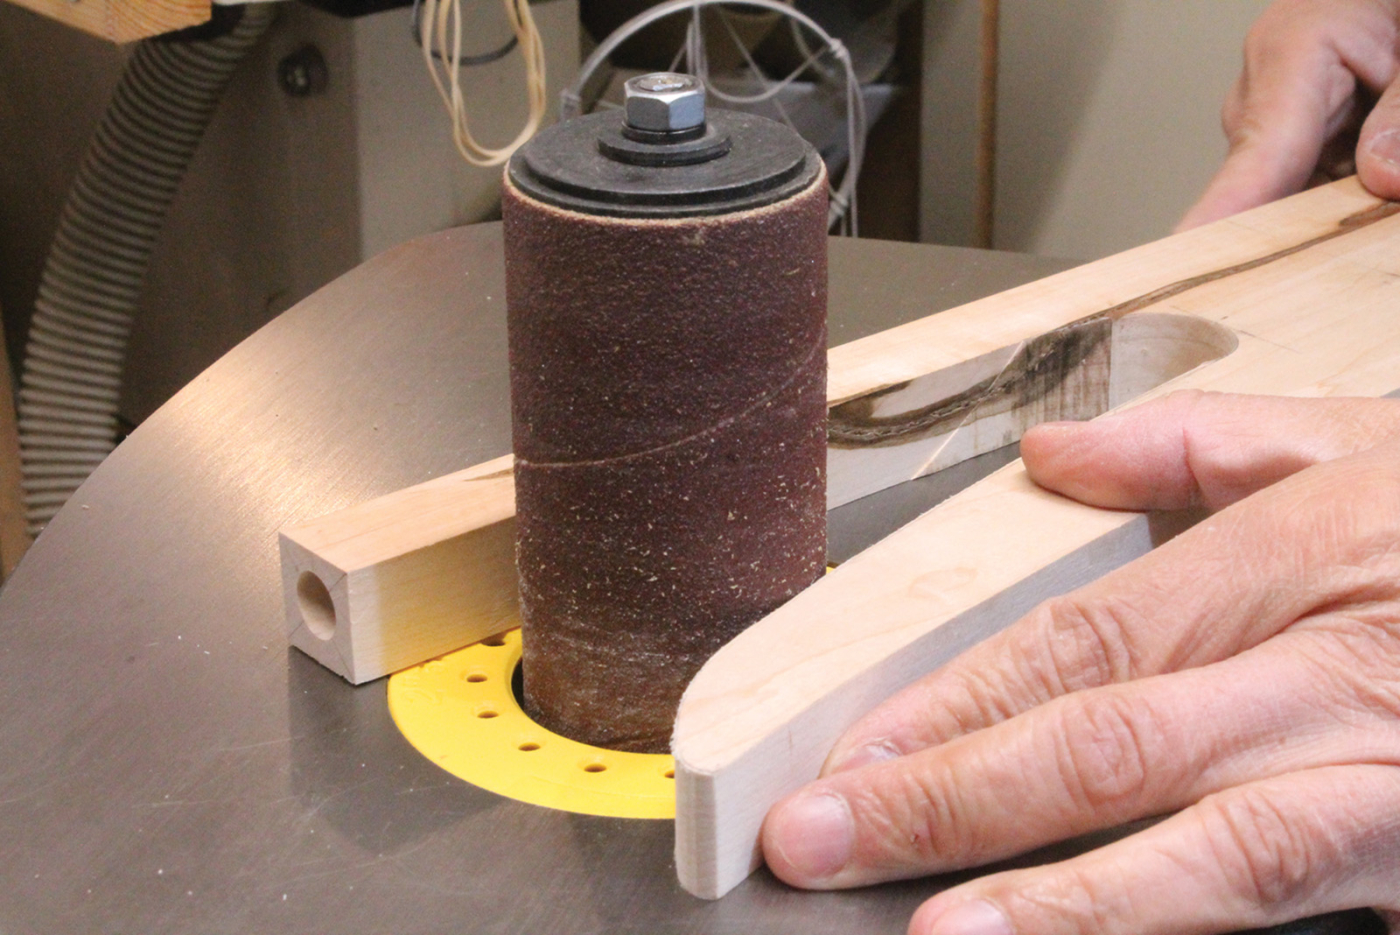
15 Use sanding spindles to remove the saw marks and sand to the line.
To drill the mating dowel holes on the inner frame for the coat hanger, mark the center point, 3-1/16“ from the top edge on each side piece. Install a 3/8“ diameter drill bit on the drill press and bore the holes. Lastly, locate the center points for the two pegs, about 6-1/2“ apart, on the bottom piece of the inner frame, and drill two 1/4“ diameter, 1/4“ deep stopped holes.

16 Run a centerline down the hanger for the self-centering drilling guide.
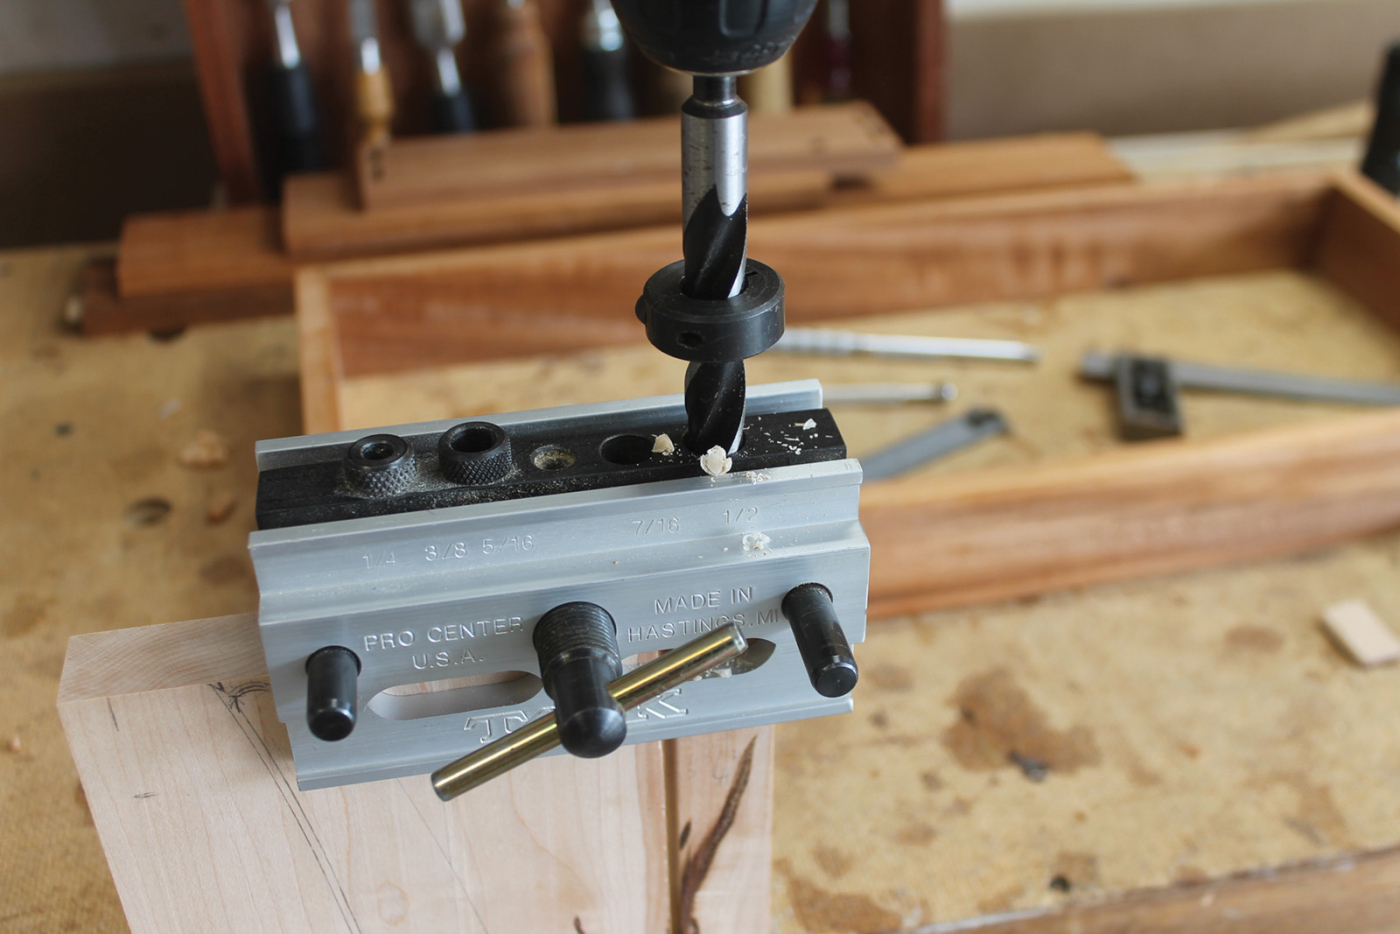
17 Use a drilling guide to bore the center hole 3/4″ deep on the hanger with a 3/8″ diameter bit.
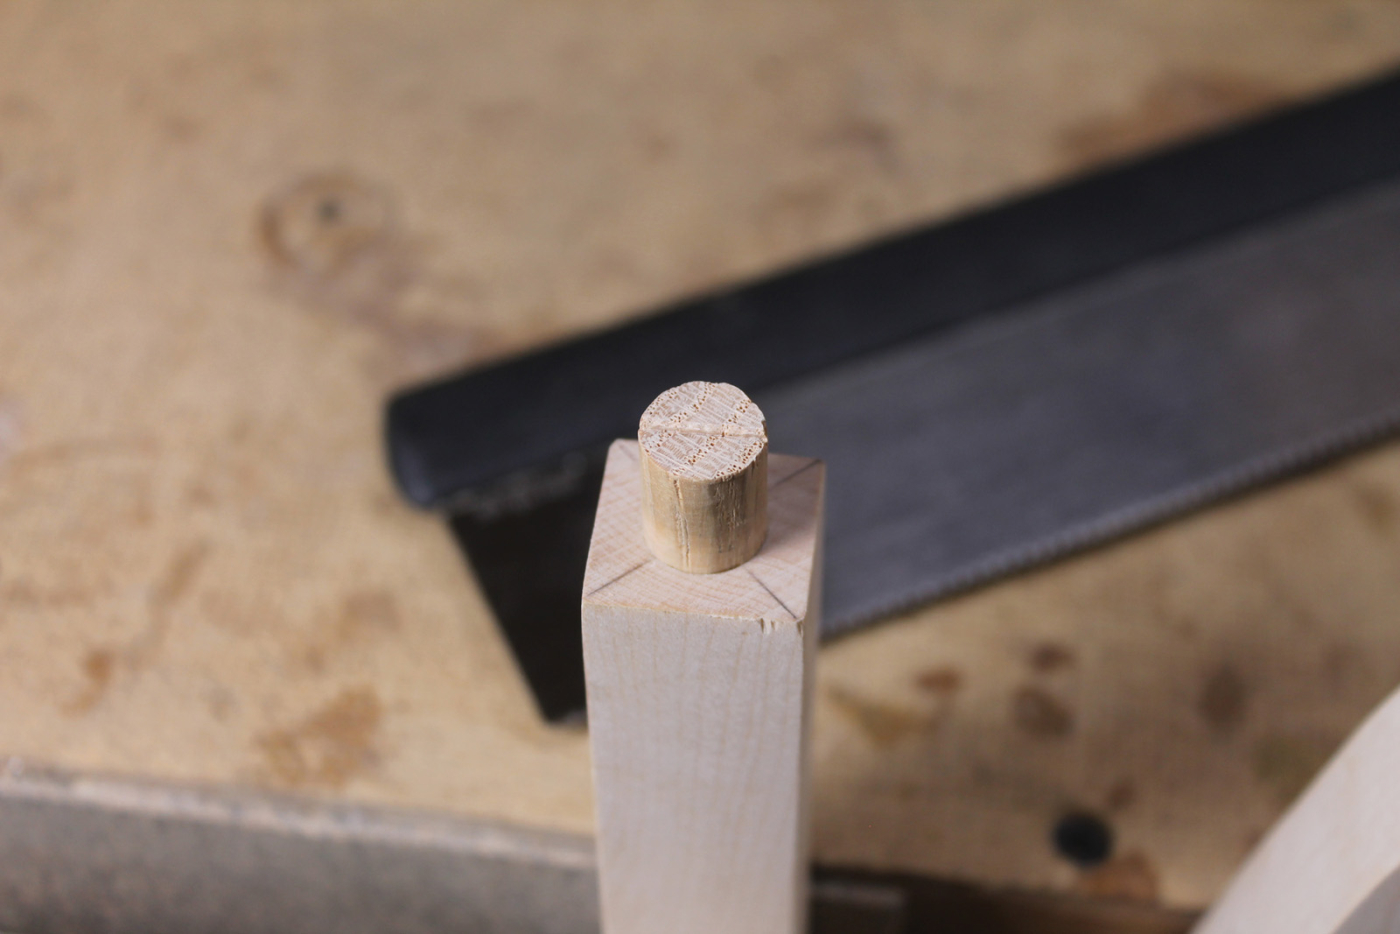
18 Glue a dowel or make a round tenon using a tenon cutter to work as the hinge.
Sand & Dry Fit All Pieces
With all the main components made, it is time for some light sanding. Also, ease all the sharp edges and finish all the small tasks that demonstrate your workmanship, such as trimming all the dowels, and planing flush all mating surfaces. When satisfied, send the piece to the finishing room.
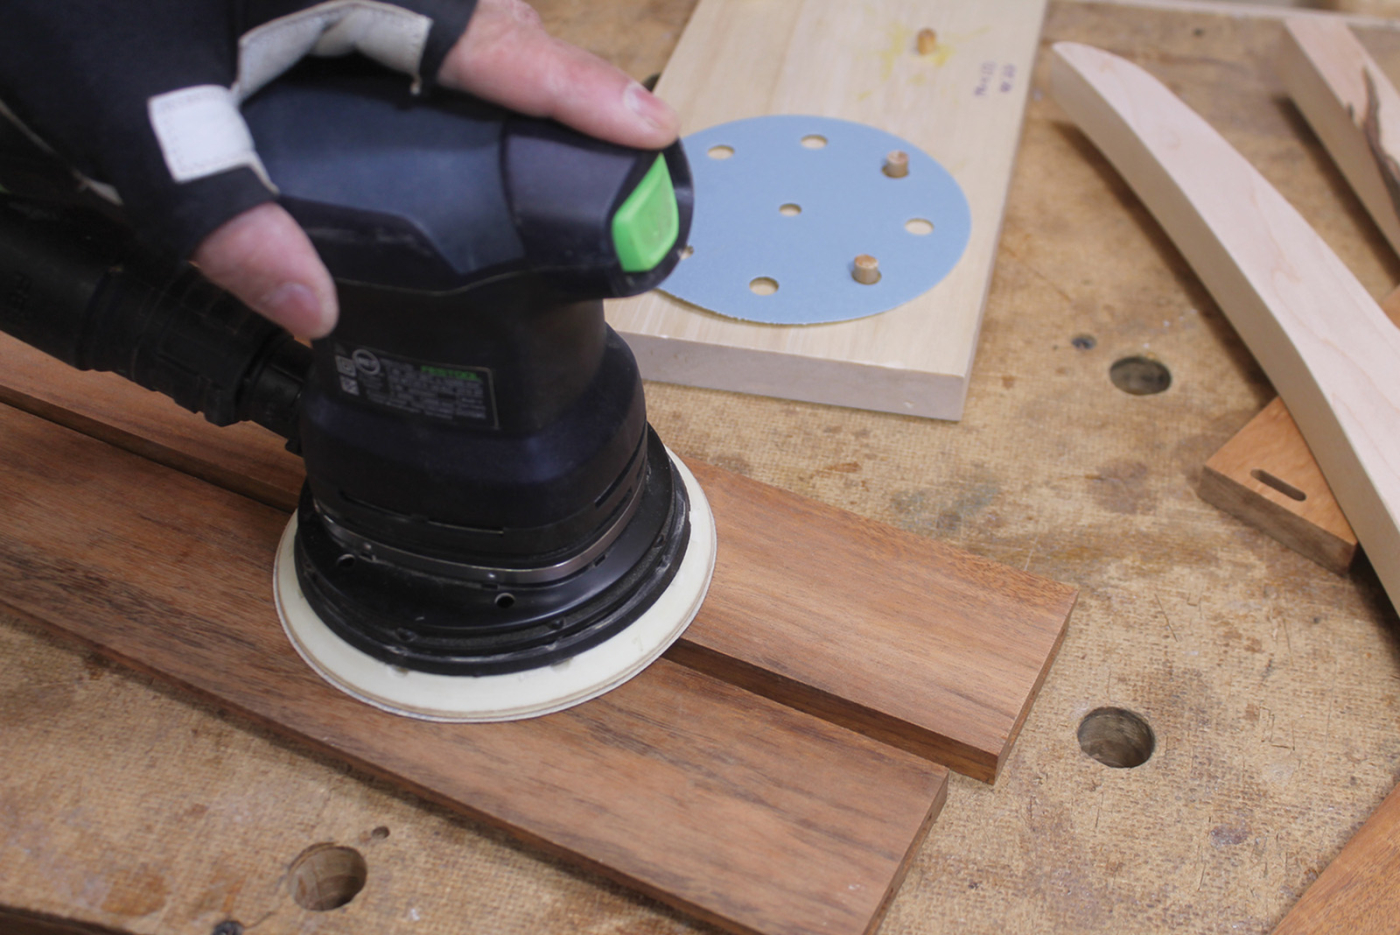
19 Sand flat surfaces up to 220-grit with a random orbital sander.
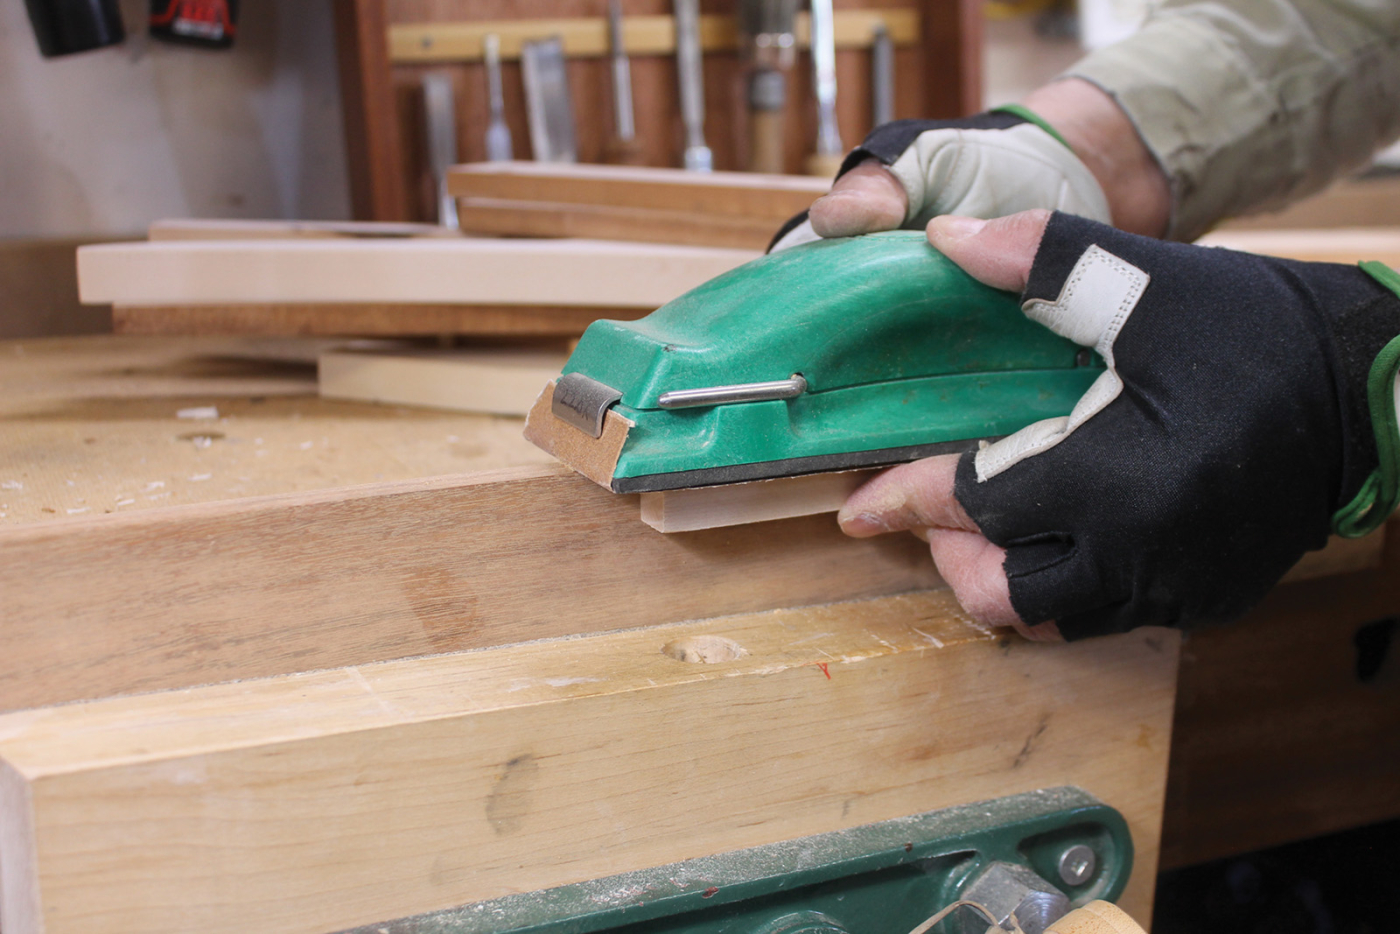
20 To prevent rounding the edges, support the sanding block with a square stop underneath.
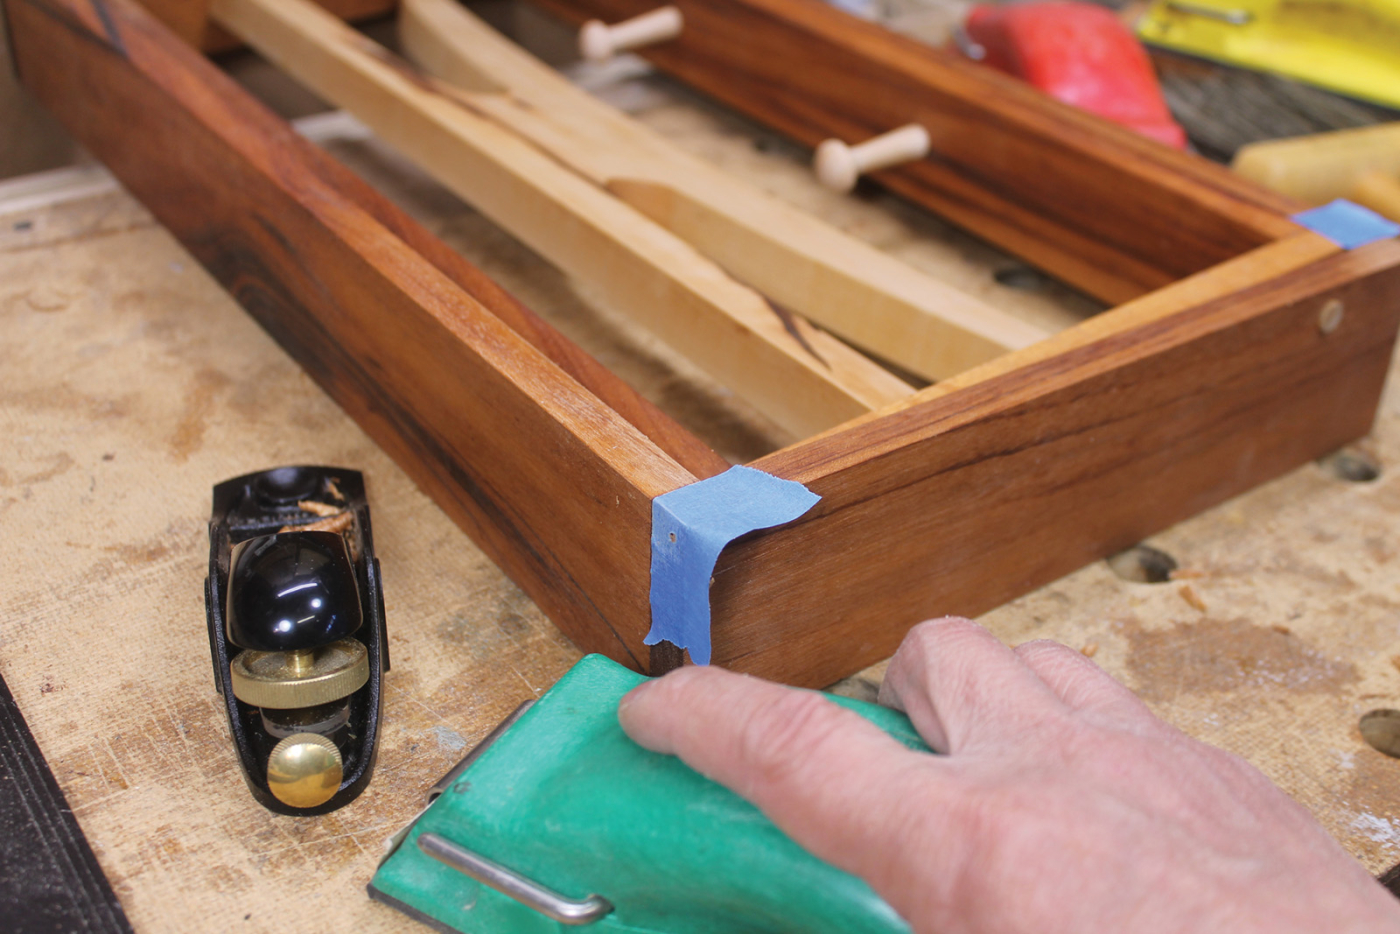
21 Plane all mating joints flush or tape off the adjacent edge to avoid cross marks if using a sanding block.
Apply Finish & Assemble
It is a little easier to pre-finish the components before the valet is glued up. Give each component a few coats of the desired finish, with light sanding between coats. The valet isn’t a high-wear project, but wanted to keep it looking good. I applied three coats of varnish, giving protection and bringing out the beauty of the tiger wood. After the finish is dried, first glue up the inner frame with the coat hanger and pegs in place. Then complete the outer frame with the inner frame in position and let the glue dry. By pre-finishing the parts, and glue squeeze-out should clean up easily once the glue is dry.
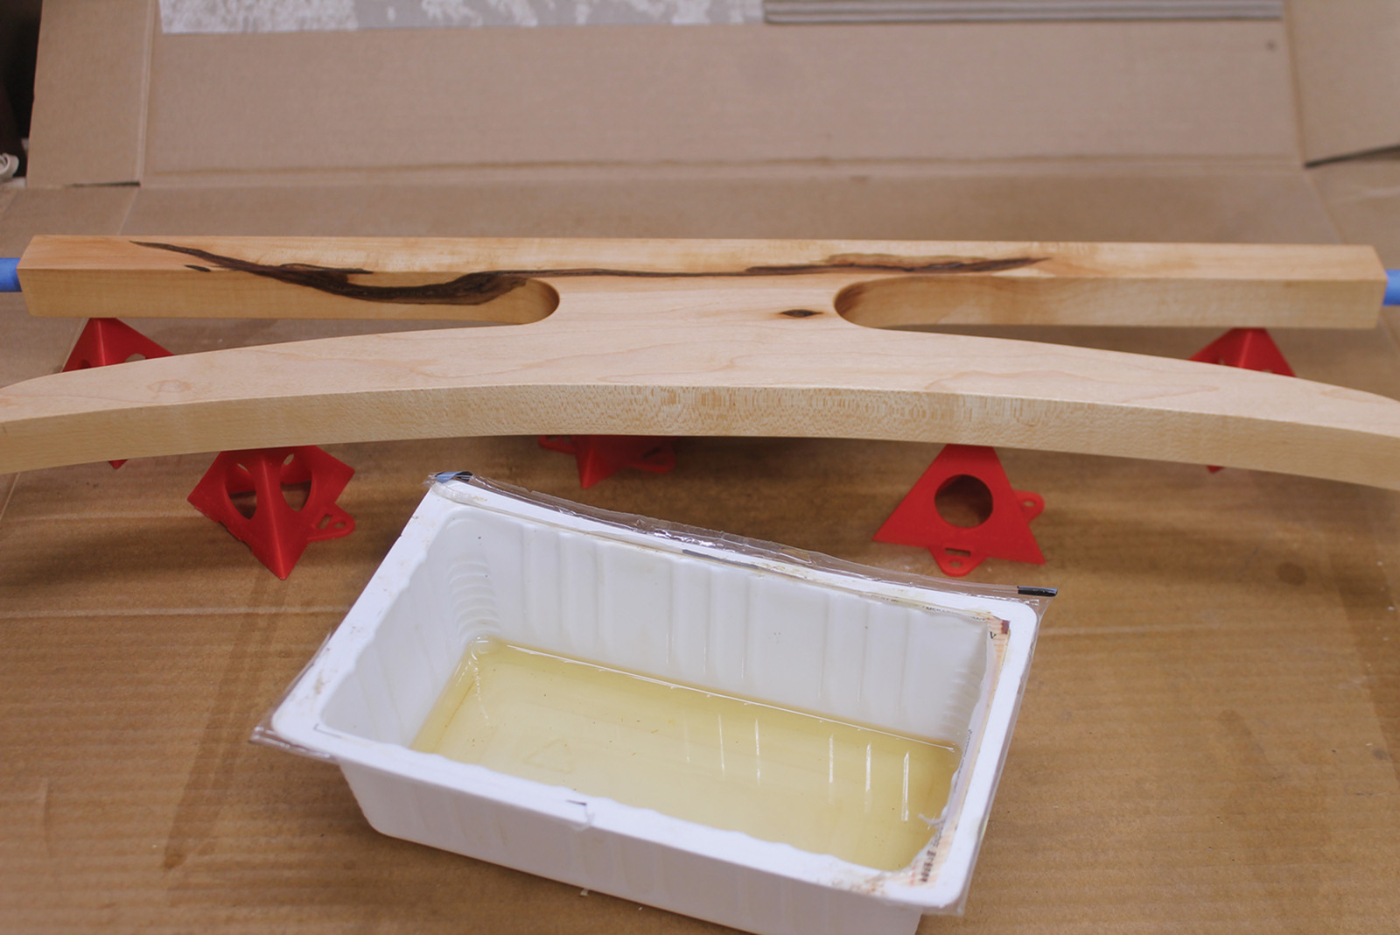
22 Tape off the dowels and holes to keep oil finish from them.

23 Check diagonals to ensure the glue-up is square.
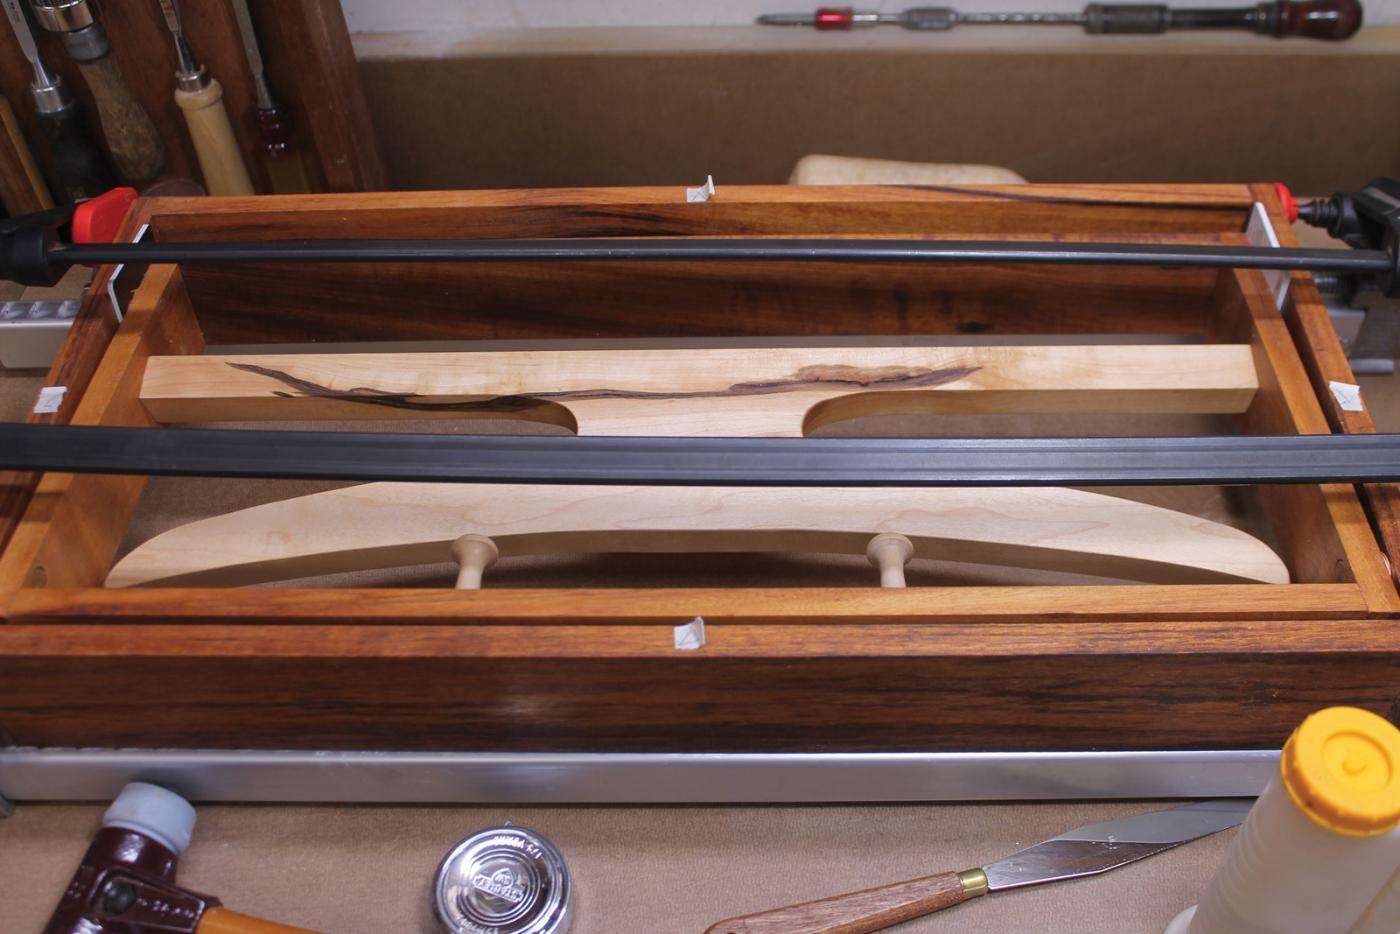
24 Cards are used as spacers to keep the even spacing between the frames in the final clamping stage.
Attach the Chains
Leather straps tend to wrinkle and sag over time, requiring maintenance and adjustments (not to mention that they can dry out and crack if you don’t condition them). As an alternative, I used a brass chain to hold the inner frame.
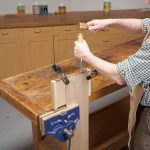
With the valet temporarily mounted in an upright position, swing the inner frame down, and hold it level or slightly above level to measure the required length of the chains. Cut the chains to length, predrill screw holes on the inner frame, and install the chains with the brass screws. A good trick to avoid breaking brass screws is to first install a steel screw in place to “cut threads” in the hole before installing the brass screw.
Install the Back
Cut a 3/8“ plywood sheet to size to form the back and glue a small block on the inside face of the panel in line with the top piece of the inner frame as a rest block. Lastly, drill two properly spaced mounting holes on the back and spray paint the back panel with a color of your choice. Once the paint is dried, screw or nail the back to the rebated outer frame and attach a felt pad on each corner. Now, mount your masterpiece at a spot in the shop where your visitors won’t fail to notice it when they enter your sanctuary!
Here are some supplies and tools we find essential in our everyday work around the shop. We may receive a commission from sales referred by our links; however, we have carefully selected these products for their usefulness and quality.