We may receive a commission when you use our affiliate links. However, this does not impact our recommendations.
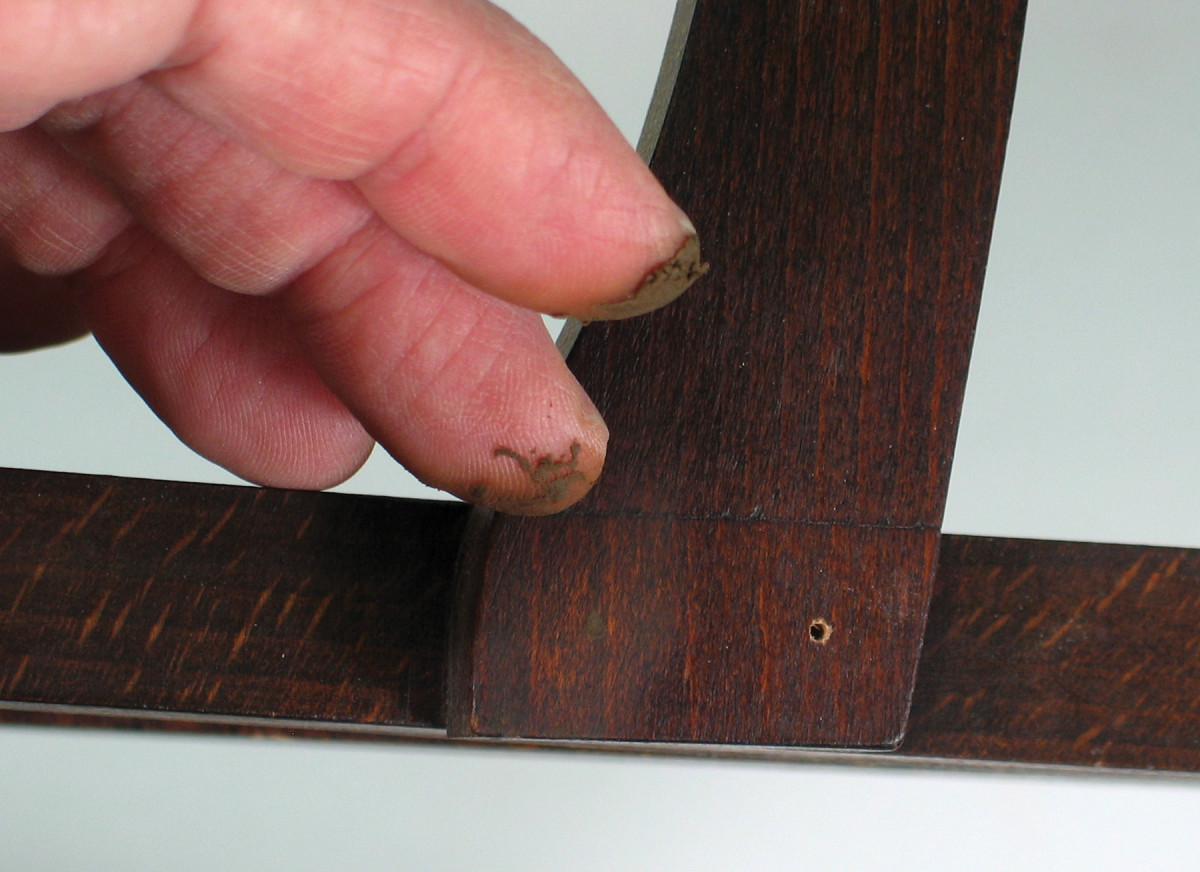
Color putty. A fast and efficient way to fill the small nail holes often found on cabinet frames is to press some widely available “Color Putty” into the holes with one finger and wipe it level with another. This is done between coats of finish, and there’s no need to sand.
Not everything has to have a furniture-grade finish.
If you read the woodworking magazines or look online, you often come across instructions for filling pores, glazing, toning, rubbing out, and so on. These are wonderful techniques for use on sophisticated projects such as furniture. But they are often overkill for basic kitchen or bathroom cabinets.
So it may be helpful to divide finishing into two categories: furniture-grade and cabinet-grade. This article describes the simpler cabinet-grade finishing. It involves just three – maybe four – steps: wood prep, sealing, topcoating, and sometimes staining.
Wood Prep
Mill marks. Mill marks caused by machining the wood have to be removed by sanding, scraping or handplaning. Otherwise, they will be highlighted, especially when using a stain – that will create an unprofessional look.
Preparing wood for a finish involves sanding, steaming out dents, filling gouges and dealing with glue seepage, which may cause a finish or stain to appear lighter in color.
The goal of sanding is to remove mill marks caused by machining and other flaws. You need only sand enough to accomplish this goal. Sanding can be done with stationary or hand-held power tools or by hand. Whichever method you use, the steps are the same.
Begin with a grit of sandpaper that removes the flaws efficiently without creating larger-than-necessary sanding scratches. Then work up through the grits, making the scratches smaller and smaller until they won’t be seen after staining or finishing. In most cases, you would begin with #80 or #100 grit and work up to about #180 grit. The finest grit you use should always go with the grain to help disguise the scratches left.
Dents can often be steamed level by dripping some water into the depression and touching it with a hot object such as a soldering iron to turn the water into steam.
Gouges can’t be steamed away because some of the wood is missing. So fill these with solvent- or water-based wood putty. Colored wood putties are available in wood tones, which you can use to more closely match the end color.
Sanding sealer. Sanding sealers contain additives that make the finish turn to powder when sanded. You can use a sanding sealer under lacquer and non-polyurethane varnish to help keep the sandpaper from gumming up.
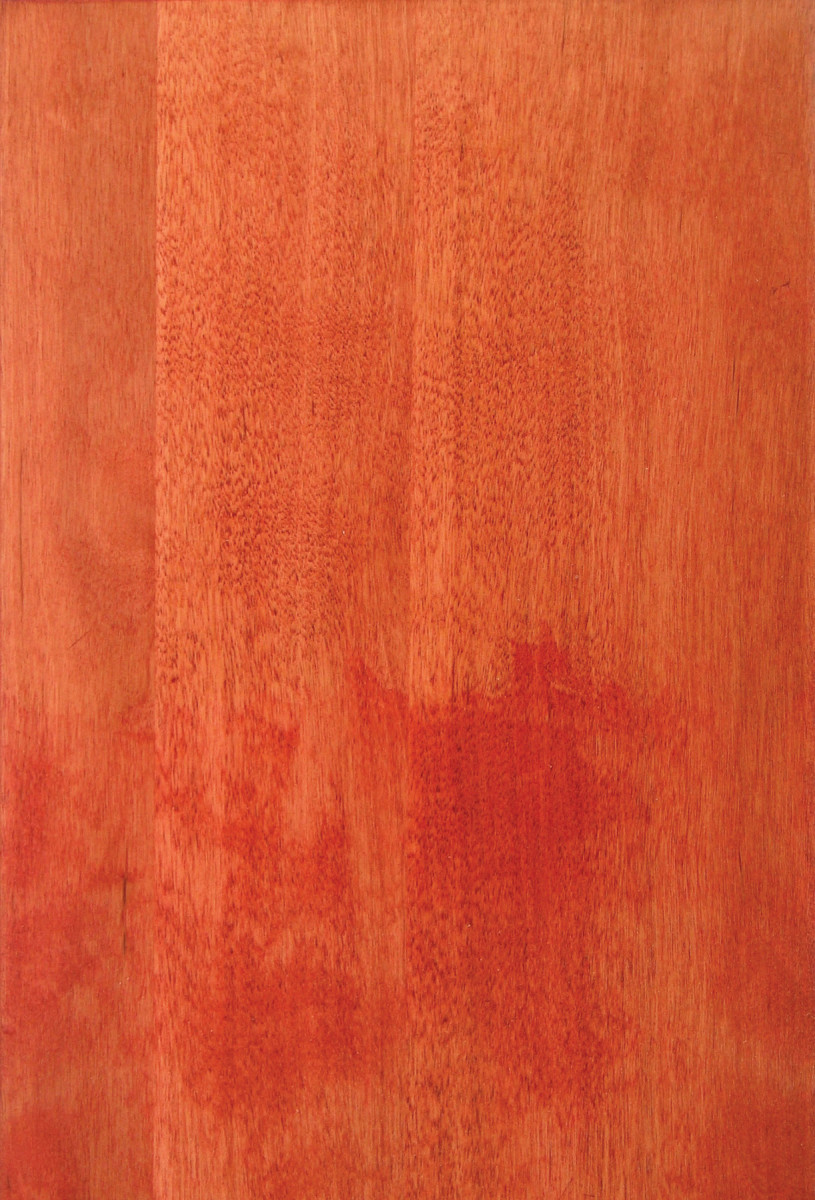
Glue seepage should be removed or it will hinder penetration of the stain or finish and affect the color. To reduce glue seepage, apply less glue to joints and keep your hands clean.
Remove glue seepage by washing off the still-wet glue or waiting until the glue begins to set up, then lift it off with a putty knife. If you have applied a stain before noticing the problem, sand or scrape off the glue, then wet sand the entire part with more stain to help even the coloring.
With dent, gouge and glue-seepage repairs, you need to sand again with at least the finest grit to level the repair or remove raised grain.
Sealing
Sealing is accomplished by the first coat. This can be the finish itself or a separate product used to solve a problem. Whatever you use, you should sand this first coat to create a smooth surface under subsequent coats.
Use sanding sealer to make sanding easier – except under oil-based polyurethane or water-based finishes because these finishes are easy enough to sand themselves.
Shellac is often mentioned as a sealer, but it is needed only when trying to block off a problem in the wood, such as silicone oil, odors from smoke or animal urine, or natural oily resin in many exotic woods. Shellac is a useful sealer when refinishing but rarely needed when finishing new wood.
Topcoating
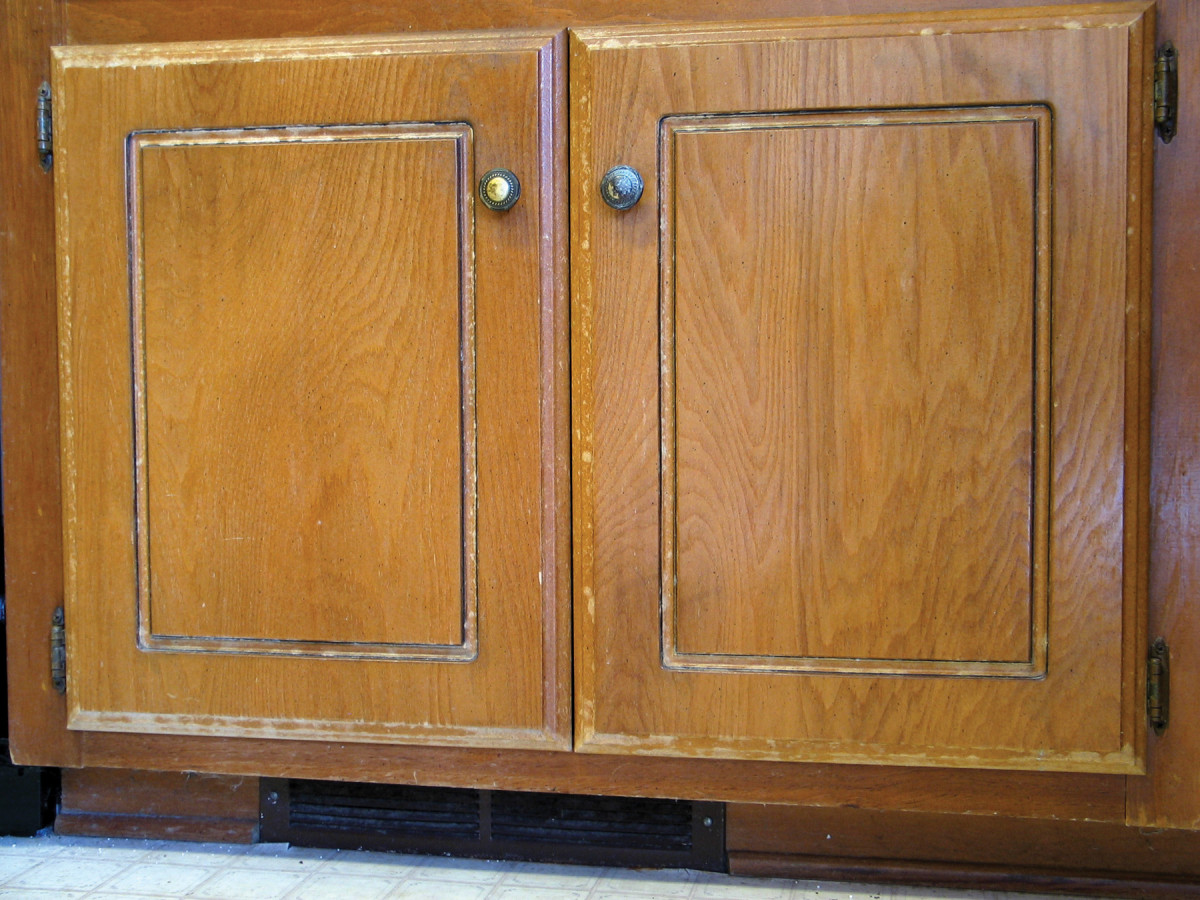
Cabinet doors. Be sure to apply full coats of finish to the edges of both the frames and panels of cabinet doors. This is especially important for doors under sinks to prevent splashed water from working its way through and causing the finish to peel.
The topcoat is critical because it’s the layer that provides most of the protection against moisture (very important in kitchens and bathrooms) and durability against scratches and heat. It also provides the sheen (gloss, satin or flat) and some of the coloring. For the topcoat you’ll probably choose from among the following:
■ Oil-based polyurethane is among the most durable and water-resistant of all finishes. It dries slowly so it’s easy to brush on. It imparts a slight yellow-orange coloring to the wood.
■ Water-based polyurethanes and acrylic finishes are durable and water-resistant enough, but less so than oil-based polyurethane. Neither adds much color, so these are good choices for light woods such as maple and ash when you want to keep the natural color. The first coat, though easy to sand, raises the grain more than solvent finishes.
■ Nitrocellulose and cab-acrylic lacquers dry fast so they are sprayed. Both are less protective and durable than polyurethanes, but they are easy to use if you have a spray gun.
■ Pre- and post-catalyzed lacquers and varnishes are durable like polyurethane and also dry fast, so they are sprayed.
■ Shellac is similar to nitrocellulose lacquer in scratch and water resistance.
■ Oil finishes are too thin and soft to perform well on kitchen and bathroom cabinets.
The most common error made in topcoating cabinets, whichever finish is used, and especially when spraying, is not coating the edges of the doors well enough. A thin finish at these locations is quickly broken through by water. Pay special attention to the edges and all three-dimensional surfaces, such as raised panels.
Staining
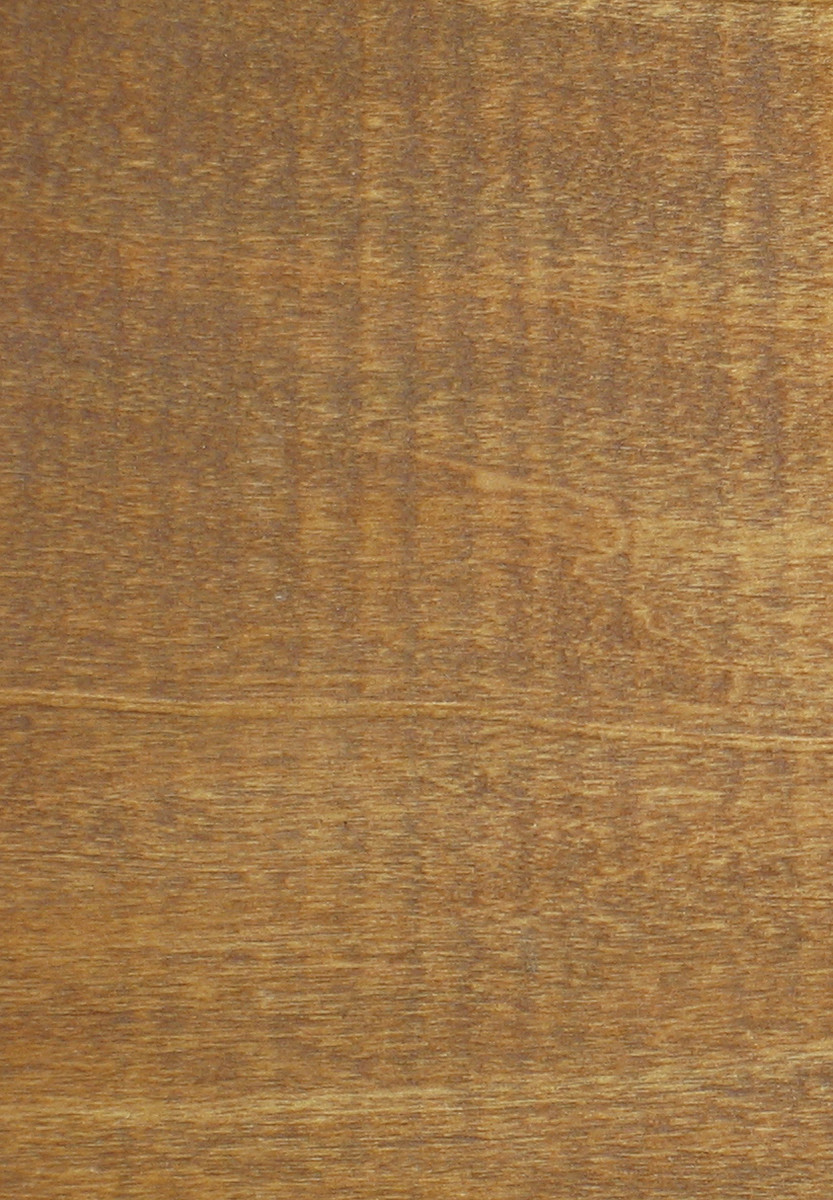
Blotching on birch. The most efficient way to prevent blotching on hardwoods such as cherry and birch is to apply a washcoat before staining (top half). Wood conditioner is a varnish washcoat. Contrary to directions, it must be allowed to dry thoroughly, usually overnight, to be effective.
Stain is applied before sealing to add decoration to the wood, but it also increases the likelihood of problems, including the following:
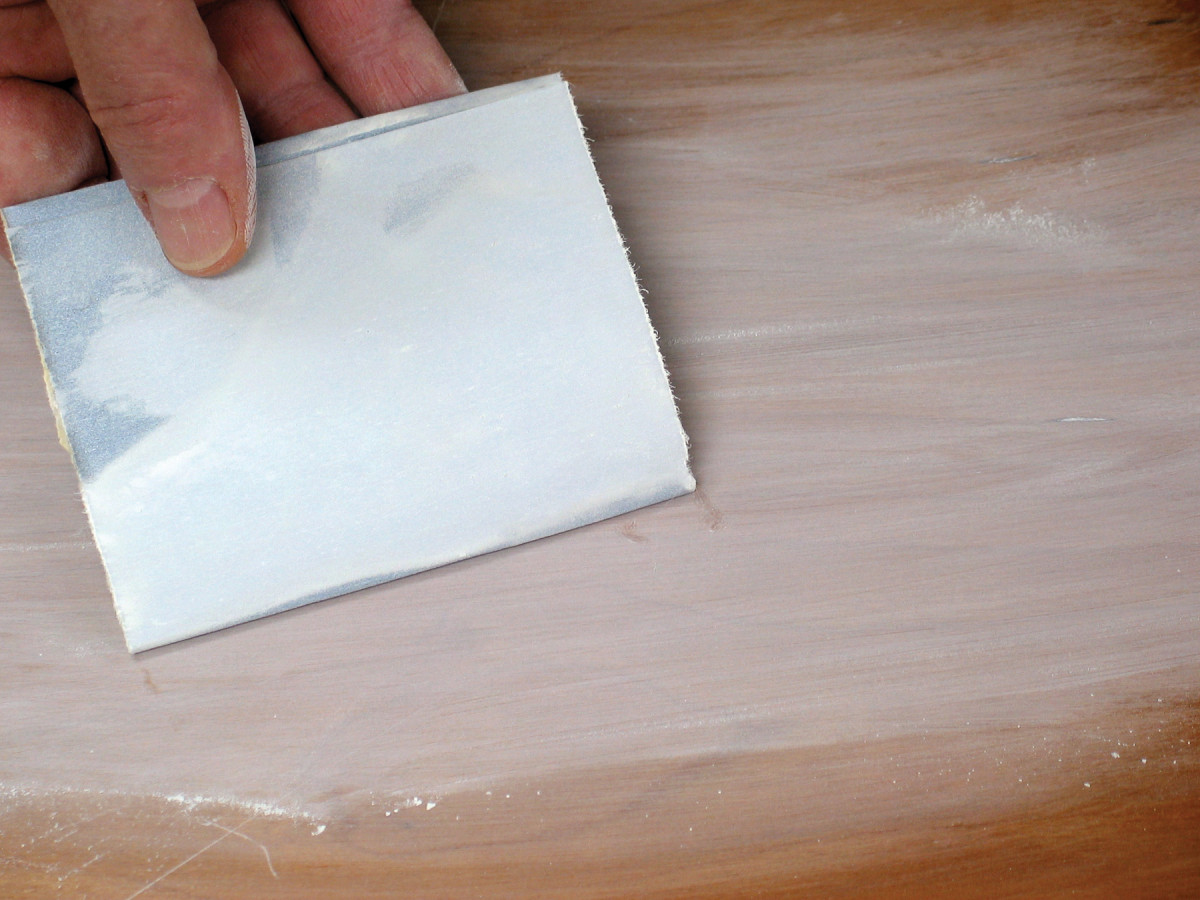
■ Blotching is usually caused by irregularities in the wood. For pine use a gel stain to avoid the problem. For blotch-prone hardwoods such as birch and cherry, apply a washcoat (the finish thinned with 3 to 10 parts thinner) and let it dry thoroughly before staining.
■ Darkened end grain is primarily the result of inadequate sanding. The still-rough surface retains more stain when the excess is wiped off. A washcoat will help even the coloring and also stiffen the wood fibers to make sanding easier. You can use a rag or brush to target the washcoat just to the end grain.
■ Poor bonding is most often caused by not wiping off enough of the excess stain. Stain has much less binder than paint, so it separates when knocked against.
■ Poor bonding can also be caused by applying a water-based finish over an oil-based stain before it has thoroughly dried.
Whatever finish or procedure you use, it’s best to test on scrap wood before committing to a full set of cabinets.
Here are some supplies and tools we find essential in our everyday work around the shop. We may receive a commission from sales referred by our links; however, we have carefully selected these products for their usefulness and quality.