We may receive a commission when you use our affiliate links. However, this does not impact our recommendations.

As promised, the guys in class had the early part of the day to complete mouldings and work on the sculpted bracket feet. Each woodworker laid out the feet from the provided pattern and drilled the holes forming the spurs and with the help of Doug and Zane, our shop advisors. Everyone had their feet mitered and the spline recesses were cut, too (Doug used a method for cutting the recesses that is rather interesting and I’ll talk more on that later).
Most everyone in the class decided to take the feet and moulding back to their shops to complete the work because most did not want to glue up the cases before final sanding. Nor did they want to use valuable time when the drawer fronts awaited.
At 1 p.m. we began discussions about the drawer fronts and I demonstrated how to transfer the shape to the drawer front and make the cuts at a band saw. Everyone took to the drawer fronts with ease. I explained that shaping the fronts was as simple as a close and accurate band saw cut, proper technique and a sharp blade.
I worked with each student one on one to demonstrate the exact steps needed as they began work to shape their drawer front. To begin, lay out the flat blocked portion at the end of the drawer front, establish a line that delineates the flat sections from the beginning of the rounded fronts, then peel away excess stock to smooth the transition while leaving a distinct line.
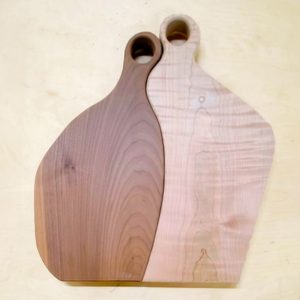
Next, they used low-angle block planes to carefully round the curved fronts. The secret is to rub the surface with your hands and smooth any uneven spots you feel. If it feels smooth, the eye will never see different. That’s a big part of the entire shaping process. Slowly and methodically each woodworker shaped the first drawer front. As you can see from the photo below, some in the class chose to cut all their drawer fronts before beginning any shaping. 
Today we’ll complete at least one drawer front and talk about how to tweak the fit and dial in perfect alignment with precise reveals. And we’ll begin the half-blind dovetails used to connect the drawer fronts to the drawer sides. The through dovetails used at the back of each drawer are the same as the dovetails they did when they joined the case sides to the bottom. Discussions on how to cut and fit the drawer bottoms will be interesting due the shaped interiors of those drawer fronts.
Because it’s Friday and class is over at 3 p.m., you’ll have to sit tight for the weekend. Come Monday I’ll post the final photos. In addition, I’ll have a couple funny stories to relate. Here’s a hint: There is always a prankster in the group. And, I’ll show you a use for blue painter’s tape that our very own Marc Spagnuolo, The Wood Whisperer, might never have thought of.
p.s. Click here to read “Teaching at Marc Adams , Day One,” here for “Day Two,” here for “Day Three” and here for “Day Four.”