We may receive a commission when you use our affiliate links. However, this does not impact our recommendations.
 These days when lumber and sheet good prices are soring I find it even harder than usual to give up on usable material and let it end up in the landfill.
I have always been dedicated to the reclaim, conservation, and reuse of materials, and especially woodworking-related items. My proclivity to saving furniture, scrap pieces of wood, or even hardware that I am able to dismantle from tosed away pieces is well documented. In fact, I even wrote a book about it – Working Reclaimed Wood. In it, among other topics, I demonstrated ways for reclaiming wood from mundane sources such as pallet wood and the such. However, in my chapter on screw and nail extractions, I did not include a subcategory about staple removal.
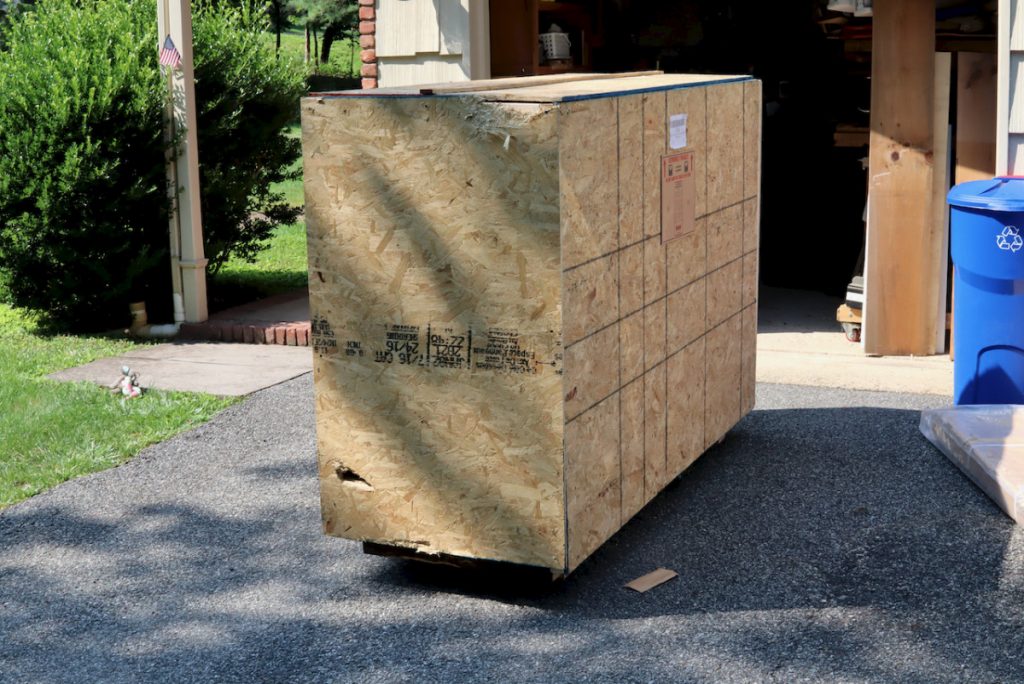
This week a big OSB & Lumber crate arrived at my shop holding my new 8” Grizzly Jointer. This crate provided me with the opportunity of documenting the process of staple removal, which I lay out in detail below.
Knowing your tools
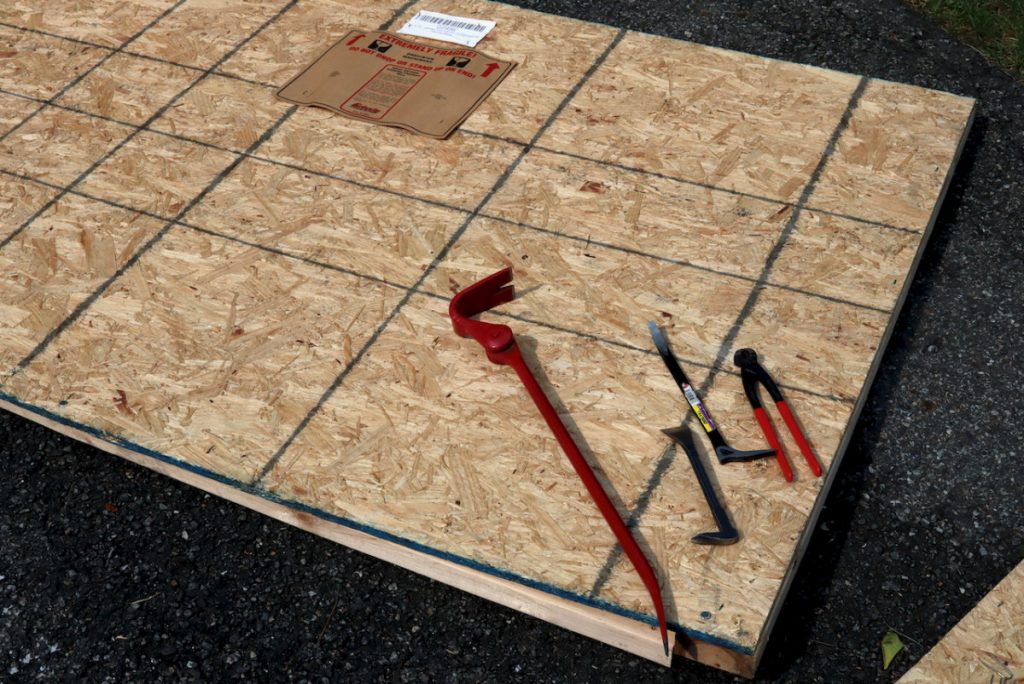
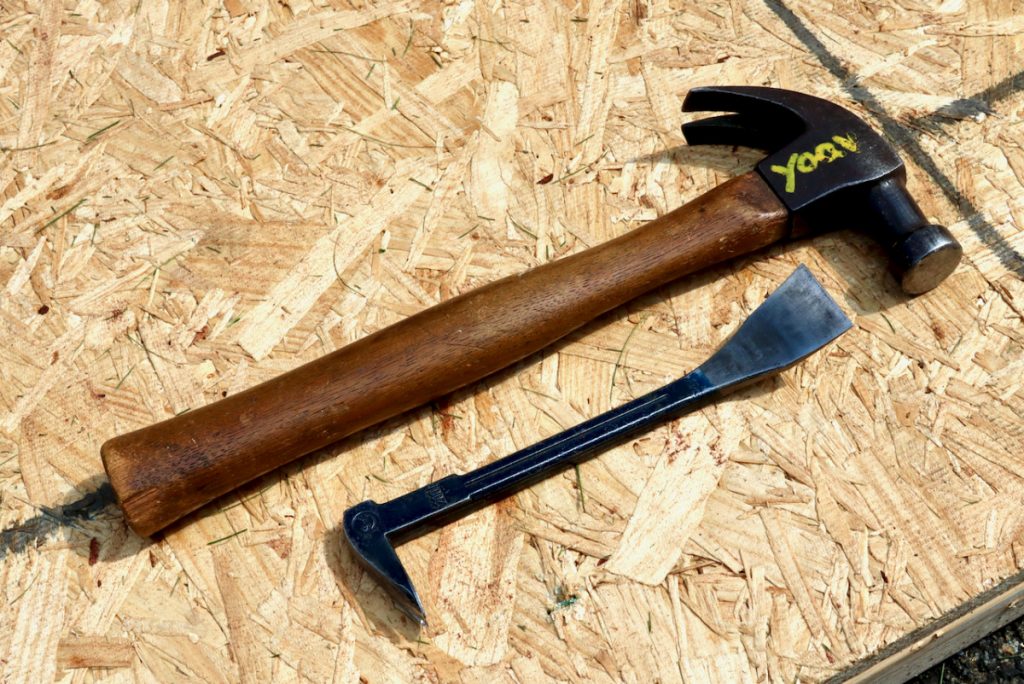
A screwdriver, a crowbar, a cat’s paw, a carpenter hammer, and a nail puller pliers (end cutting pliers) are my tools of choice, and my Shark Prybar and Nail Puller is the tool I use the most.
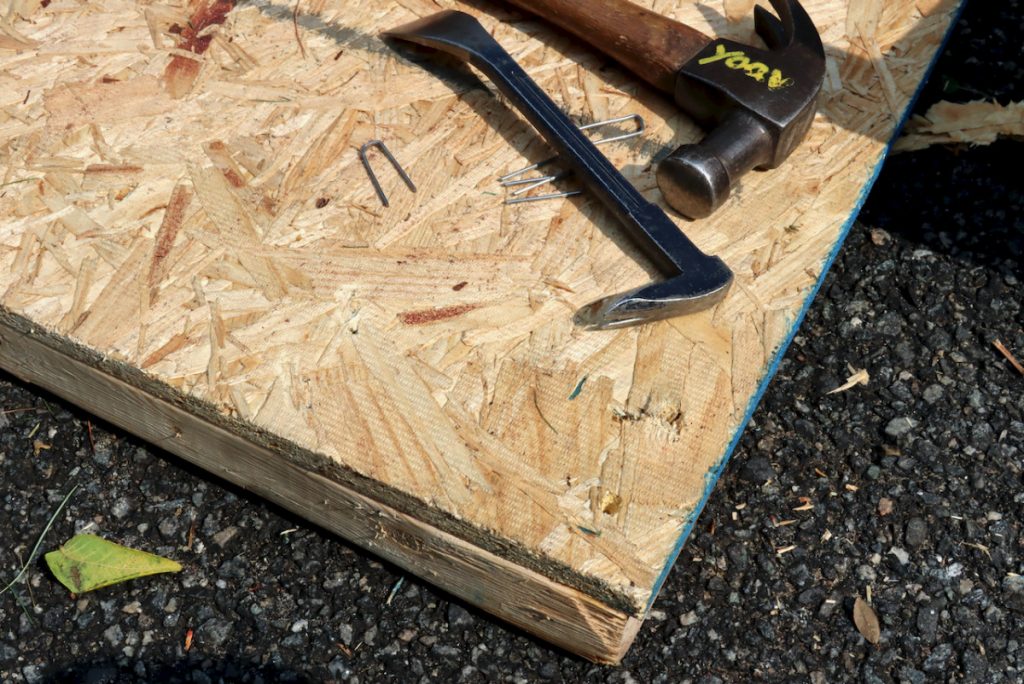
The Crate
The crate’s framed panels were connected together with screws. So I used an impact driver and a crowbar to disconnect them.
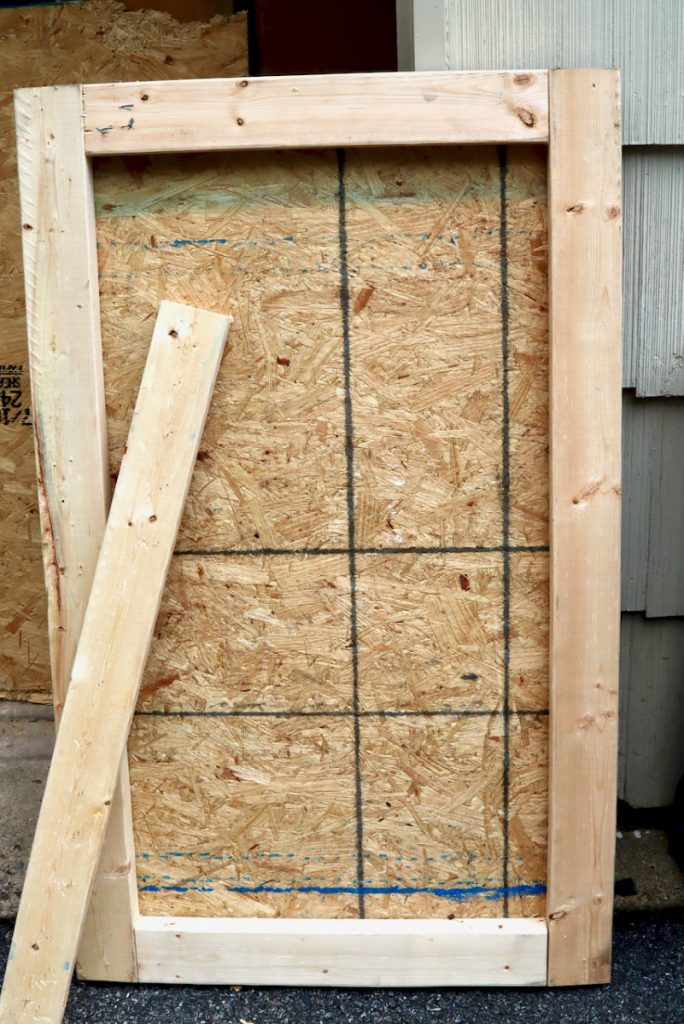
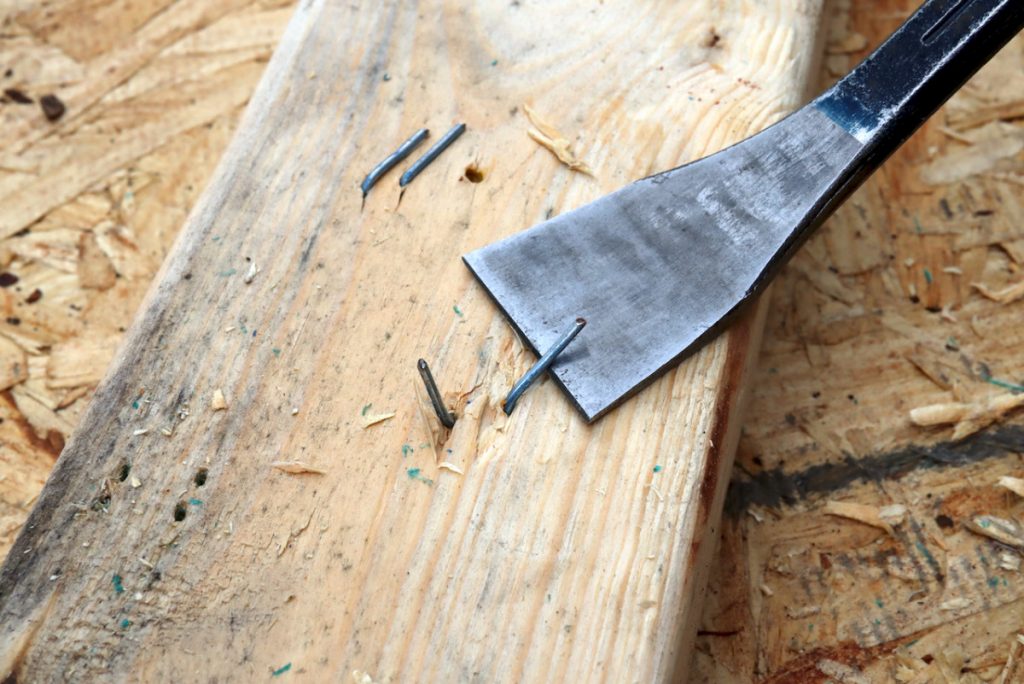
Next, I had to deal with stapled OSB & Lamber frames. With one or two hammer strikes at the flat heal of the tool’s head, I was able to send the Cat’s paw to bore its way under the staple.
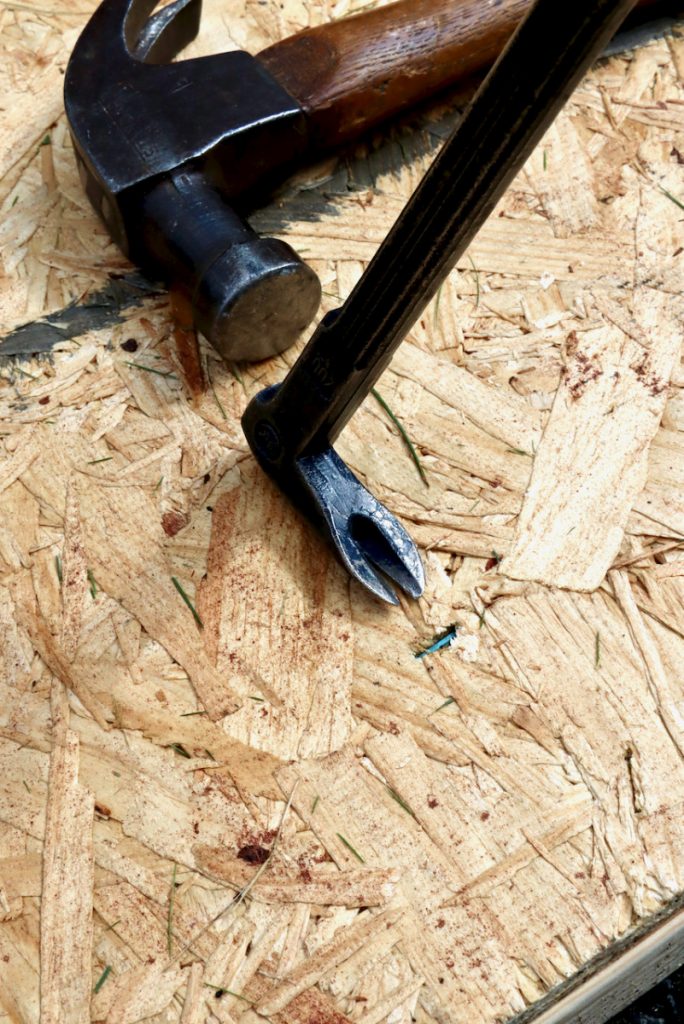
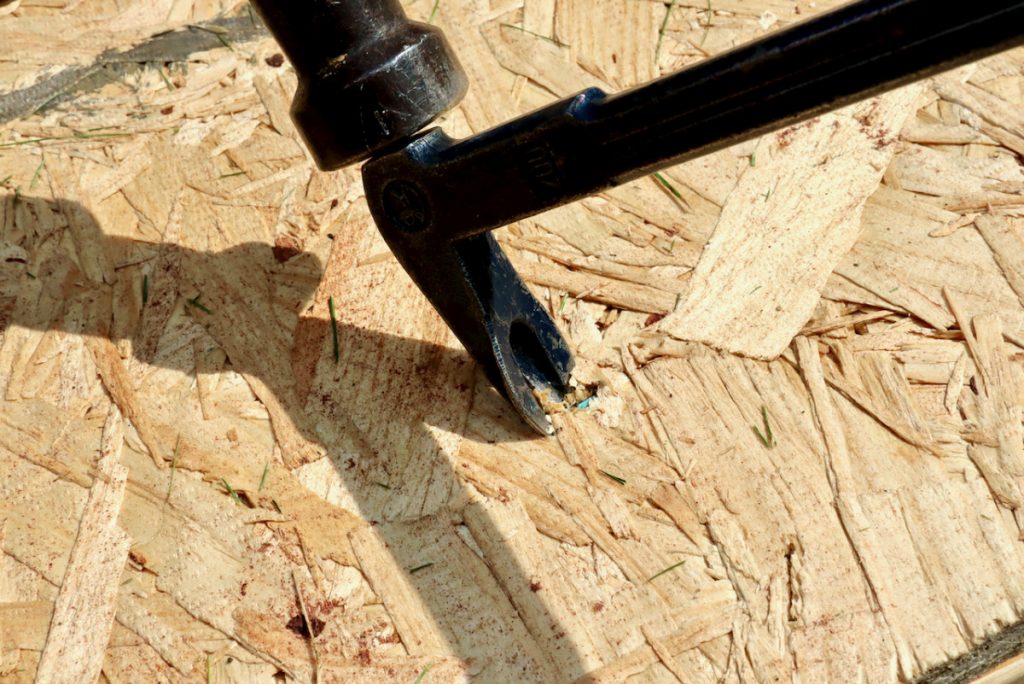
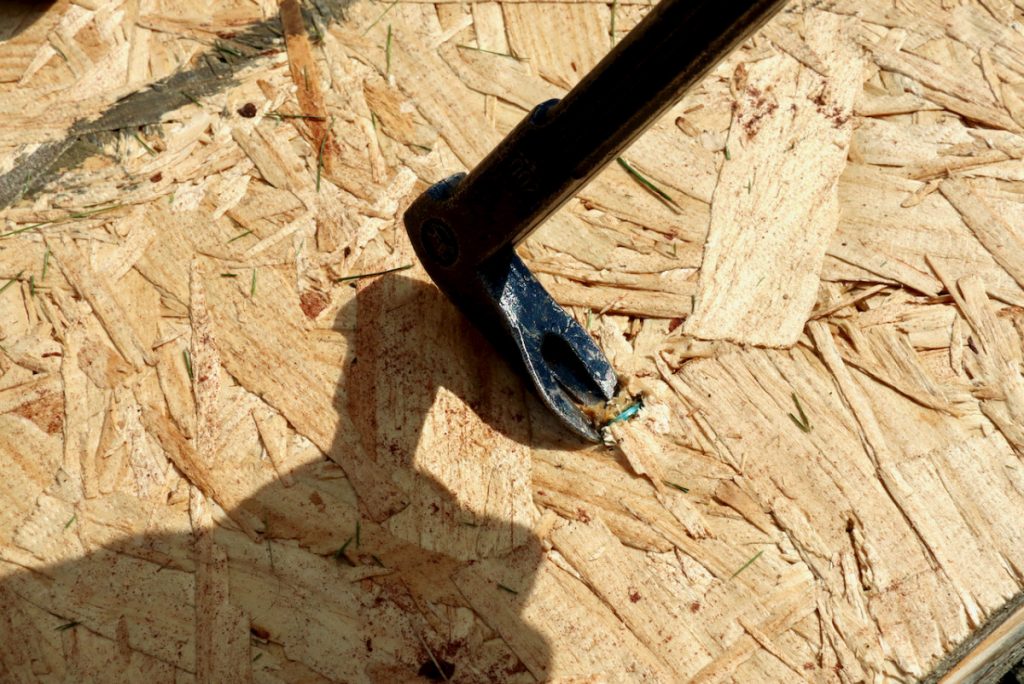
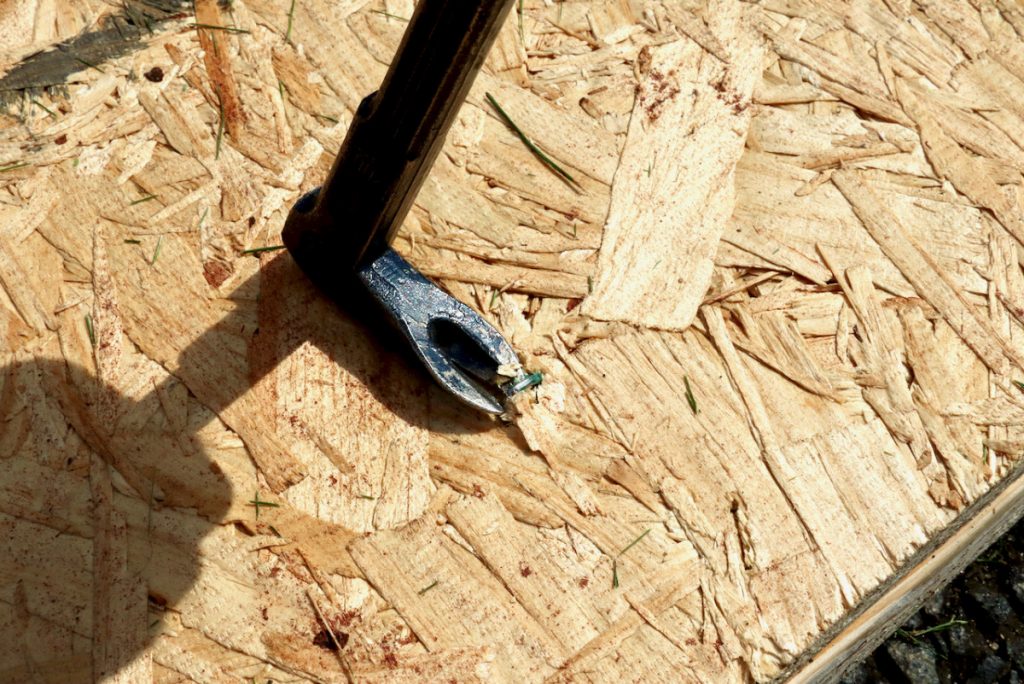
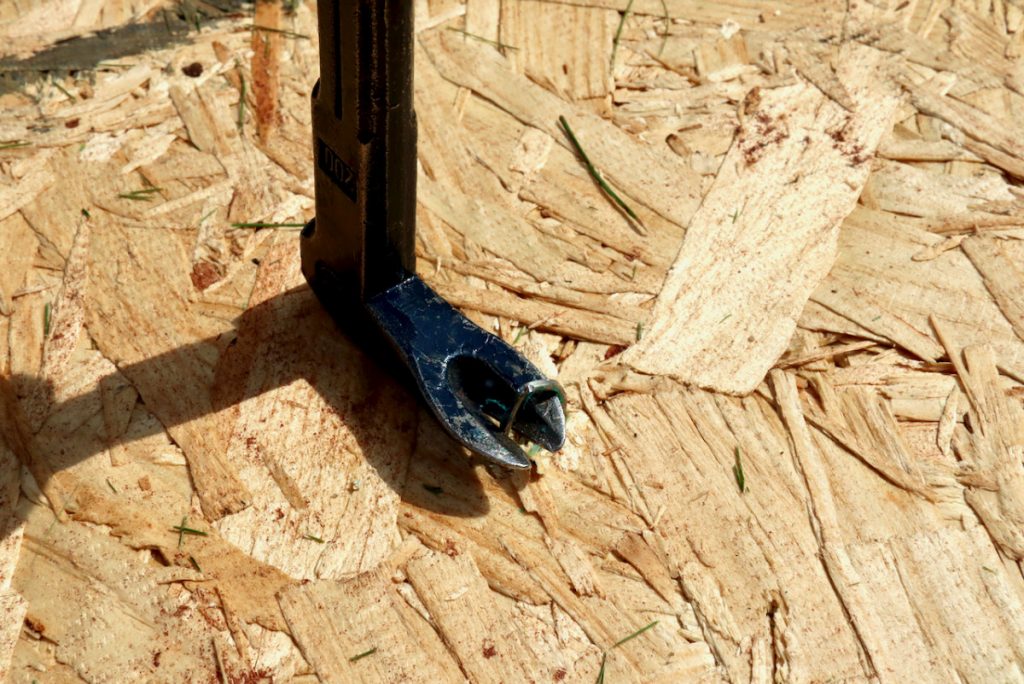 Then I leverage the staple up and release it from the wood. BTW, once the staple’s head is pulled up enough you can utilize a set of nail pliers to do the extraction job.
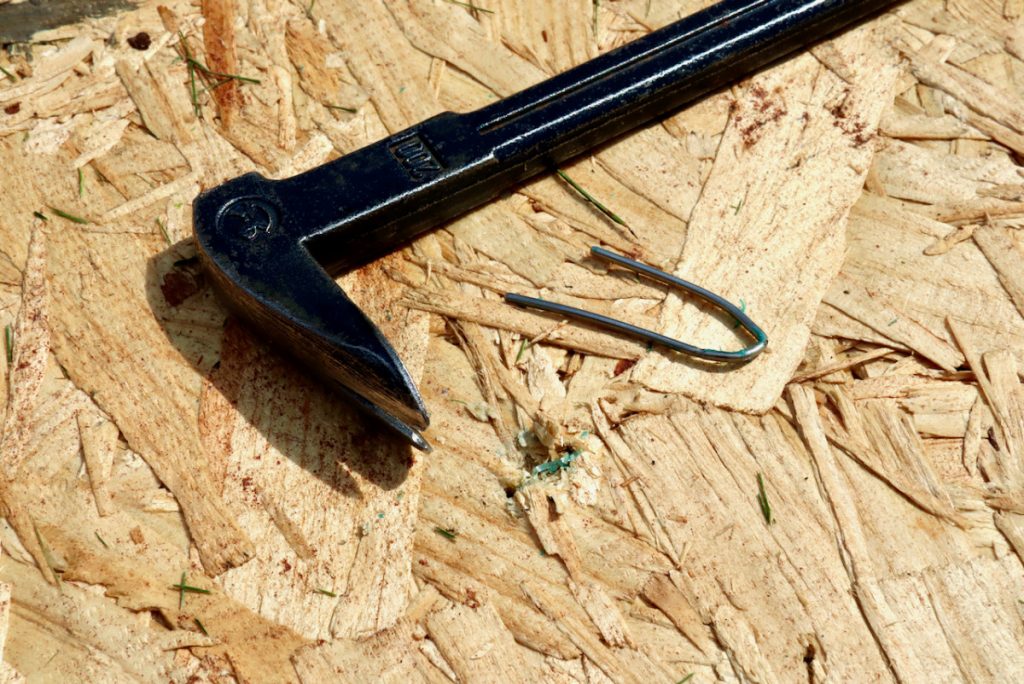
In some cases, it would be beneficial to begin the separation of the two stapled materials by wedging a tool in between them and then cleaving the two apart. This reduces the risks of a staple head breaking on us and leaving the staple’s legs stuck in the wood. Crowbars with a wider hoof will be able to do this job more elegantly than regular bars that might nick or depress the wood. On that note, the flat part of the Shark tool is great for tucking/forcing and eventually separating the sandwiched layers of material.
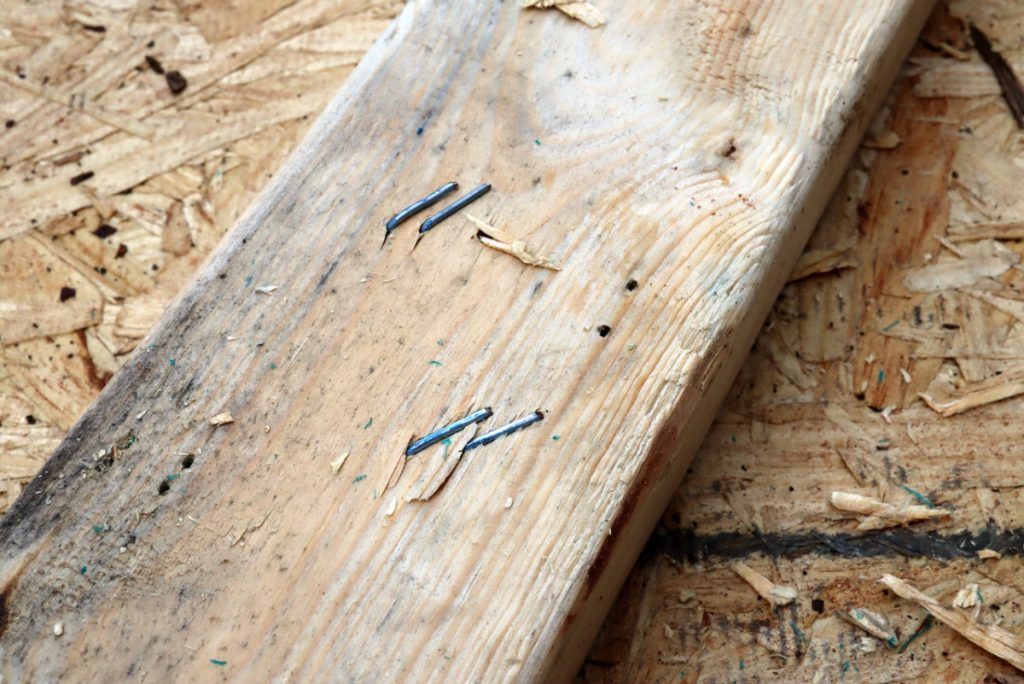
After the OSB & 2×4 were separated I hammered the staples’ legs and push them out. Then I grabbed the staple’s head with a set of pliers and completed the extraction from the other side.
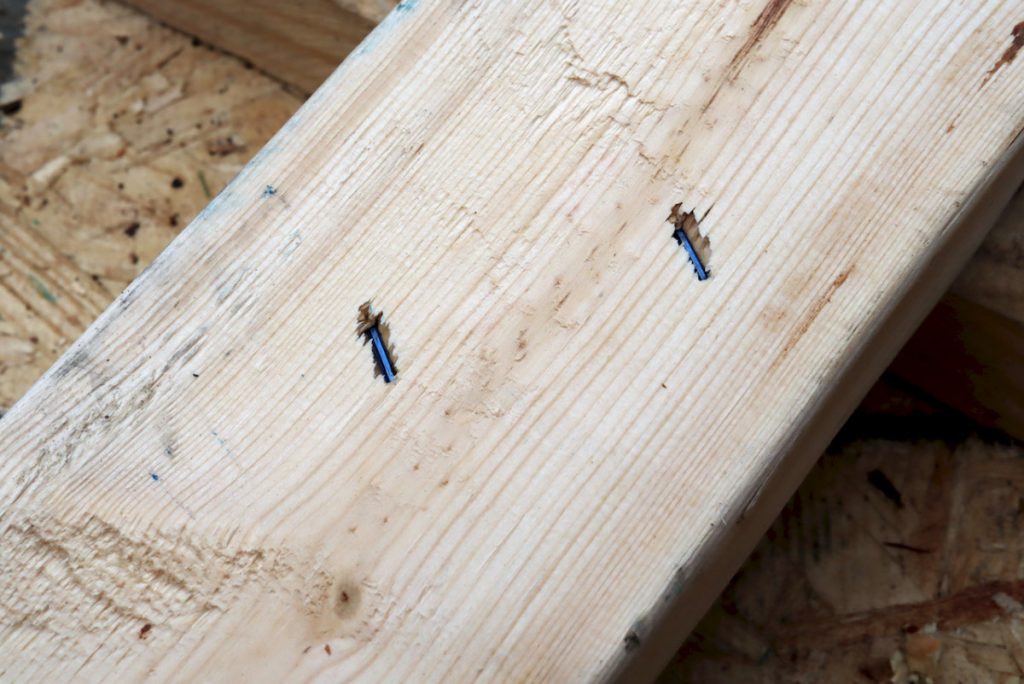
After I separated the OSB from the 2×4 I turned the board over and hammered the staples’ legs.
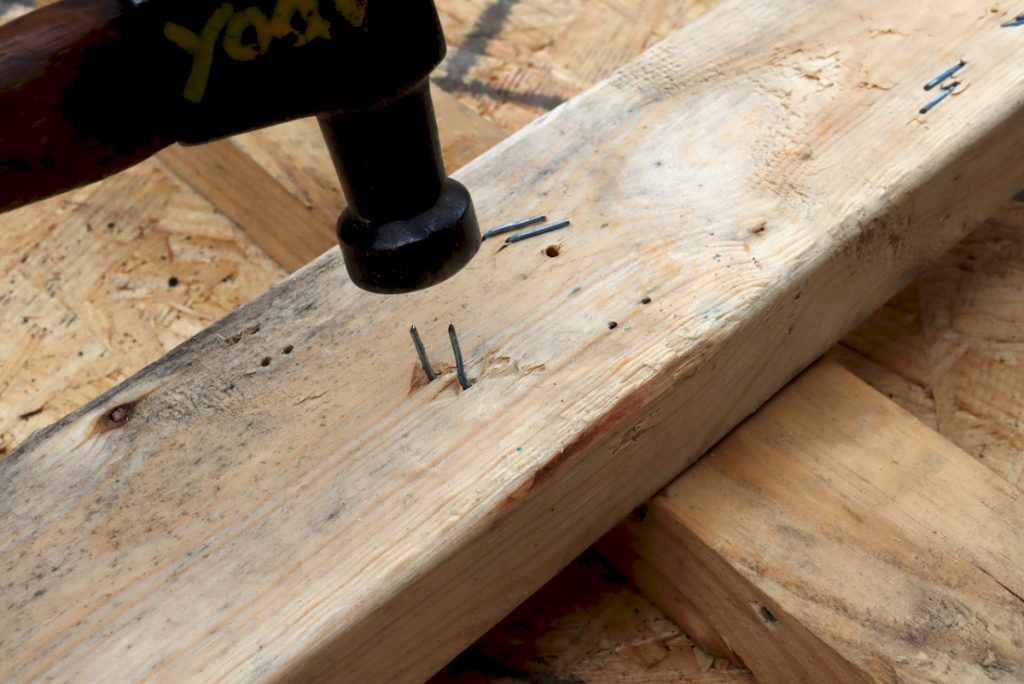
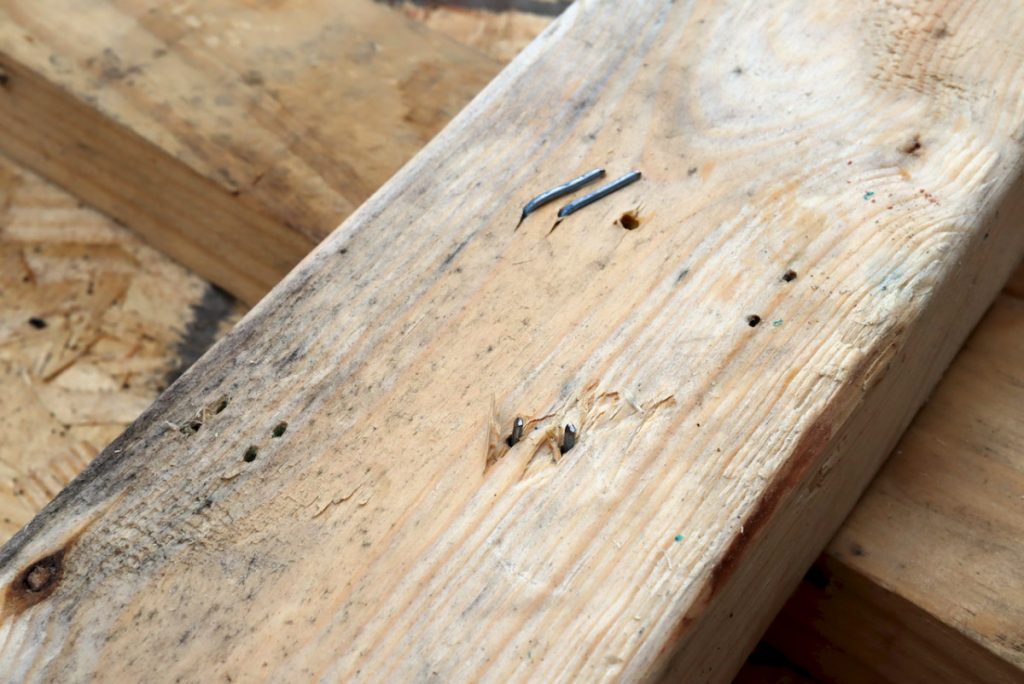
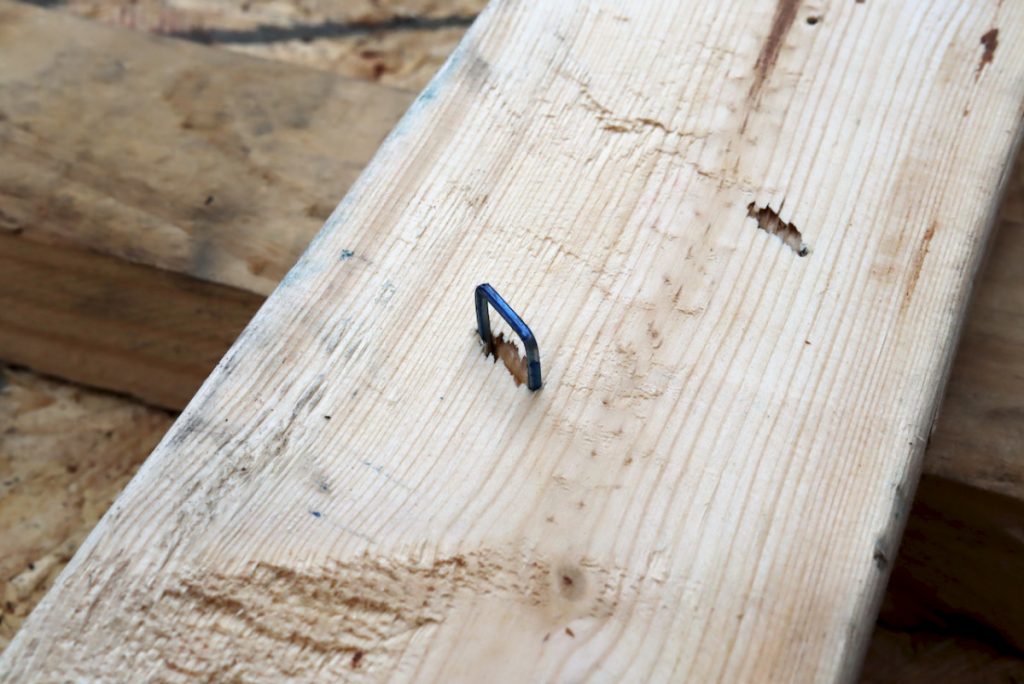
Once the staple’s head reveals itself you can use a set of pliers to fully extract it.
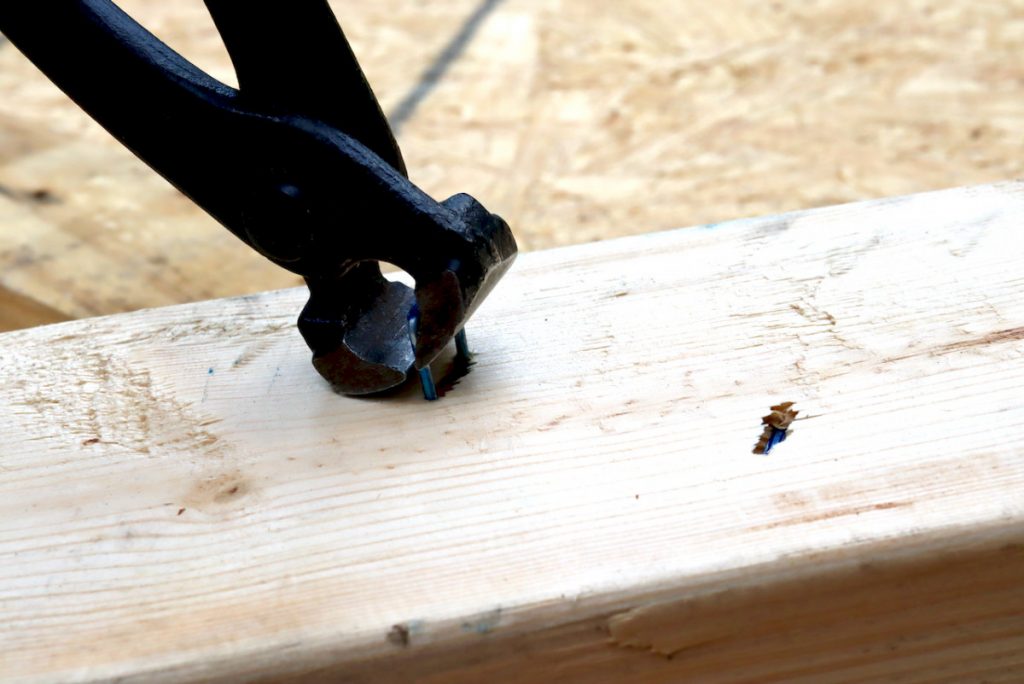
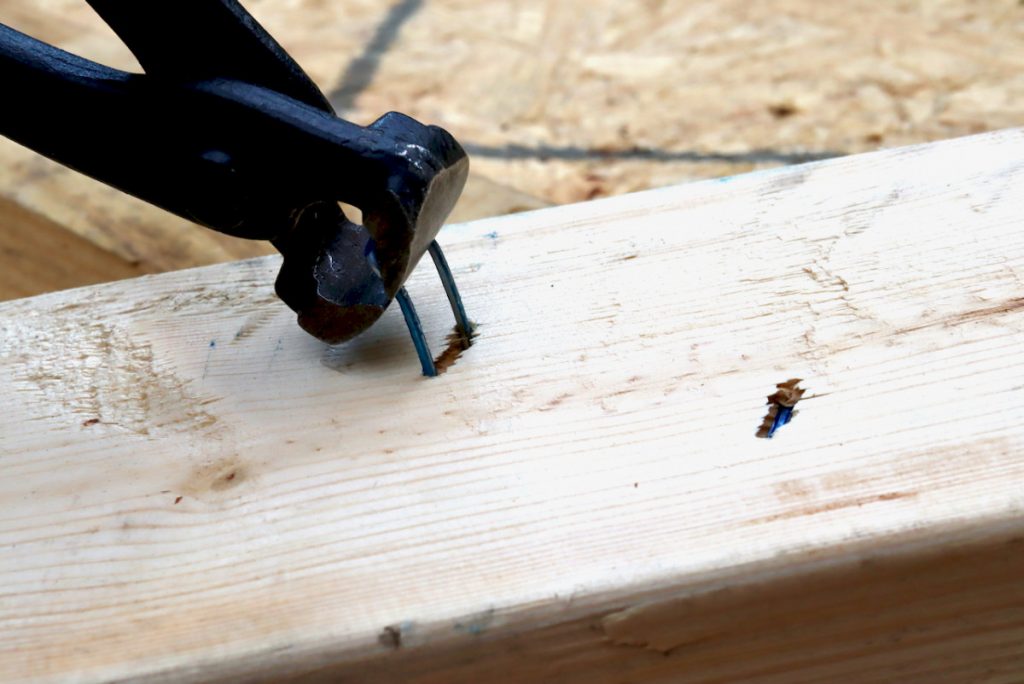
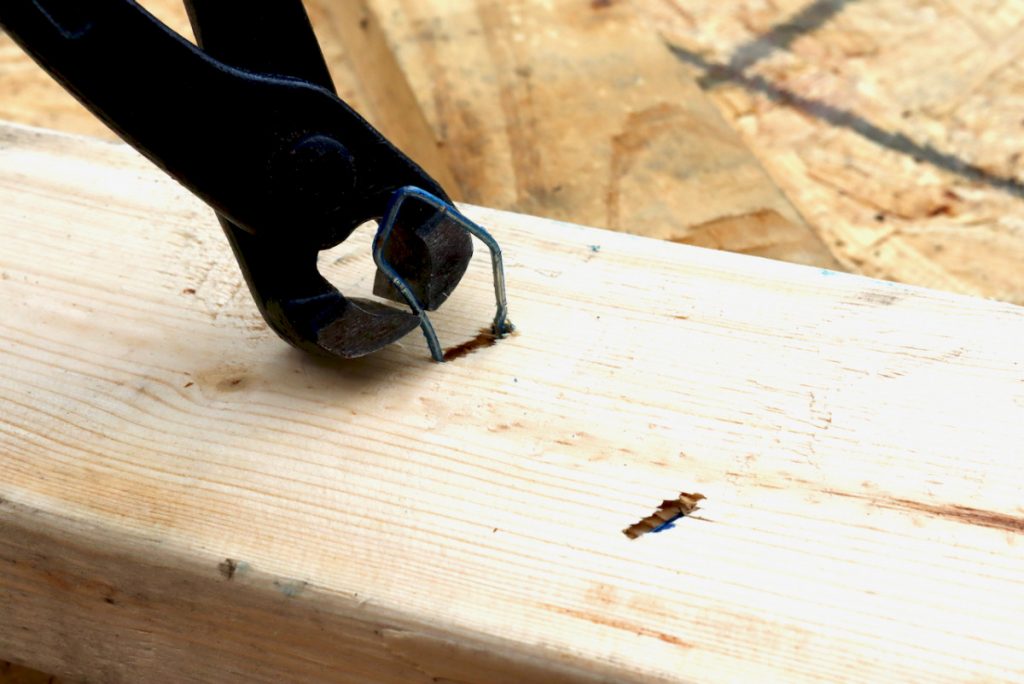
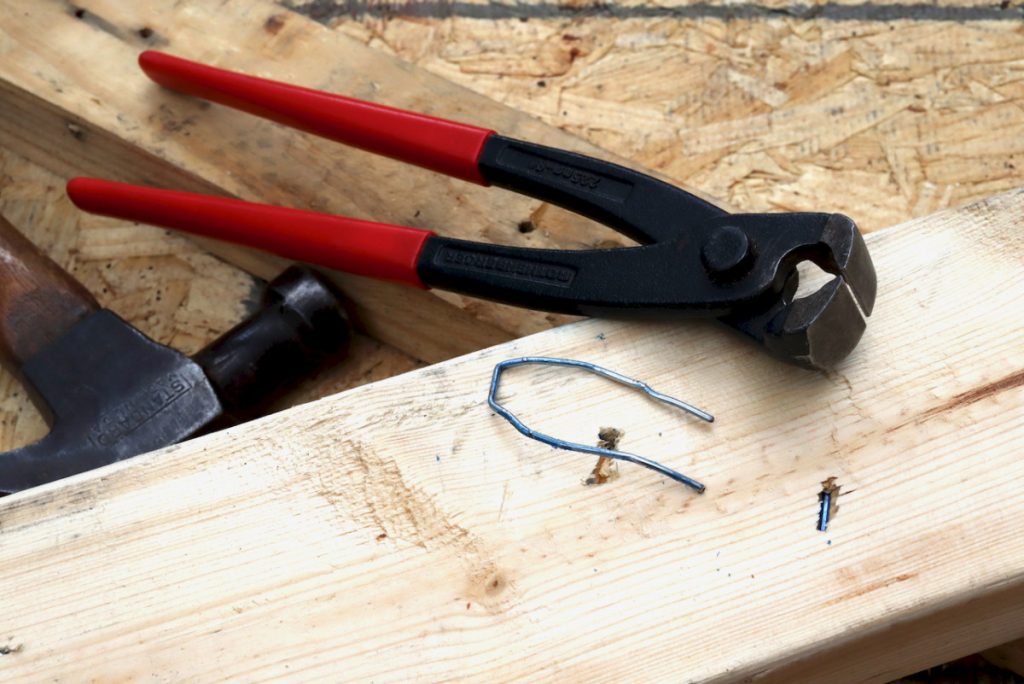
If for some reason the staple’s legs got compressed into the wood, pry them up and then hammer them out.
Short cuts?
In some situations, such as in this case of a staples overload at the end of a 2×4, my solution was to short-cut the beam with a circular saw.
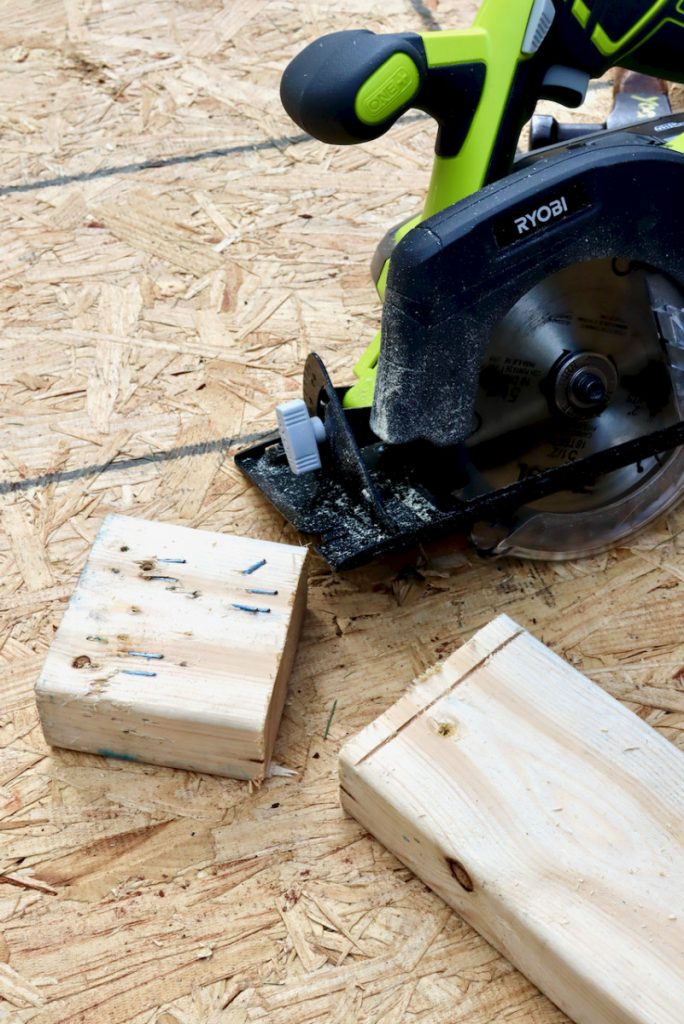
“Chop off its head” when there are just two many staples, or other fasteners, to be bothered with.
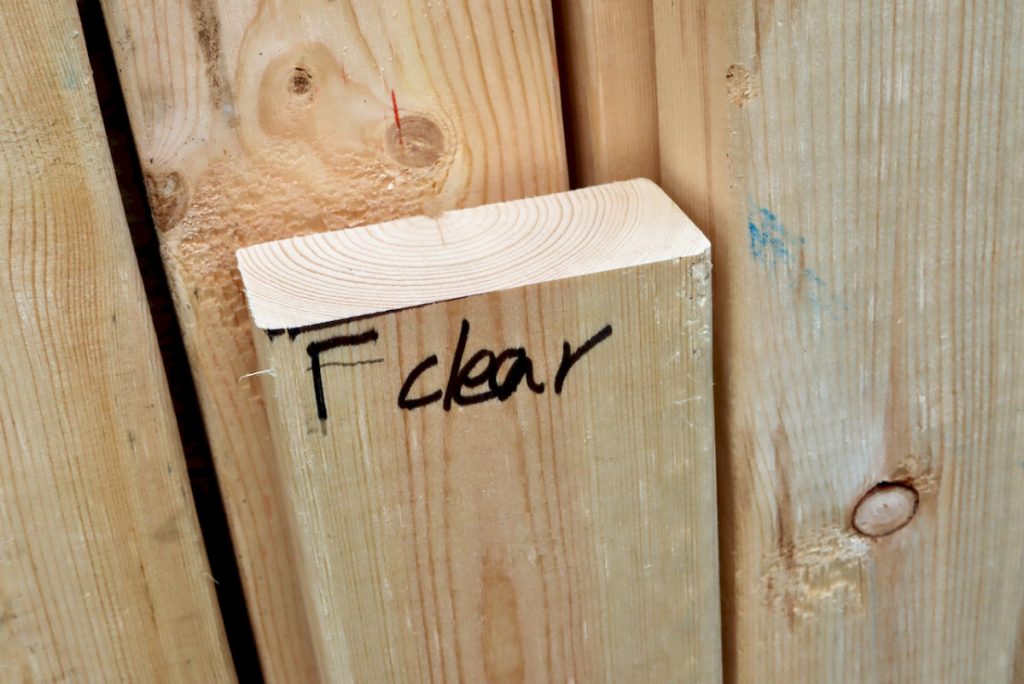
You don’t want to accidentally cut into an embedded fastener that you forgot to extract. To avoid future undesirable accidents double check the board with a metal detector. Once you are sure that the salvaged lumber is pacified write “Clear” on it.
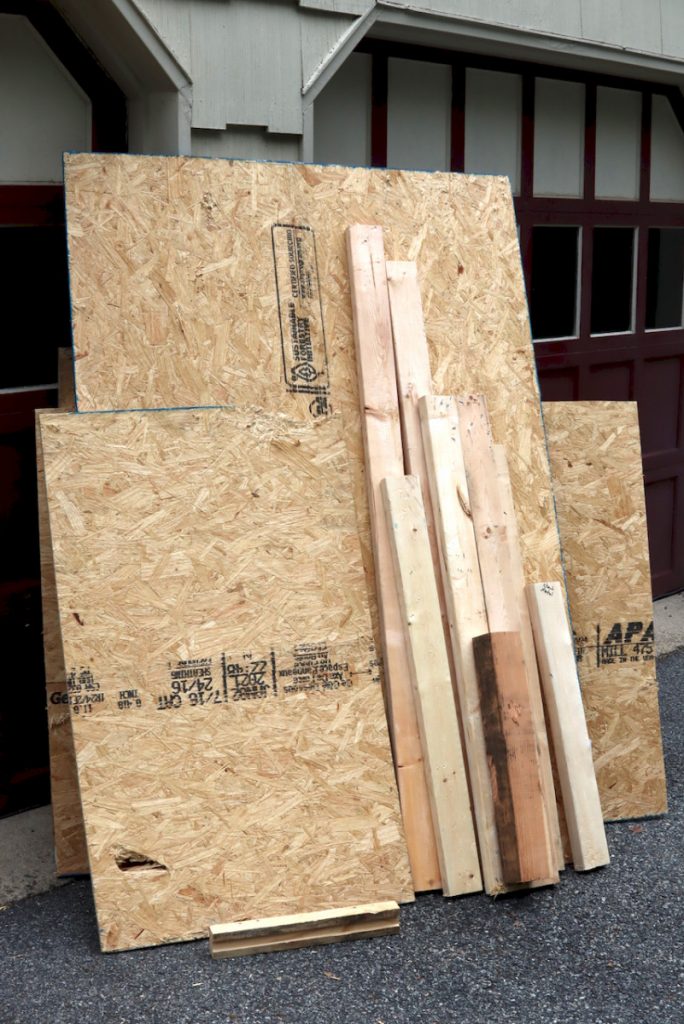
After two hours of work, my efforts yielded a nice crop of reusable wood. While this stuff might not be my lumber of choice for furniture making, it is definitely good enough for shop use, furniture carcasses, and other jigs or contraptions.
Here are some supplies and tools we find essential in our everyday work around the shop. We may receive a commission from sales referred by our links; however, we have carefully selected these products for their usefulness and quality.


