We may receive a commission when you use our affiliate links. However, this does not impact our recommendations.
Read part 1 here and read part 2 here.
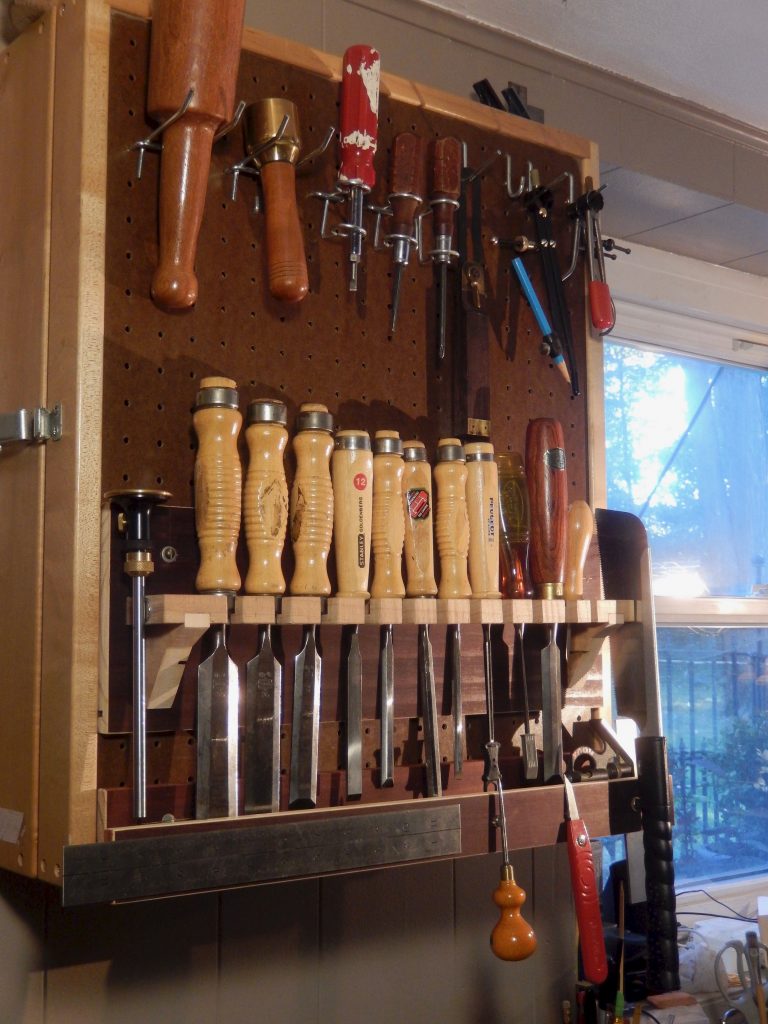
As the design and construction of the rack was completed (see part one of the story) and after I added the utility magnets and tried to hang the rack using the generic pegboard hooks (see part two) I came to the conclusion that my work was not completed and I needed to alter two things. First I wanted to add stability to the hanging system, so I connected the rack to the pegboard with two bolts and nuts. I could have used wood screws but I liked the extra security of a bolt and nut.

Initially I though that the steel hook will be good enough for hanging the rack. But as I begun using it, opening and closing the door, I concluded that I need some extra security so I replaced the pair of hooks with bots and nuts.
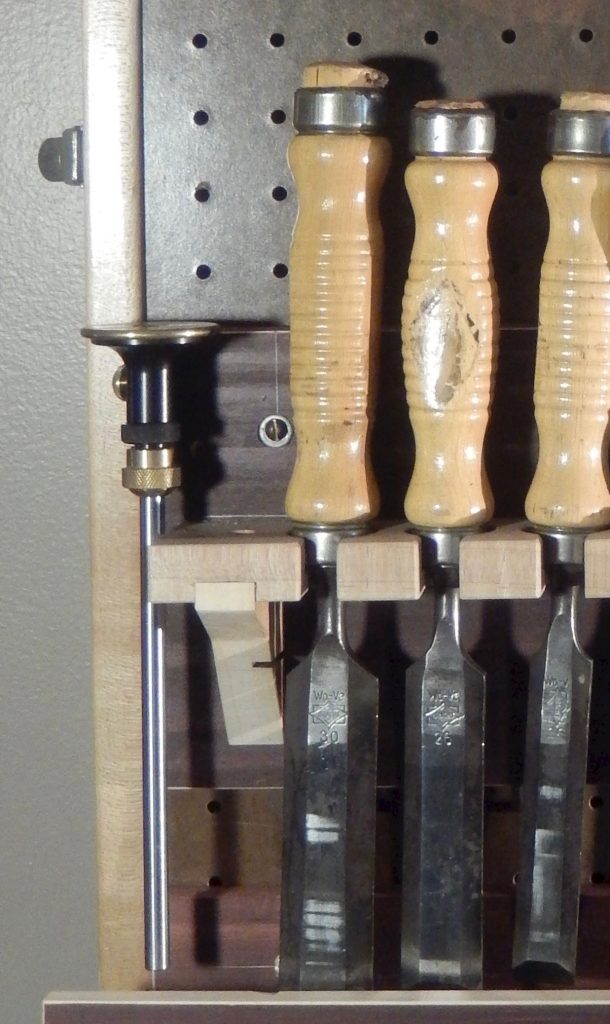
Notice the flat head bolt that replaced the hook.
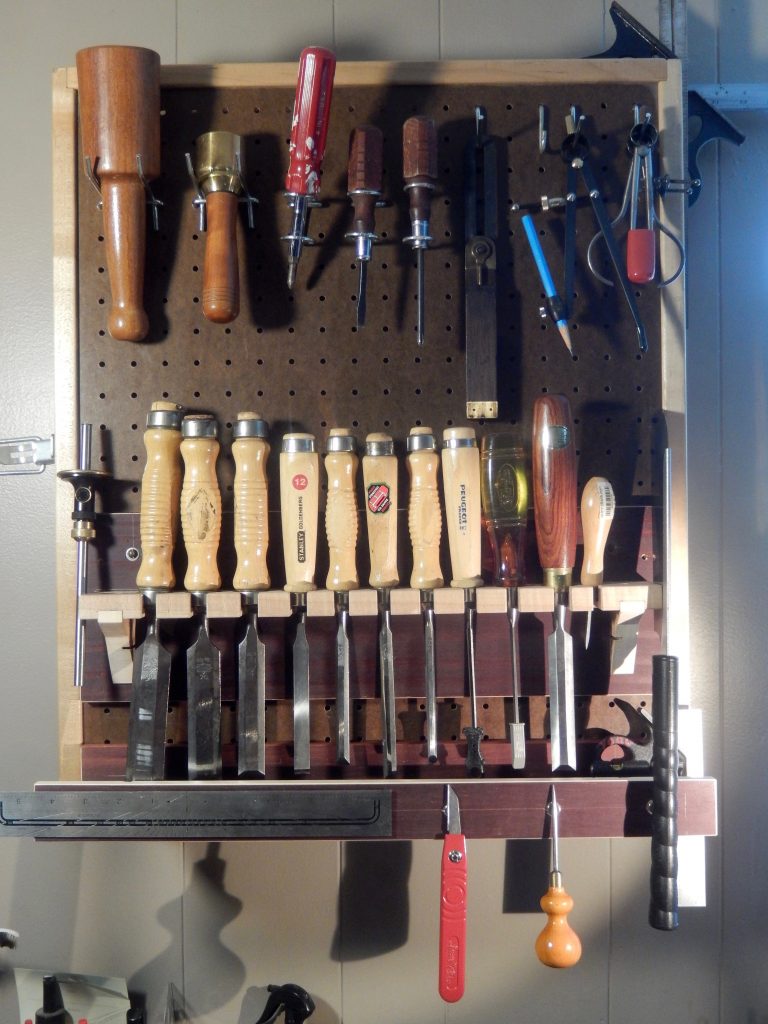
Then, when I started using the rack I noticed that the chisel edges are suspended in dangerous proximity to the bottom of cabinet’s door. When opening the door and even when reaching out for stuff under the cabinet my hand passed too close to the 5000 grit honed edges of my chisels.
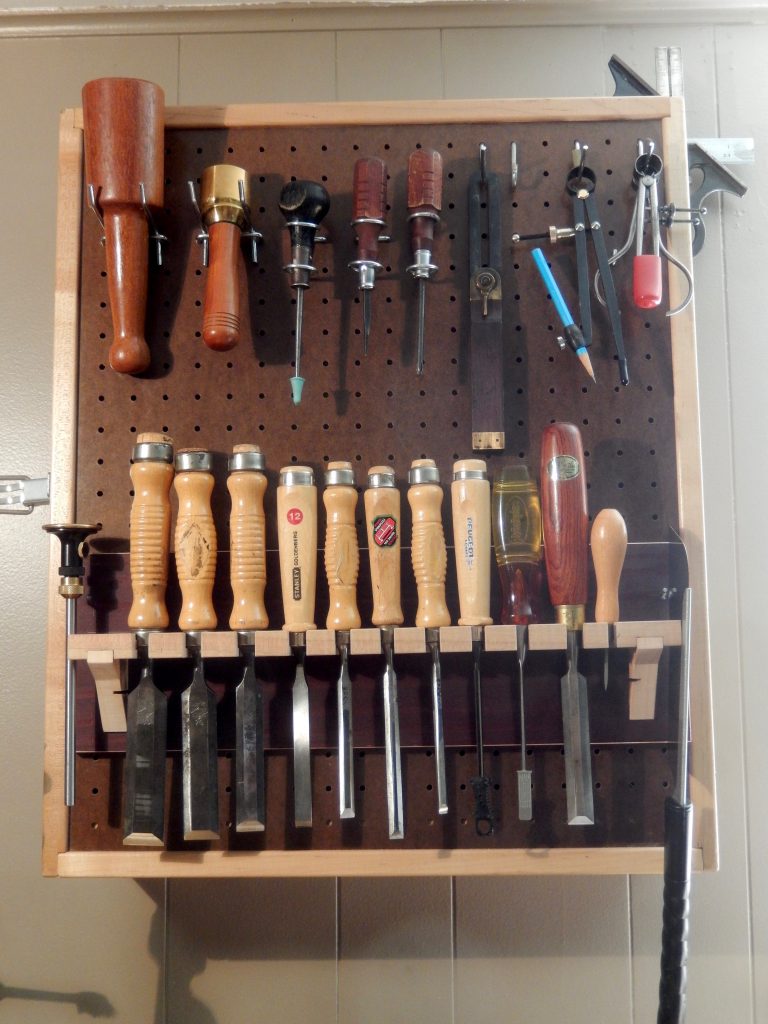
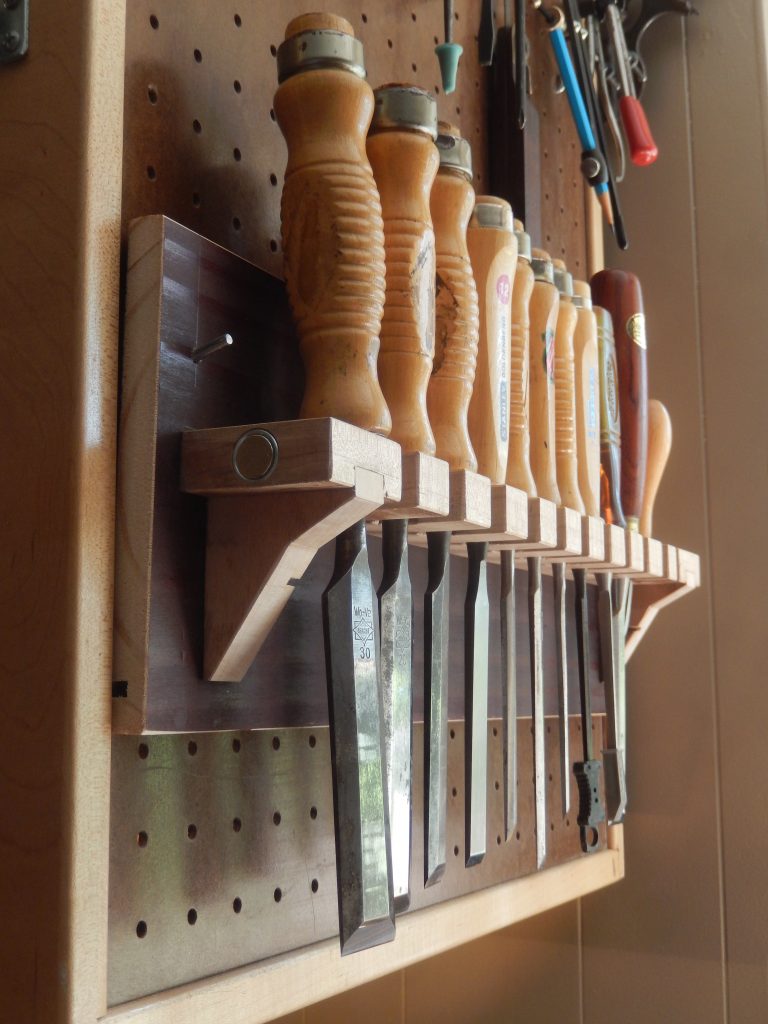 This was unacceptable, so I had to build a guard to protect myself. I designed a simple shelf that could be connected to the pegboard by screws traveling through the guard via the pegboard and into a hardwood batten that was part of the inner side of the door.
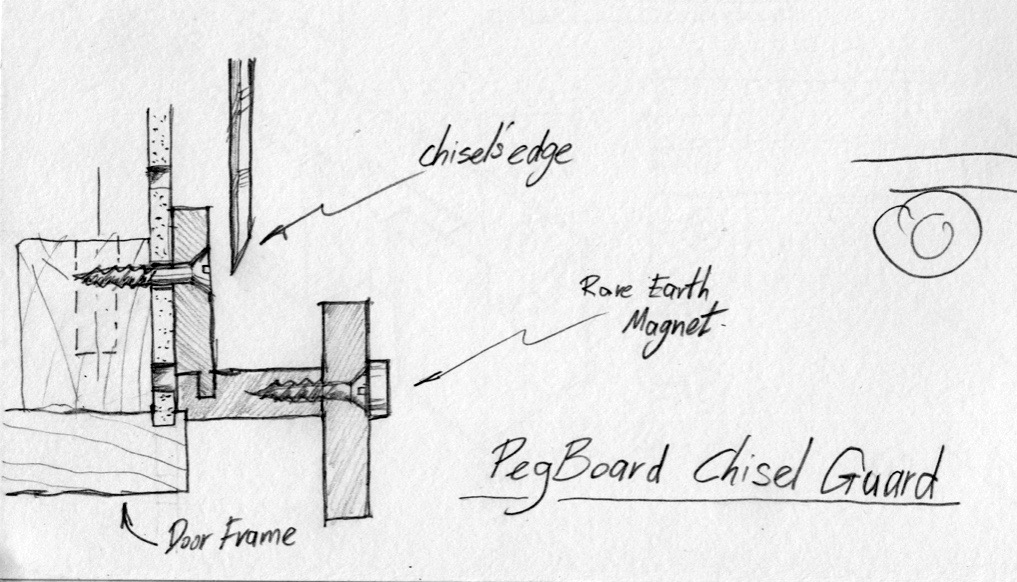

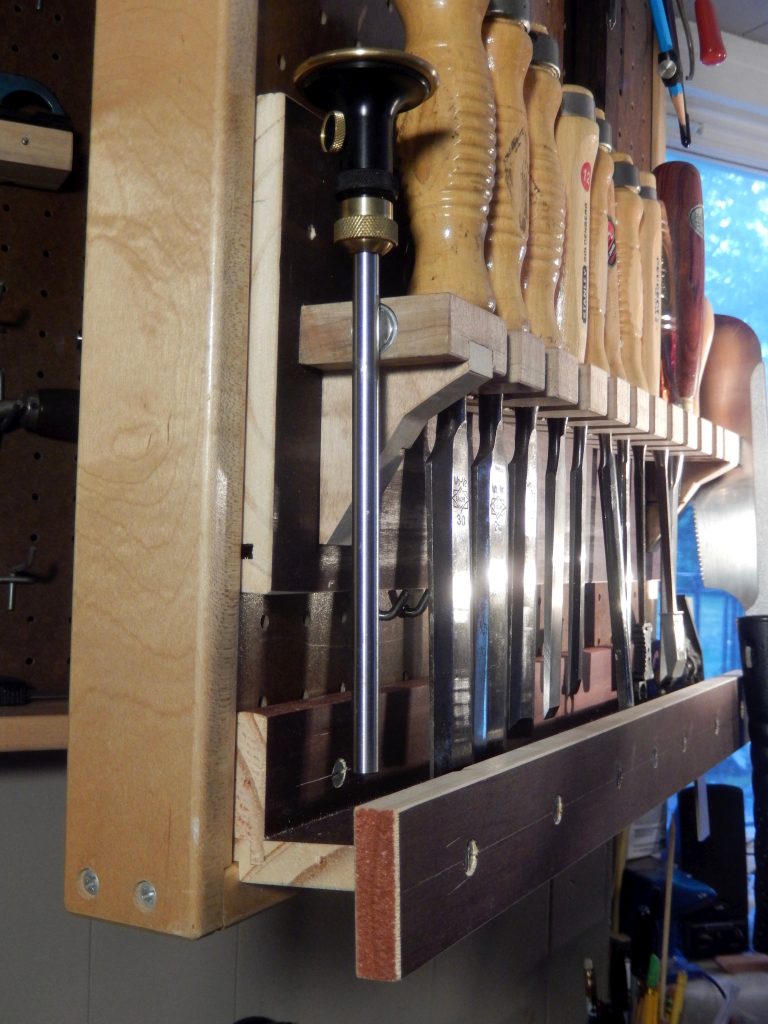
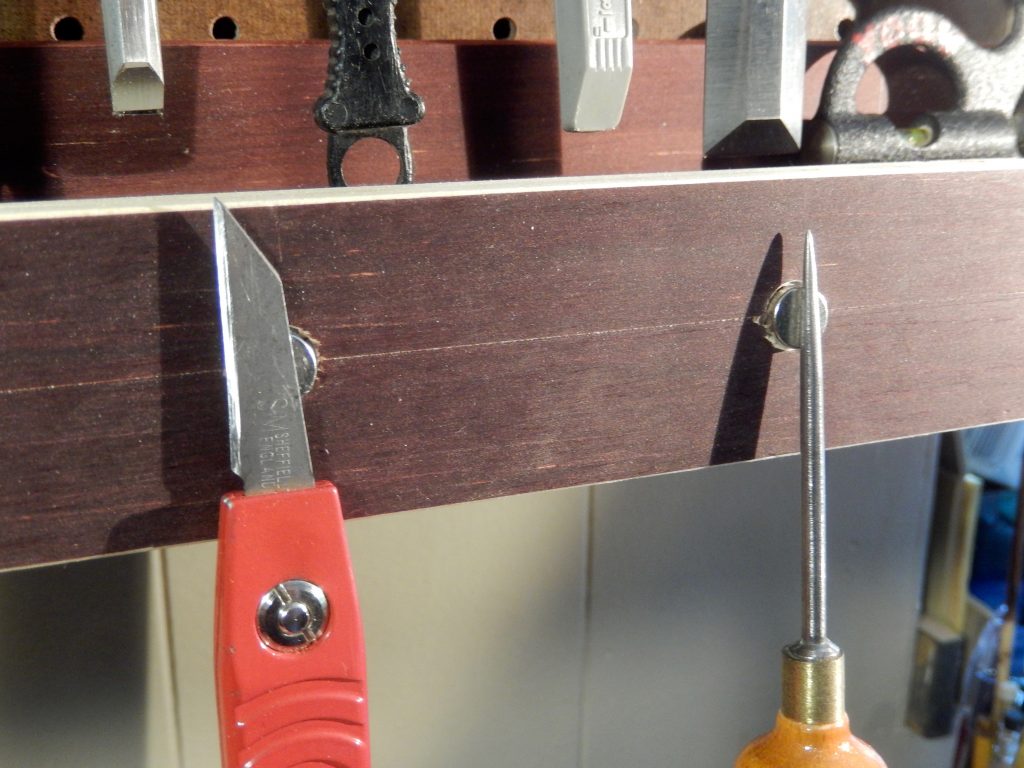
As I was installing the shelf’s apron with some screws one last idea sparked. What if I place a few rare earth magnets on these screw heads to help in hanging more tools on the rack? So as a magnet aficionado I dug into my collection and pulled out a few buttons (disk) magnets that fitted perfectly on the flat screw heads.

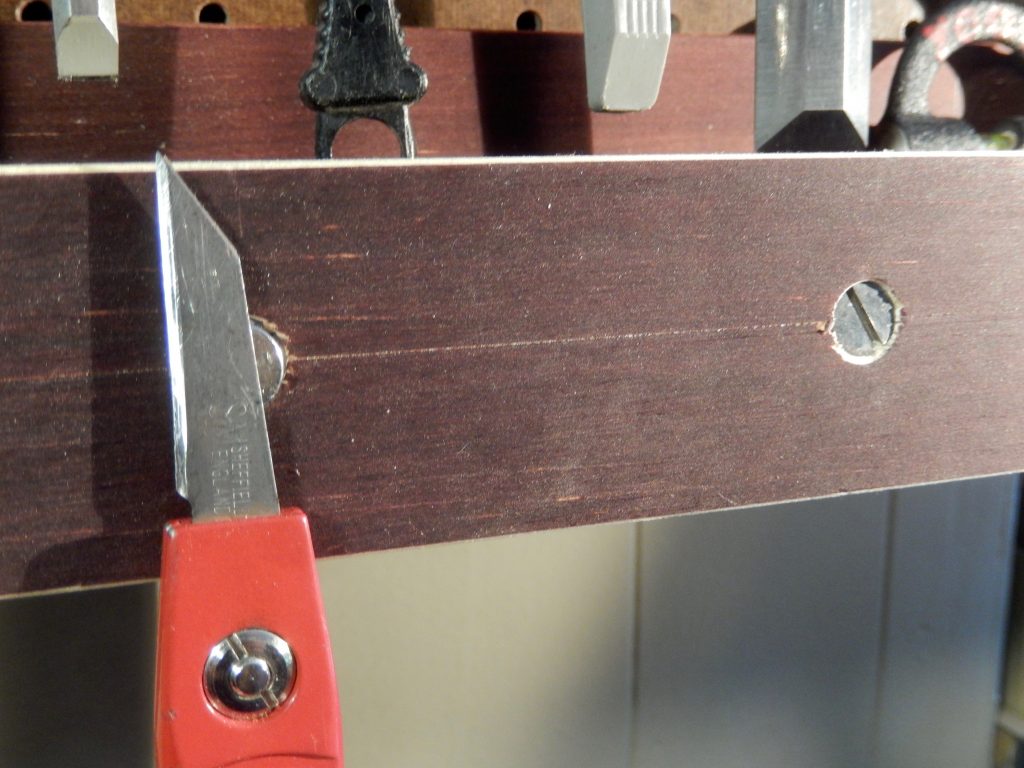
Adding the rare earth magnets increased the efficacy of the rack.
By the way, an independently hung guard that is separated from the rack has a long term advantage. If you add a longer chisel to your collection or replace your set all together, you will be able to adjust the distance between the guard and the rack accordingly.
Now, ladened with tools and in maximum capacity I felt that my rack was completed.
Next time I will show how I built a rack for my Starrett combination square.
Read part 1 here and read part 2 here.
Here are some supplies and tools we find essential in our everyday work around the shop. We may receive a commission from sales referred by our links; however, we have carefully selected these products for their usefulness and quality.