We may receive a commission when you use our affiliate links. However, this does not impact our recommendations.
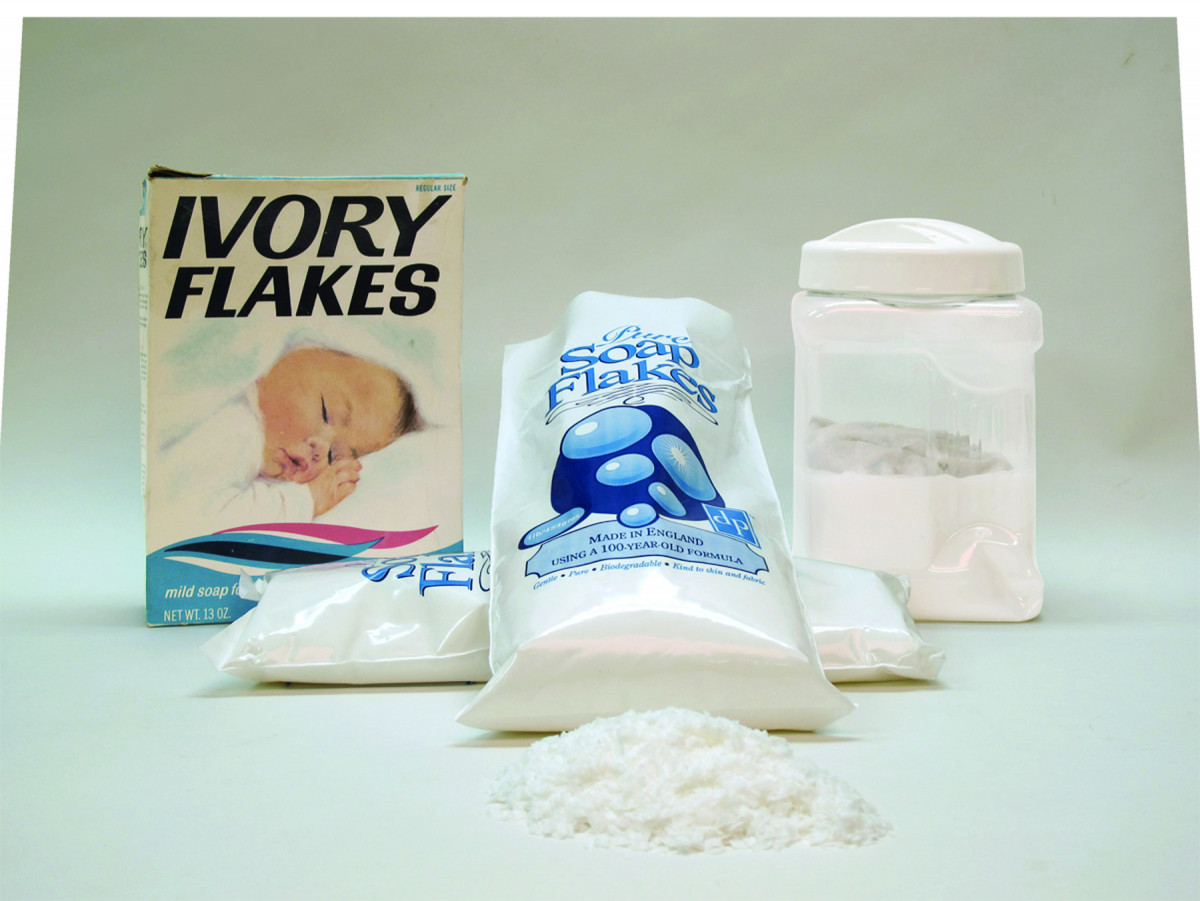
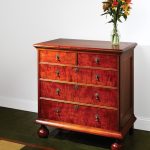
Soap flakes. Natural soap flakes used to be sold in the United States as Ivory Flakes. Now we import the flakes – shown here both in flake form and packaged – from England. On the right is my mixture of two tablespoons of flakes in one quart of boiling water, after the stirred mixture cooled and thickened. (I leave the cloth in the container.)
While this natural Danish finish looks beautiful, it’s high-maintenance.
You may be surprised to learn that a quite popular finish for furniture and floors in Denmark, and other northern European countries, is soap. I lived in Denmark for two years in the mid-1970s and have visited many times since. I’ve seen a lot of beautiful furniture finished with soap.
The wood used is always solid because excessive contact with water could lift veneer. It’s also always light in color: usually white oak, ash, beech, maple or pine. A soap finish deadens the rich colors of darker woods such as cherry and walnut.
Not just any soap works, only natural soap flakes. Ivory Flakes, which are no longer available, was an example. Now we have to import the flakes. (See below.)
The look is very thin, similar to oil or wax, but with no color and no shine. An oil finish adds a yellow/orange coloring, and both oil and wax add shine. A soap finish is totally flat. It looks as if there’s no finish at all, but it’s better than no finish because it resists stains.
Before you read further, I must caution that, though beautiful, inexpensive, environmentally friendly and extremely easy to apply, a soap finish is high-maintenance, considerably more so than oil or wax. Reapplication could be required as often as once a month on high-use surfaces such as tabletops. So the person responsible for the care must be willing to devote the effort or the finish will become unattractive quite quickly.
Soap Flakes
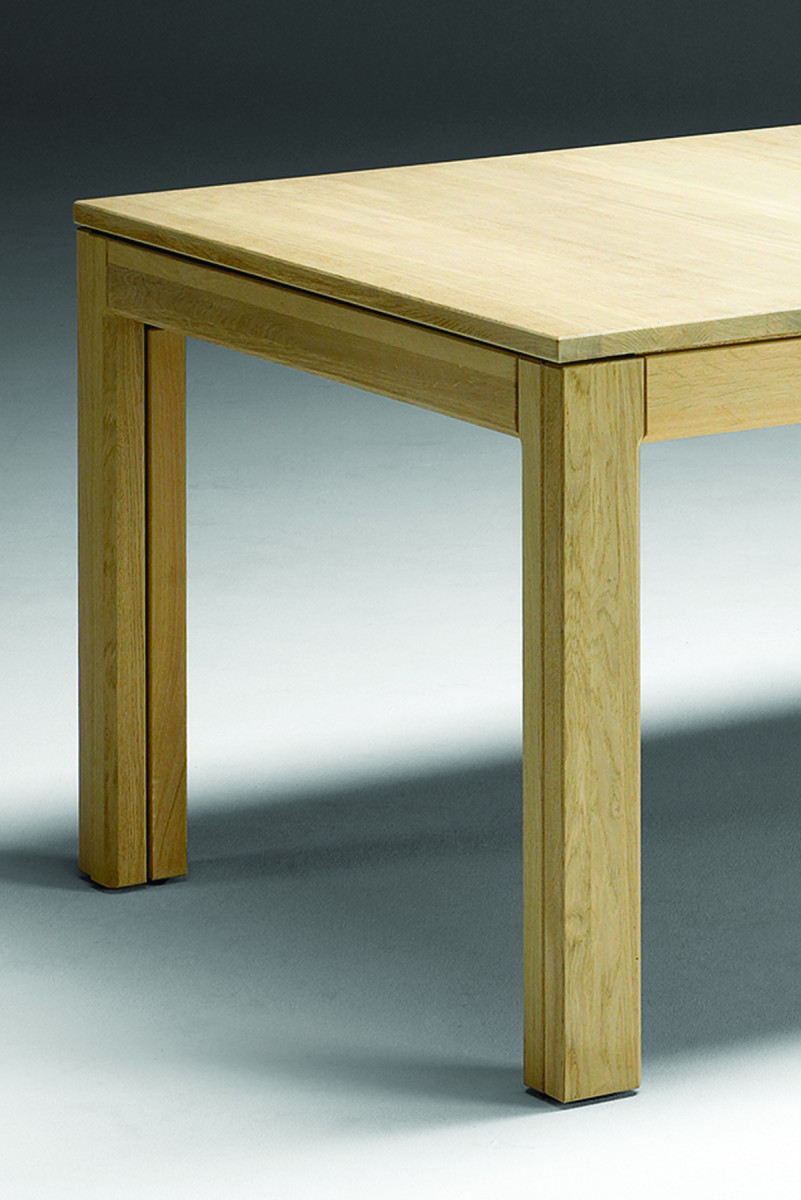
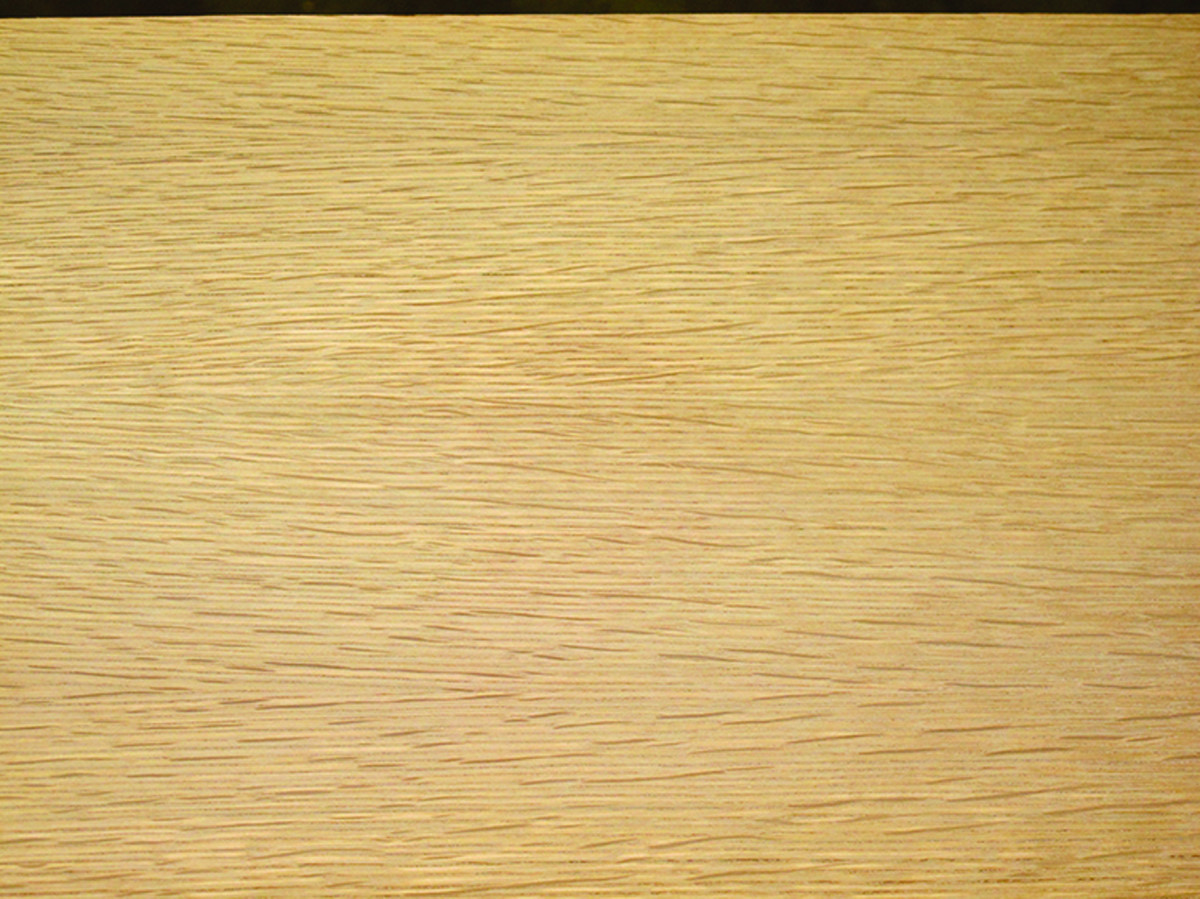
Soap finish. This is a close-up view of the end of an oak table made by Ansager A/S in Denmark. It shows the thinness, flatness and colorlessness of a soap finish, which looks like no finish at all.
The reason natural soap flakes work (and detergent doesn’t) is that the flakes thicken when dissolved in boiling water and get fairly hard after the water evaporates; it’s about the same hardness as an oil/varnish blend after a puddle has cured on a non-porous surface for a month or two. You can still dig your fingernail into the soap, but it hardens enough to seal the pores in wood from quick penetration by stains.
To make the soap finish, add about two tablespoons of flakes to a quart of boiling water. Exactness isn’t at all critical. In fact, suggested proportions vary widely, both for initial application and for maintenance. All work well.
Stir well and let the mixture cool and thicken overnight. After the first few applications you can increase the proportion of soap to water if you want. You can also thin any thickened concentration by adding boiling water and stirring.
Application Steps
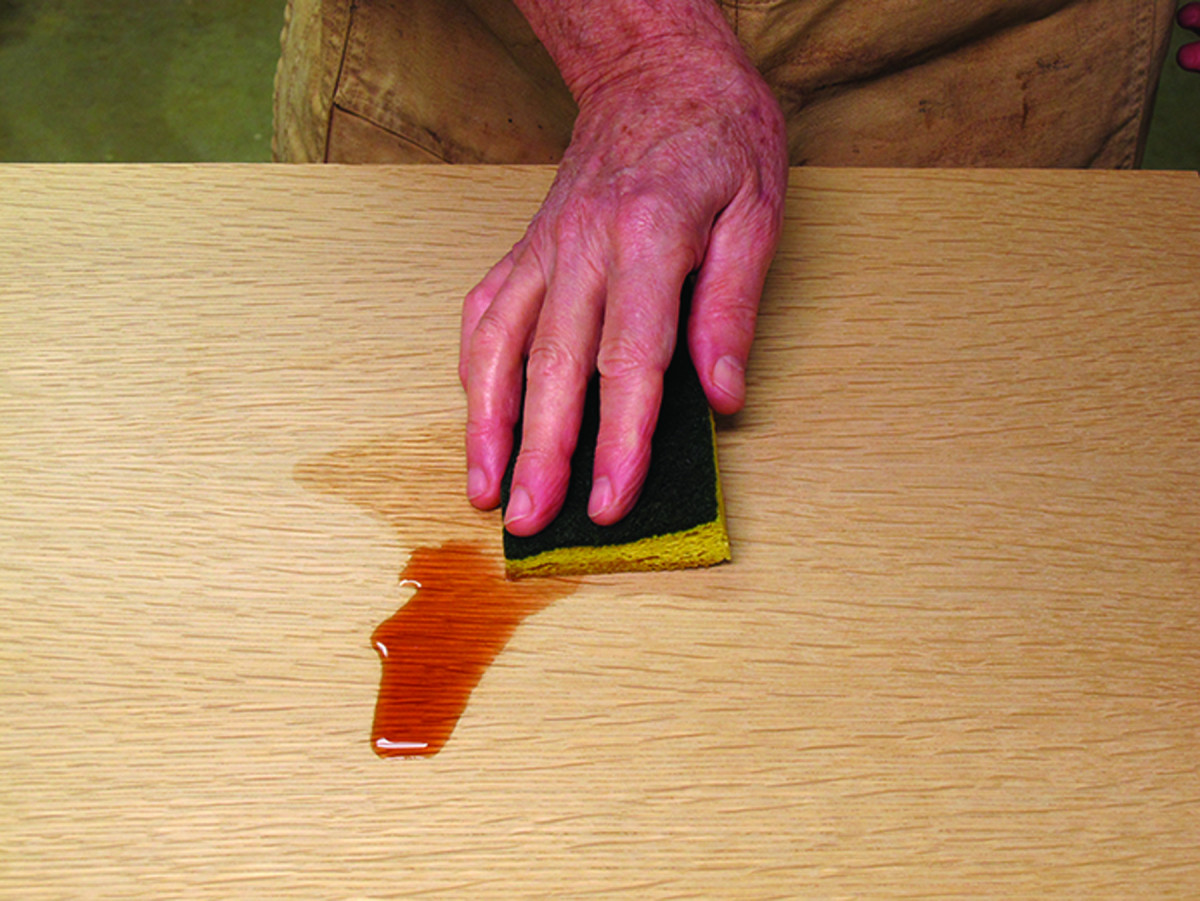
Wiping up a spill. Spills should be wiped up quickly, of course. This was a red-wine spill, which I partially wiped up after less than two minutes. After several light passes with #280-grit sandpaper, the mark was totally gone.
Before applying the soap finish, sand the wood to at least #150 grit.
The soap is going to raise the grain of the wood, so you could raise the grain by wetting the wood first, then sand it smooth after the wood has dried. Or, you could skip this step and simply sand with increasingly finer grits between coats, which is what I do and what all directions I’ve seen say to do.
For the first two or three applications, it’s best to apply the soap finish to both sides of tabletops and wide panels (or at least wet the underside – for example, with a spray bottle) to even the swelling. Wetting only one side of wood many times causes it to cup and split like boards on a deck.
Here are the steps:
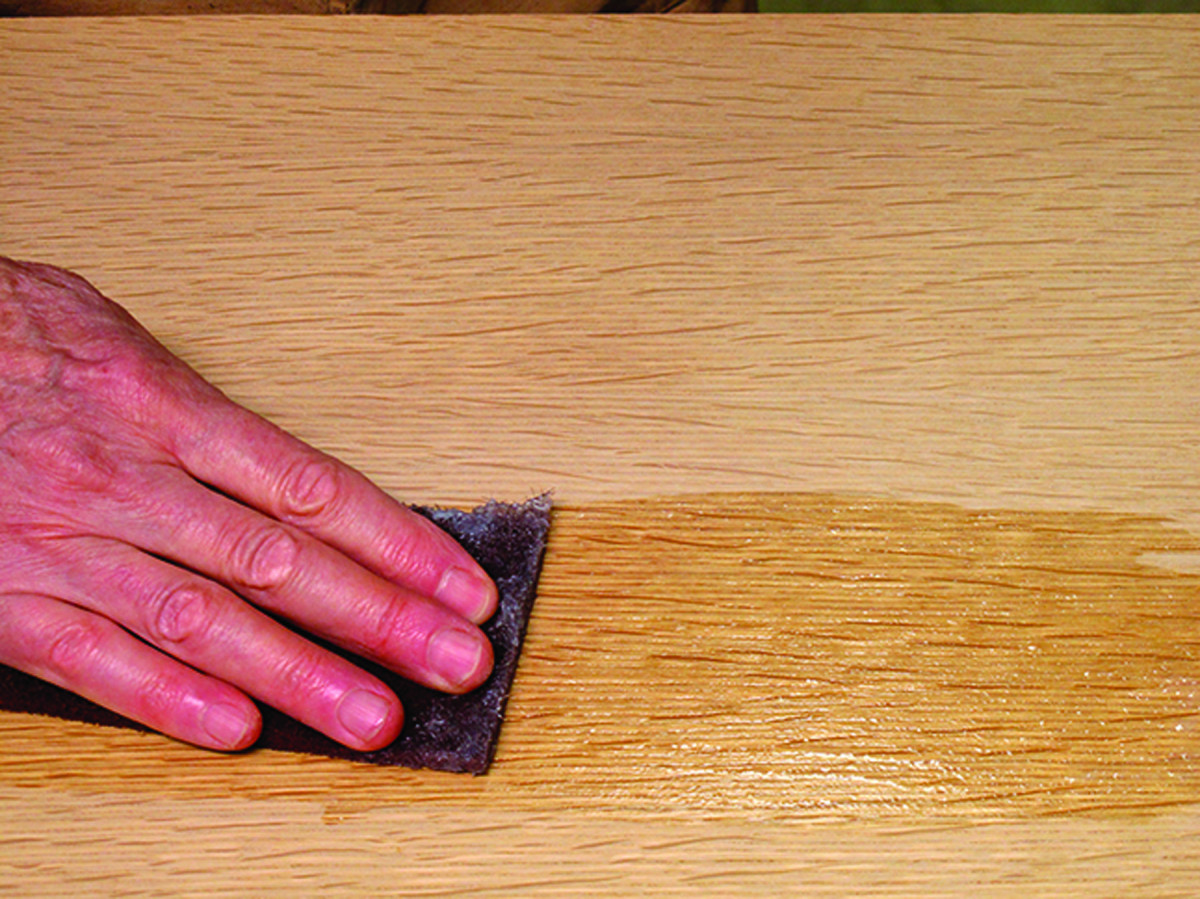
■ Spread the soap gel thickly onto the wood using a clean cloth or sponge.
■ Let the soap stand for a couple of minutes, then wipe off the excess with the direction of the grain.
■ Let the wood dry, then sand it with #220- or #320-grit sandpaper, coarse enough to remove the raised grain efficiently, but no coarser.
■ Apply a second coat just as the first.
You can apply as many coats as you want, sanding between each. There’s no reason to apply more than three or four at the beginning; you won’t improve stain resistance. The only problem I’ve ever heard of is leaving the soap too thick on the surface so it marks when objects are dragged across it.
Scotch-Brite scrub. The spill was still distinct after the some light sanding, so I gave it a light scrub with a Scotch-Brite pad and more soap finish. Ideally, I would have done this to the entire surface to ensure an even coloring.
Before you actually apply this finish for the first time to furniture or floors, I suggest you experiment on scrap wood. When three or four coats of the finish have thoroughly dried, drip water, red wine, catsup, etc. on the surface and wipe dry after a minute or two. Then follow with the maintenance steps below to convince yourself you really want to use this finish.
Maintenance

Ten-minute spill. While I was wiping, sanding and photographing, the remainder of the spill just sat on the wood; it left a distinct mark when I wiped it up 10 minutes later.
Regular maintenance is critical with a soap finish. The initial dissolving of the soap flakes stores well, so it can continue to be used.
Dust with a damp cloth, never with furniture polish.
For the first few months, reapply the soap finish every week or two, especially any time the surface begins to look dry.
During use, the surface may get stained. Stains are usually easy to remove – surprisingly easy in my experience.
First, sand lightly with #220- or #320-grit sandpaper to remove any raised grain caused by the stain. (Never use steel wool.) Then apply another coat of soap and wipe off the excess. This usually removes the stain.
If not, scrub the surface, always with the direction of the grain, using a sanding sponge or Scotch-Brite pad and more soap. You can do this several times, letting the surface dry in between. To keep the coloring even, work on the entire surface.
Mark is gone. As you can see, the stain is totally gone after the wood has dried.
If the stain persists, pour boiling water onto it, wipe dry then apply more soap. Boiling water dissolves the soap and is very effective for difficult stains. You can do this several times.
If this still doesn’t remove the stain, you may have to sand the entire surface to remove it. Then apply more finish.
The Danish term for soap finish is saebe behandling (soap treatment). Search for it on the web to see the sparse (meaning “easy”) instructions, along with some pictures and videos showing the easy application process.
Here are some supplies and tools we find essential in our everyday work around the shop. We may receive a commission from sales referred by our links; however, we have carefully selected these products for their usefulness and quality.