


We may receive a commission when you use our affiliate links. However, this does not impact our recommendations.
 At least that’s the way I do them. I cut the tenons first, and then use them to layout the locations on the mortises. Once I’ve mark where they will be, I use a Marking guage to mark the sides of the mortise. Next, I use a narrow chisel to start the cuts. Bevel is towards the waste area. I make one “chop” at one end of the mortise, then go to the other end and work my way back to the start cut. I make a series of small chops as i work along. These “chips” are easier to pop out.. Once I reach the depth of the mortise, I grab a nice sharp wide chisel, and clean up the sides. Really doesn’t take all that long to do. I keep a tenon nearby, just to test the fit as I go. A few pictures?
a few work in progress. this is for the end of a mission style table.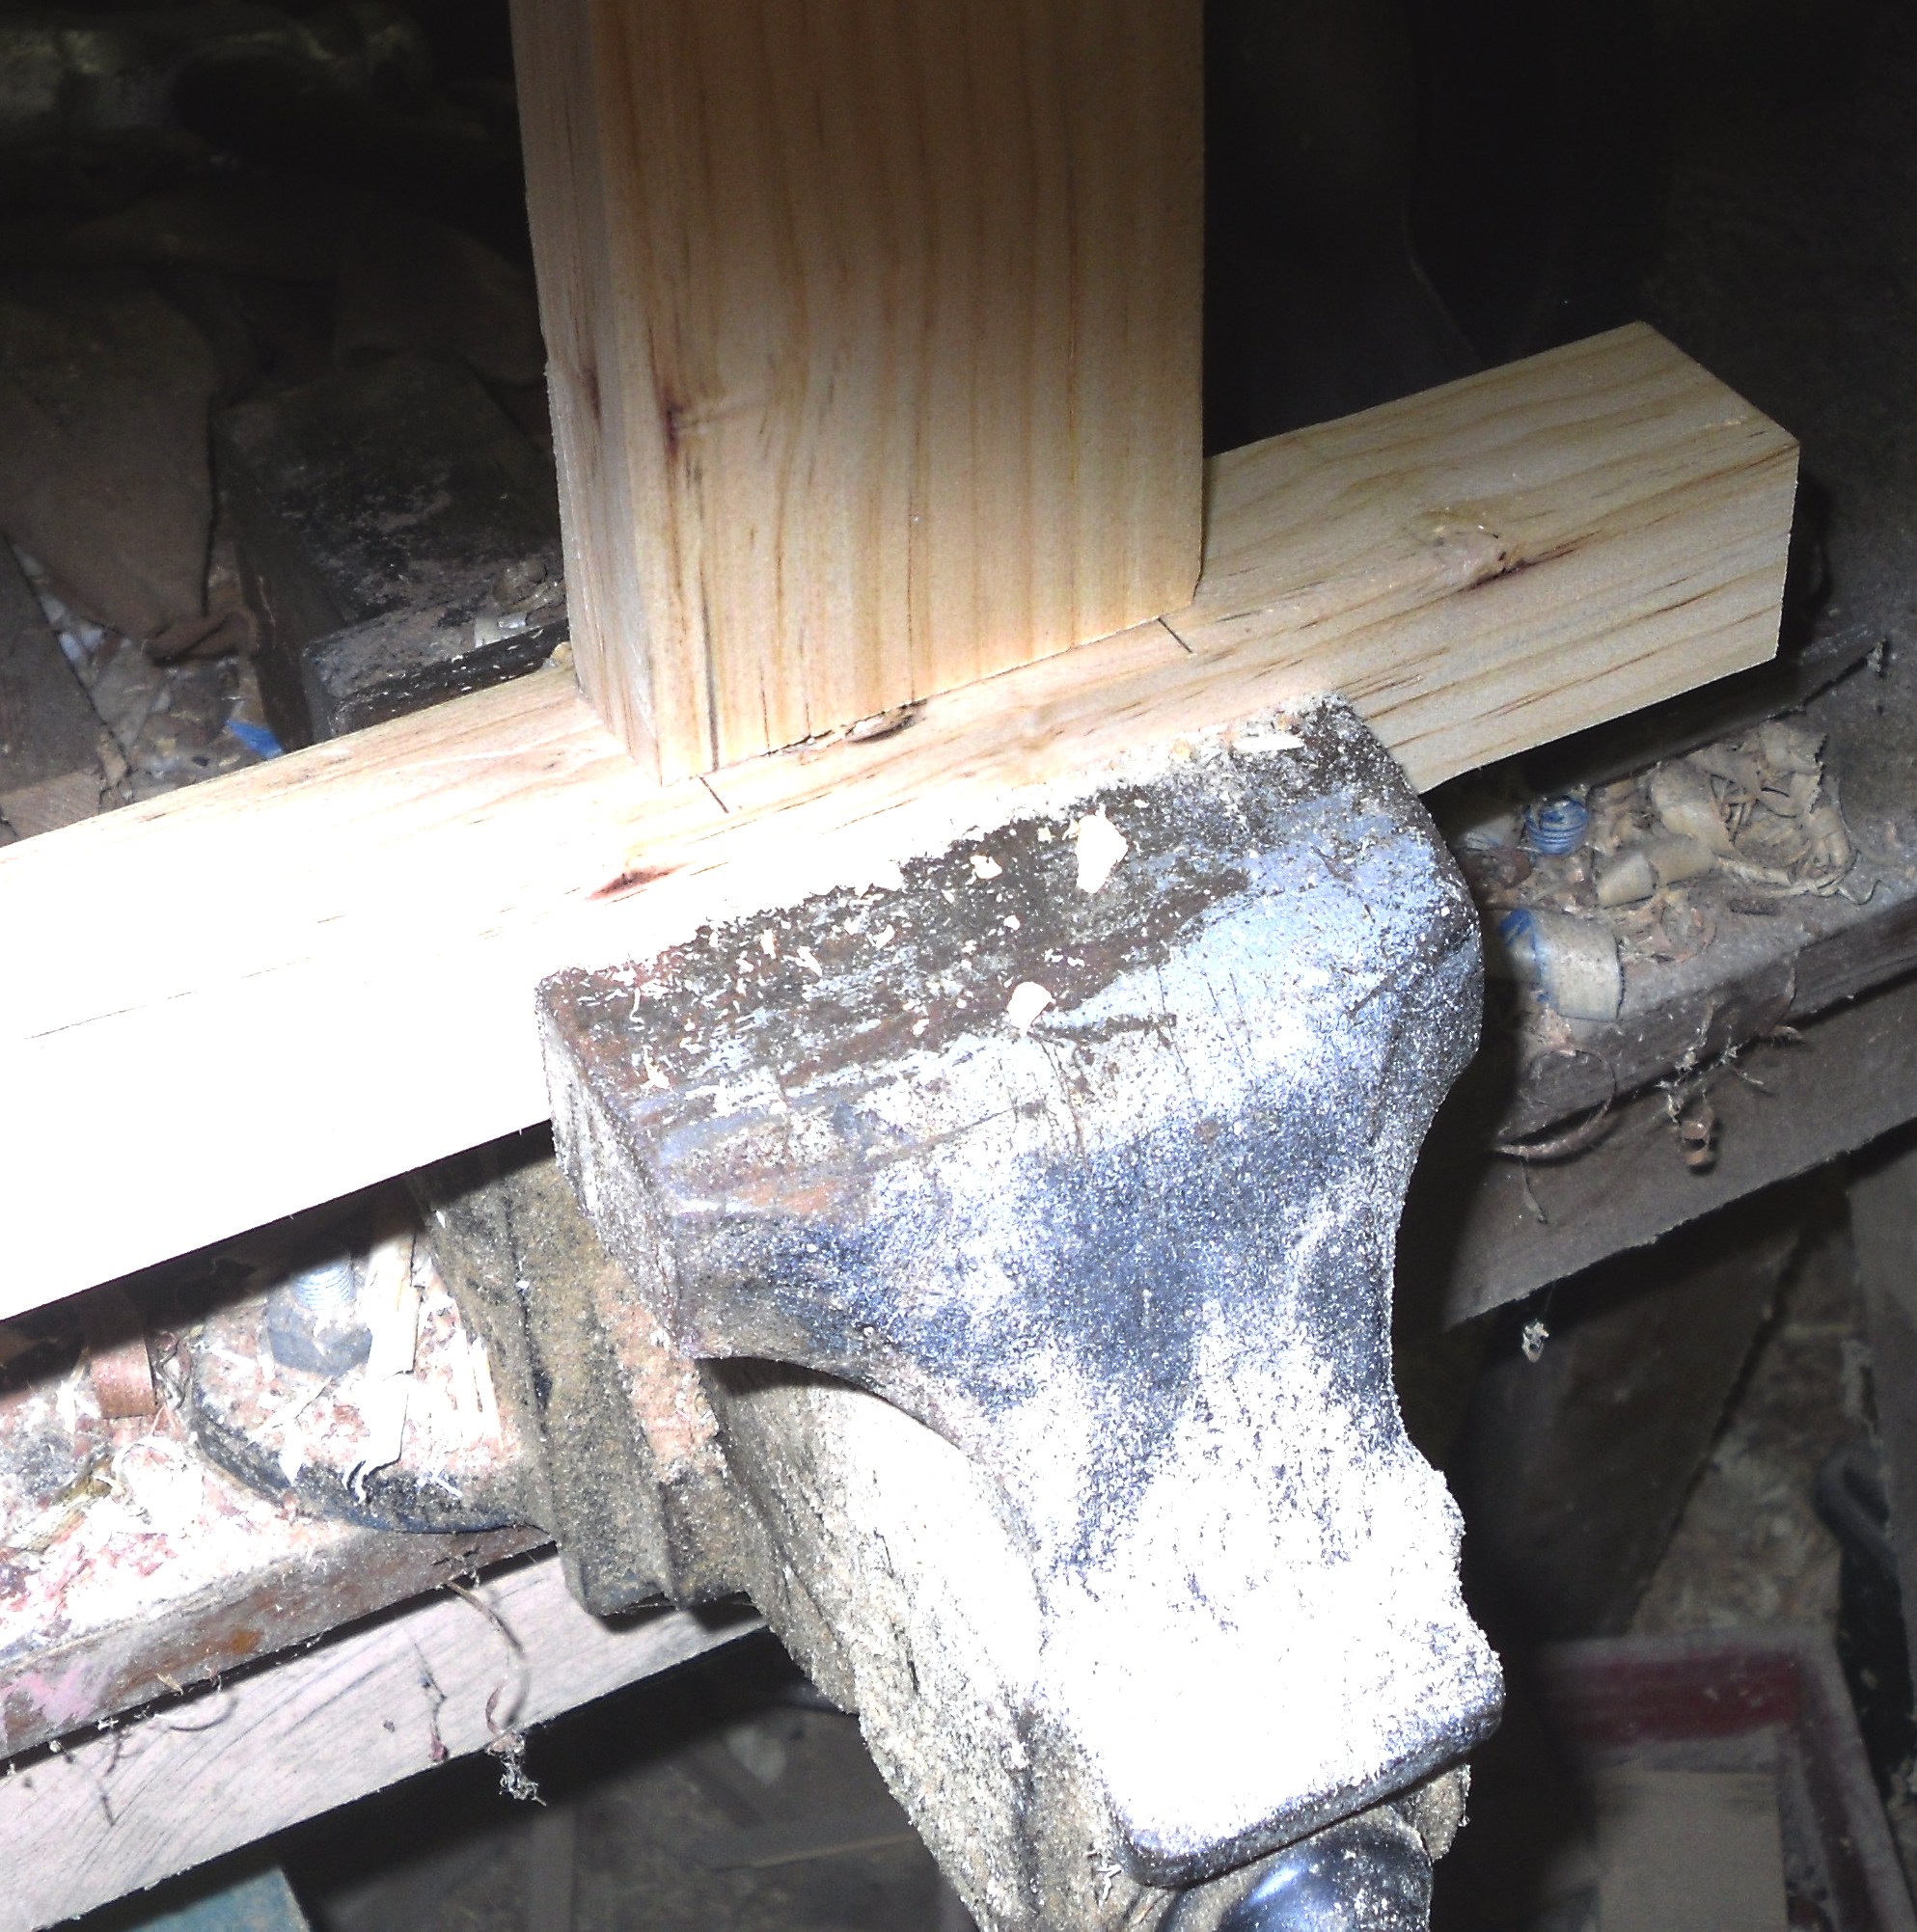
Test fit. Those pencil lines show where the mortise is. Like the old vise?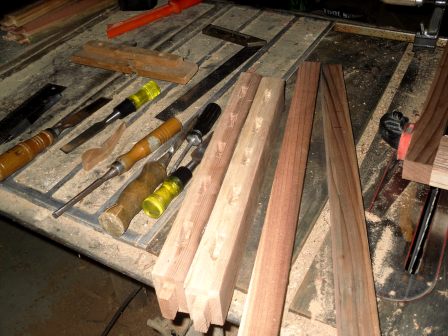
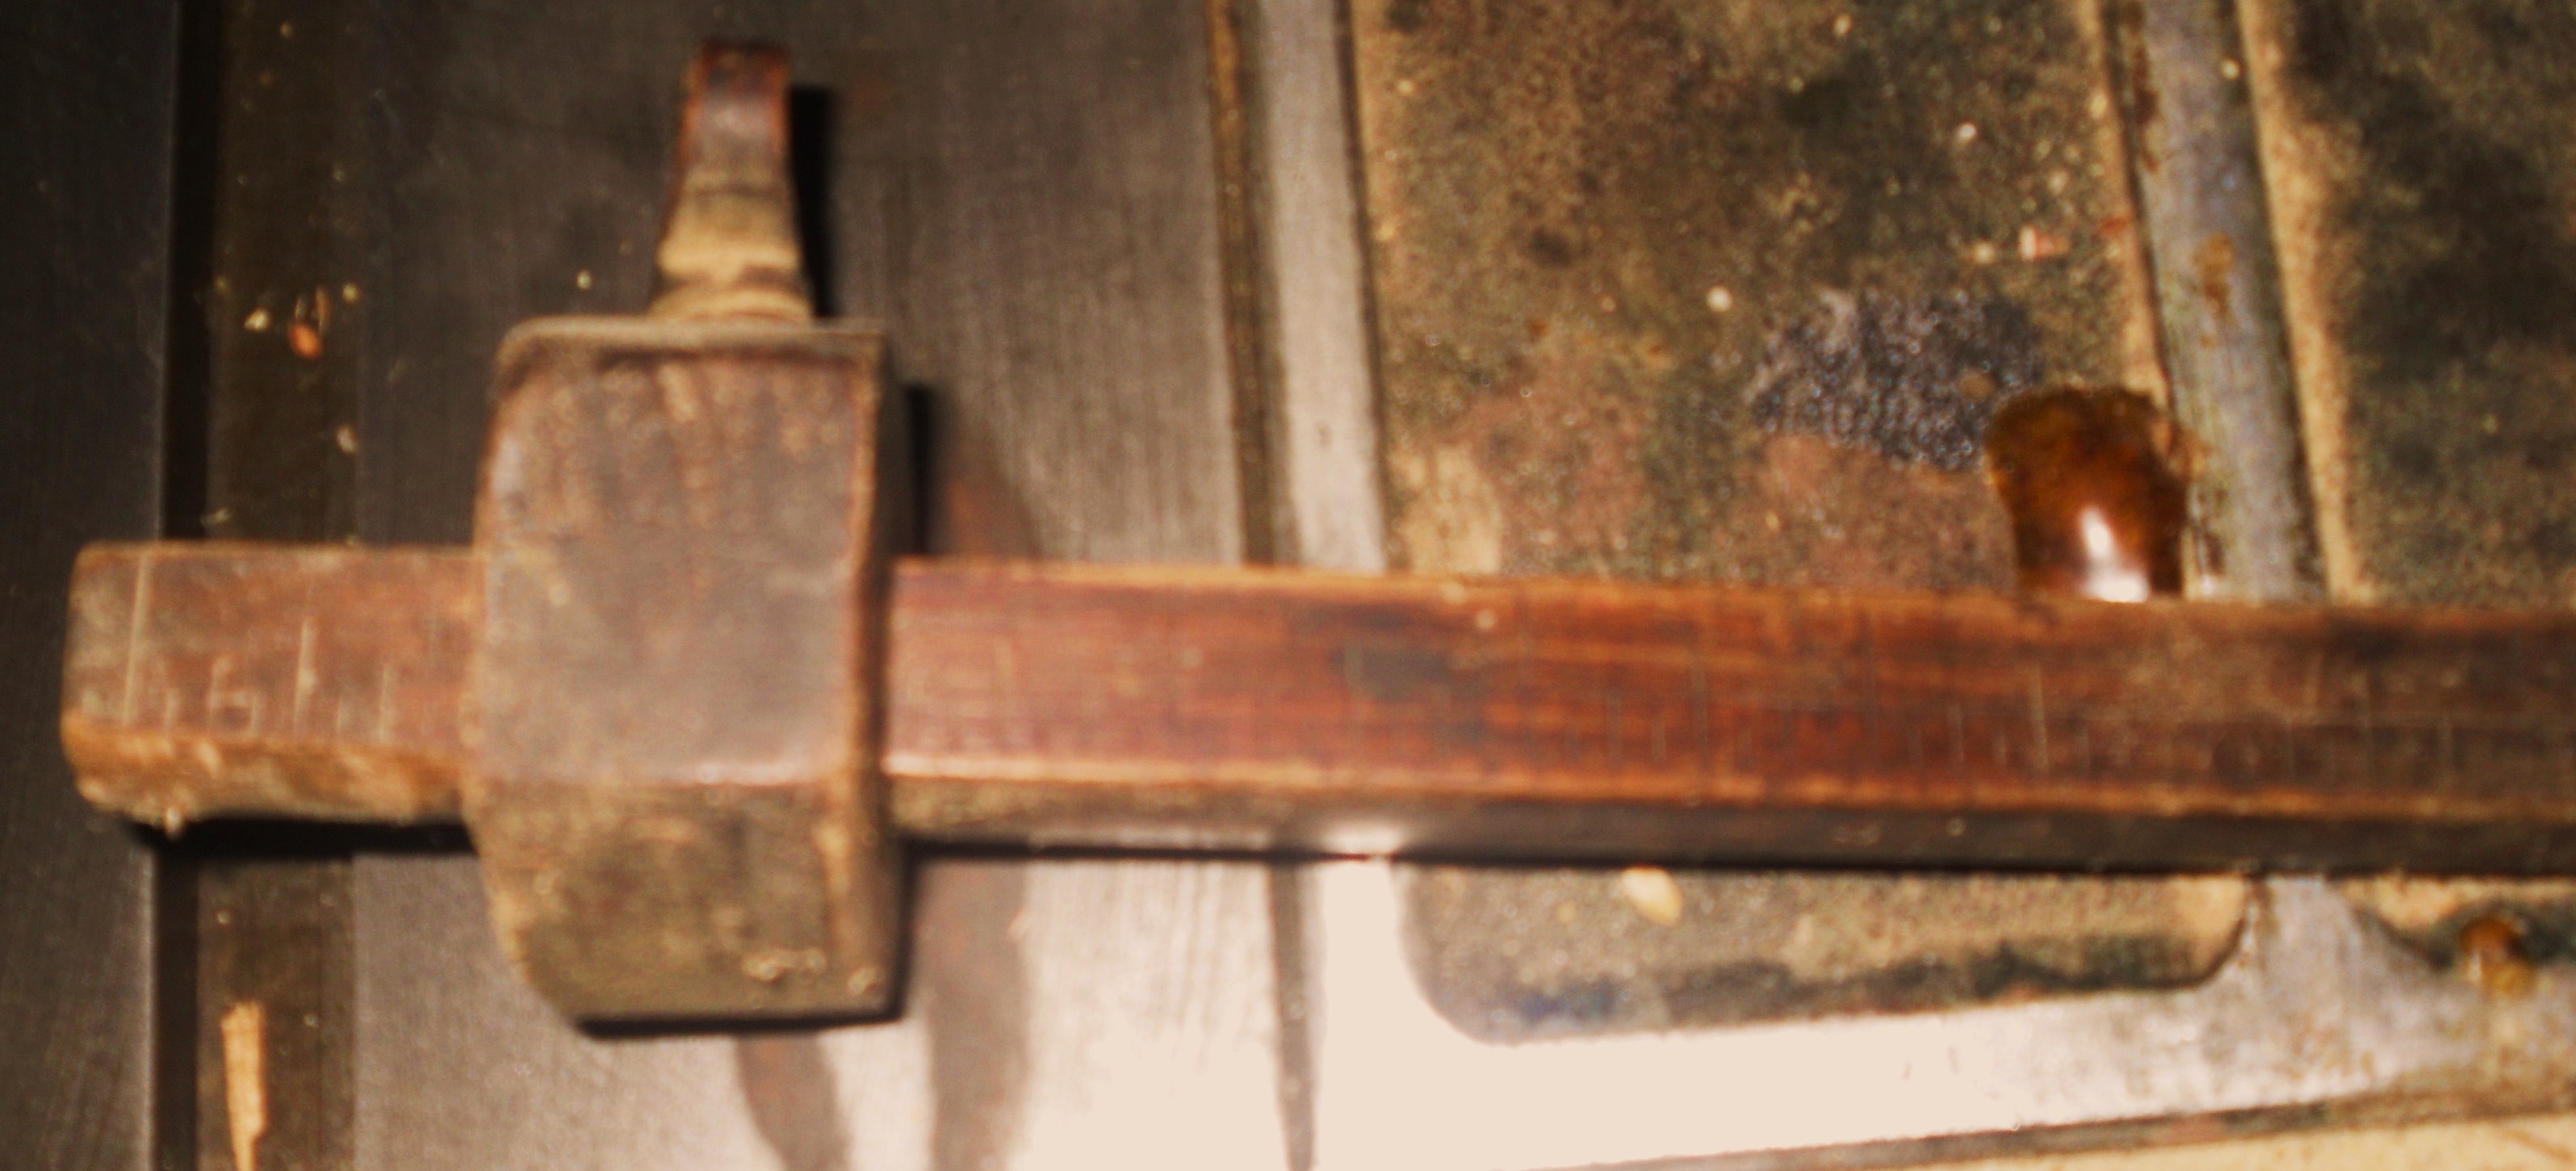
More work in progress. Some of the chisels I use. That old screwdriver laying there is to “pop out” stubborn chips. Looking at about 30 minutes of work. The first picture, at the top is that old marking gauge. Just a single “cutter” on it. I usually make about three strokes per layout line. This gives a reference line for the chisels to work from. ready to chop some mortises, cordless style?
Here are some supplies and tools we find essential in our everyday work around the shop. We may receive a commission from sales referred by our links; however, we have carefully selected these products for their usefulness and quality.


