


We may receive a commission when you use our affiliate links. However, this does not impact our recommendations.
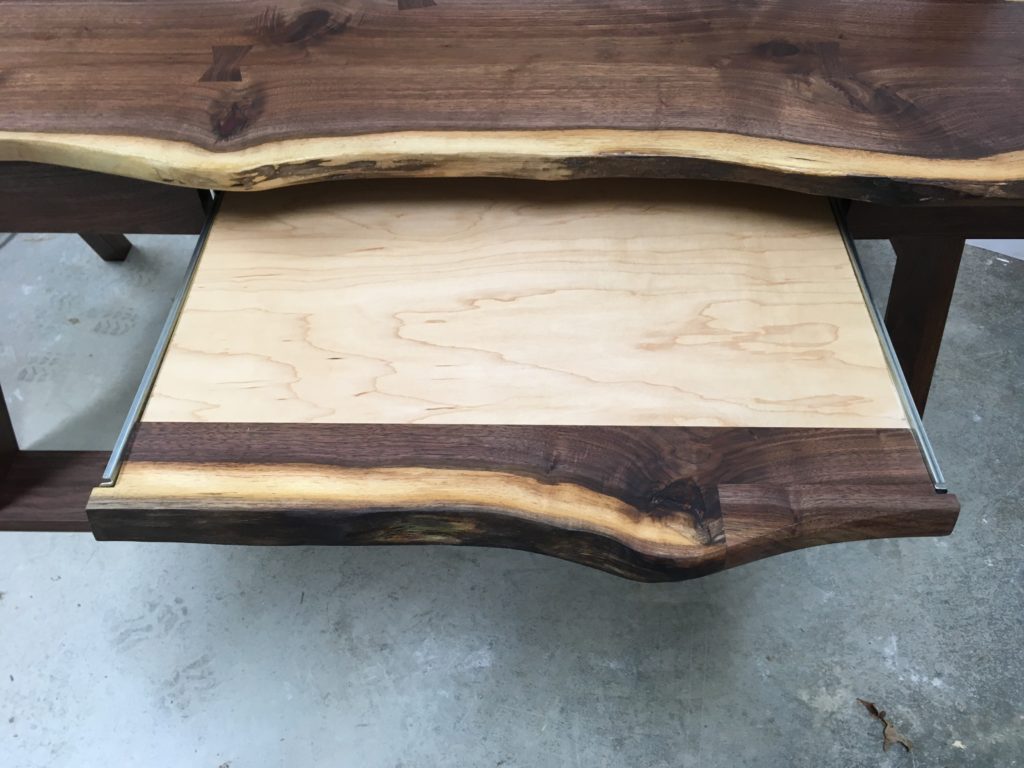
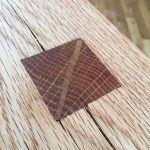
The live-edge keyboard tray in the desk I just completed. Why the patch at right? That section of the sapwood proved too rotten, in the end, so I cut out the punky section, traced its live-edge outline onto a new piece of stock, and glued it in place. One of the motifs of this desk is decorative patching and keywork using a variety of grain and tones from different parts of the same tree, celebrating the variations in appearance instead of attempting to make these parts blend in.
I just finished a desk commissioned by some clients who wanted the piece to be made from a walnut log they’d had lying around a few years – in other words, longer than ideal. They had it sawn and kiln-dried this summer and brought the boards out to my shop in September.
My clients wanted to keep the live edges on the desktop, which posed a challenge: Their log had spent so much time on the ground that there was quite a bit of rot, especially in the sapwood. You could press a dent into some sections with a bare finger. In other places, chunks would break right off.
Did I mention that these clients had just adopted two kittens from the local animal shelter? As soon as I started working with the boards, it became clear that shredding the punky sapwood would be as irresistible for those kittens as popping bubble wrap is for me. Fortunately, some sections had not yet fallen victim to rot. I planned the design of the top around them.
In conversation with the clients, I came up with a plan inspired by one of the images they had found on the web. I adapted the original significantly, not least to meet the structural demands imposed by using solid wood. I wanted the overall design to remain spare and geometric while incorporating a couple of drawers and the requested keyboard tray. I thought it would be striking to make that tray with a live edge that would create a fluid interplay with the live-edge top above it.
Making the live-edge keyboard tray was more interesting than I’d expected. Here’s how I did it.
1. Choose Your Hardware
Keyboard trays generally feature a detent mechanism that keeps the tray from being pushed around during use. I used a pair of KV 8150. The slides come with brackets that mount to the underside of a desktop and they’re adjustable in height. Pay attention to any dimensional limits listed for the hardware, such as the 24″ maximum width indicated by the slides I used. Make sure you’re buying slides that will work with your design.
I wanted the bottom edge of the keyboard tray to be in line with the bottom edges of the adjacent drawers. There was not enough height adjustment in the hardware, but the live-edge stock was thick enough that I could glue it to the main section of the tray, which would be plywood, and leave the additional thickness to hang below.
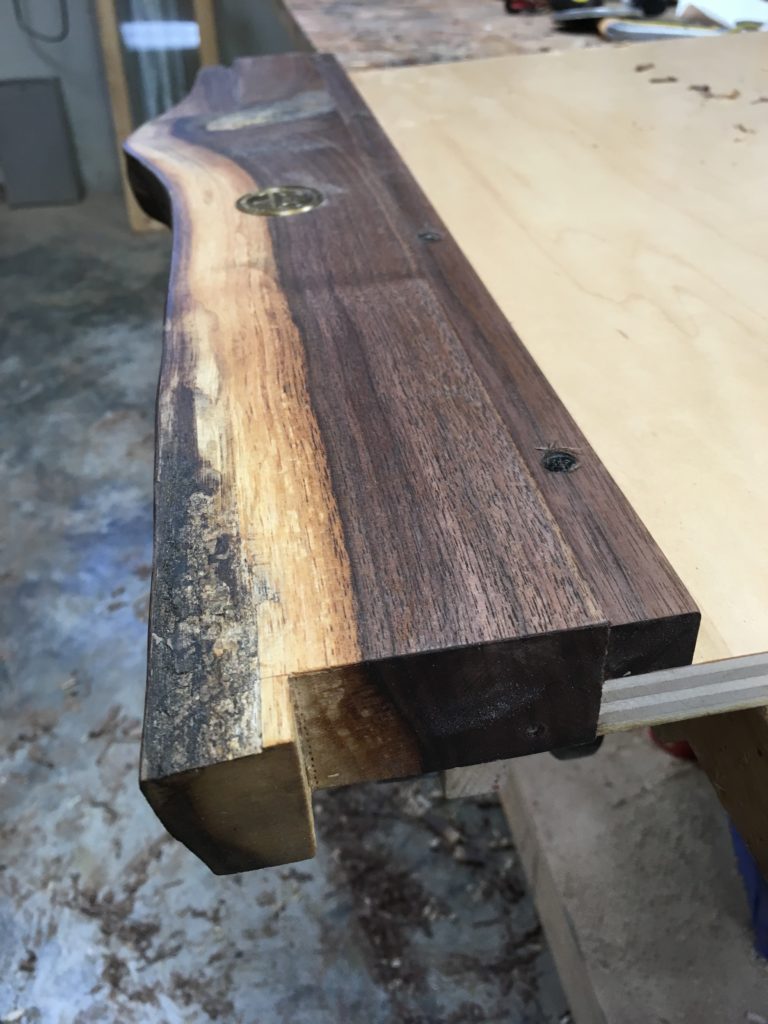
The underside shows the differential thickness of the veneer-core plywood and the live-edge facing. Here you can also see the glue block I used to reinforce the butt joint between the plywood and the solid edge: It is glued to the back edge of the solid section, clamped, then screwed to the plywood.
To hide the front edge of the hardware I decided to notch the live edge around it, so I planned my workpiece to occupy the full width of the tray plus the thickness of the slides, leaving a gap of about 1/8″ between the live edge of the keyboard tray and the drawer at each side.
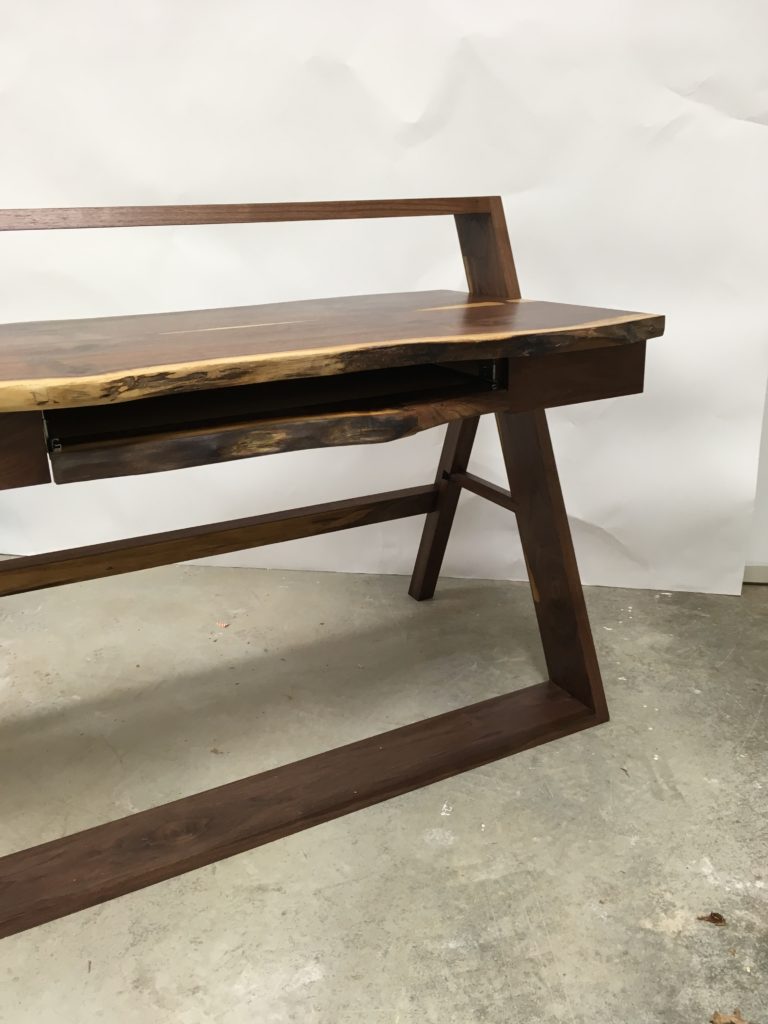
The keyboard tray is between a pair of drawers – a wide drawer at the left and a very narrow one at the right. I notched the live-edge front so that it would cover the front of the keyboard tray slides, creating a relatively smooth line around the underside of all the elements that make up the desk’s front section: the arms that support the top at each side, the drawers, and the pull-out tray.
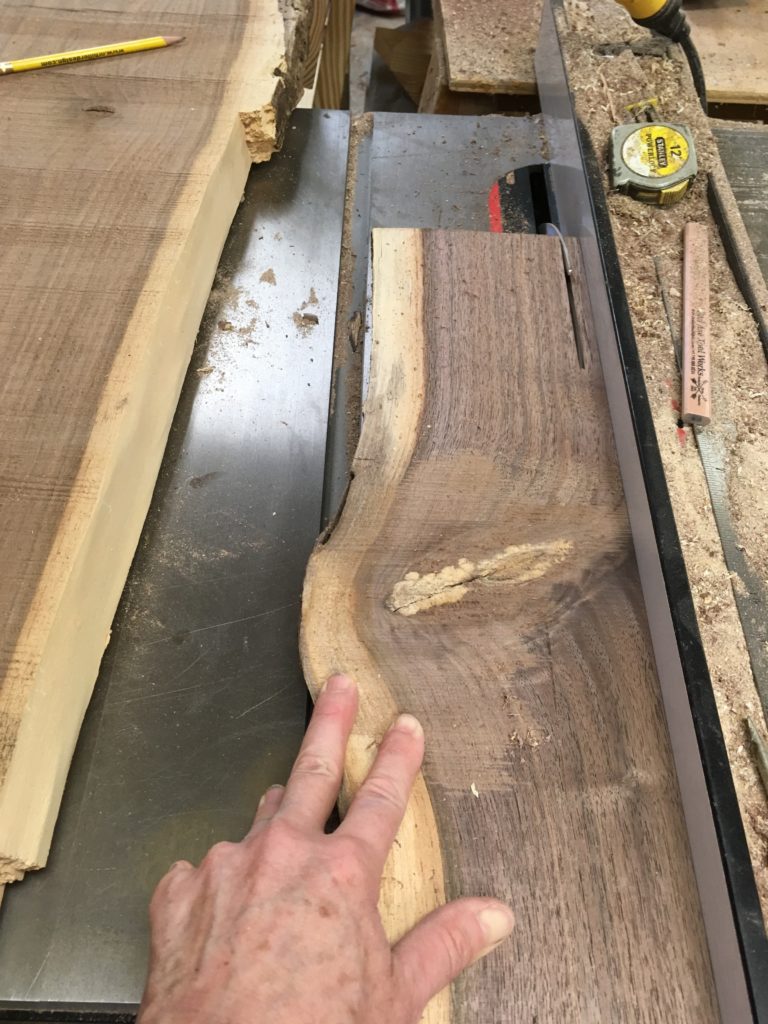
2. Choose the Live-Edge Piece
Keep in mind the design of the desk as a whole, Consider how much the front of the tray will protrude beyond adjacent parts, as well as the visual interplay of the tray’s edge with that of the top above it.
You could, of course, make the entire tray from solid wood. I decided to use veneer-core plywood for the main part, for the sake of stability and also to minimize the weight: The desk structure is quite minimal and the top is already heavy – it’s 5/4 walnut and holds two pairs of Blum Tandem drawer slides.
3. Stock Prep
Flatten the piece, then plane to your desired thickness.
4. Create a Straight Edge
Cut a straight edge at the back of the piece so that you can join it to a piece of veneer-core plywood or other solid boards to get the depth you need. I chalk a line, cut at the band saw, then joint the edge straight.
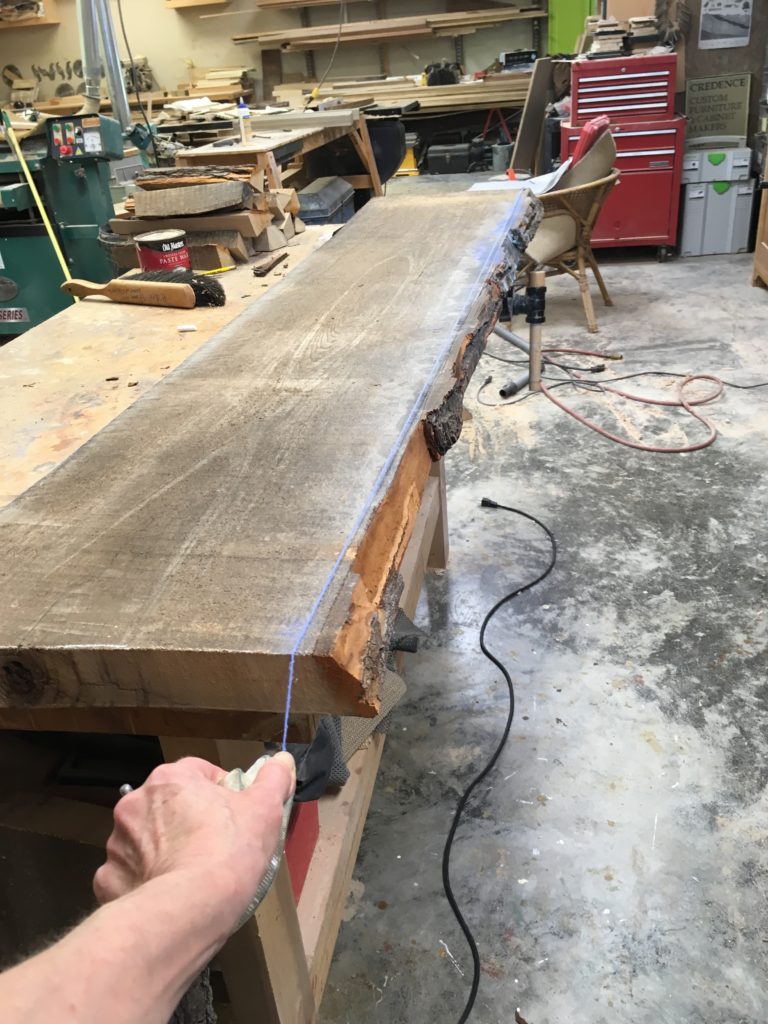
A builder’s chalk line makes it easy to mark a straight edge on a live edge board.
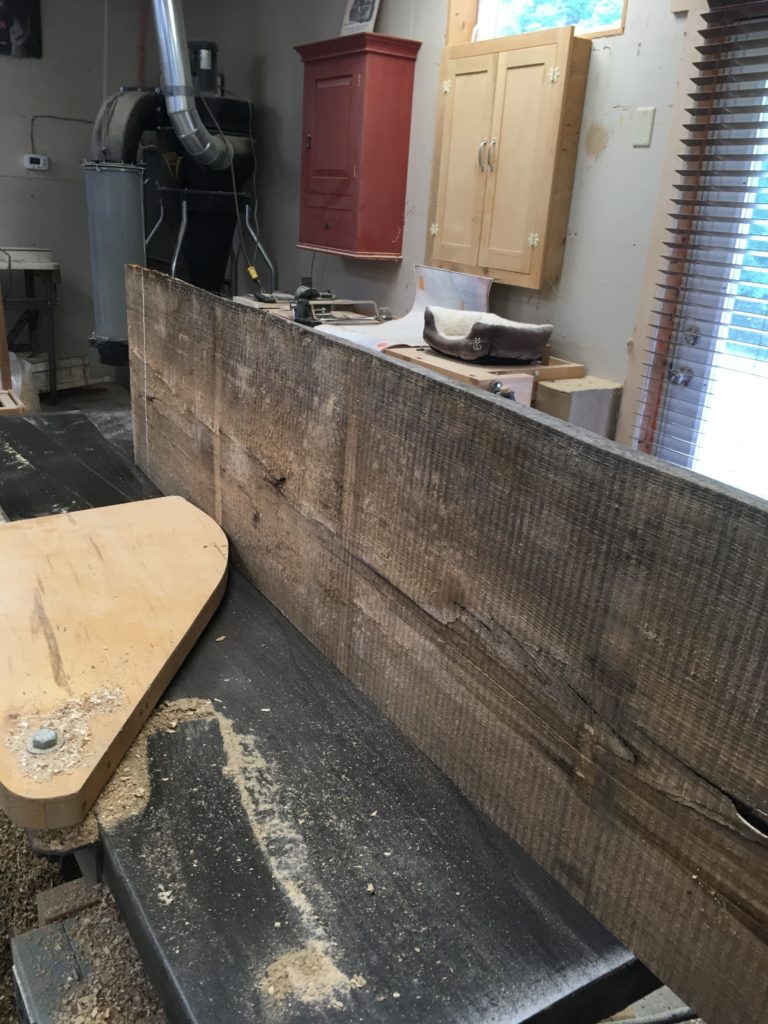
After cutting to the chalk line on the band saw, joint a straight edge. (Yes, that is the shop cat’s bed on the bench in the background.)
Because my old jointer was made with a fence locking system that resists staying square, I use it primarily for flattening, then rely on my table saw and a Forrest Woodworker II blade to get an edge that’s good to glue. But how to rip a straight edge when the opposite edge – the one that would normally be your reference – is live? Simple: I just set the fence to remove a narrow strip, using the jointed edge as my guide.
5. Glue
You could use biscuits or a shop-made spline to increase the glue surface area and keep the parts in plane with each other at the top. I have found that splines and biscuits are as likely to get surfaces just a little out of whack as they are to keep them dead-level. So I just butt-glued the parts together.
To avoid bruising the live edge I used rubber clamp jaw pads. They worked like a charm, even on the softer sapwood.
6. Clean Up
Clean up the top and bottom surfaces. To reinforce the joint I added a glue block, adhering it to the overhanging back edge of the solid strip and screwing it into the plywood, the underside of which in this case was prefinished (and so, not amenable to gluing), as shown in section 1 above.
7. Notches
This is another straightforward part. Simply mark the position of the notches by measuring the slide hardware and calculating how much the front edge needs to overhang at each side, clamp the tray in a vise, and cut with a backsaw.
8. Install!
Screw the tray into place using screws recommended by the hardware manufacturer.
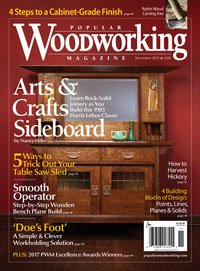
Editor’s note: In case you’ve not already seen it, Nancy’s sublime Harris Lebus sideboard graces the November 2017 cover:
Here are some supplies and tools we find essential in our everyday work around the shop. We may receive a commission from sales referred by our links; however, we have carefully selected these products for their usefulness and quality.


![Working With Live-Edge Tops [Video]](http://www.popularwoodworking.com/wp-content/uploads/bfi_thumb/dummy-transparent-olcy6s63it1p9yp7uhusjas7c8kahafrhg9su7q9i0.png)
Beautiful work. The balance of the keyboard slide out is remarkable looking.