We may receive a commission when you use our affiliate links. However, this does not impact our recommendations.
 In my last post, I showed how I use adhesive-backed sandpaper as a sharpening medium in our school classroom. Although adhesive-backed sandpapers have become the gold standard in tool sharpening, I find that in many cases conventional sandpapers will do a good job, too.
There are a few ways you can build a sharpening plate to accommodate conventional sandpaper.
- Use double-sided adhesive tape to affix the sandpaper to a flat surface.
- Use a staple gun.
- Make a dedicated clamping bar to hold down the sandpaper.
- Spray or apply glue over the sandpaper and press it over the plate. (The only issue with this technique is that peeling the old paper from the plate can be tricky and involve the use of solvents to remove the glue residues before applying new sandpaper.)
The Double-sided Tape Technique
First, I make sure that the corners of my sharpening plate are rounded (this helps during the round-over tensioning of the sandpaper). Then I affix two segments of double-sided tape onto the back of the plate. I continue by pressing one edge of the sandpaper over one tape segment and secure the adhesiive by pressing the sandpaper and the plate in a vise. While the plate is in the vise, I pull the sandpaper strip over the other corner, tension it and press it over the other segment of adhesive tape. I finish by clamping the entire block tight in the vise to enhance the adhesion.

The Staple-gun Method
This is as straightforward as it sounds. Like the double-sided tape method, begin by stapling one edge of the sandpaper strip, tension it over the other side and staple again. I found that wrapping and anchoring the sandpaper around the length of the plate (see lower sandpaper plate in the following image) will give you better results.

In this option the sandpaper is stapled over the sharpening plate.
I found that wrapping and anchoring the sandpaper around the length of the plate (bottom sandpaper plate in this photograph) will give you better results.
Making a Dedicated Plate with 2 Clamping Bars
Here you will have to craft a plate that has two slanted rabbets at its edges. Then make a special trapezoidal-shaped clamping bar that can be tightened down with screws. The slanted rabbet and the trapezoid bar will tension the sandpaper strip over the plate’s surface as you tighten the screws.

Securing the Sandpaper Plates for Sharpening
Below is an illustration of a proposed mounting technique to hold the plate put. Install a few dowels into a plywood platform and drill complementary holes in the bottoms of each of your plates (The sandpaper plates and the stropping plate). With this setup you would be able to mount all or a few plates over the platform and know they are not going anywhere.

When Does the Sandpaper System Excel?
Any time you need to remove a lot of steel from a tool, such as when flattening the back of a rusty and pitted chisel or for restoring the edge geometry of an axe head, you will find a sandpaper plate really effective. I own many diamond stones including a #120-grit DMT Dia Sharp which, as far as I know, is the coarsest diamond stone out there, and yet it works unusually slow compared to #80-grit sandpaper over an MDF plate. True, the sandpaper will break in much faster than the diamond stone; on the other hand, you will be able to replace it with a fresh sheet effortlessly. I am by no means advocating against diamond or any other traditional sharpening medium. As I said in my first entry, I use diamond stones and waterstones routinely, but there are situations where nothing will beat the expedient removal of steel by a fresh strip of sandpaper.
Furthermore, once you build your first sandpaper plate you will find many other uses for it. One idea is to make a sandpaper plate for sharpening that can be given away together with a whittling knife to the children in your life as a gateway to learning and enjoying both woodworking and proper tool care.
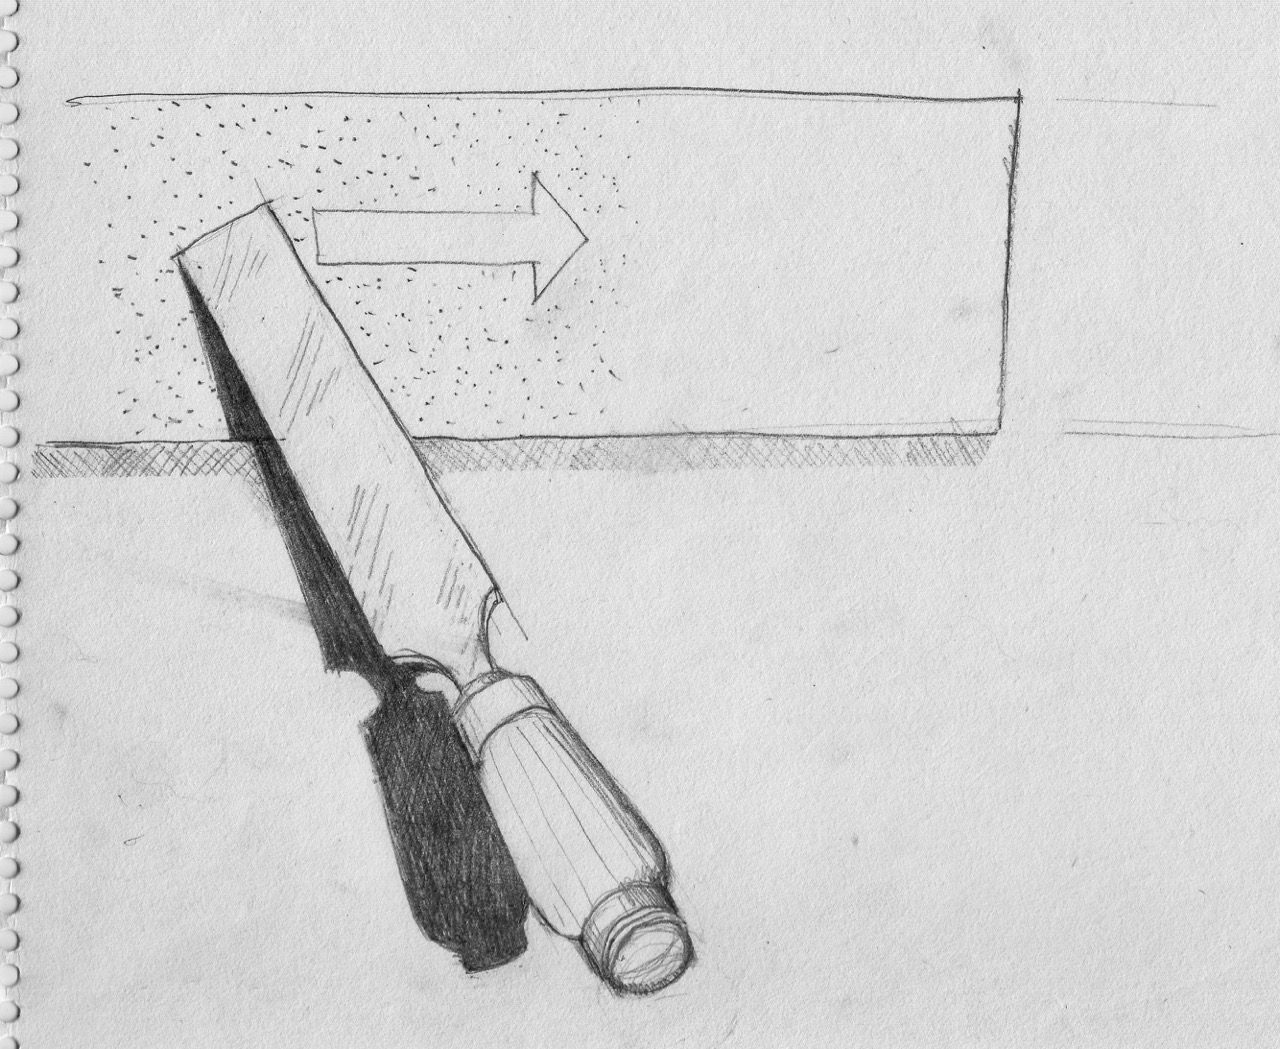
A last word of advice: If your sandpaper is wrapped around the plate tightly it will probably be fine to pass the edge over it back and forth without the risk of the edge digging into the paper. (The same is true with adhesive-backed sandpaper, as discussed in my previous post). But if you prefer not to risk it, just sharpen by pulling away from the paper.
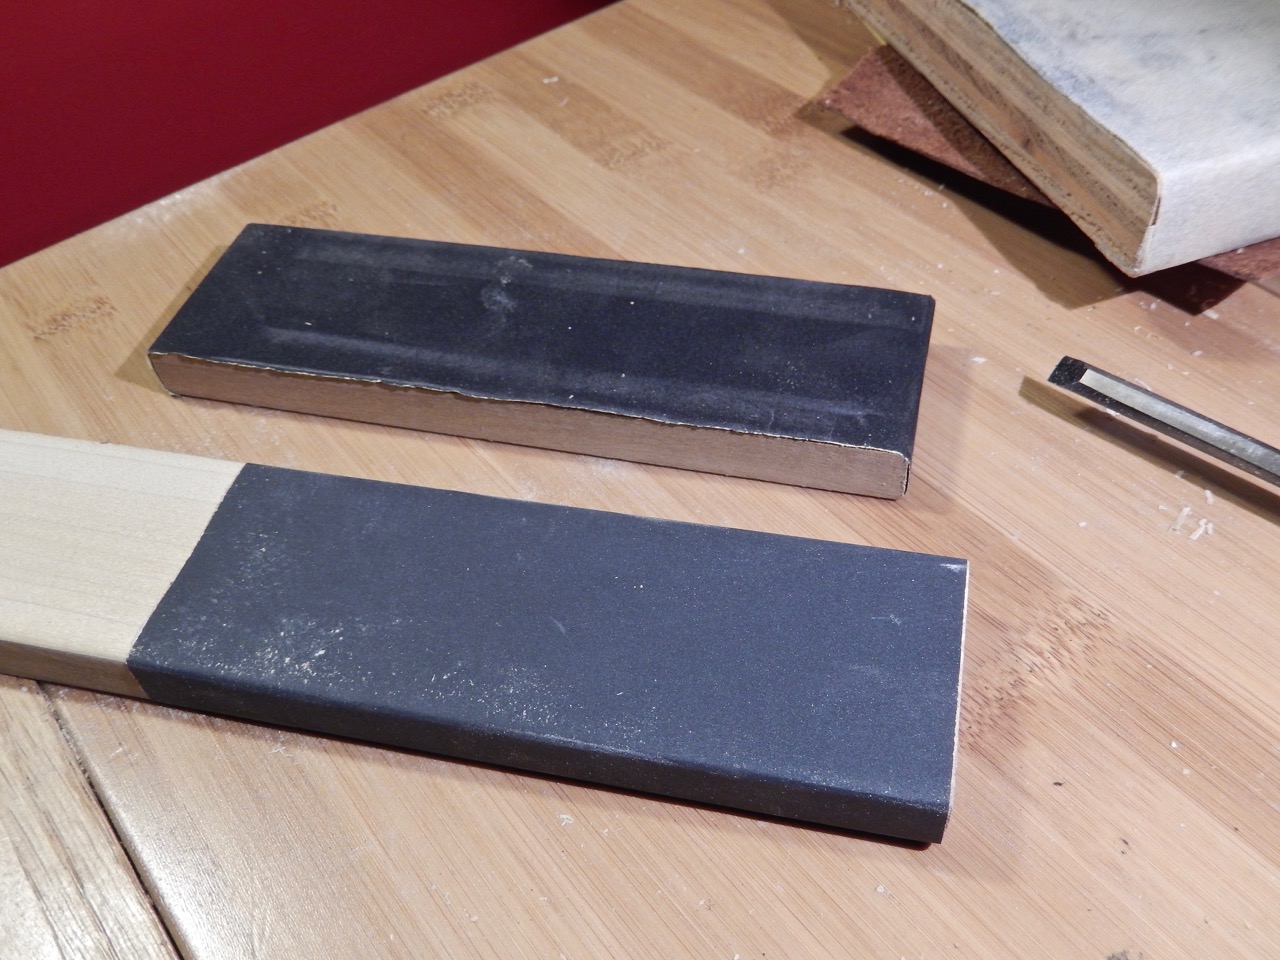
Sandpapers & Strop Suppliers
My relationship with adhesive-backed sandpaper includes trying three different brands: 3M, Norton, and Carborundum, which I purchased from Lie-Nielsen, Amazon and Summit Racing Equipment respectively. They all perform well. As a strop I use a piece of leather. The suede side of an old leather belt can be a good strop, too. Horse butt strop (not a joke – apparently the behind of a horse makes the best strops!) is available at Tools For Working Wood (where the tush tissue will cost you $22).
If you like to use the conventional sandpaper technique, you have many more options to choose from. Silicon carbide and ceramic papers will cut fast, Norton 3X will work great, and there are the high-tech new microabrasive sandpapers such as those sold by Lee Valley that claim to last longer, but are more expensive.
Lastly, Rob Hanson of Evenfall Studios makes and sells a complete system of sandpaper and strop plates that can replace your existing stone method. His system is based on exchangeable glass plates that can be mounted with adhesive-backed sandpaper or leather strops.
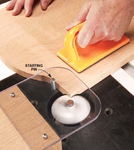
Below are picture showing my sharpening and honing technique while using the conventional sandpaper plates.
Here are some supplies and tools we find essential in our everyday work around the shop. We may receive a commission from sales referred by our links; however, we have carefully selected these products for their usefulness and quality.