


We may receive a commission when you use our affiliate links. However, this does not impact our recommendations.
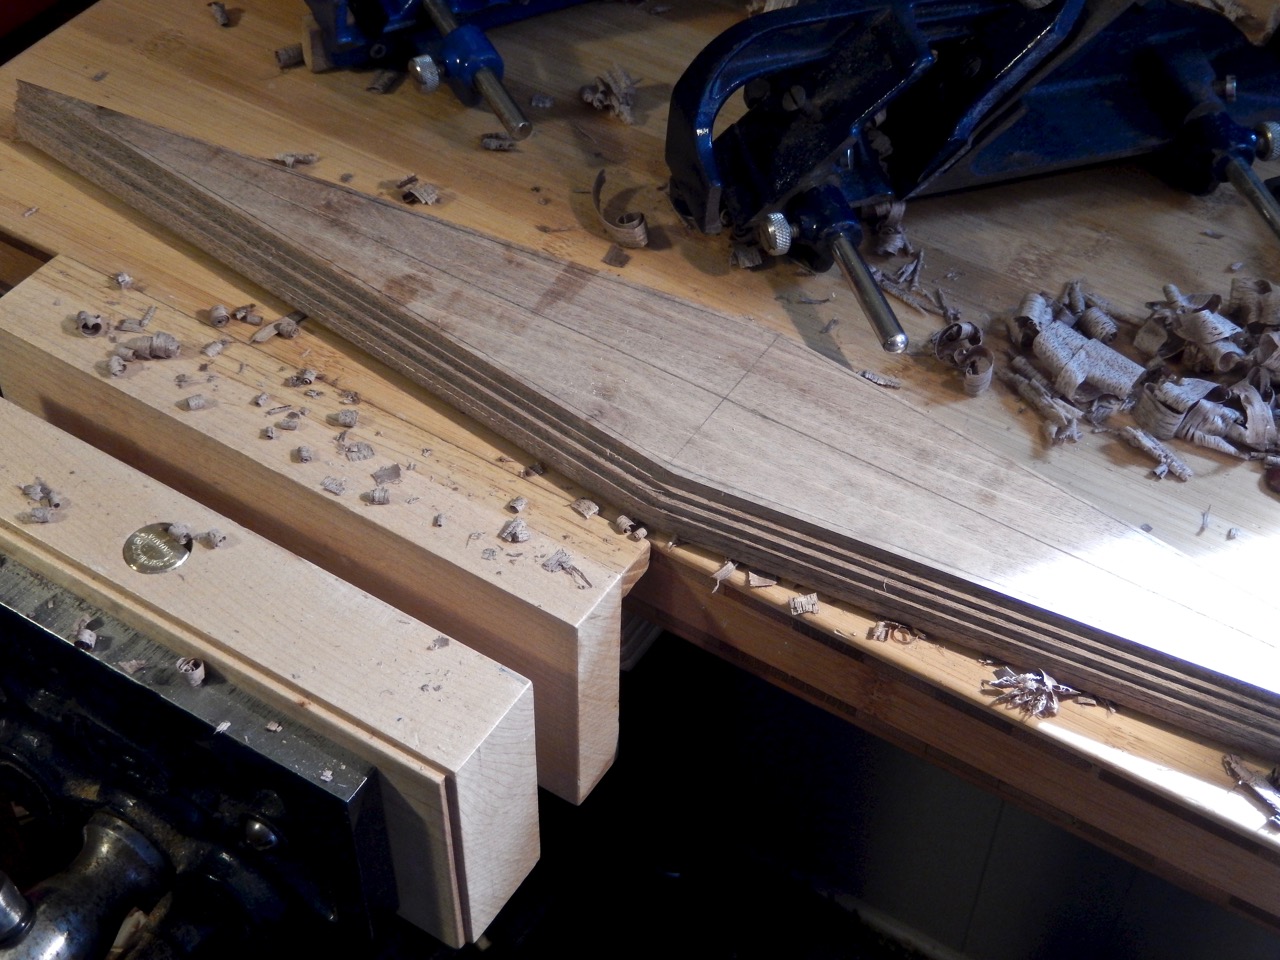
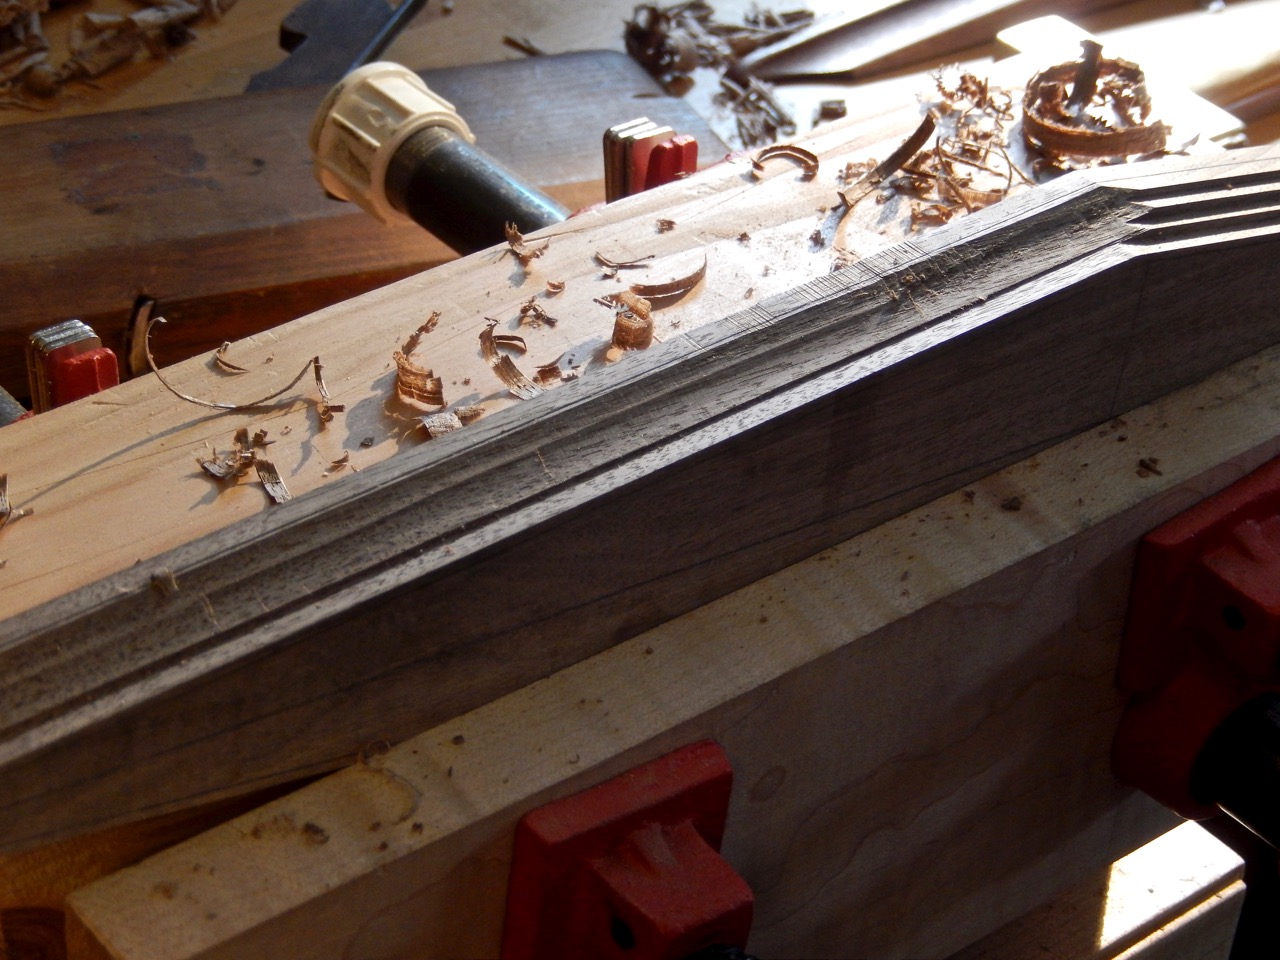
After the terraced rhombus was formed, it was time to start coving. The required radius for the coves, as dictated from the original handle was 1”. But, since the only round plane I have produces a cove of about 1-1/2”, I had to also rely on gouges, a 1” radius scraper and a sandpaper wrapped around a rubber form.
I began shaving the corners of the terraces with my round plane, then carefully deepened the cove with a gouge. When I felt that my cove was up to spec, I finished it off with a round steel scraper and sandpaper over a rubber form that is part of a very handy kit of hollow and round contour sanding grips that I have.


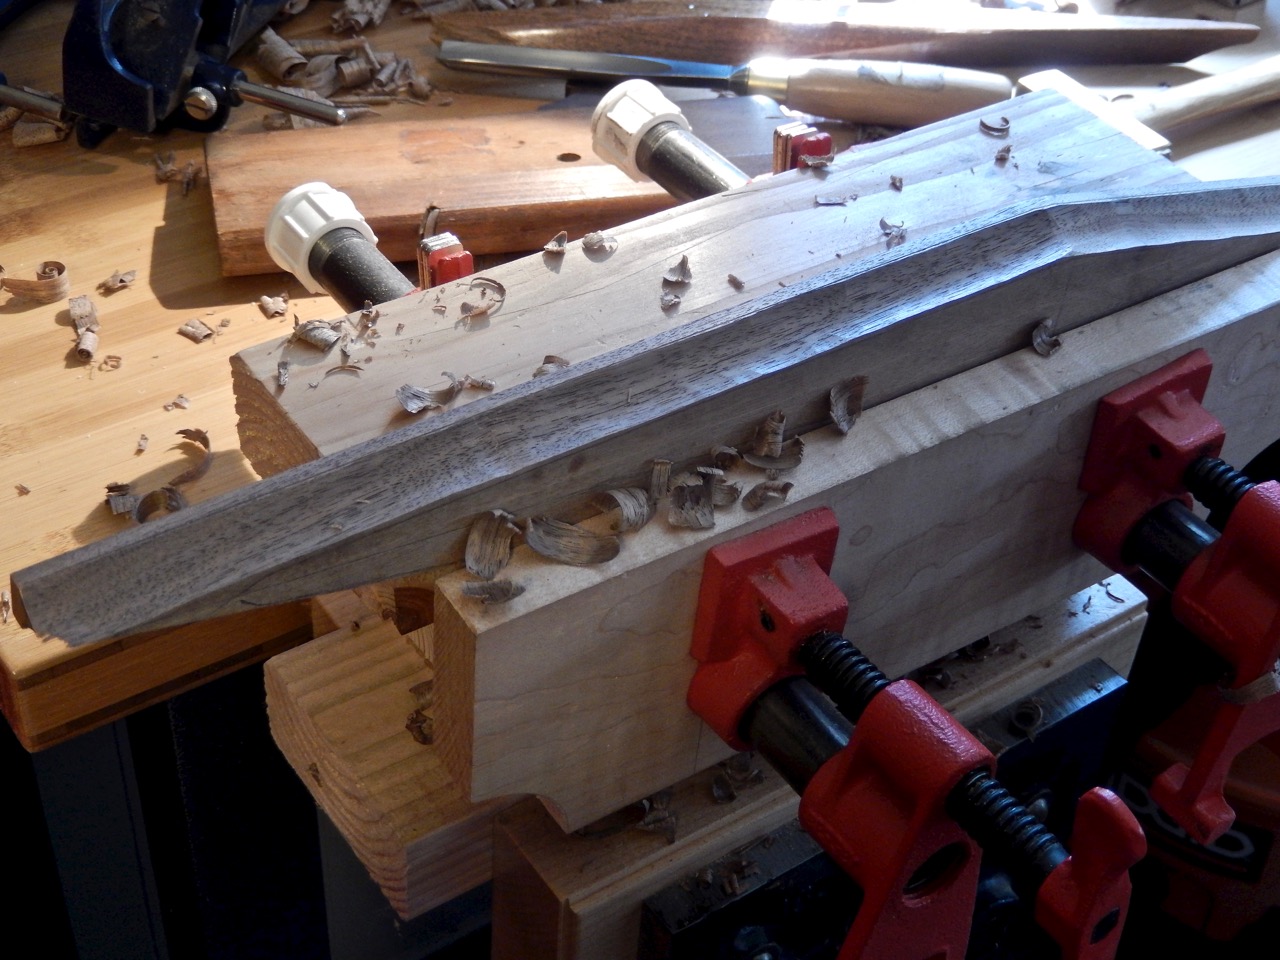
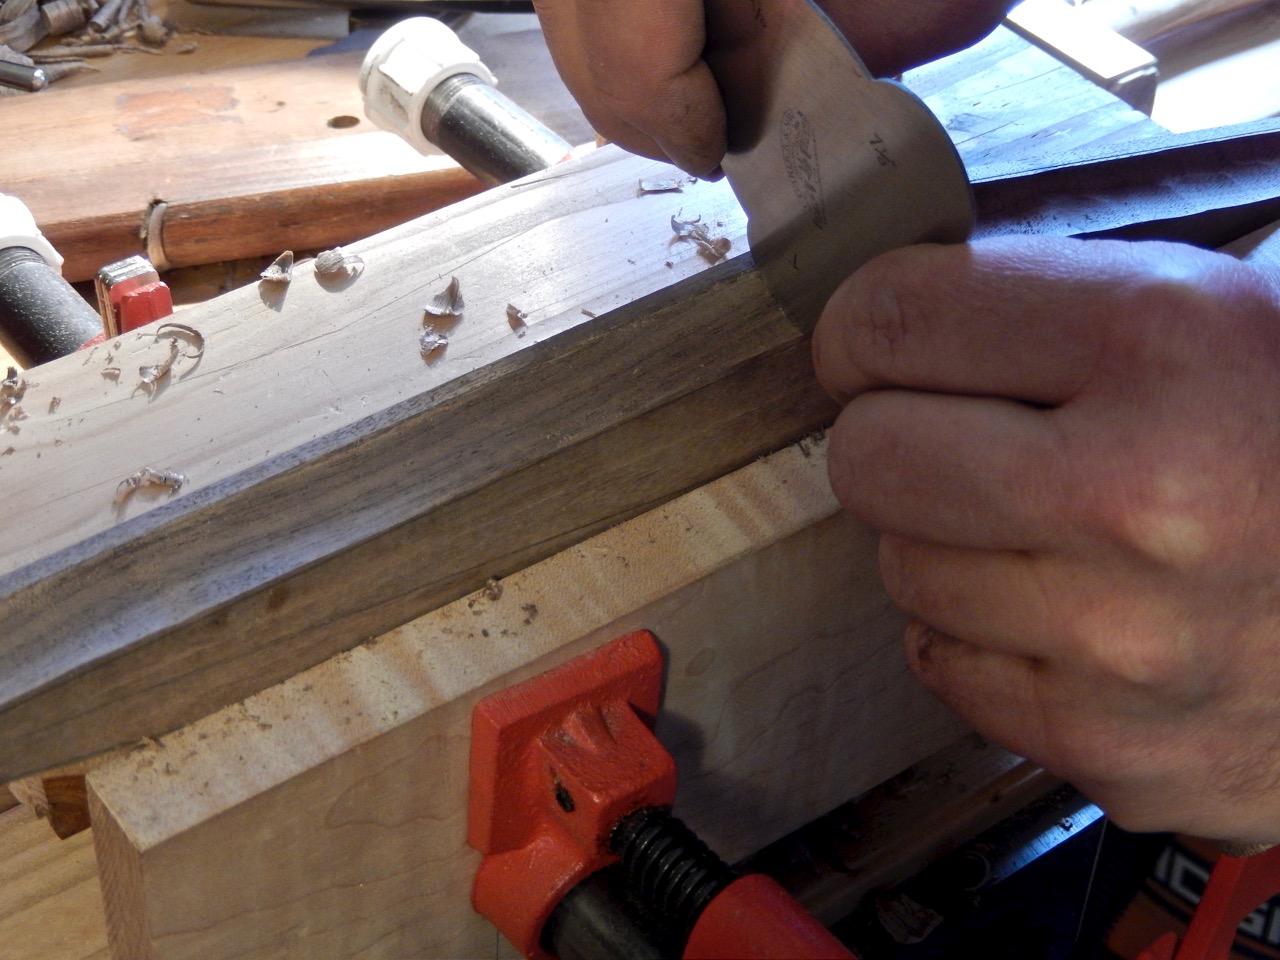


Next came the parting of the rhombus into the two triangles (I used my bandsaw). Once this was done, and after jointing the sawn edges and rounding the corners of the triangles, I was up for shaping the valley.


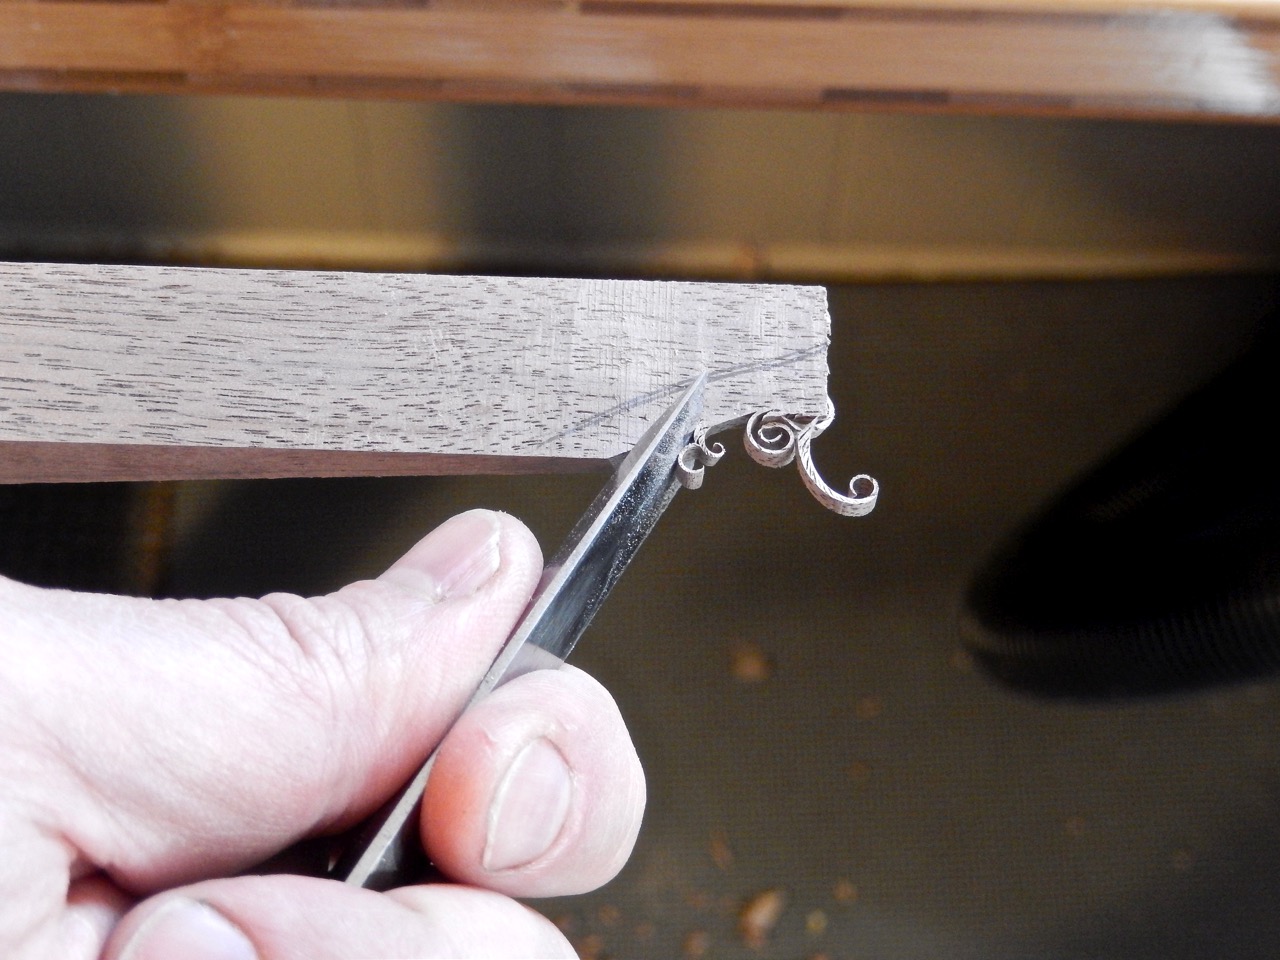

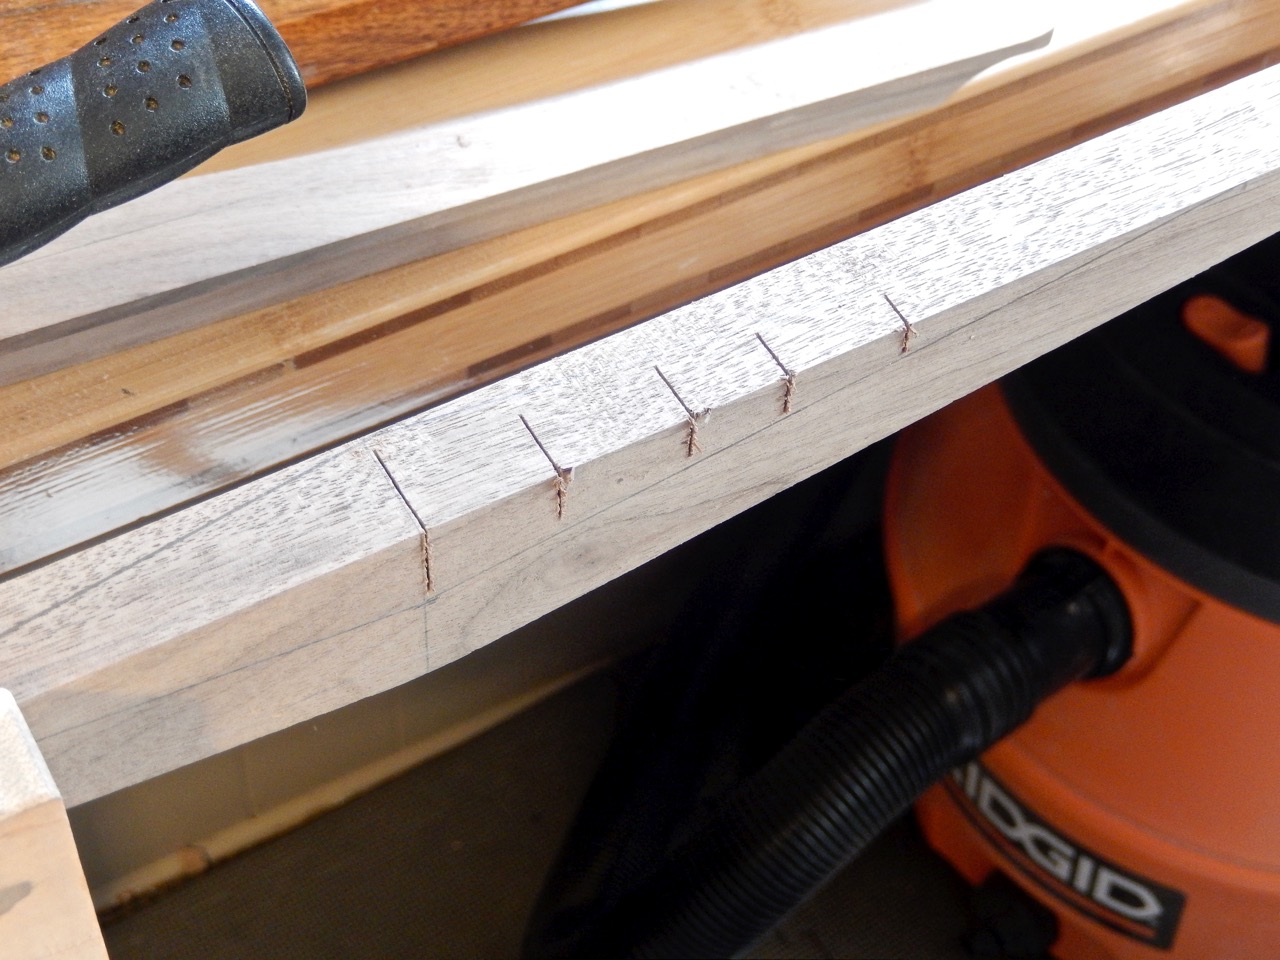
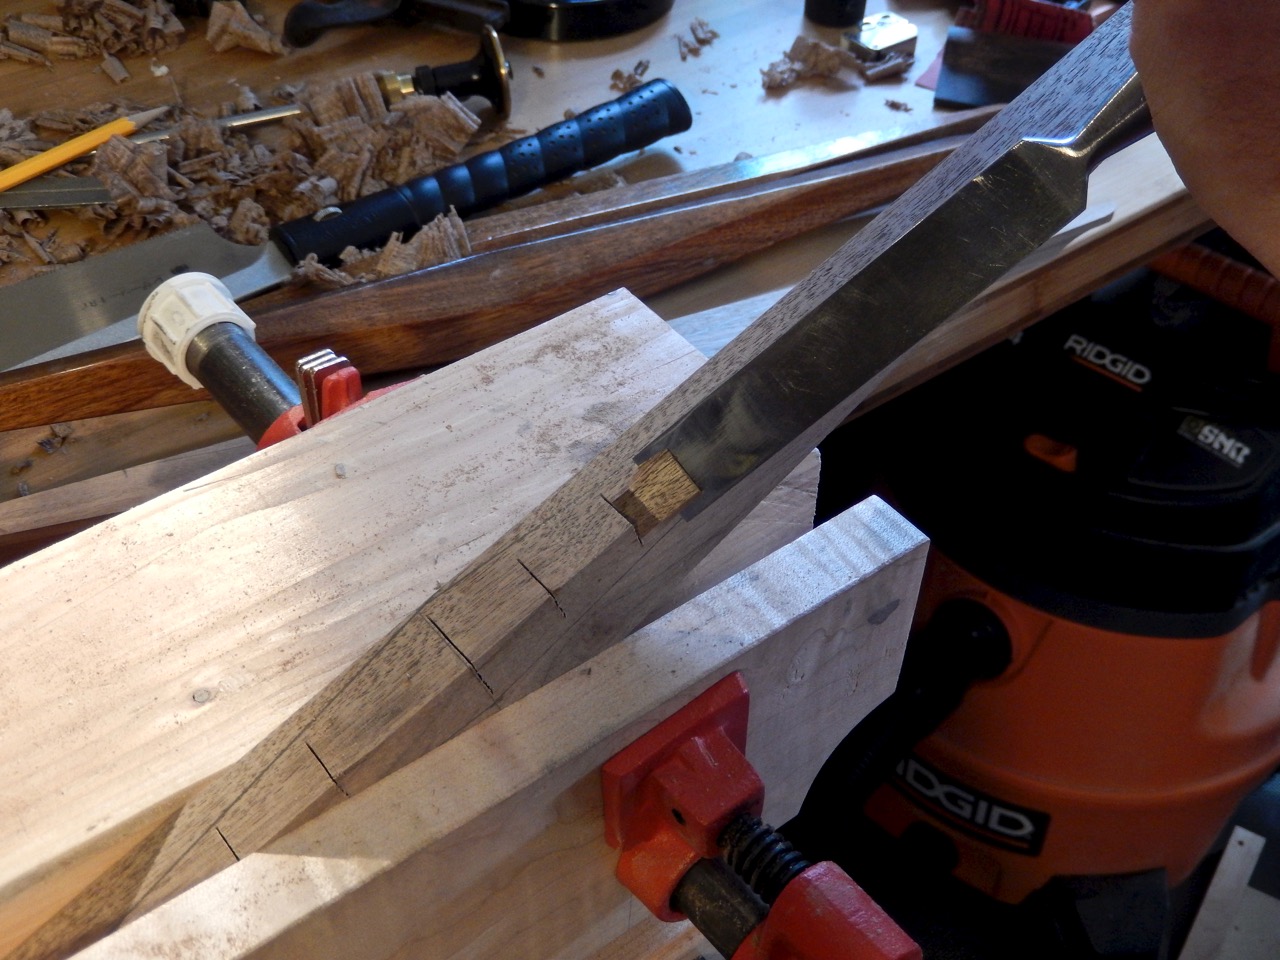
I saw a few relief kerfs across the valley and with a chisel chipped away the waste. I finished up with a file and some sand paper.
 Finish & Patina
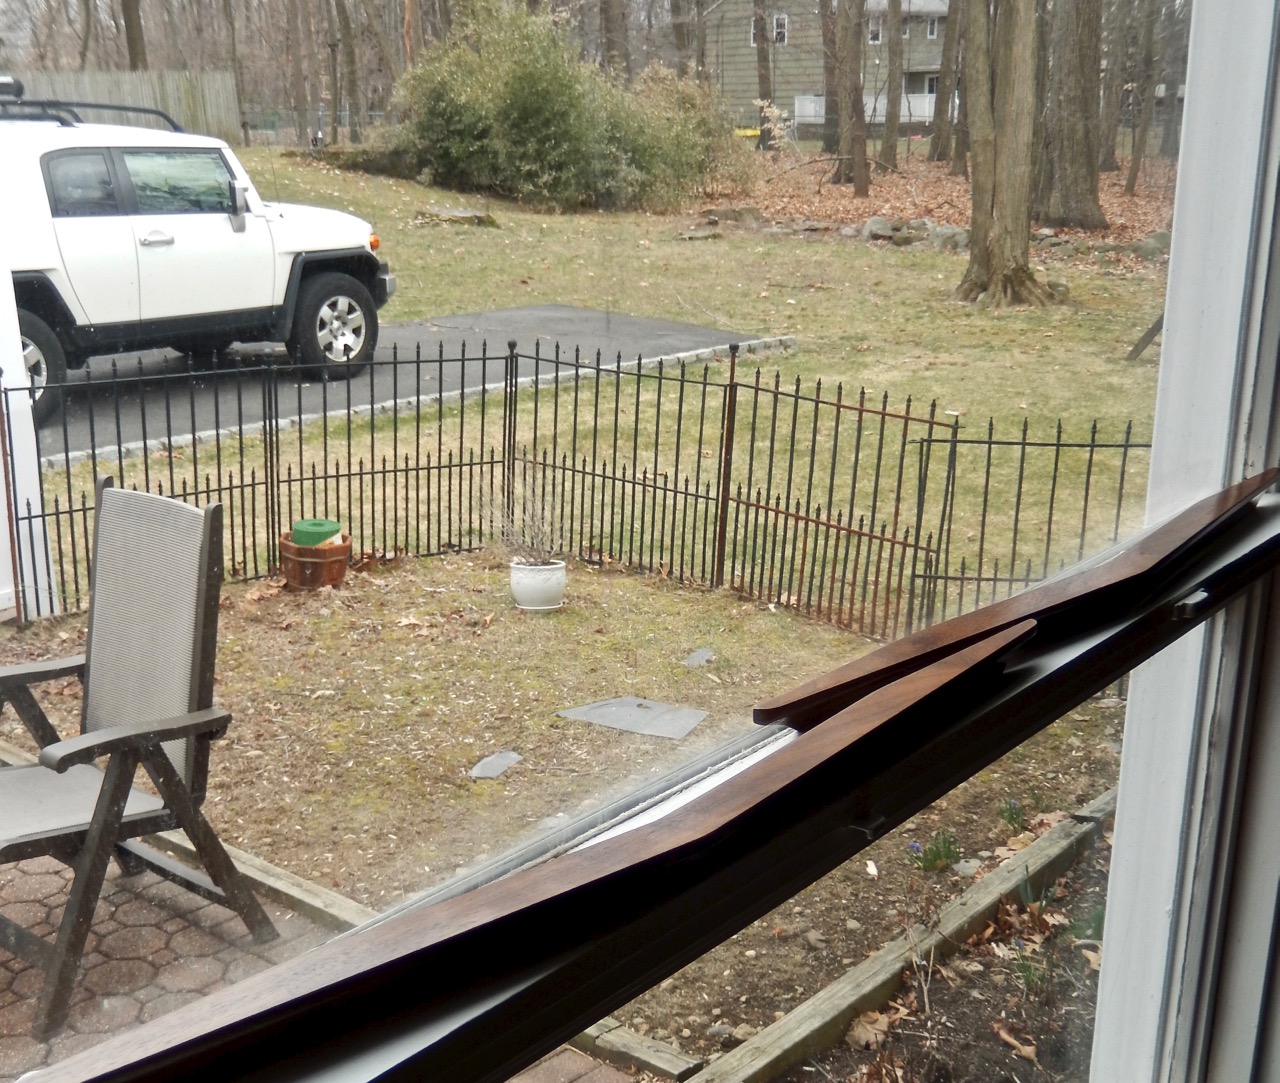
My client’s dresser received a fair share of sun exposure over the many years it stood in her bedroom. Since walnut gets lighter and more yellow after sun basking, I thought that I needed age the handle to match the piece. I contemplated a few ways to do so. One would be to stain it with orange dye prior to applying the wipe-on urethane finish. The other way was to let the finished handles sit on my window ledge for a few days to lighten up. I even contemplated getting them into a tanning salon for some uv therapy but abandoned this idea for the fear of becoming a laughing stock by the people who run the joint.
So, after a few days on my window I drove to my client’s house and installed the handles. They look quite good and I hope that over time they will blend in with the surrounding wood even better. If I had to match new walnut to old walnut again I would consider buying a UV bulb and experimenting with tanning the wood at home—or better yet, write to Bob Flexner and ask him for his advice…


Here are some supplies and tools we find essential in our everyday work around the shop. We may receive a commission from sales referred by our links; however, we have carefully selected these products for their usefulness and quality.


Well written post enough text to explain the pictures. I like the design and the technique and might make something similar.
Gorgeous final result, the handles look great and the restored piece looks amazing. The precision in your technique is fantastic.
Wow! Impressive. I generally do not like the style, but I can always admire well done elements.