We may receive a commission when you use our affiliate links. However, this does not impact our recommendations.
In my job as a woodworking teacher I do not only have command over the pedagogical content of our program, but also on the daily maintenance tasks of tool sharpening and general shop upkeep. Some of our tools, and especially the gouges, see heavy use that requires me to sharpen them quite often. If possible I try to use the manual approach to sharpening and honing, but in cases where a gouge’s edge shows chipping or other heavy damage, I have to resort to the grinder. While most of our gouges manage to retain a decent edge for a reasonable amount of time, I have noticed that one of them fails miserably time after time.

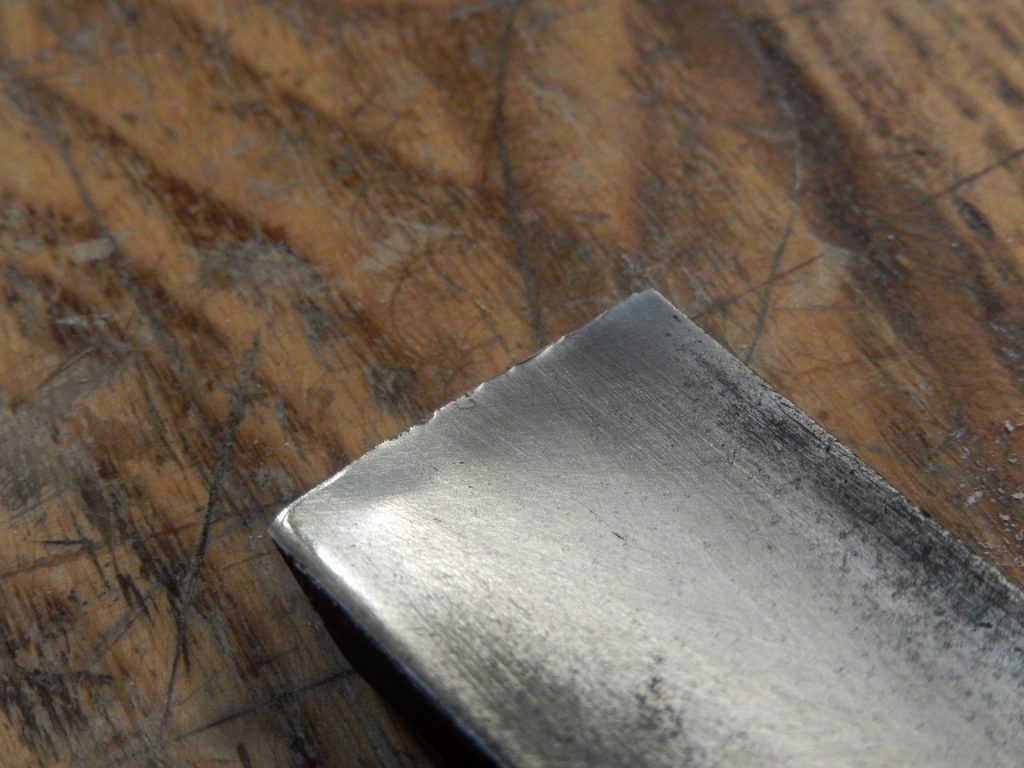
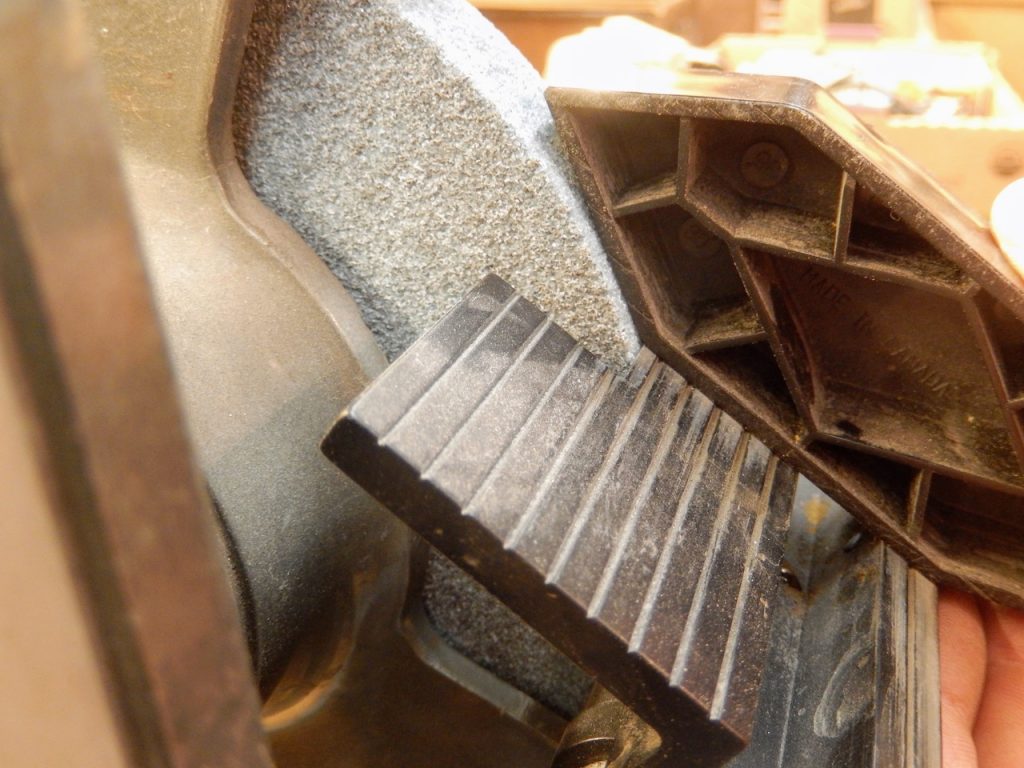
The edge of this gouge was nicked after hitting a clamp or a vise. While I try to cushion our vises jaws and tell my students to place pads underneath the clamp’s head, accidents still (can) happen.
This delinquent gouge kept appearing on my sharpening list much more frequently than other gouges, and showed a horrible crumbled edge every time. It’s not that its cutting edge chipped off (which is an indication of over hardness/brittleness or inadequate tempering). It’s that this gouge’s edge had rather collapsed backward, exposing a folded burr of steel that curled from the edge and over to the back, which rendered it as a suspect of not being hard enough.
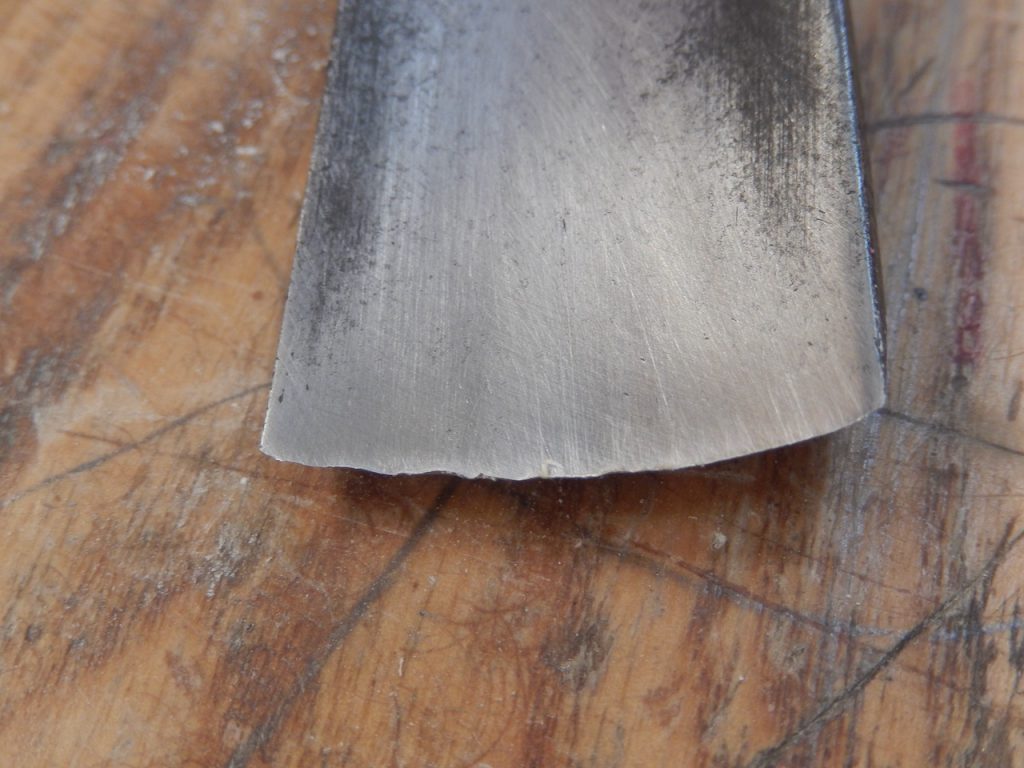
The edge of this gouge had been deformed by careless use. To help me speed up the sharpening process I introduced it to our bench grinder.
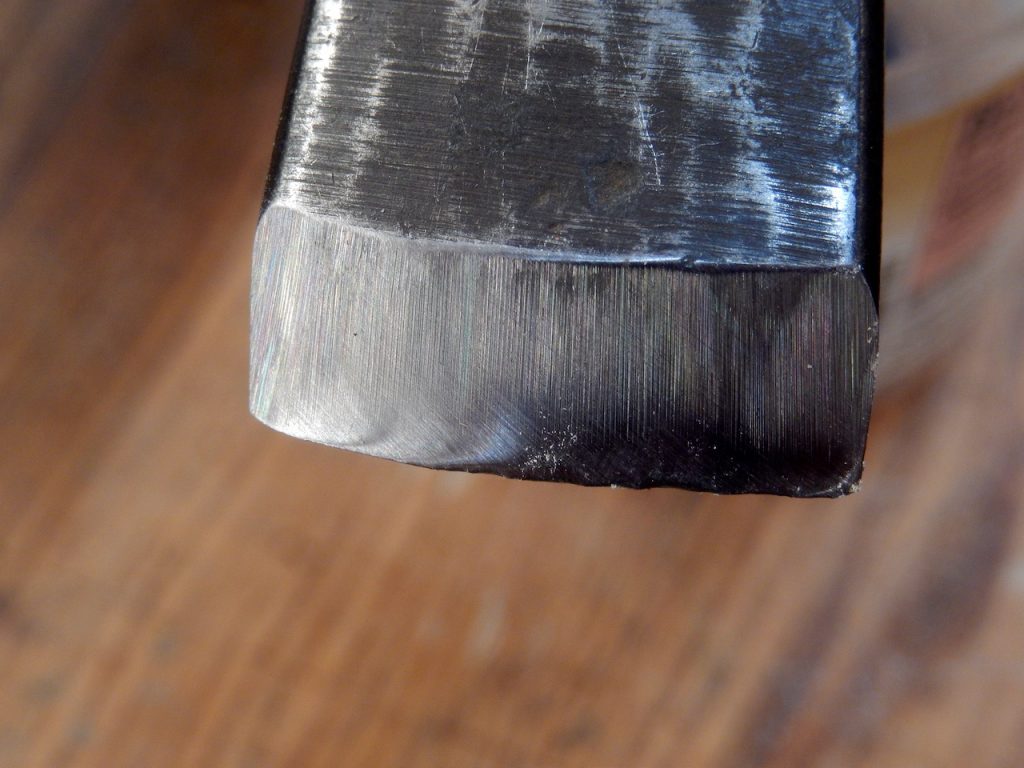
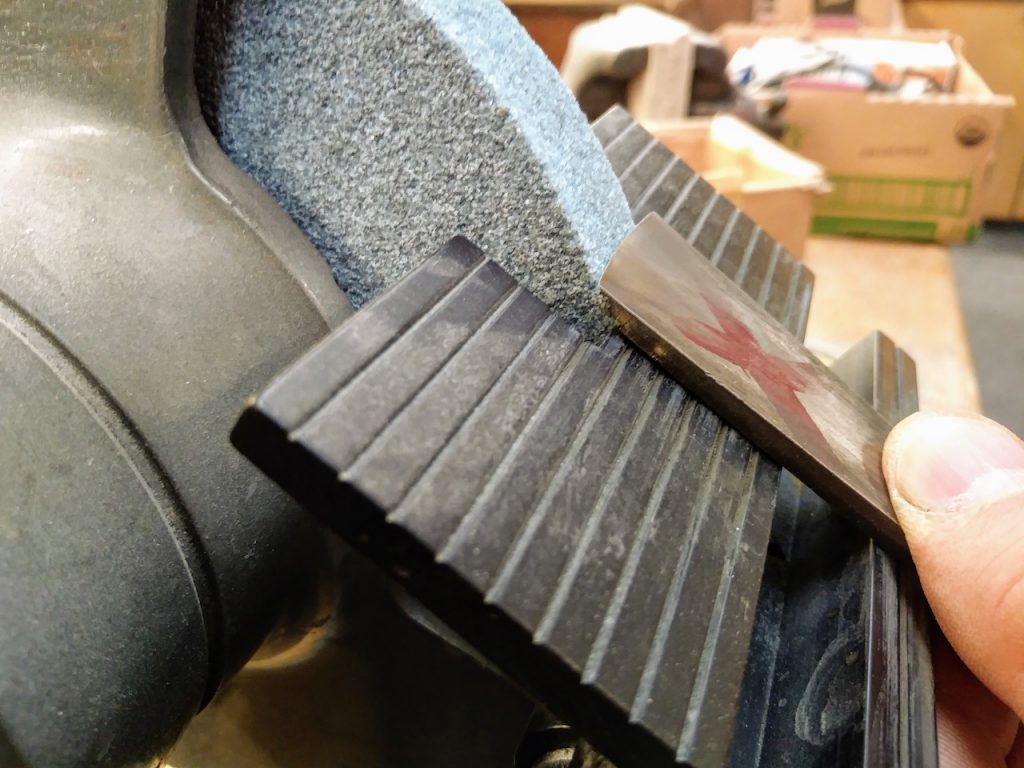
Grinding a hollow vault in middle of bevel (a hollow grind) will make honing much faster. In this picture you can see the hollow grind as a strip of parallel grooves that spans across the width of the bevel.

Every time you hone the gouge the hollow grind vault is reduced in size until the hollow grind needs to be reformed on the grinder.
A popular old woodworkers tale suggests that the edge of a tool can become too soft because of overheating during grinding. The remedy for this, so they say, is to grind it back long enough until you’ll eventually get to an area of properly hardened steel. I tried to give this approach a chance and kept grinding the edge every time it crumbled. But after the fourth time, and with the removal of a total of 1/16” or more tool steel from the edge (don’t worry, I made sure to quench the gouge in water to prevent it from overheating) I reached the conclusion that it is not an accidental overheating by the grinder that make it a soft edge, but rather a factory’s hardening flop.
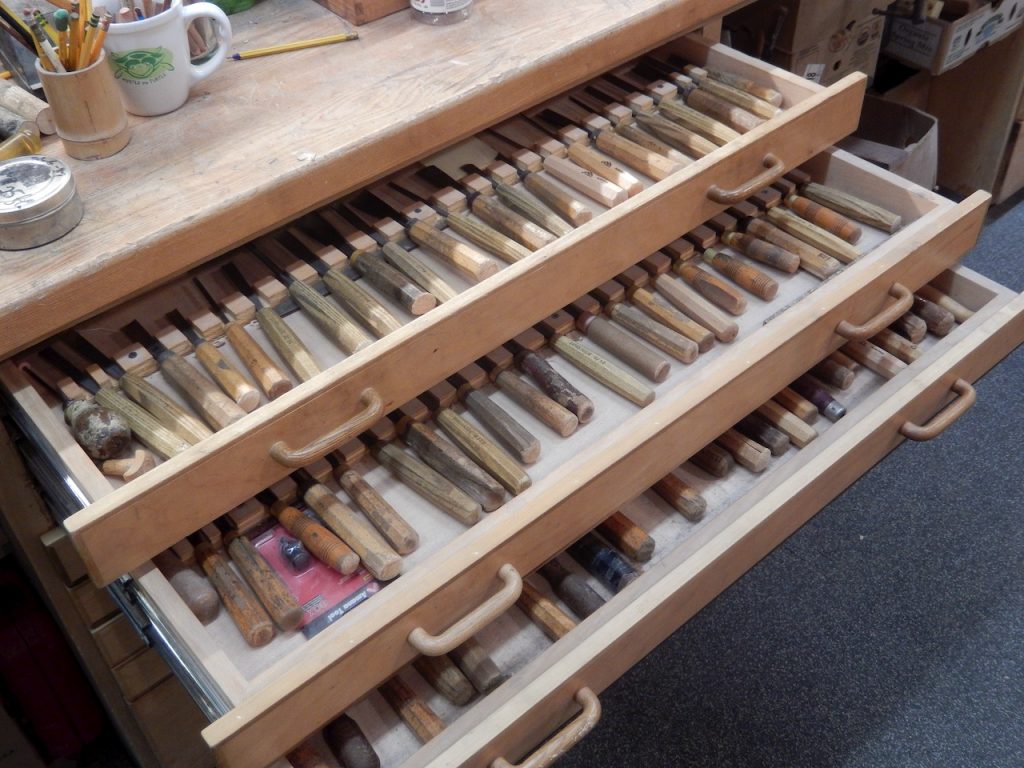
Disappointed, I marked this gouge with a red “X”, swore not to try to sharpen it again and exiled it into the back of one of our gouges drawer.

A few weeks passed and the thought of an idle gouge sitting in our drawer started to bother me and I decided to give the gouge one last chance in the shape of increasing the bevel angle. If I think about it, I should have tried it earlier on, as the notion of a steeper angle for softer edge is not foreign to me. But I do admit though, I am reluctant to change the angle or the setting on my grinder’s tool rest. I like to have one setting for my Norton 3X course wheel and another in front of the finer grit, while wheel. As we all know, it is very convenient to keep the setting more or less constant, where one tool rest can be set for plane blades, at around 30 degrees, while the other tool rest is set for carving tools at 25 degrees. Changing the setting to accommodate a dud tool would have disrupted the grinding “rhythm”, and since in our busy shop I deploy the grinder almost every day I prefer not to change the rest’s angle unnecessarily.
I use our shop’s grinder to reform damaged tools and to reestablish a hollow grind geometry on chisels and plane blades for an easy free-hand honing on flat sharpening medium. I keep our two Lee Valley grinding tool rest at 25 and 30 degrees respectively. This allows me to grind most of our routinely used tools and achieve consistency and predictable results.
But then, after some time and with my frugal proclivity of not letting a tool be scraped until all efforts are truly exhausted, I readjusted the tool rest and gridded the gouge at around 32 degrees. After a short session of honing I put the new edge to the test and hooray, to my delight the angle reformation experiment proved to be very effective – no more crumbled edge.

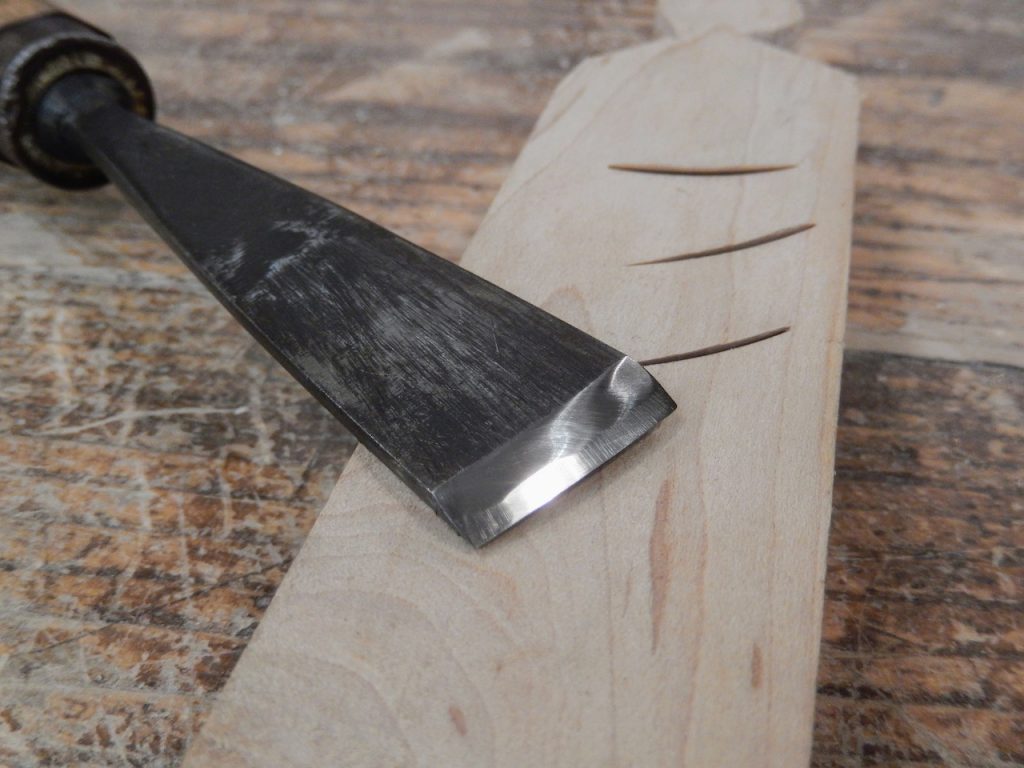
By increasing the grinding angle I practically created a secondary bevel that allows it to function without crumbling. The secondary bevel will widen consecutively with each regrind/sharpening interval until the entire bevel will acquire its new tailer cut bevel angle
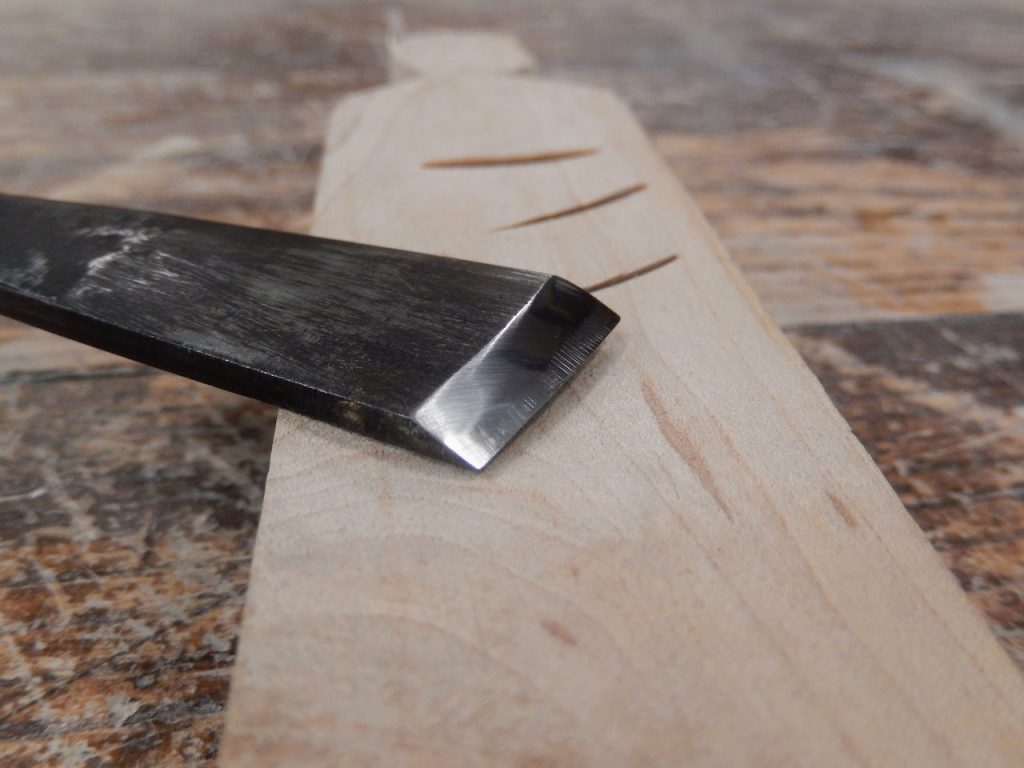
After increasing the bevel’s angle and honing the edge, this gouge was reenlisted and is able to retain a keen edge for much longer than before.
So next time you feel betrayed by one of your edge tools remember this lesson and give the bevel angle increase a try.
Here are some supplies and tools we find essential in our everyday work around the shop. We may receive a commission from sales referred by our links; however, we have carefully selected these products for their usefulness and quality.