We may receive a commission when you use our affiliate links. However, this does not impact our recommendations.

An Exercise in Mastering the Skew
Do you like a challenge? Want to develop your woodturning skills? Can you learn from mistakes? If your answer is “yes”, you’re ready to tackle the rolling cut with a skew chisel. The rolling cut is most often employed to cut beads in spindle work.
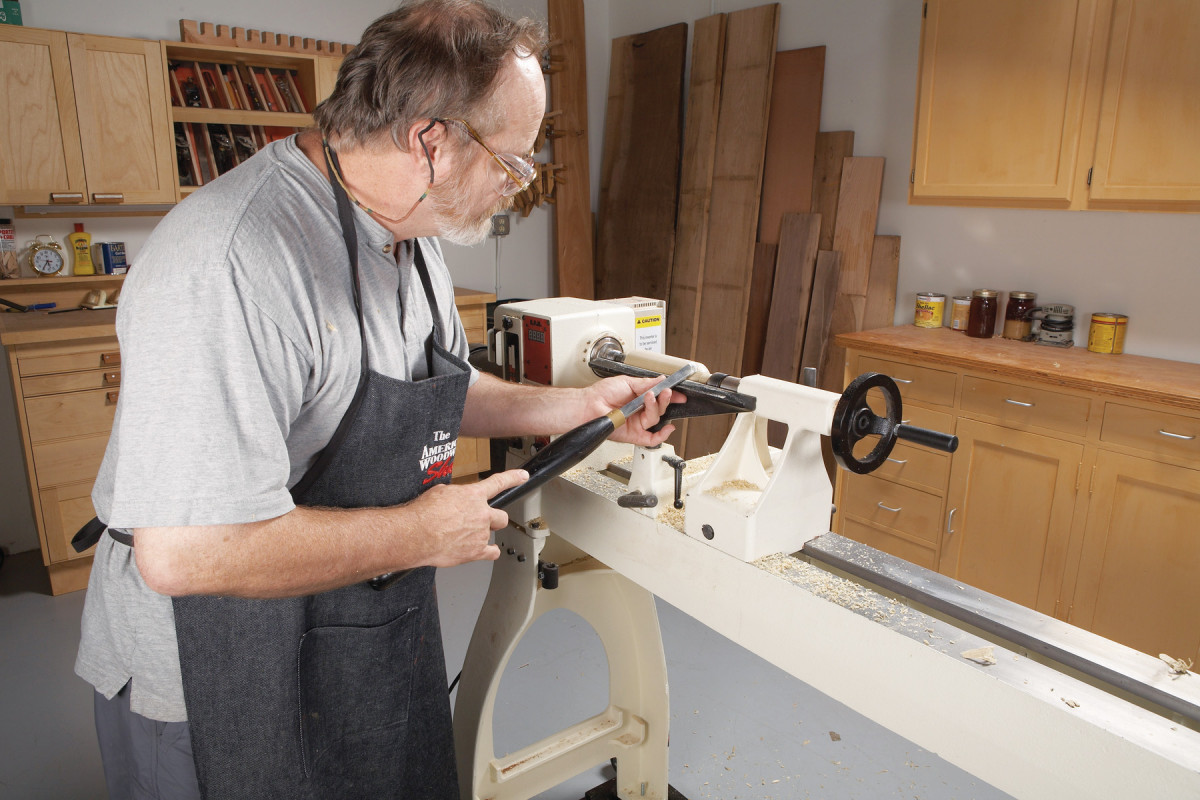
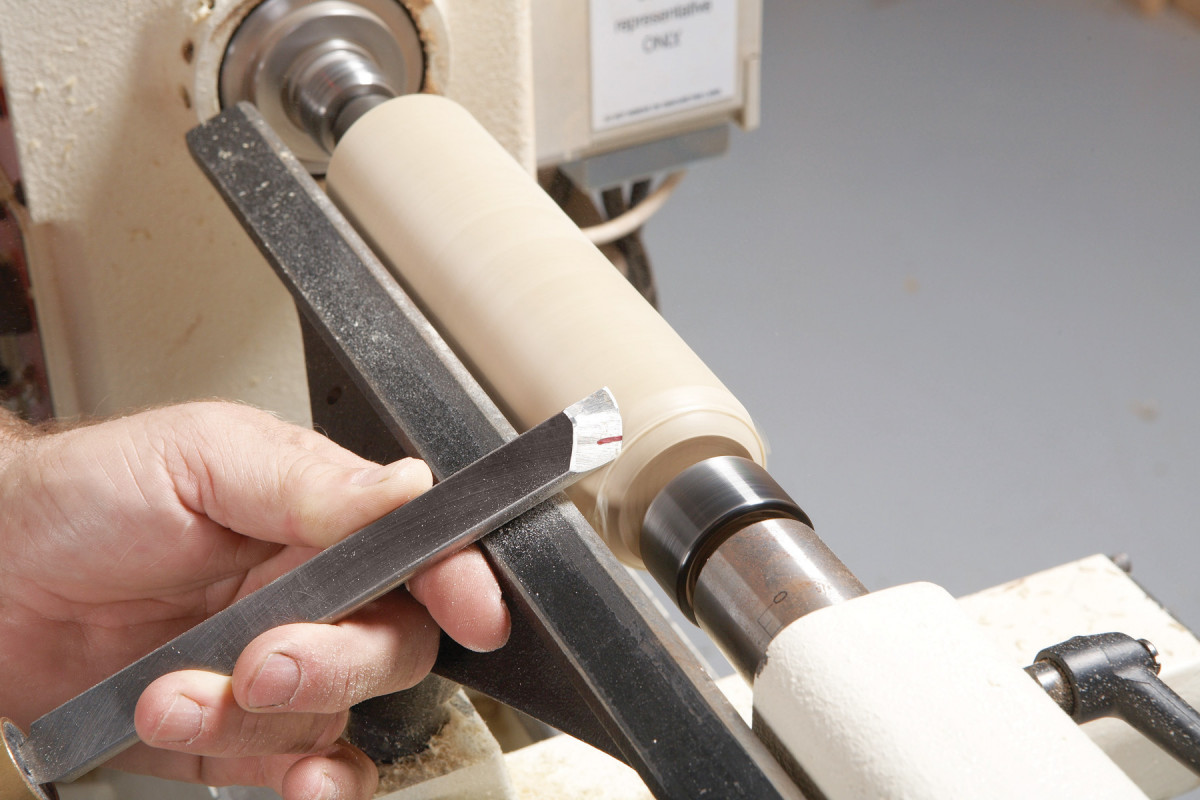
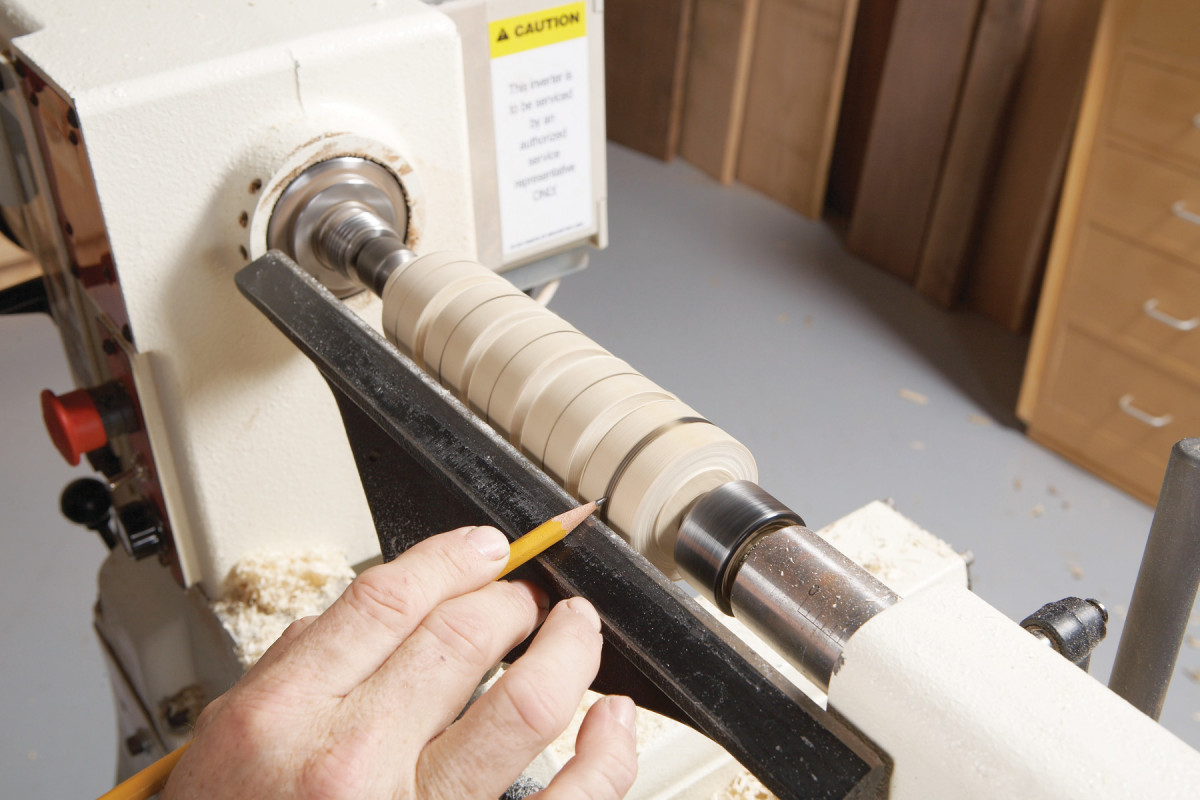
1. Posture and grip are important for a controlled approach to rolling a skew chisel. Position your left hand under the tool, touching the rest. Hold the tool handle with your right hand. Reverse hands if you are left-handed.
Without a doubt the rolling cut can be the most difficult skew technique to learn. For that reason, I advise people to start with the planing cut.
Practice makes perfect and you must practice the rolling cut to gain control over it. However, the effort is worth the time as the skew handsomely rewards all who develop skill with this cut.
TOOLS AND MATERIAL
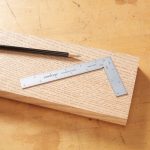
Start with a 1-1/2-in. to 2-in.-square by 6- in.- long piece of soft wood like poplar, alder or pine. Mount the stock between centers on the lathe.
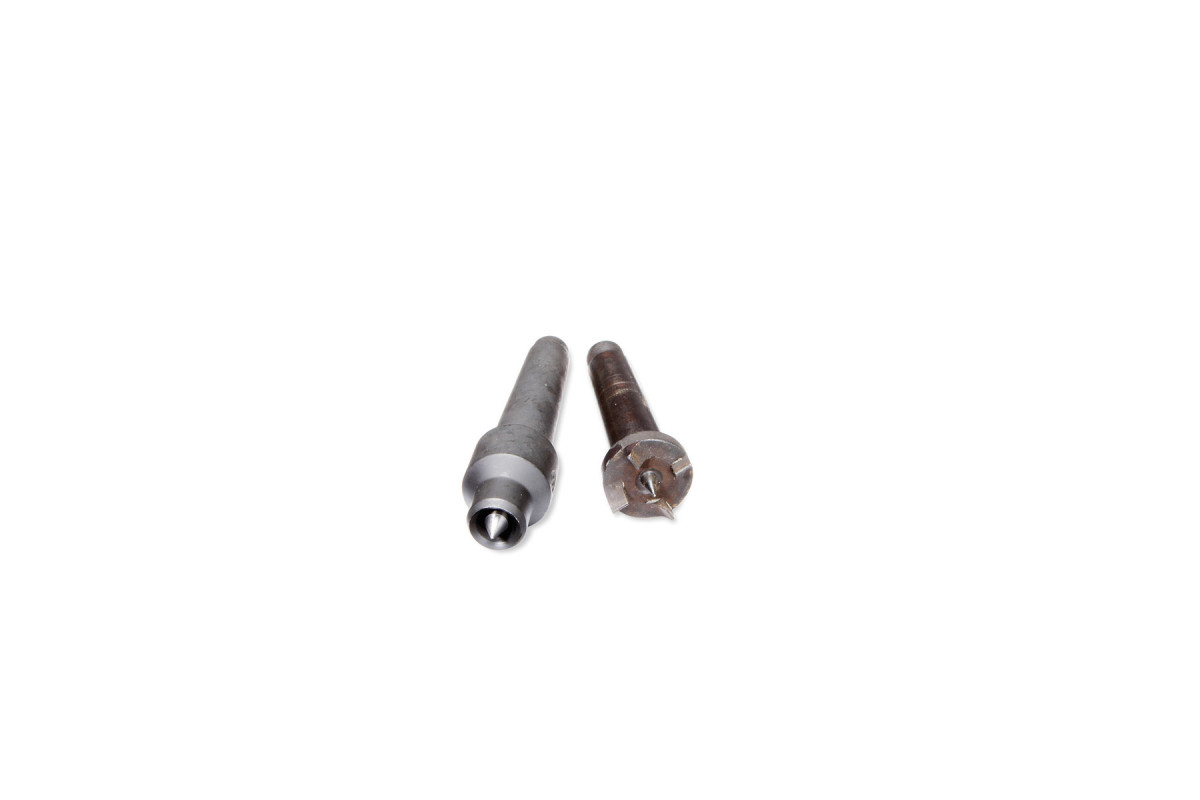
Cup, Left. Spur, Right.
TIP: Use a cup drive rather than a spur center; it’s safer and easier on the nerves if you get a catch.
Practice the rolling cut with a 1/2-in. to 5/8-in. skew that’s really sharp. Round the stock to a uniform cylinder. At first, limit your practice cuts on the cylinder ends only.
ROLL THE SKEW
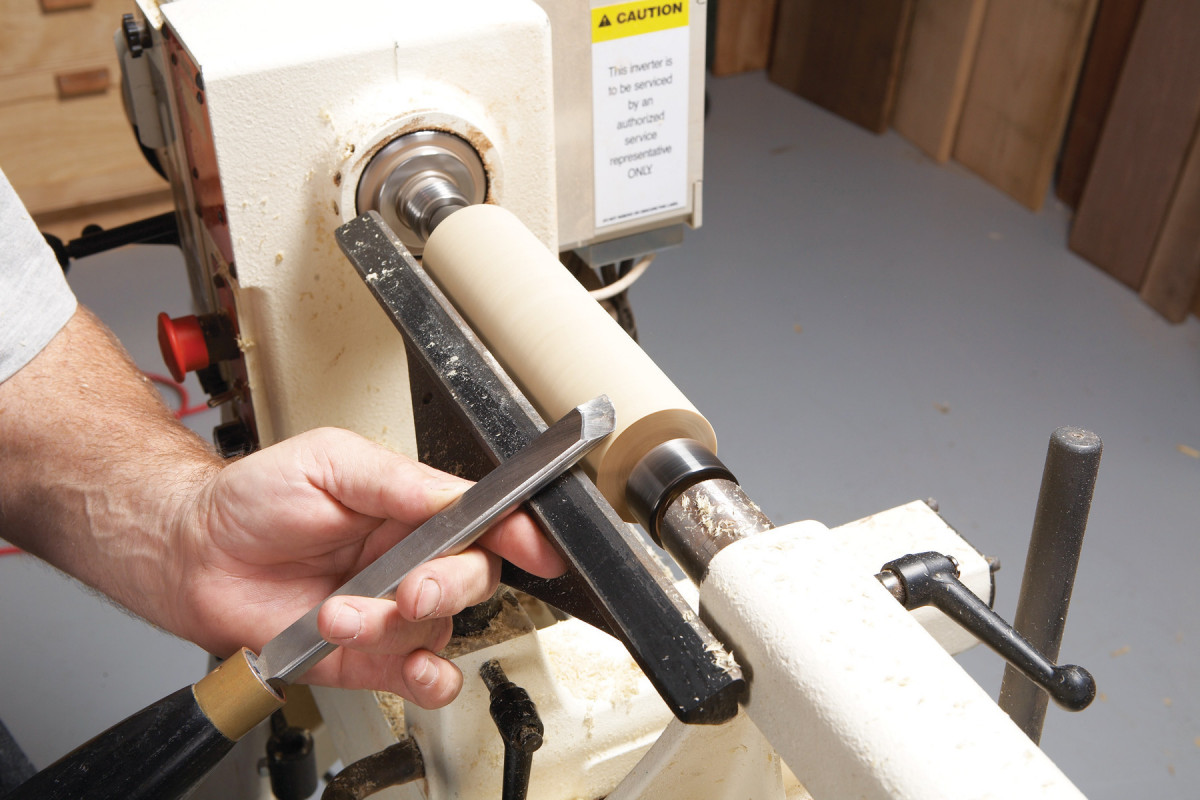
2. The best way to master the skew is on a practice blank. Start at the cylinder’s end. Hold the skew’s shaft at a right angle to the axis of the lathe. Rub the bevel, preparing to tilt or roll the short point of the tool into the wood.
Practice holding the skew to the blank with the lathe off (Photo 1). When you’re comfortable with the hand position, turn the power on and let the bevel rub on the blank without cutting any wood (Photo 2).
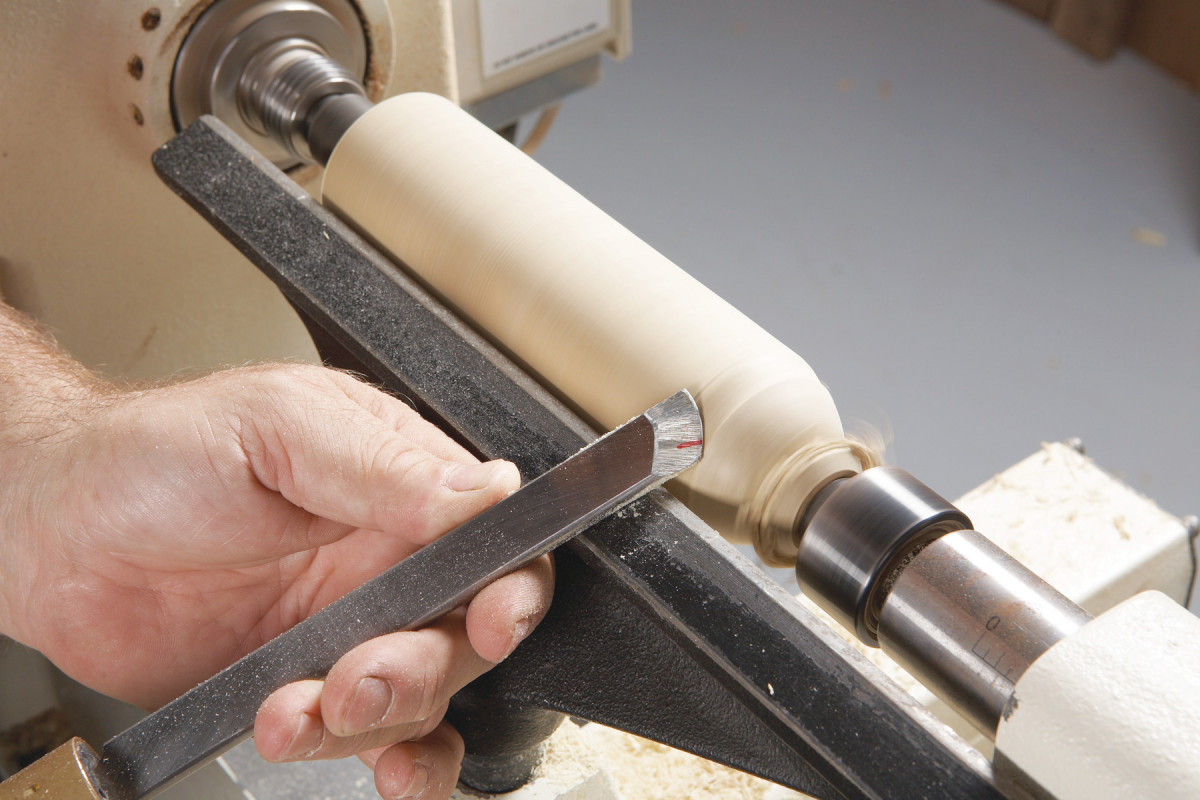
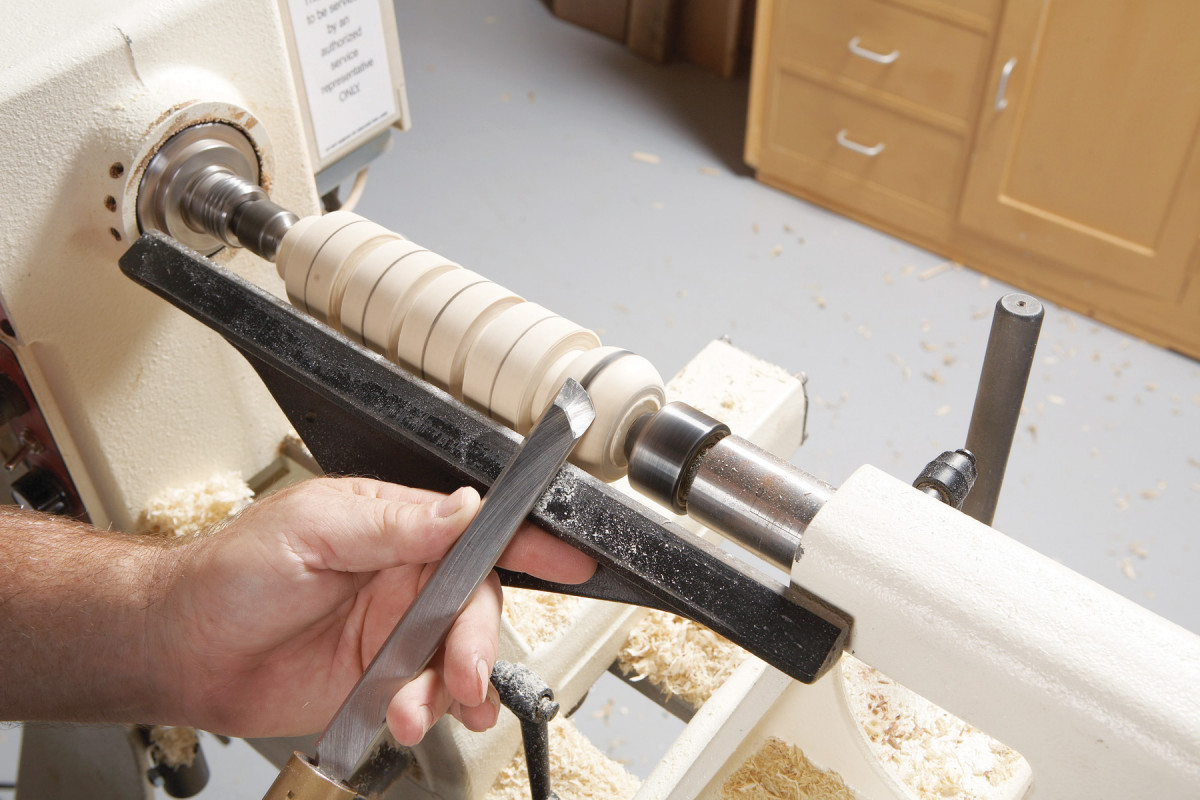
3. Lift and rotate the handle in the direction of the cut to engage the short point of the skew in the wood. Keep the bevel in constant contact with the wood. The cutting action should only take place from the red mark on the tool to the short point.
Then, lift the handle as you slowly rotate the skew to hook the short point in the wood (Photo 3). Make this a light cut; there’s no need to hog off a lot of wood. Rotate the tool as you move it slowly forward. Keep the bevel in contact with the wood at all times to maintain control.
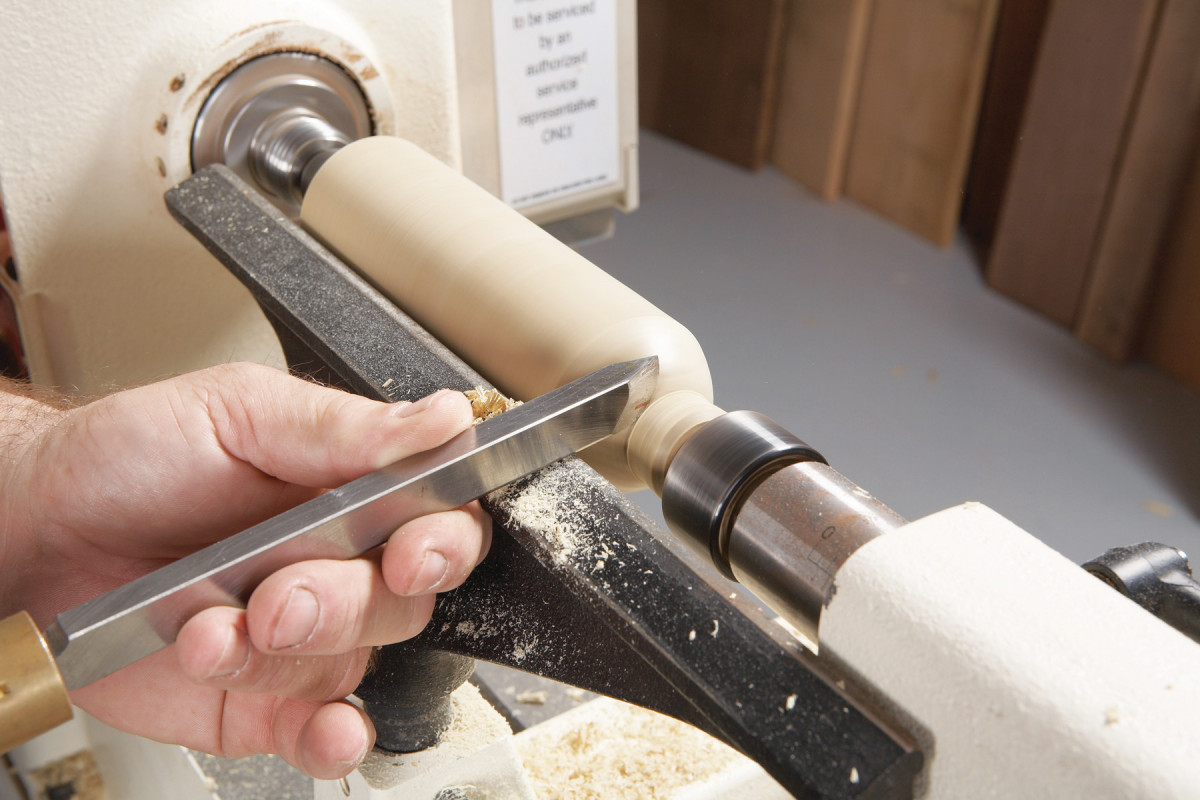
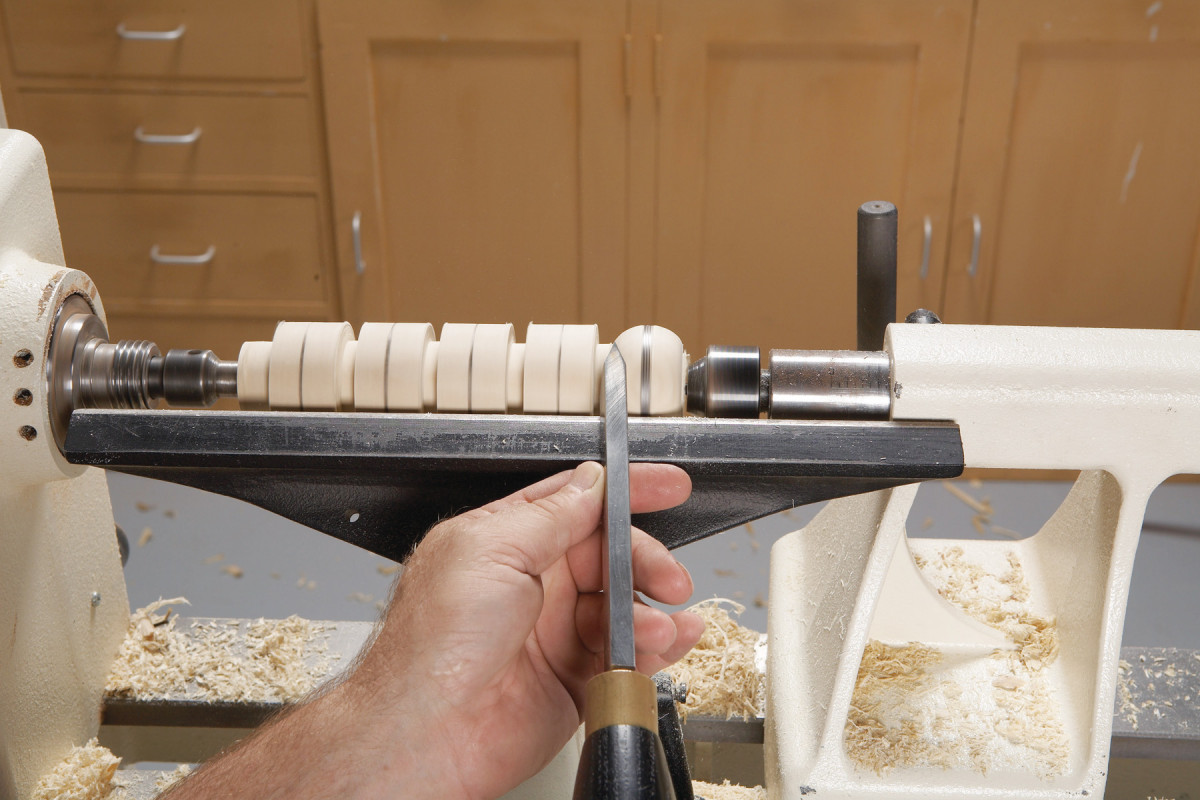
4. Make a series of rolling cuts. Continue with the lifting and rotational action and be sure to keep the bevel against the rounded surface.
Losing bevel contact will produce the well-known slash (Photo 11). Repeat the cut starting at the top of the roundover (Photo 4). Rotate the skew and as you lift the handle until you reach the bottom of the cut (Photo 5). The skew should end the cut with the bevel held vertical to the lathe’s axis. The tool will stop cutting or “weathervane” at this point.
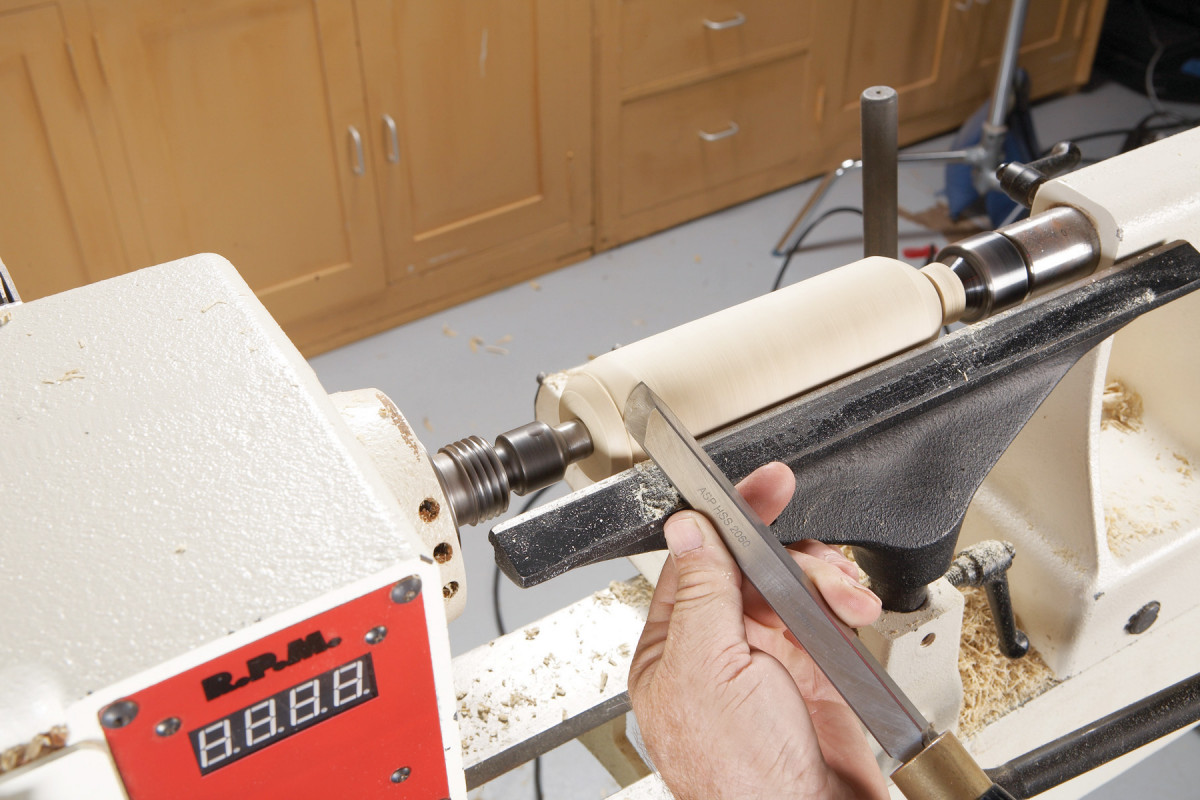
5. Complete the cut with the bevel of the skew vertical to the axis of the lathe. The tool will stop cutting at this point. Pull the tool straight back to avoid catching the wood with the long point.
All of this involves a variety of coordinated actions. The tool must simultaneously lift, rotate and advance downhill to an ever-smaller diameter. At the same time, the tool must slide along the tool rest to accommodate the width of the curved area. Keep the bevel in contact with the side of the rounded surface with light pressure.
6. Practice on the other end of the cylinder. You find one side is easier than the other. Practice extensively on the weak side until you’re comfortable with the rolling cut in either direction.
This mix of actions reminds me of dancing with a partner: all the steps must work together to achieve success—a fine cut with good shape and no slashes.

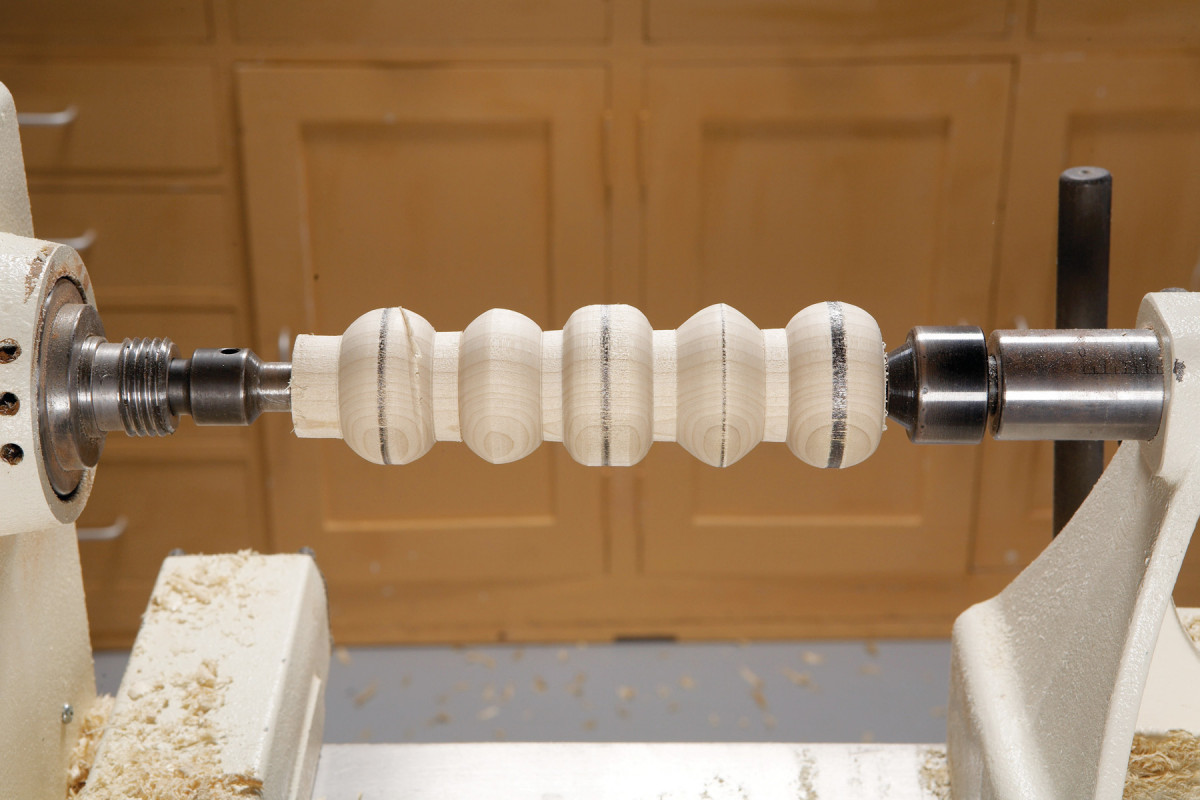
7. Time to use the rolling cut to make beads. Lay out a series of 1 in. to 1-1/4 in. wide beads with the parting tool. Cut down on each side of the bead about 1/3 the diameter of the cylinder.
Work on both ends of the cylinder (Photo 6). Most people find the rolling cut easier either to the left or to the right. Concentrate your practice on the weak side until you feel equally comfortable in either direction. Don’t get discouraged if you experience a few slashes as you practice. This is normal. Remember, the slash is always the result of the bevel loosing contact with the wood.
8. Draw a broad pencil line at the center of the bead. The skew should never cut in this region. When you sand the bead, the marked area will blend nicely into the rounded sides.
Once you’re comfortable with the rolling cut, chuck in a fresh blank and use a parting tool to lay out some 1 in. or 1- 1/4in. wide beads (Photo 7). Make a wide pencil line in the middle of each bead. This marks the area to stay clear of when shaping the bead (Photo 8).
9. Make two or three light rolling cuts on each side of the bead to rough out the shape.
Practice on these “bead sticks” until your beads are consistent in size and shape (Photos 9 and 10). Keep your eye on the horizon of the curve to see how well it has developed. The perfect bead has a sweet convex curve with no flat areas.
10. Make additional light rolling cuts to achieve the balanced look of a good bead. Continue making additional beads on the blank until you achieve consistently good results.
How do you achieve this? The answer is simple; practice, practice, practice. In time you will want to practice varying the width of the beads.
11. Four common beading problems: A slashed bead caused by loss of bevel contact; a lopsided bead from uneven cutting on either side; a flat bead caused by insufficient lifting and rounding; a pointed or triangular bead from pushing the tool without lifting and rolling; finally, a curved and full looking bead—the real objective.
The ultimate exercise to develop skew control and achieve good shape, is to turn an egg. Turning an egg is both a lot of fun. First, turn a Morse taper on one end of a 5 in. blank of 2 x 2 material held between centers.
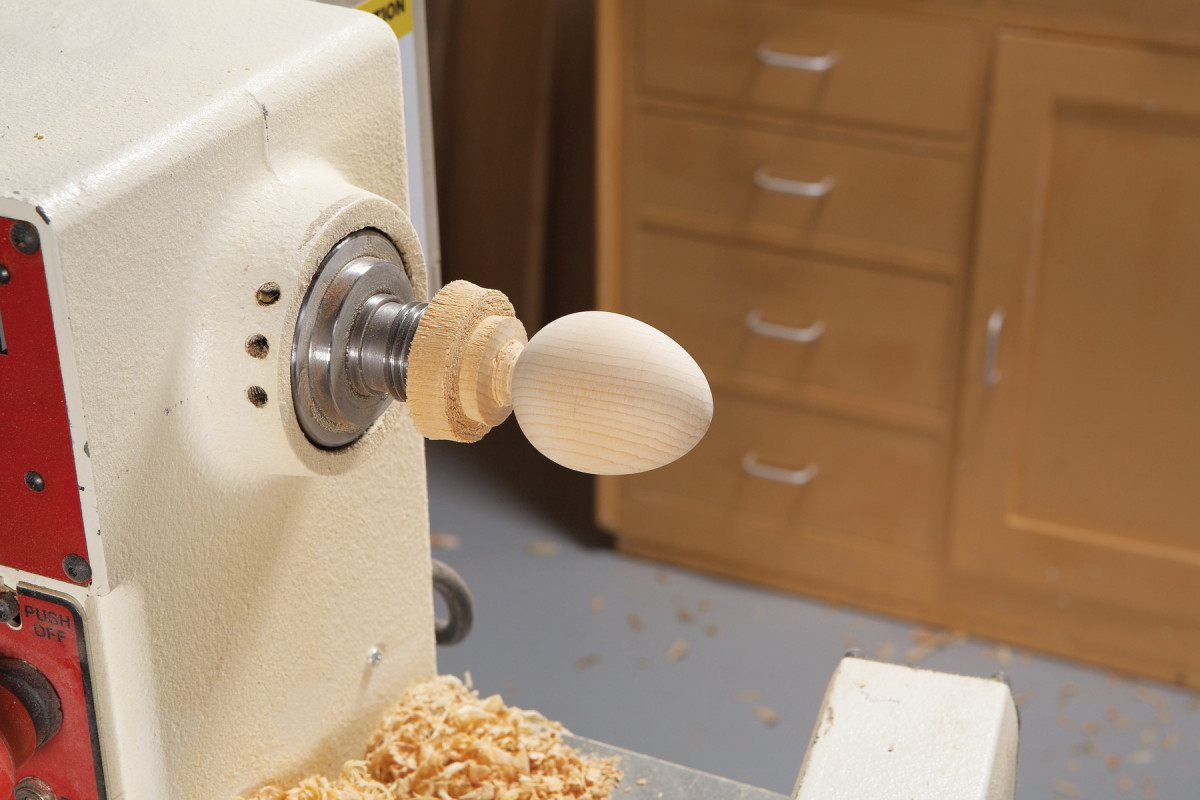
12. The ultimate skew exercise is to turn an egg. A Morse taper turned onto the end holds the egg blank in the headstock. The egg represents a challenge in tool handling and good form.
Be sure and leave a shouldered area to ride on top of the spindle shaft. Then, simply drive the blank directly into the headstock spindle and start rolling cuts to make an egg (Photo 12).
Here are some supplies and tools we find essential in our everyday work around the shop. We may receive a commission from sales referred by our links; however, we have carefully selected these products for their usefulness and quality.