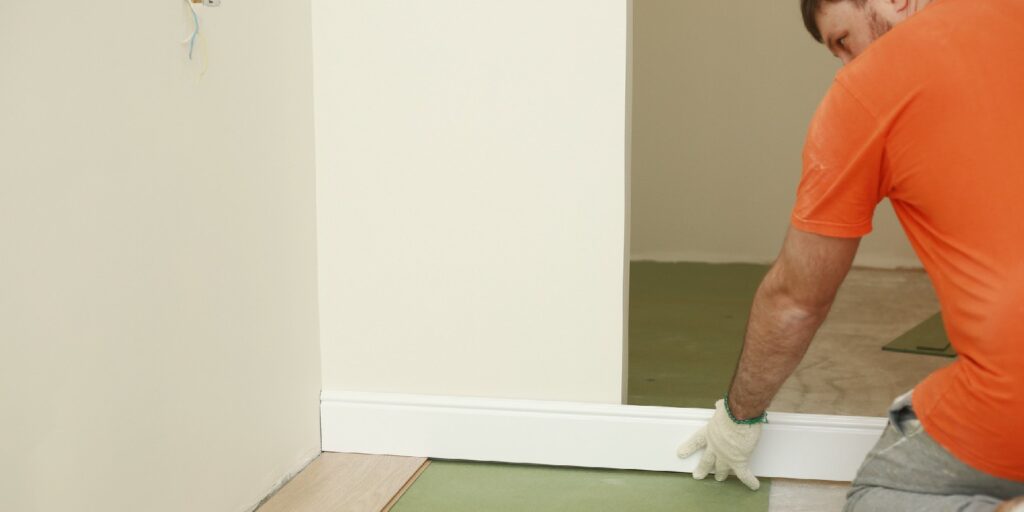
How to Replace Baseboard Trim

Whether it’s due to age, damage, or a renovation project, sometimes you need to replace your baseboard trim. Doing this yourself isn’t as hard as it may seem – all you need is the right tools, a little bit of patience, and some helpful instructions! In this post, we’ll take you step-by-step through the process of replacing baseboard trim, from selecting the ideal trim to installing it and making sure it looks great.
By the time you’re done, you’ll have a beautiful new baseboard that looks like it was installed by a professional. So, roll up your sleeves and get ready to learn how to replace baseboard trim – it’s easier than it looks!
Materials and Tools Needed
Before you begin, it’s important to make sure you have all of the necessary materials and tools gathered. Use the list below to check your supplies and purchase, borrow, or rent any items that you are missing. Once you have collected all the necessary materials and tools, you’ll be ready to start your replacing your baseboard trim!
Materials and Tools
- Baseboard trim of your choice
- Nail Gun (or hammer)
- Wood Glue
- Caulking tools
- Paint (optional)
- Pry Bar
- Wood chisel
- Tape Measure
- Pencil
- Digital Protractor
- Level
- Wood saw
How To Remove Your Old Baseboard Trim
Before you install the new baseboard trim, it is important that you remove any existing trim. Use a hammer, pry bar, or chisel to remove any nails that are securing the trim in place. Once all the nails have been taken out, carefully pull the trim away from the wall and use a saw or a circular saw to cut off any excess pieces that may remain. Take your time during this step and be careful not to damage any surrounding walls or flooring. Once all of the old baseboard trim has been removed, you are ready to start installing the new trim.
Installing the New Baseboard Trim
Begin by measuring the area where you will be installing the new baseboard trim with a tape measure, and use a pencil to mark/record each measurement. Baseboards often do not follow perfectly straight lines, so use a digital protractor to measure any existing angles if needed. Next, cut each piece of wood trim to size using a saw (circular saws tend to be the most precise for this task).
Once your pieces are cut, line them up with the markings you made on the wall and use a level to ensure that each piece fits properly. When all the pieces of trim are in place, you can secure them by applying wood glue and using a hammer or nail gun to install nails. Fill in any gaps between pieces with caulk so that they fit together smoothly when viewed from different angles.
Finishing Touches
After the new baseboard trim is securely in place, give everything one final check with your level tool just to make sure nothing has shifted during installation. If desired, paint the trim to give it an extra protective layer and to enhance its appearance in your home environment. Once everything is finished, stand back and admire your work – you’ve done an excellent job replacing your baseboard trim like a professional!
Conclusion
Replacing baseboard trim might seem like a daunting task, but all it takes is the right tools, materials, and easy-to-follow instructions to get the job done. Whether you’re new to home improvement or a tried-and-true DIYer, you’ll be able to reinvent your space with some breathtaking brand-new baseboard trim in no time. So rip out that old trim and start designing a new look for your baseboards today!
