How To Lay Pavers Like a Pro

Are you looking to spruce up your outdoor space with a fresh look? Installing pavers can be a great way to update your yard and add value to your home. This home improvement project can be a tricky and time-consuming task if you don’t do it right. In this post, we’ll share our tips for how to lay pavers like a pro.
We’ll cover everything you need to know, from choosing the best type of pavers to getting the right tools for the job. With our help, you’ll be able to install your pavers in no time and create a stunning outdoor oasis that you can enjoy for years to come.
Prepping the Area
It’s critical to prepare the area before beginning any project involving pavers. Start by removing any grass or weeds in the area you’re working on. If there are any large plants, you can dig them up and transplant them elsewhere or remove them altogether. Use a garden rake to level the area by pushing and pulling dirt until you have a flat surface for your pavers.
You can arrange your new pavers in any design or pattern. Mark the space where you would like to place the pavers with stakes and strings pulled tight. Once that’s complete, prepare the sand by adding a layer of sand a few inches deep across the entire surface of the project area. Use a plate compactor to compress this down into an even surface. Ensure there are no dips or high points in your compressed surface.
Laying the Pavers
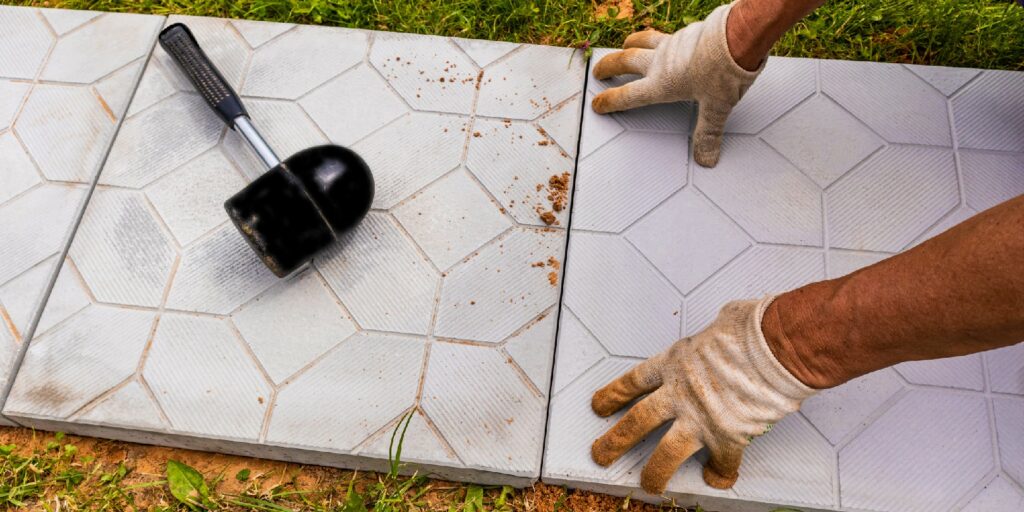
Begin at the edge of the project and place your first set of pavers according to the pattern or design of your choice. Lay down each paver while ensuring they are level using a carpenter’s level. Make sure each paver is firmly in place before going on to the next one. If you notice any gap between your pavers, you can adjust them with a dead blow hammer. Continue these steps until all of your pavers are properly laid down across your project area.
Securing the Pavers
Secure your pavers in place with polymeric sand brushed into each joint between them. This helps keep weeds away and keeps moisture out, which helps prevent settling and shifting over time. Add another layer of sand over all your joints so no polymeric sand is showing on top of your pavers. Use a plate compactor over the entire project area to ensure all your pavers are fully settled into place.
Admiring Your Work
Once everything is completed, stand back and admire your beautiful work. Taking on DIY projects such as paver installation can be intimidating, but when done properly, they make amazing transformations and turn an ordinary outdoor area into something special. Utilizing correct techniques and tools, such as a plate compactor and dead blow hammer, are essential to completing a successful DIY paver installation project like a pro.
Giving your outdoor living space an upgrade doesn’t have to be difficult. With the right tools and preparation, you can lay pavers like a pro and create a beautiful outdoor oasis that you can enjoy for years to come. By following these steps, you can be confident that your new patio, walkway, or driveway will be beautiful and long-lasting. With a little time and effort, you can transform your outdoor living space into an outdoor oasis that you and your family will enjoy.
