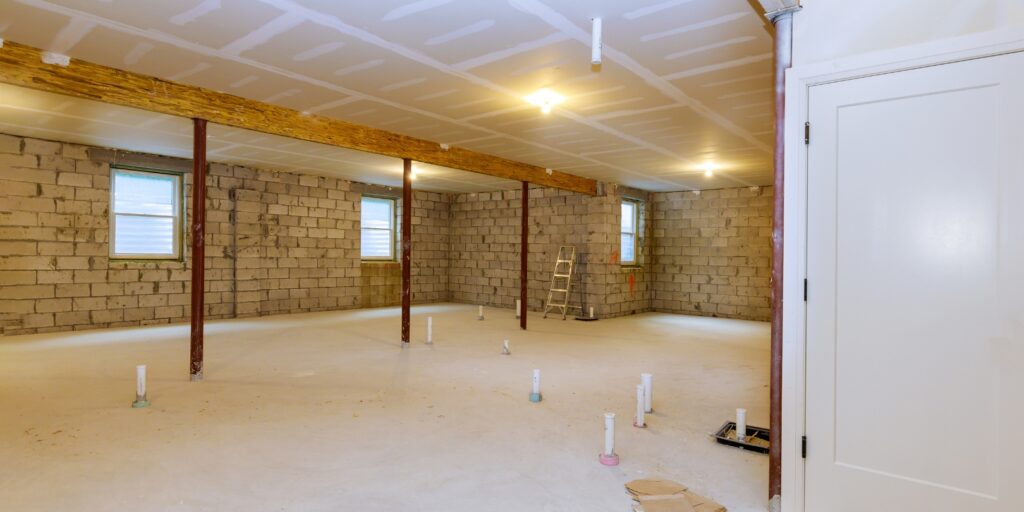
A Step-by-Step Guide for Framing Basement Walls

Regarding home improvement projects, finishing the basement is one of the most rewarding. Not only does it add extra living space, but it also adds value to your home. However, before enjoying all the benefits of your newly finished basement, you need to frame the walls. This can be daunting, but with the right instructions and patience, you can have your basement walls framed in no time.
In this post, we’ll provide you with a step-by-step guide for framing basement walls. We’ll cover everything you need to know, including the tools you need, the building materials, and the steps to ensure a successful framing job. Read on to get started on your basement wall framing project today.
Materials Needed
The materials you will need to frame your basement walls include dimensional lumber, 2x4s or 2x6s, screws and nails, drywall screws, joint compound, drywall tape, a utility knife, a hammer or nail gun, insulation, plastic vapor barriers, a handheld saw (keyhole saw), and a portable air compressor. The type of lumber you need depends on your preference and the insulation you plan to use.
Pre-Installation Steps
Before you start framing your basement walls, make sure you take the proper safety precautions measures. Wear protective eye gear and gloves while you are working with your tools. Also, make sure that you have all the necessary tools available before starting. The next step would be to level and straighten the floor to ensure all the walls hang properly before securing them. After that, measure the length and width of your basement and mark off the floor where the framing should begin.
Installing the Walls
Now it’s time to start framing your basement walls! Using your previous measurements, cut each piece of lumber to size with either a saw or a circular saw, depending on preference. To secure each board, use two nails at each corner and drywall screws on each side of the joints for extra stability. Ensure each wall is level as you install it before moving on to the next wall section. Once you have secured all four walls, fasten them together using nails at each corner and every joint connection on each stud.
Finishing Touches
Once you have fastened together all four walls using nails or drywall screws at each joint connection, it’s time to add some finishing touches! Start by adding batt insulation between each stud cavity and ensure it is secure using a stapler or tacker for extra grip. Then apply plastic vapor barriers over any exposed insulation or walls to prevent moisture buildup and mildew growth within your walls. Lastly, cover any joints or seams with joint compound and tape off any edges for an even better seal. Allow everything to dry completely before moving forward with any other tasks.
Tips to Ensure Success
To ensure success when framing basement walls, make sure that you cut all pieces of lumber accurately to size before installation begins, as this can affect the overall stability of the wall section later on. Additionally, make sure you have fastened all joints together using nails or drywall screws so they don’t become loose over time due to movement or vibration in their surroundings. Finally, make sure you are aware of any plumbing lines or electrical wiring that may be present in the area in the wall section to avoid accidents during the installation of both materials and portable air compressor components if needed and for future maintenance.
Conclusion
Basement wall framing is a complicated project that requires careful planning and execution. Thanks to this step-by-step guide, you should be able to confidently frame your walls with plenty of time to spare and a finished product that looks professional and adds value to your home. With suitable materials and tools, a little patience, and this guide, you can frame your basement walls and enjoy the extra living space it adds to your home. Good luck and happy framing!
