We may receive a commission when you use our affiliate links. However, this does not impact our recommendations.
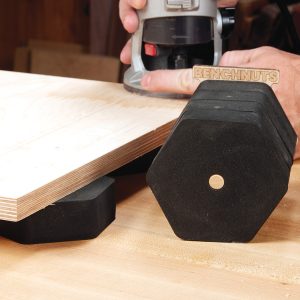
To proceed gluing the face frames, I raise the casings on these shopmade I-beams. Doing so, I’ll be able to slip the clamps under the casings.
I spread a moderate amount of glue and insert the biscuits.
As shown, I proceed with one hutch at a time. The glue sets too quickly ! Only the clamps and the glue do the work, no nail and no screw here.
Here are the two face frames assembled to the hutches.
To support the lower shelf, which can’t be biscuited, I milled and I glue this molding under the lower shelf, where the shelf meets the face frame. I’m using pin nails to hold it while the glue sets.
The upper rail of the face frames is nailed in the upper shelf, which will be dressed with a molding, eventually hiding the nails’ heads.
To see the details of all the steps from the begining, click here.
Best,
Serge
www.atelierdubricoleur.spaces.live.com


