We may receive a commission when you use our affiliate links. However, this does not impact our recommendations.

Feature-Filled Router Table Fence
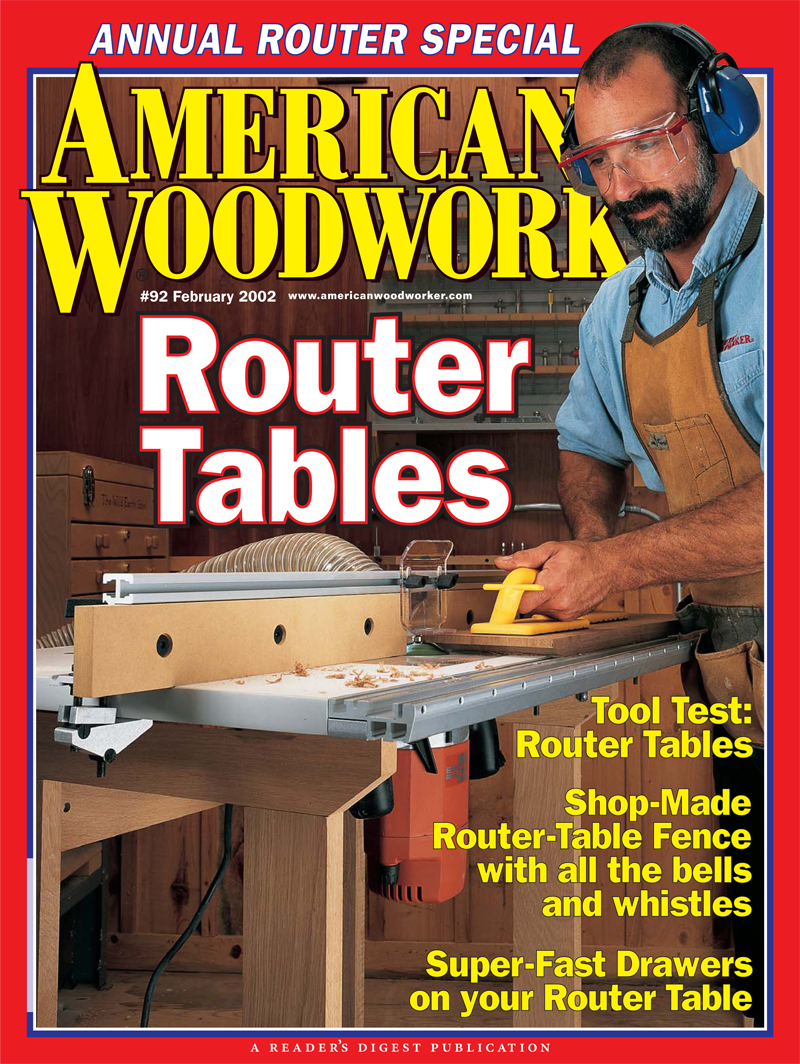
This $50 fence can make your router table sing!
By George Vondriska
You can build this completely tricked-out router table fence in an afternoon for about 50 bucks, using easily available parts.Here’s what you get:• Flexibility. Tall or short, it’s easy to swap between the faces of this fence, so you always have the right one for the job.
• Adjustability. It’s a breeze to adjust the faces to surround the bit and make a tear-out-limiting, zero-clearance fence.
• Interchangeable fences. The left and right faces can be swapped. If you need a fresh end for a zero-clearance fence, just trade left for right. The faces are so easy to make, you can have plenty of replacements ready to go.
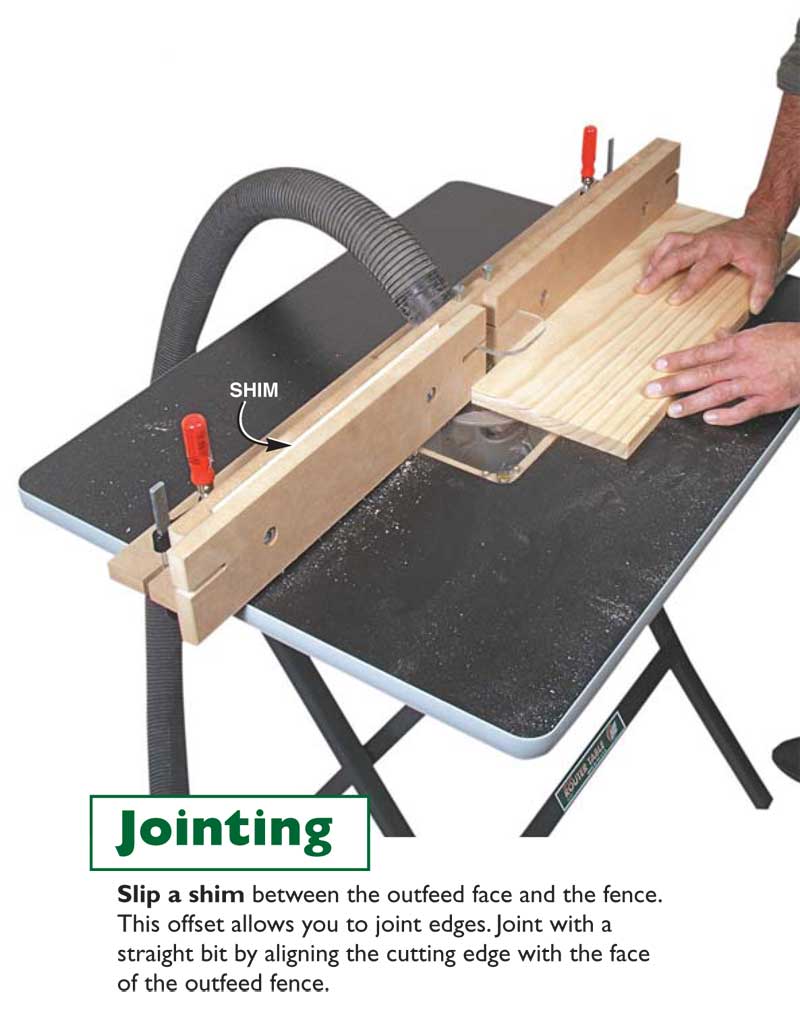
• Offset outfeed fence. Use your router table as a jointer by adding a simple shim to the outfeed fence.
• Dust collection. Just hook up to a standard 2-in. hose.
• Safety. The guard is easy to make and easy to use.
• Easy clamping. Two simple clamps hold the fence to the table,making fence adjustments simple.Plus, you won’t have any trouble clamping featherboards to this fence.
The fence we show here works for router tables from 28- to 34-in. long. For longer tables, simply cut the fence parts 4-in. longer than the length of your table.
Tools and materials
The fence is made from medium-density fiberboard (MDF).MDF is dense, hard and flat,which makes it a great choice for this fence and other shop-made jigs. It’s also darn heavy, at almost 100 pounds per 4×8-ft. sheet.You’ll need help handling it. The fence requires about a half sheet, so you could share a sheet with a fellow woodworker.
To make this fence you need a tablesaw and a router table equipped with a carbide-tipped 1/4-in. straight bit (see Sources, page 91). The routing required to make the fence is simple. A straight board clamped to the table is all it takes.You don’t need to have a good router table fence already in order to make one!
Build the fence
1. Rough-cut the MDF into manageable pieces, 1-in. larger than the finished sizes.
2. Rip and crosscut a piece to 8 in. x 36 in. for the fence base (A) and sub-face (B).
3. Use a hole saw to bore a 3-1/2-in.hole in the center of this piece (Photo 3).
4. Rip a 4-in.-wide sub-face and 3-1/2-in.-wide base from this piece, cutting through the hole.
5. Cut all interchangeable faces (C and D) to finished size.Take advantage of your tablesaw setups to make extra faces.
6. Rout a 1/4-in. slot in the sub-face for the guard.
7. Rout slots in the interchangeable faces so they can slip over the guard.
8. Rout 1/4-in. slots in the sub-face for the carriage bolts.
9. Rout 1/4-in. slots in the base for the clamps. If the fence is 4-in. longer than your table, the slot length is 2-in.
10. Screw and glue the sub-face to the base using #8 x 1-1/2- in.wood screws.Predrill for the screws so you don’t split the MDF.
11. Cut the corner blocks (E), being very careful to make them square (Photo 1).
12. Screw and glue the corner blocks to the fence.The corner blocks are small pieces, so use #8 x 1-1/4-in. screws to prevent splitting.
13. Bore 3/4-in.holes to a depth of 1/4 in. in the interchangeable faces (for the carriage-bolt heads).
14. Bore 1/4-in.holes through the interchangeable faces (for the carriage bolts).
15. Rout a 1/4-in. chamfer for dust relief on the bottom corner of each interchangeable face.
16. Cut the polycarbonate guard to size using a fine-tooth blade on the tablesaw or bandsaw.
17. Cut a 1-in. radius on the front corners of the guard using a bandsaw or jigsaw. Use a felt-tip marker to lay out the radius on the plastic.
18. Bore 1/4-in. x 2-in.-deep holes for the guard pins in the fence sub-face.
19. Place the guard in its slot and use a felt-tip marker to transfer the locations of the guard-pin holes to the guard.
20. Bore 1/4-in.holes in the guard. It’s best to use a twist bit on polycarbonate.
21. Cut a piece of 1/4-in. plywood or hardboard for the dust collection shroud.Don’t worry about beveling the edges to match the corner blocks; you can fix that with caulk later.
22. Bore a 2-1/4-in. hole in the center of the dust collection shroud.
23. Screw and glue the dust collection shroud to the corner blocks. Use silicone caulk to seal the dust collection box where it doesn’t fit perfectly around the fence.
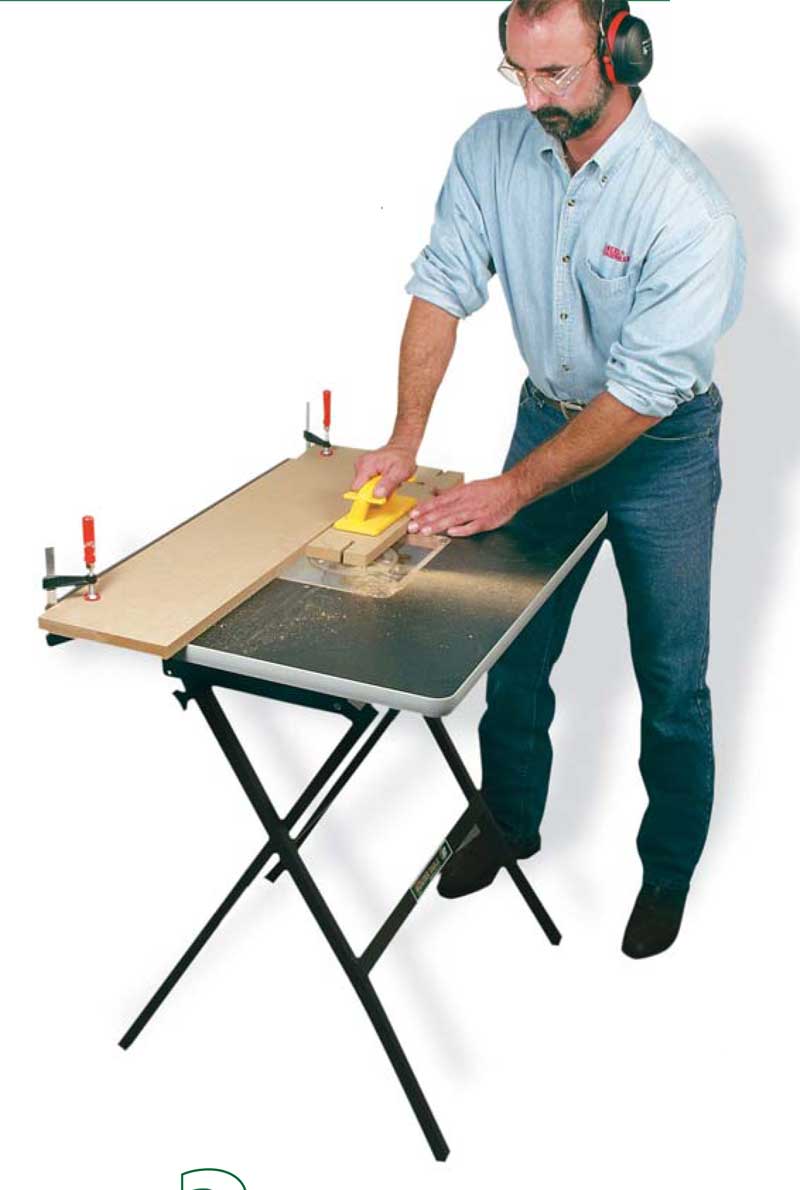
24. Bolt a pair of faces to the fence,hook up the dust collection, clamp the fence to your table, and you’re ready to rout!
Cutting List

Fig. A: Exploded View
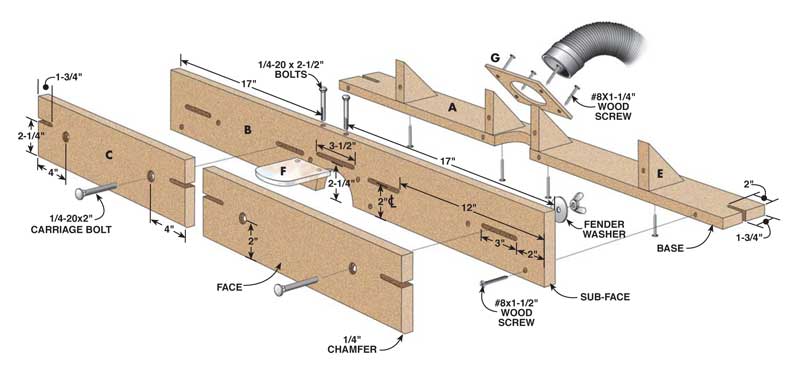
Features


Construction

1. Cut these supports dead square. If they’re off, the fence will be, too.
2. Rout the 1/4-in. slots using a straight board clamped to the router table as a temporary fence.

3. Create clearance for the bits in the fence base by drilling a 3-1/2-in. hole in the center of an 8 x 36-in. piece of MDF.Then rip the fence bottom and front from this piece.
Sources
Note: Product availability and prices are subject to change.
Home centers, one sheet 3/4-in. x 4-ft. x 8-ft MDF; two 1/4-in. x 2-1/2-in. hex head bolts; four 1/4-in. x 2-in. carriage bolts; four 1/4-in. fender washers; four 1/4-in. wing nuts.
Freud, amazon.com, 1/4-in. router bit.
Woodcraft, woodcraft.com, 800-225-1153, two clamps, #130926.
Cal Plastics and Metals, calplasticsandmetals.com, 619-575-4633, one 1/4-in. x 12-in. x 12-in. polycarbonate plastic.
This story originally appeared in American Woodworker February 2002, issue #92.
Here are some supplies and tools we find essential in our everyday work around the shop. We may receive a commission from sales referred by our links; however, we have carefully selected these products for their usefulness and quality.