We may receive a commission when you use our affiliate links. However, this does not impact our recommendations.
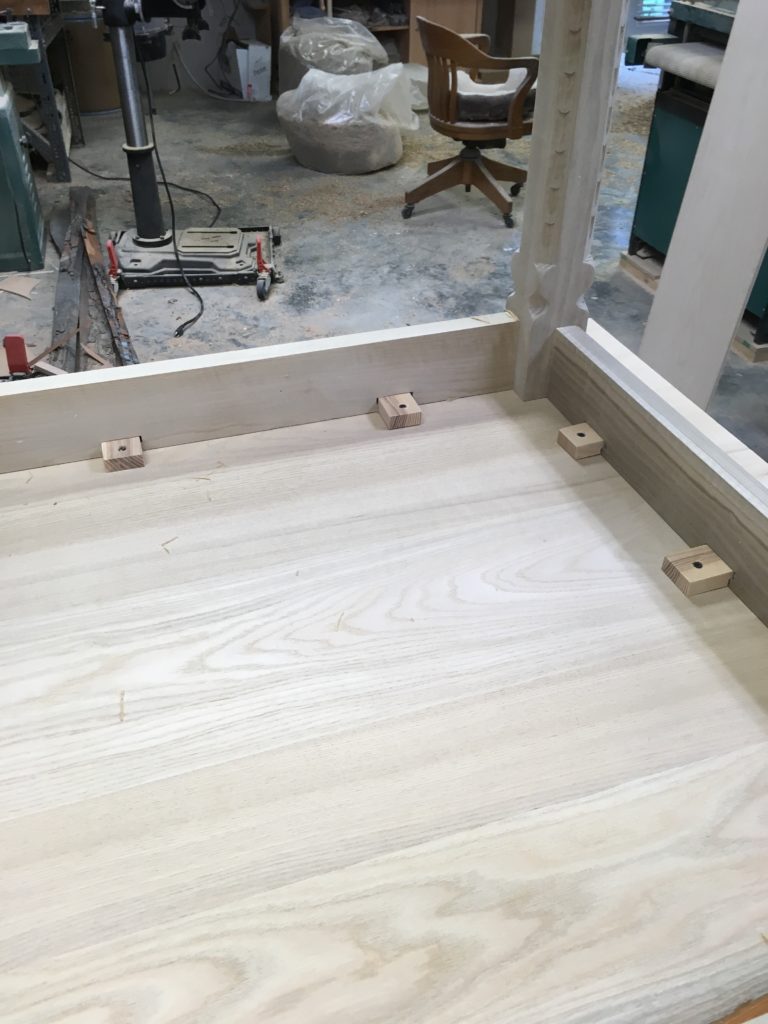
The table I’m working on, upside down. The top will be attached with traditional wooden buttons.
There’s more than one way to attach a solid wood table top. The most important requirements of any method are (1) to keep the top firmly in contact with the undercarriage, preventing it from warping more than minimally, and (2) to allow the top to move across its grain as the wood expands and contracts with changes in humidity.
Table top fasteners are one attachment method. They’re roughly Z-shaped, with one leg going in a slot in the table’s apron and the other, which has a hole, screwed to the underside of the table top. Figure 8 fasteners offer another option: One half is let into the apron, the other screwed to the table top’s underside; the round shape allows the top to move while keeping it firmly pulled down onto its base.
A third means of attaching a table top is by using wooden buttons. This technique has been in use for centuries. It’s easy, all wood (well, apart from a screw), and requires no special materials. Here’s how it works.
The material: Choose a dense species for the buttons. The table I’m building is made of sassafras – a hardwood, yes, but relatively soft on the hardwood spectrum. I wanted my buttons to be made of stouter stuff that would resist being literally bent out of shape. I had some ash left over from a recent job, so I used that. White oak would have been another good choice for this table; although the buttons won’t be visible in everyday use, I still like them to harmonize with their surroundings.
Location, location: It’s best to chop the mortises for buttons before you assemble the table. Buttons go near the top edge of the apron. You can cut the mortises using a router, a chisel and mallet, or on a mortiser.
To keep your table top as flat as possible, be sure to put mortises near the far reaches of the table top — in this case, near each corner formed by the intersection of apron rails and legs – in addition to spacing them regularly throughout the length and width of the table. Avoid putting them too close to legs or intermediate top support rails, because in some cases this can make it awkward to insert the screw.
To ensure adequate tension to hold the top firmly down on the apron, factor in a gap between the table top and the apron’s upper edge. I like to make this gap about 1/16″. Keep this in mind when figuring the thickness of the buttons and laying out the mortises. Before you start chopping, read the rest of this article to make sure your buttons are beefy enough.
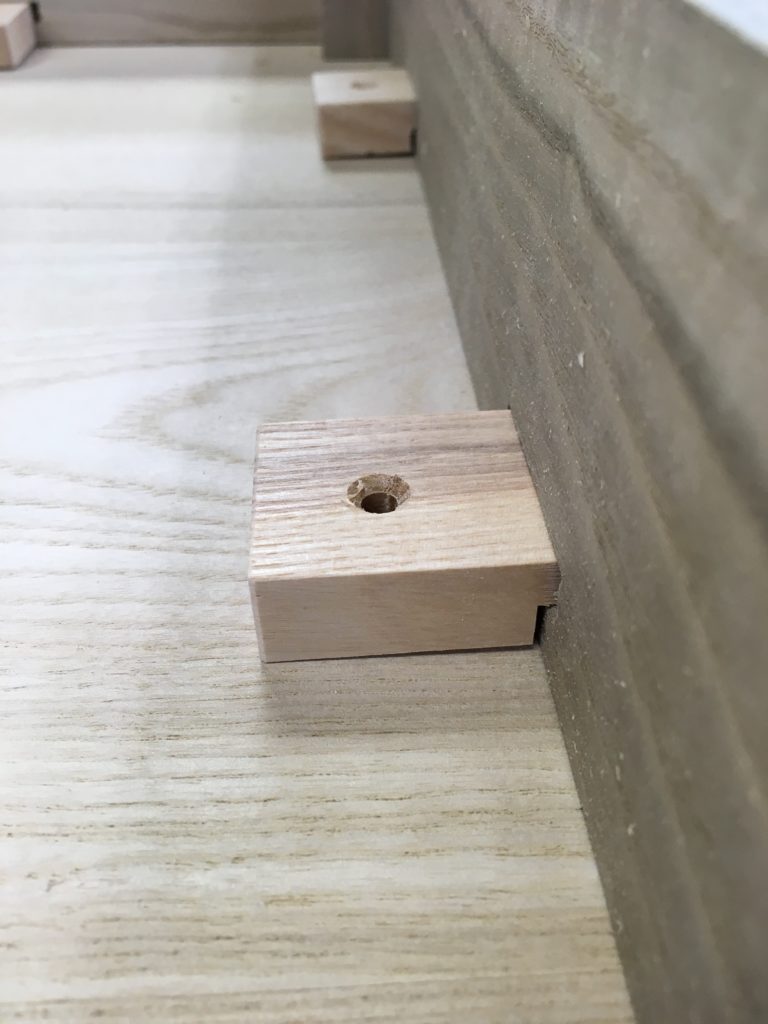
Here I have the table upside down on my bench. This view shows a small section of the underside. Note the wedge-shaped gap between the face of the button and the table top. This gap helps pull the top down firmly against the table’s apron.
Anatomy of a button: Buttons are shaped like an elongated L, with the tongue fitting into a mortise or slot. The grain runs lengthwise, i.e. into the mortise. (Think about it: If the grain ran sideways, the button would be prone to splitting as soon as the table top started to move.)
Size matters: Buttons should be big enough to withstand the tension that’s likely to assail them. For most of the tables I’ve made over the years, about 1-3/8″ square by 3/4″ or more thick has worked well for the body of the button, excluding the tongue.
The mortises should be a bit wider than the buttons to allow for movement as the table top expands. This is, of course, more important at the ends of the table (in cases such as the table I’m building, the top of which has the grain running lengthwise), where the top will move from side to side. Determine the depth of the mortise based on the length of the button’s tongue, which must be long enough so that it doesn’t pull out of the mortise when the table top shrinks, in addition to countering the force of wood that may want to cup. I like to make tongues at least 3/8″ long.
Attaching the buttons: It’s a good idea to leave a bit of space between the button’s shoulder and the inside face of the apron. This is less important for buttons that will move from side to side, but it’s obviously critical for those that will move in and out of their mortise. Before screwing the button in place, calculate the amount of movement it’s likely to undergo. (A useful resource in calculating wood movement is Christian Becksvoort’s A Craftsman’s Guide to Understanding Wood.)
Making buttons: Now that we’ve run through the basic principles and you’ve chosen your species and planned your buttons’ width and length, making the buttons is simple.
1. Cut the tongues
I leave my stock long and cut the tongues on the table saw using a miter gauge and dado cutter (or, as in this case, a regular table saw blade, kerfing three or four times, to make the tongue).
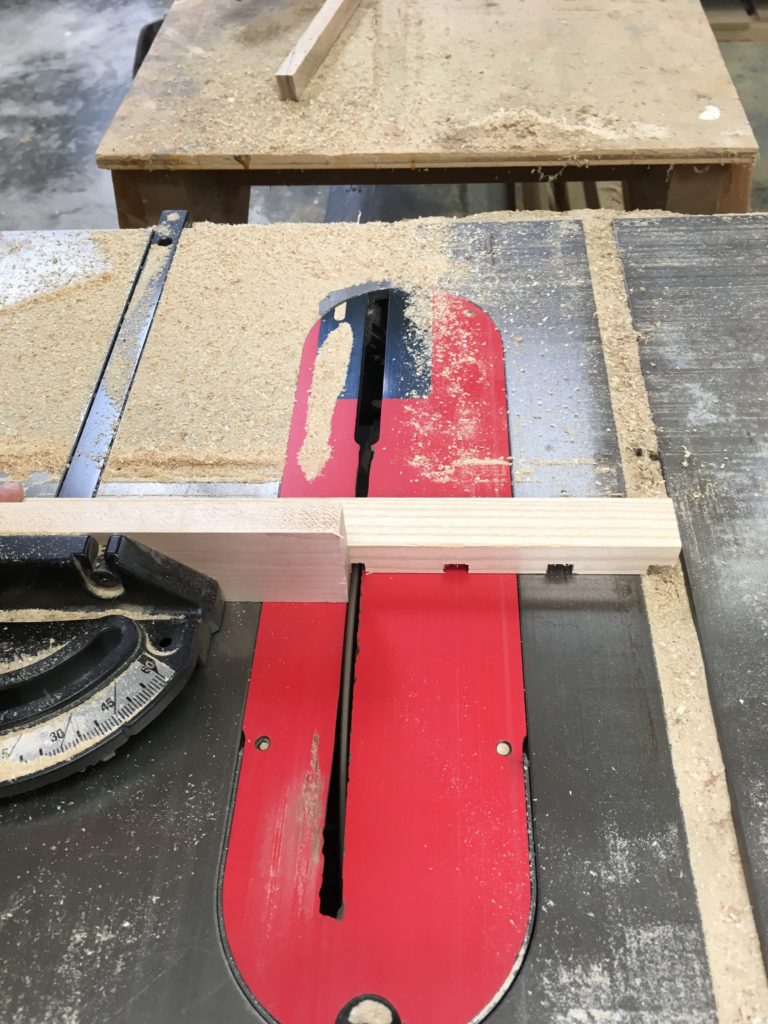
To make the buttons, leave your stock long and cut the tongues on the table saw using a miter gauge.
2. Cut to length
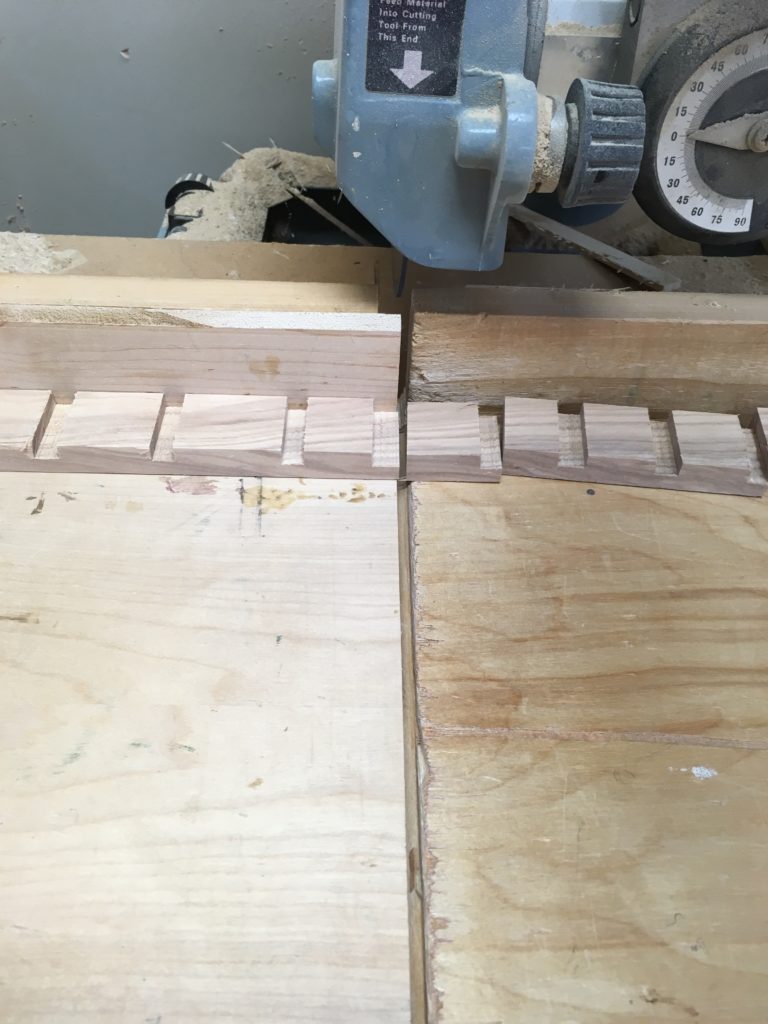
I cut these buttons to length using a radial arm saw. You can also use a table saw with a sliding miter fence or do it by hand. The buttons don’t need to be perfectly uniform in size. (That said, the pack of three at right here ended up as rejects because they were too short for my purposes.)
3. Clean up
Ease the edges by dragging the button at a 45-degree angle across a piece of 120-grit paper.
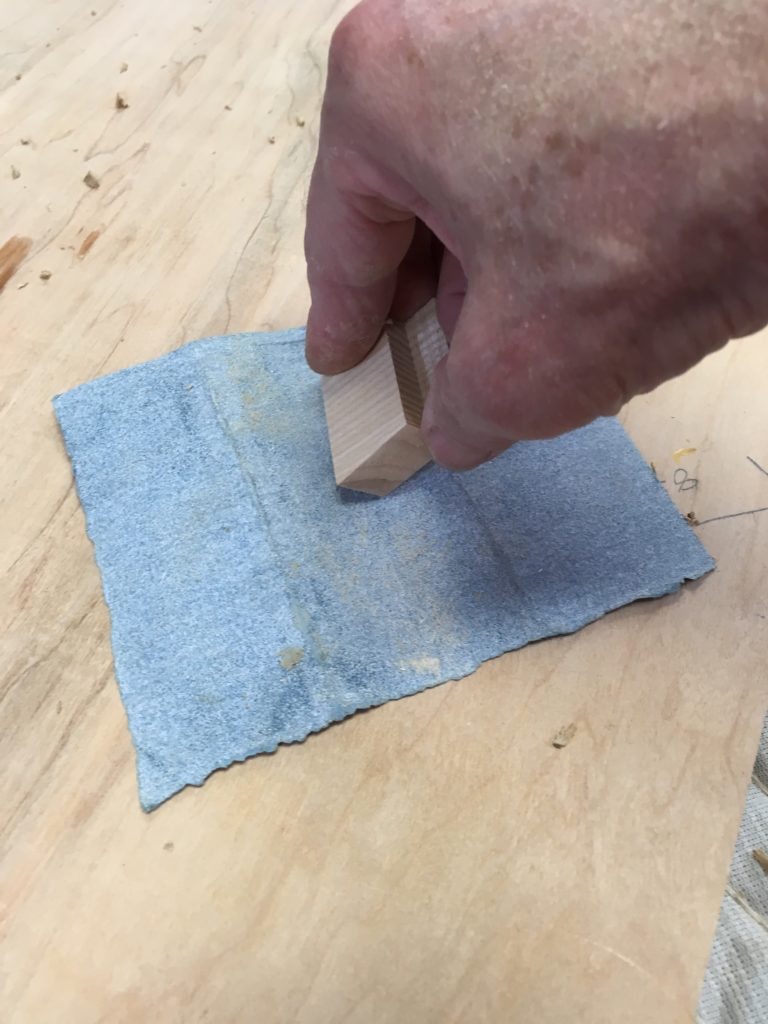
4. Drill
Drill the screw hole freehand or on a drill press.
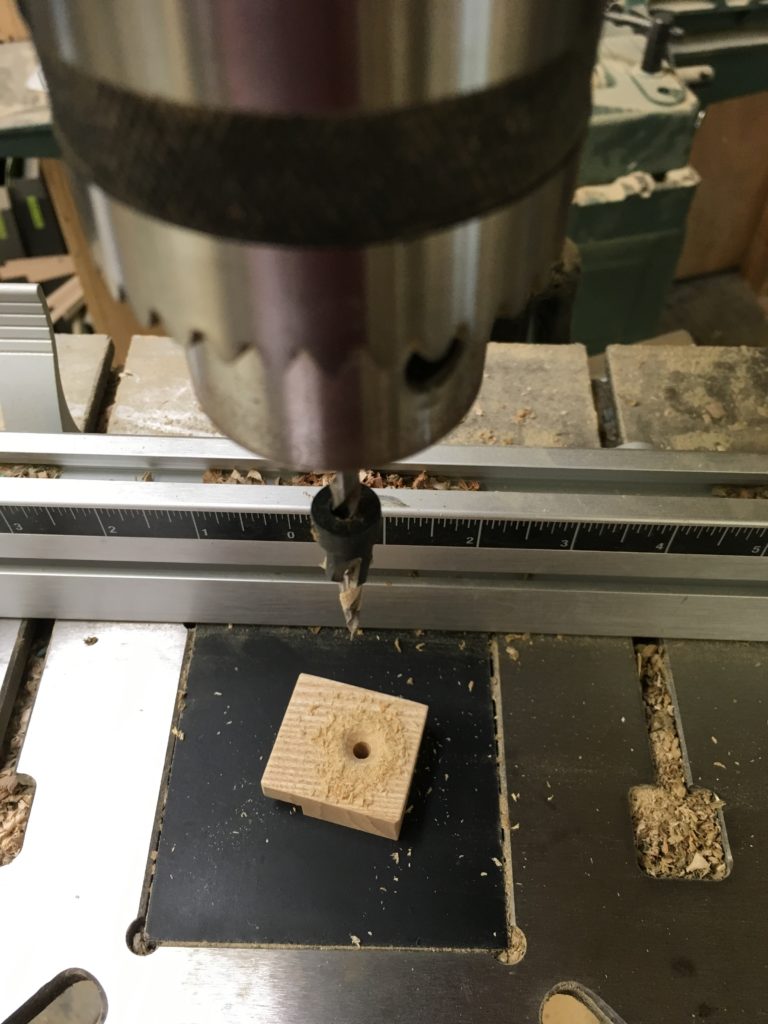
5. Attach
Use a wood screw and make sure it’s long enough to provide firm attachment (but not so long that it goes through the table top, hello). Remember to center the button in the mortise’s width to allow for sideways movement across the table’s top and leave enough of a gap between the button’s shoulder and the apron rail’s inside face to allow for movement into the mortise.

Here are some supplies and tools we find essential in our everyday work around the shop. We may receive a commission from sales referred by our links; however, we have carefully selected these products for their usefulness and quality.


![How To Sharpen A Gouge [Video]](https://www.popularwoodworking.com/wp-content/uploads/bfi_thumb/dummy-transparent-olcy6s63it1p9yp7uhusjas7c8kahafrhg9su7q9i0.png)


Would this be practical for Queen Anne low/high boys for the tops
Nancy,
Beautiful, well illustrated article.
Why don’t the buttons on the table sides bow the rails out when the top expands? I could see leaving a 1/4″ gap between the button and the side rail. Also, I’m a California woodworker and have never used sassafras; what are its qualities? Does it have a scent when you cut it?
Good gig.
You seem to have made a lot of cuts in order to create your button tongues. Why not cut your crosscut stock, rabbit one edge for your tongues and then just chop off as many as you need?