


We may receive a commission when you use our affiliate links. However, this does not impact our recommendations.
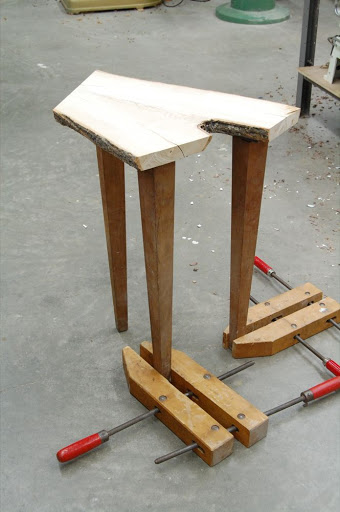
The first stage in designing the new table was to lay out the old legs underneath the crotch, support them with clamps and let them carry the crotch without any fasteners. This way I could step back and look at the new "composition", without resorting to time consuming methods, such as screwing the legs' cast iron plates onto the underside of the crotch. This technique allowed me to revisit the layout; by moving the legs in and out of location, and by turning them few degrees to the left or to the right, I was able to find the most agreeable design.
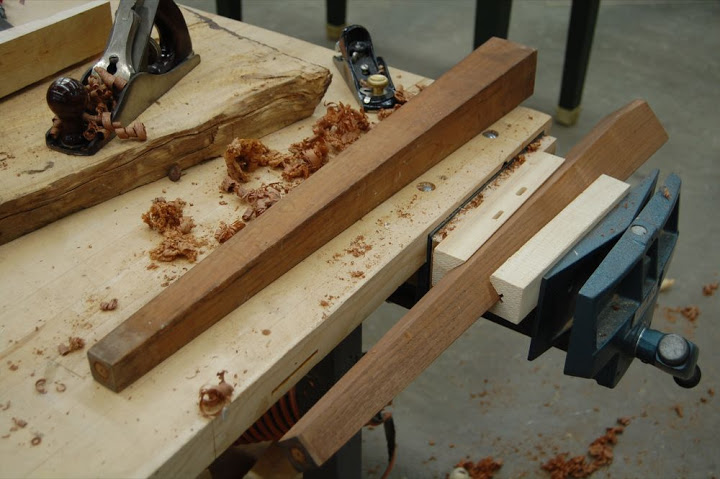
After deciding on the location of the leg, I started thinking about how to change them and make them more unique. The original legs were tapered on all four sides. I decided to add additional facets to the existing tapers. I built a "V" shaped jig and held the legs in a vise. I then used a hand plane and planed the new facets.
In my next blog entry I will show you the finished piece….
Here are some supplies and tools we find essential in our everyday work around the shop. We may receive a commission from sales referred by our links; however, we have carefully selected these products for their usefulness and quality.


