We may receive a commission when you use our affiliate links. However, this does not impact our recommendations.
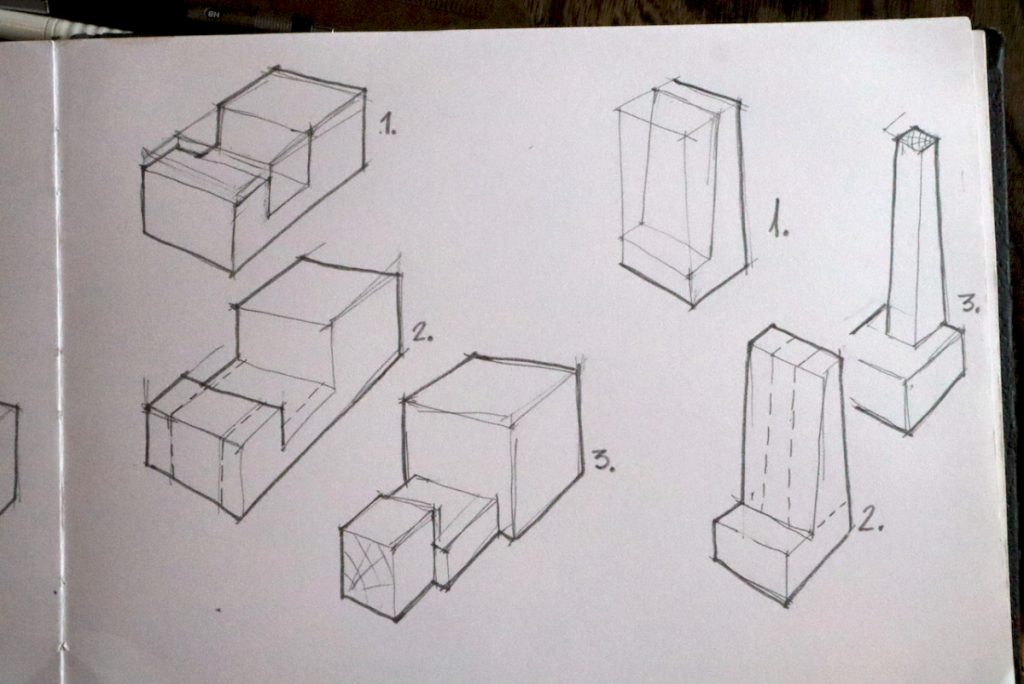
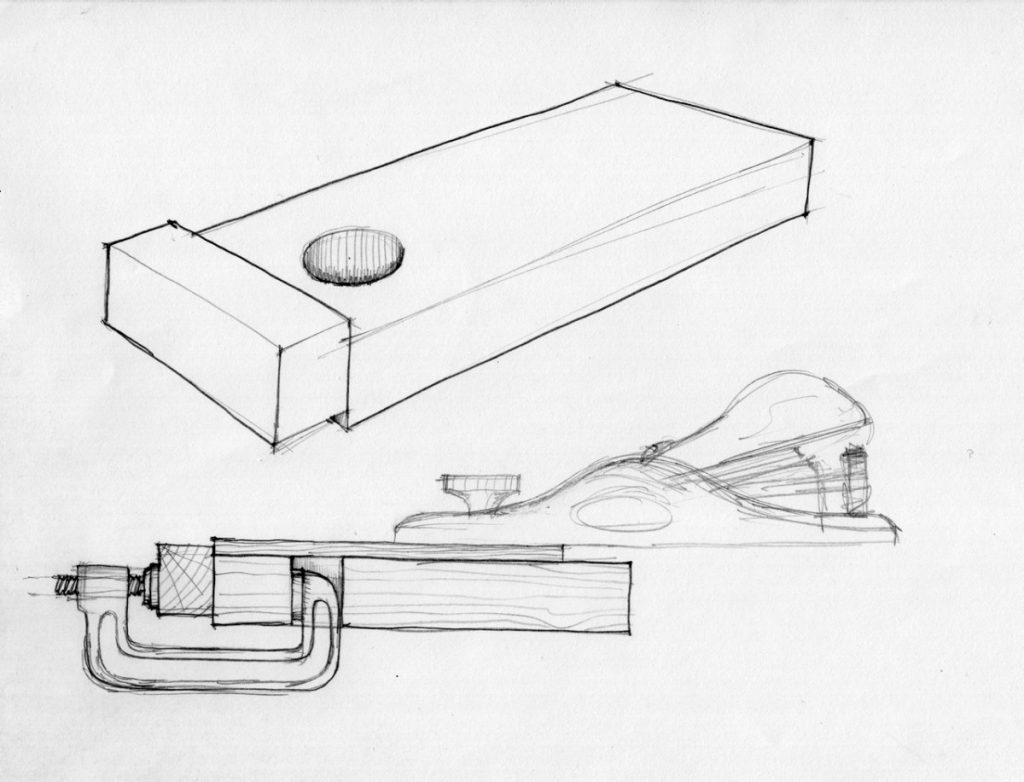
Sketch #1: First thoughts on how to form the superstructure elements out of blocks of solid wood.
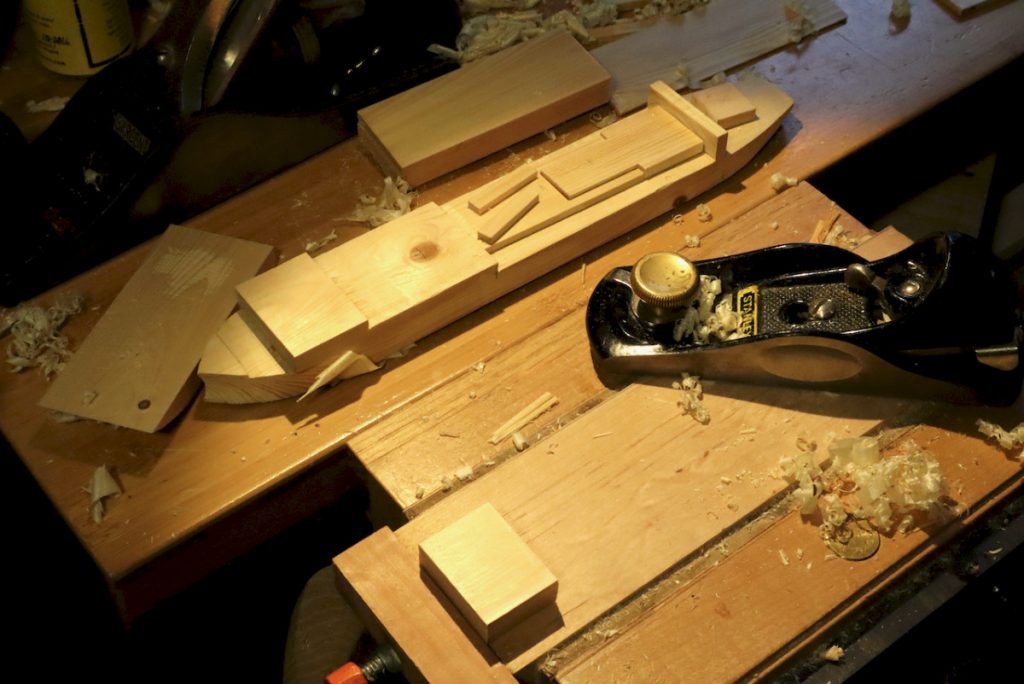
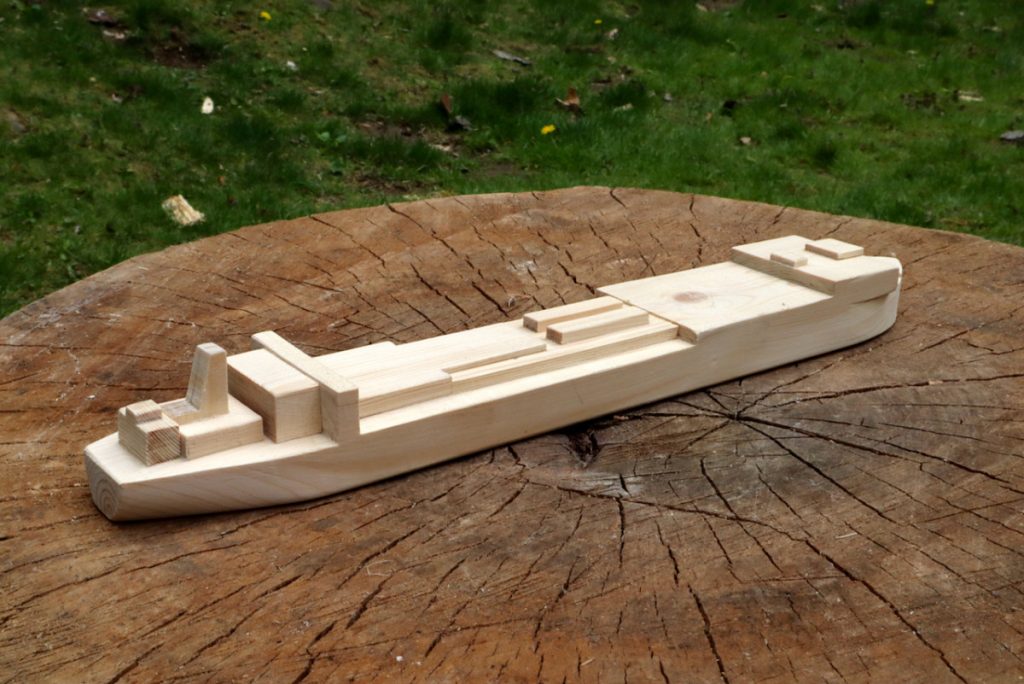
After I finished shaping the hull of the USNS Comfort (read about it in Part 1 and Part 2) I turned to make all the elements that construct the superstructure. Below (Sketch #1) are a few of my initial sketches that reveal the way I anticipate making the parts.
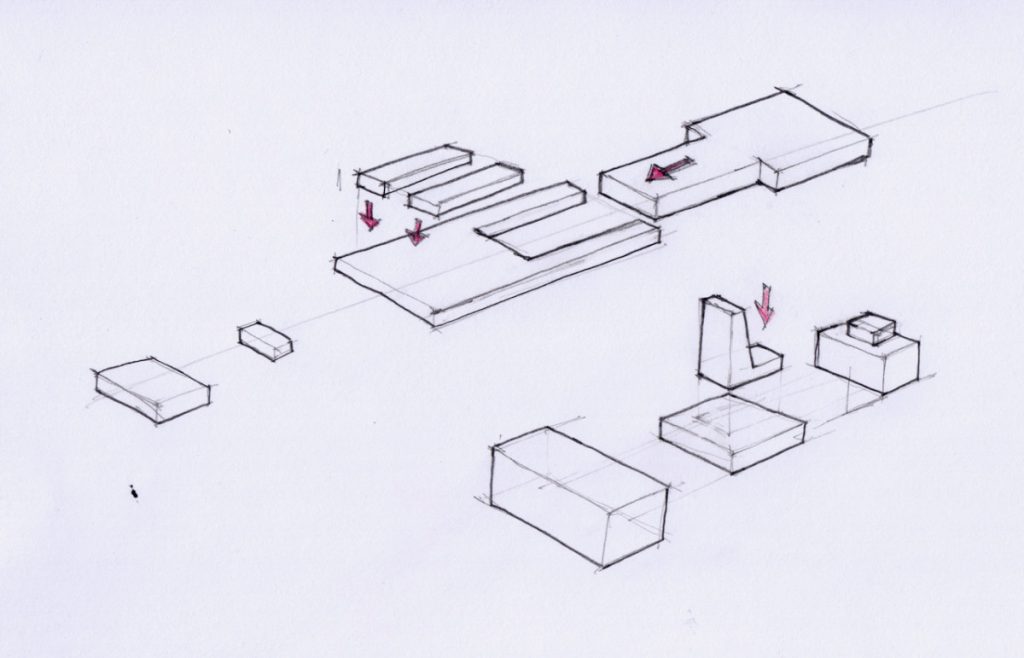
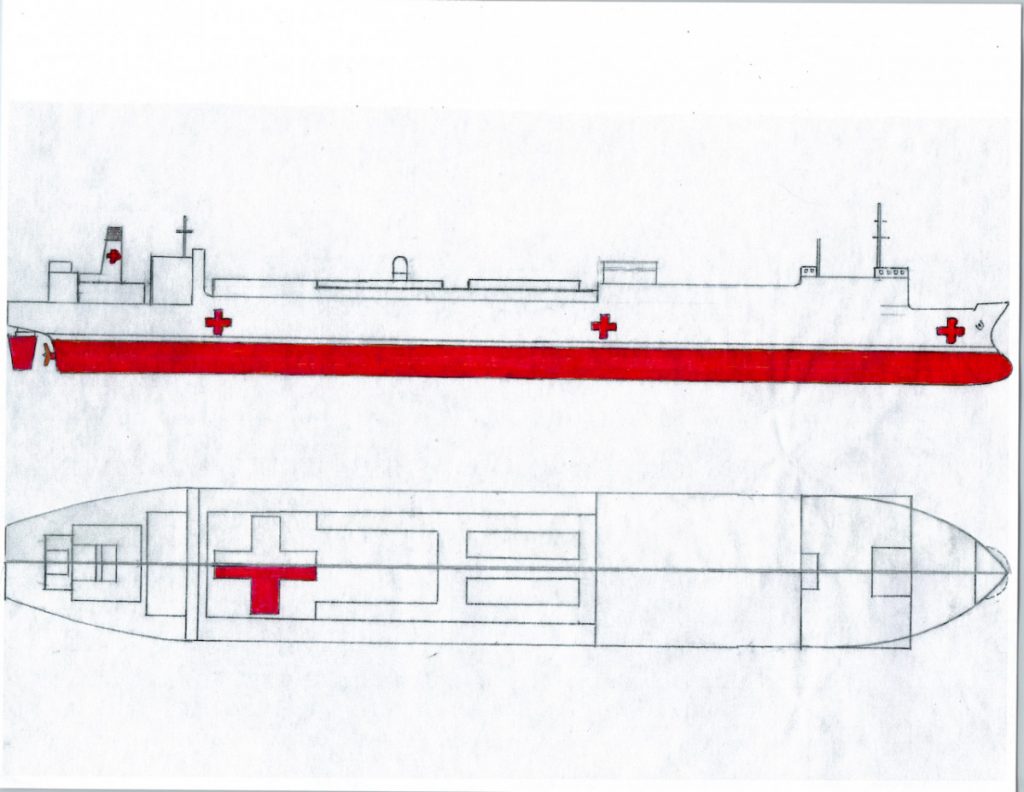
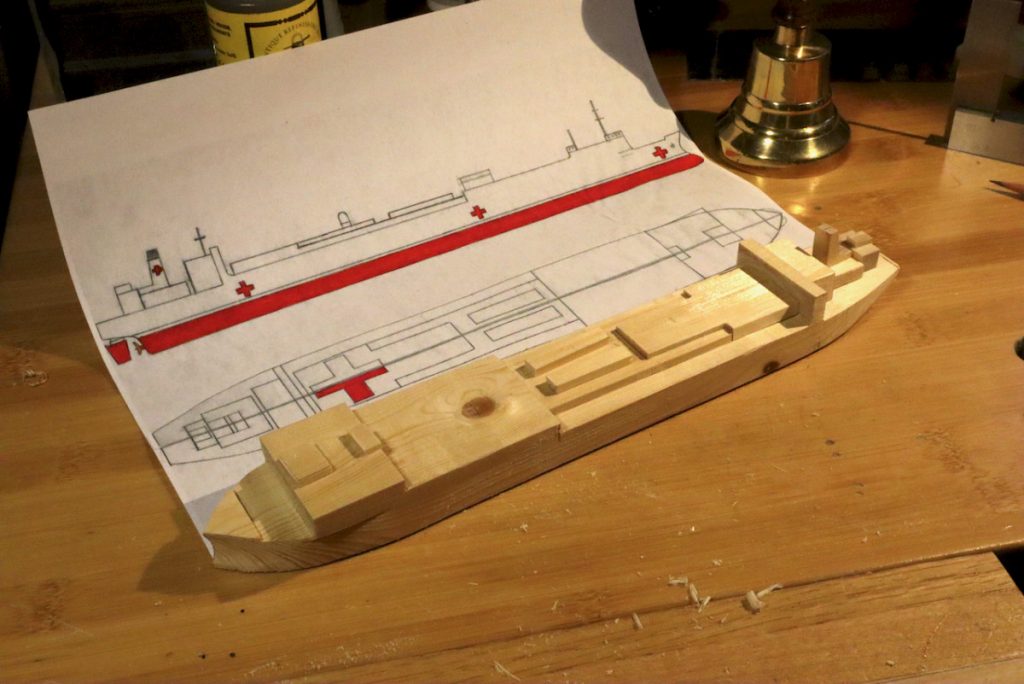
Sketch #2 outline my evolved designs which called for a few wood elements that were compiled to make the superstructure.
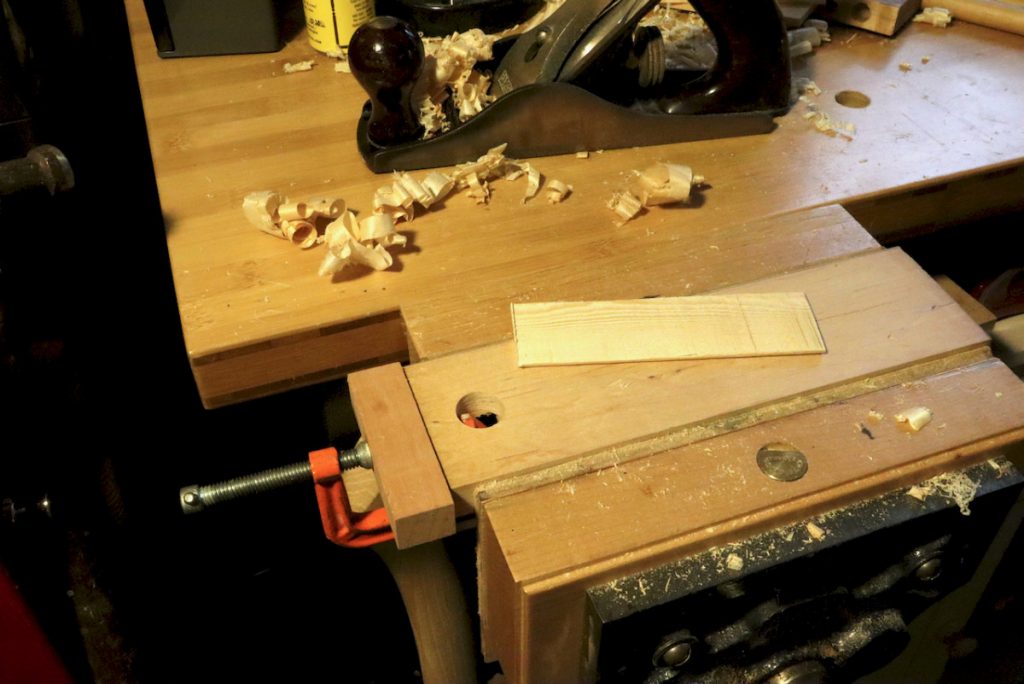
I began by resawing a few strips to thickness.
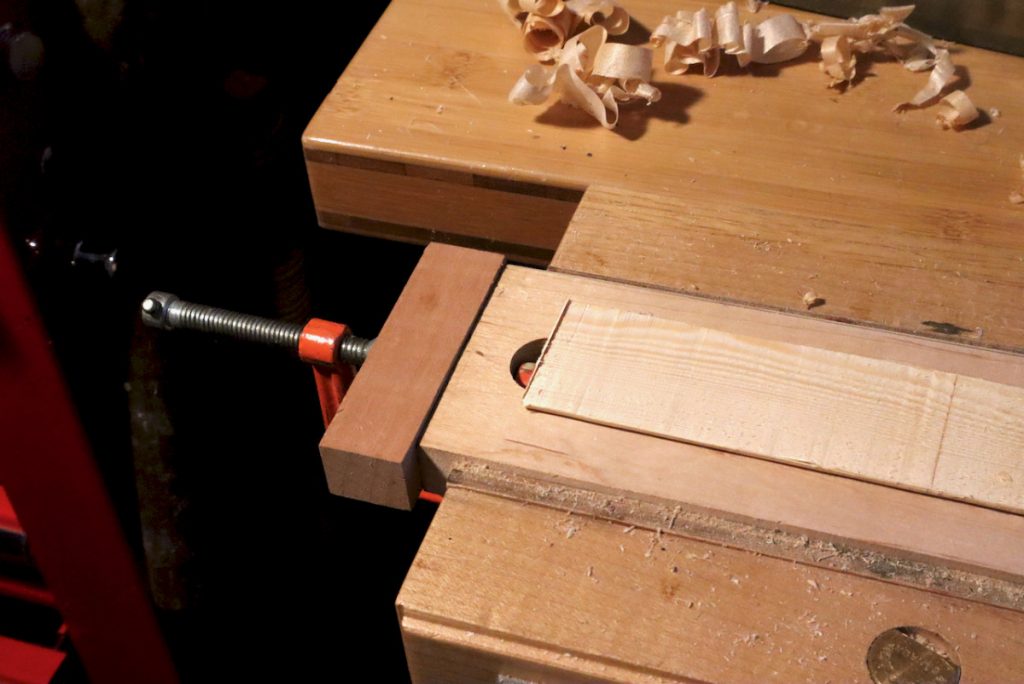
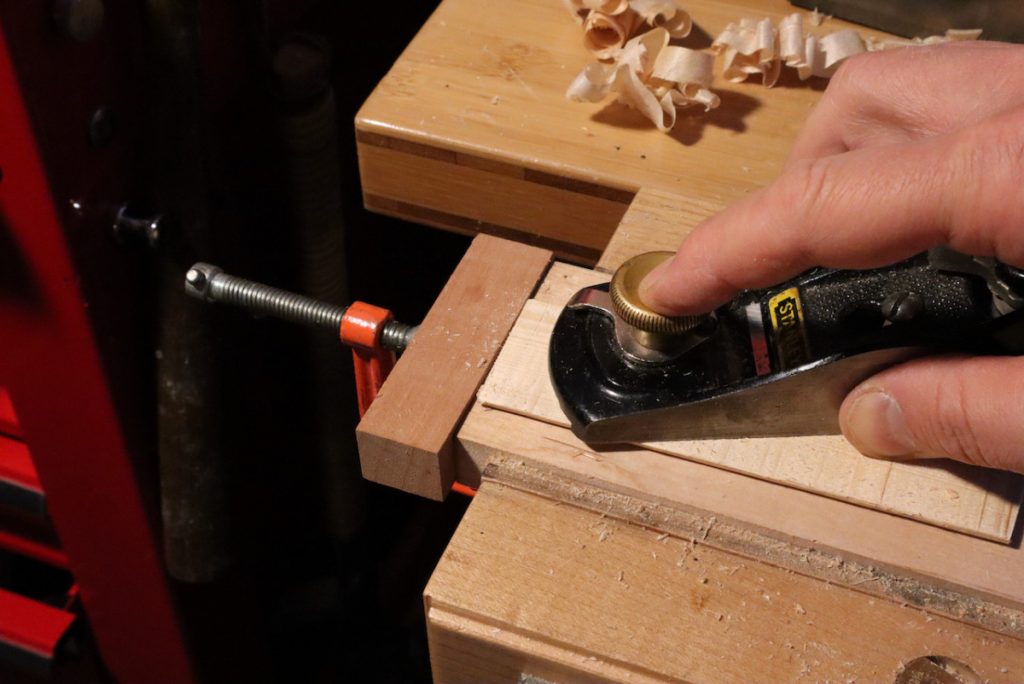
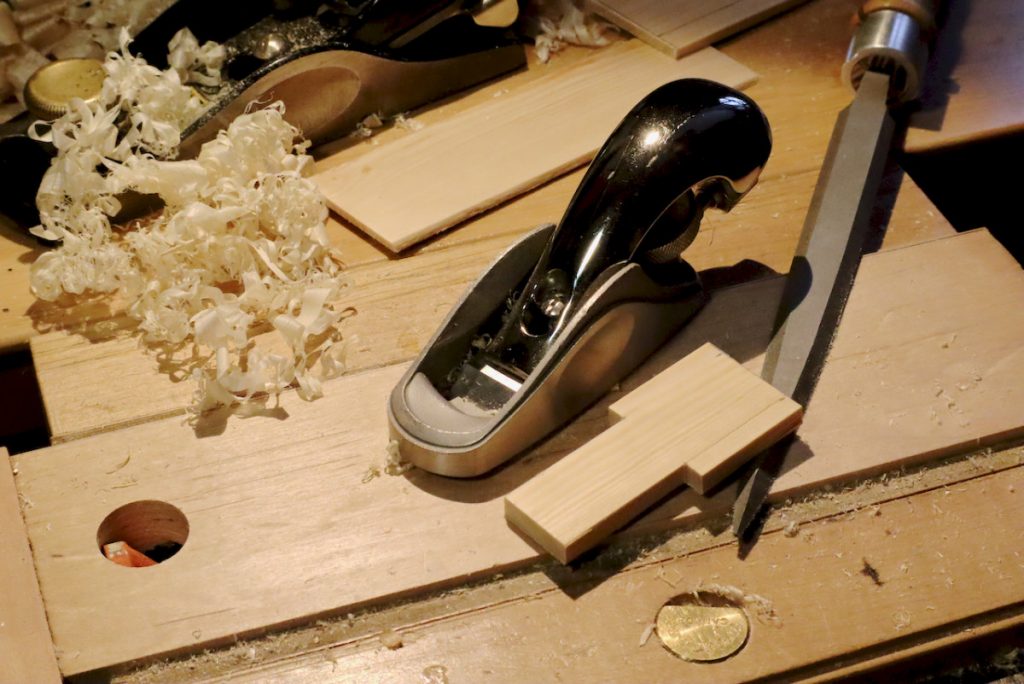
Then I placed the strips on a makeshift planning board (notice the C-clamp adjusted planing stop) and planned the strips to uniform thickness.
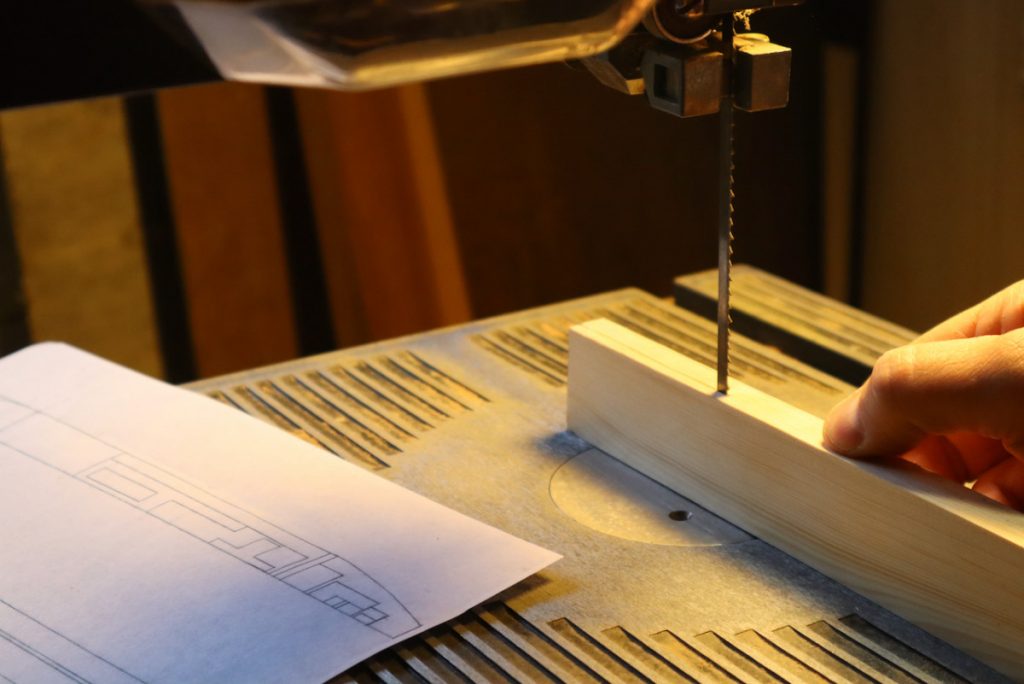
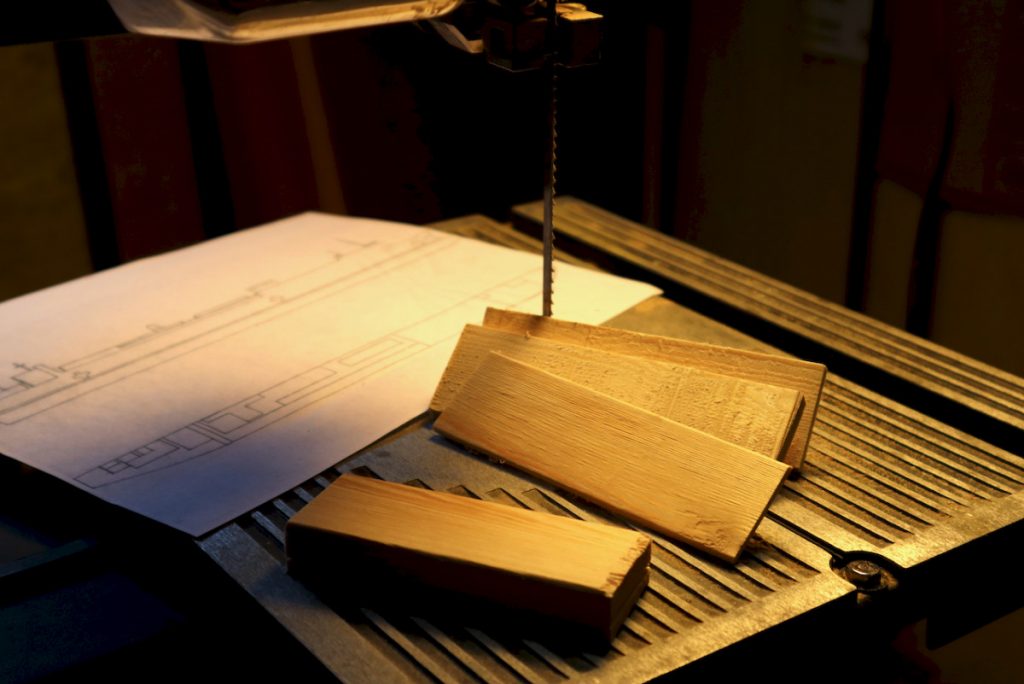
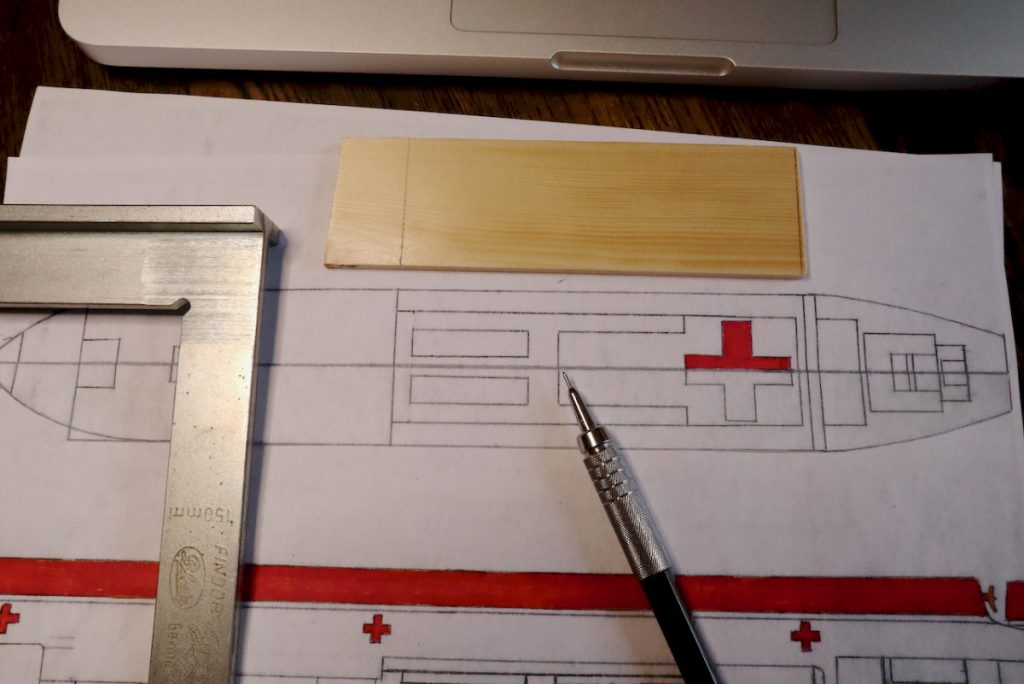
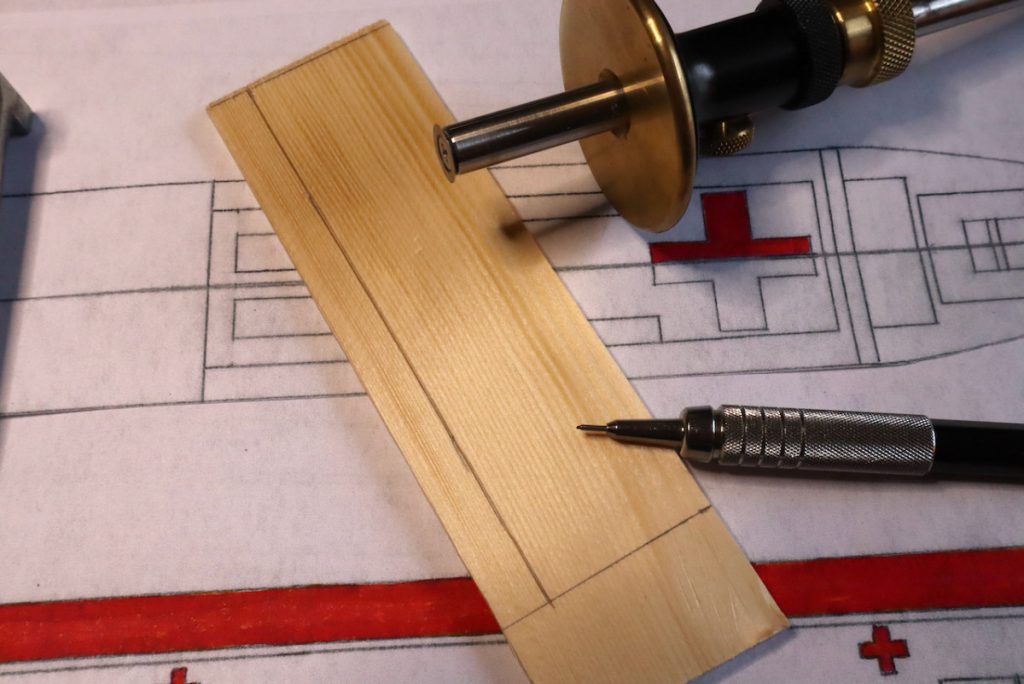
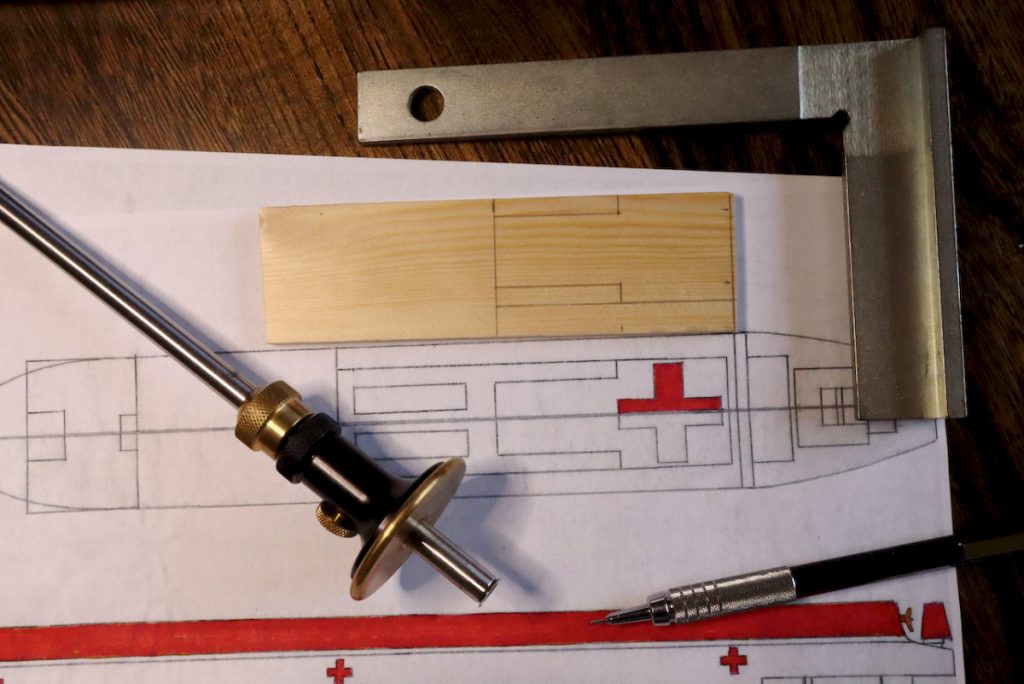
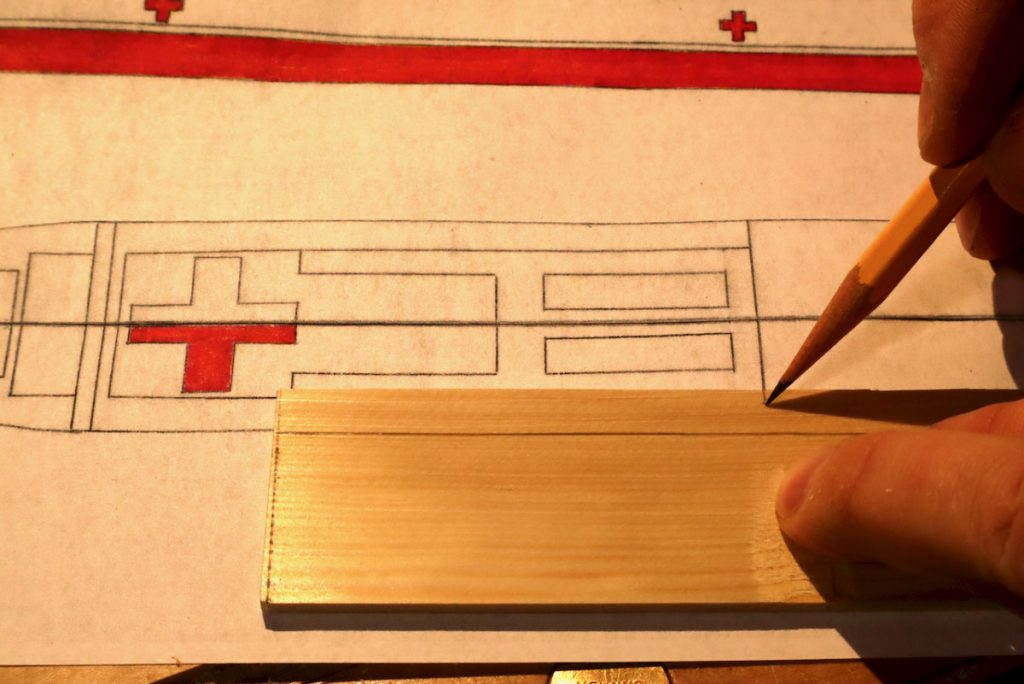
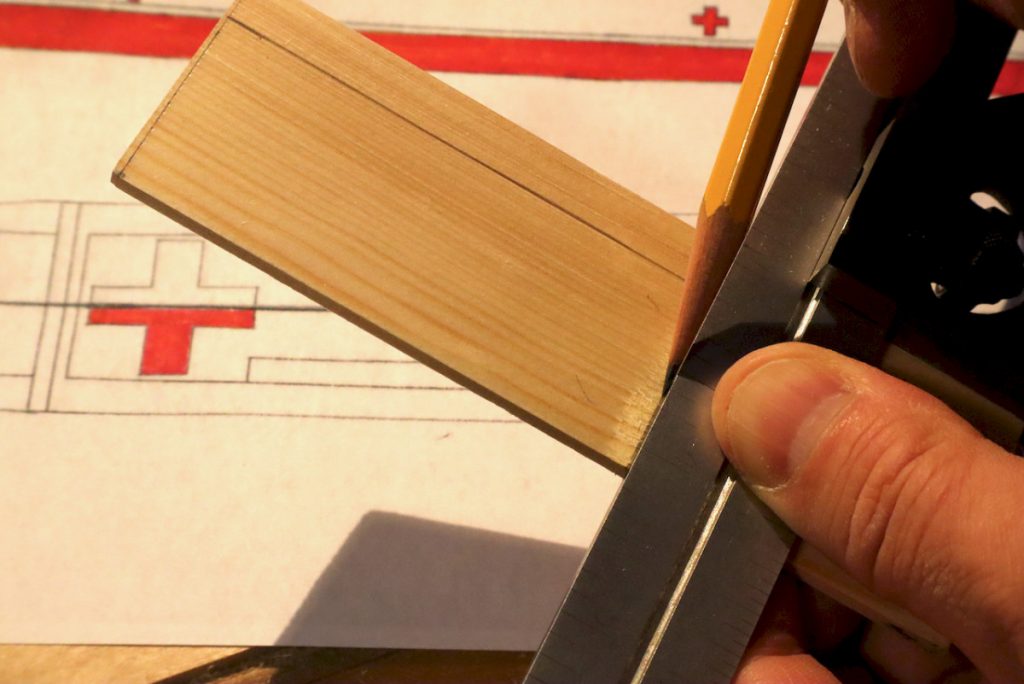
Most of the superstructure elements were cut on the bandsaw and then filed, chiseled or plane to final dimensions. I began by transferring their width and length dimensions, from the deck drawings to the thin strips, making sure that the parts’ thickness will match the elevation drawings. I used a marking gauge and a small square as needed to outline what need to be sawn.
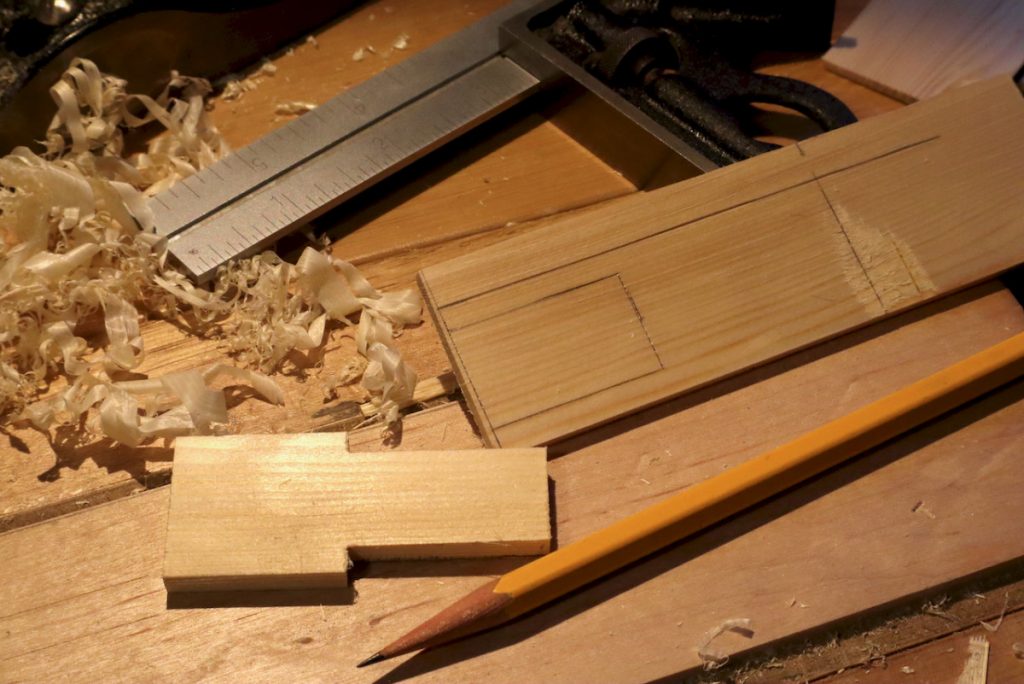
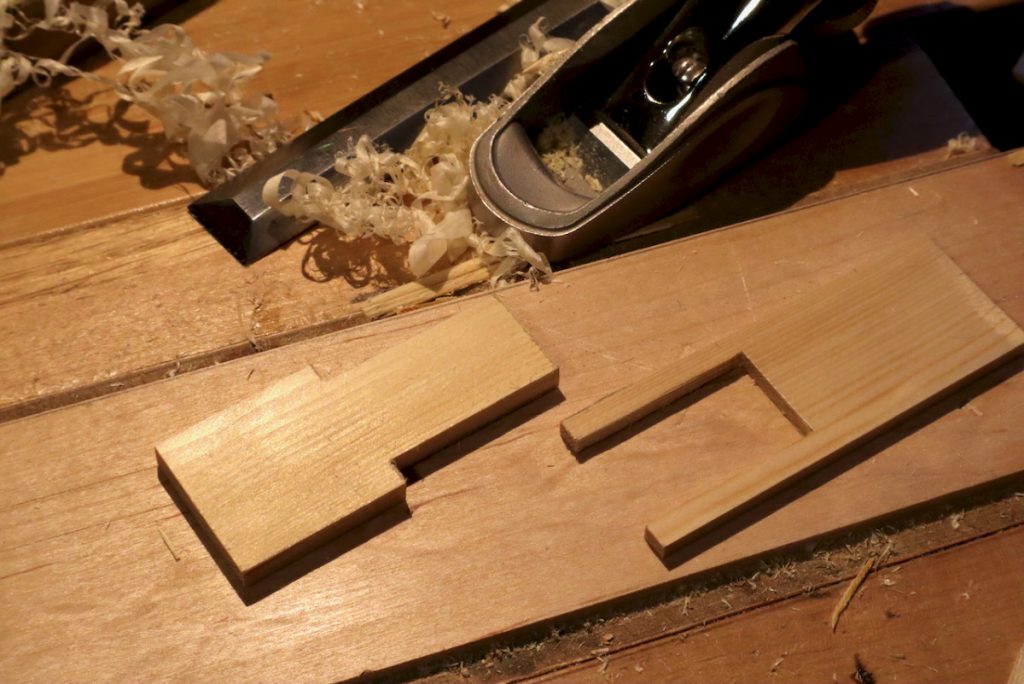
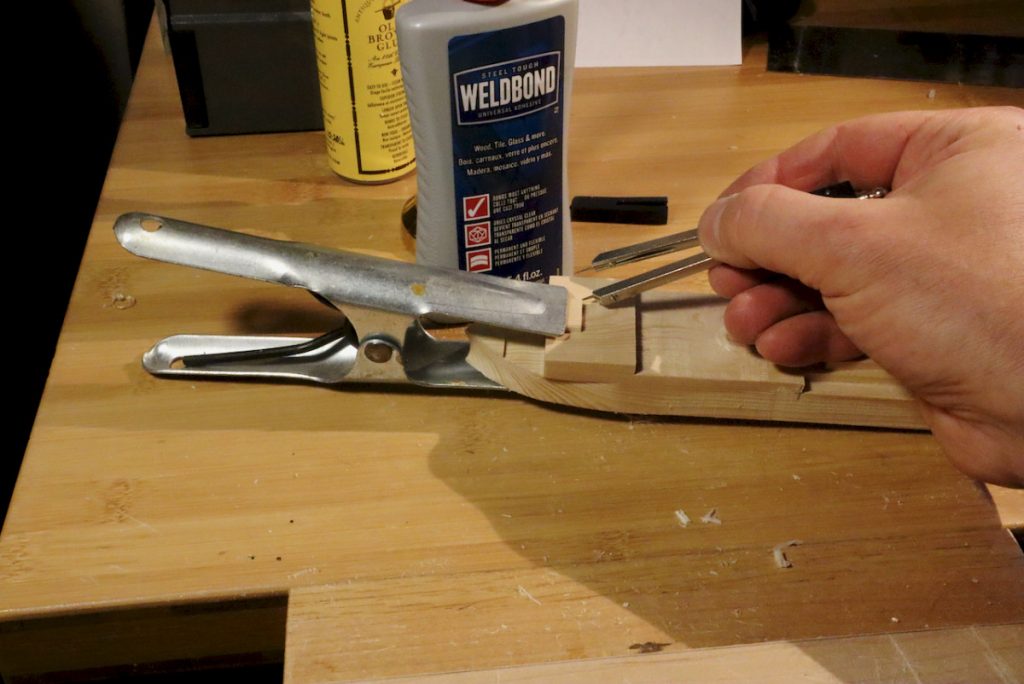
In one case I made parts that coupled together. I shaped the first one and then matched it to the other.

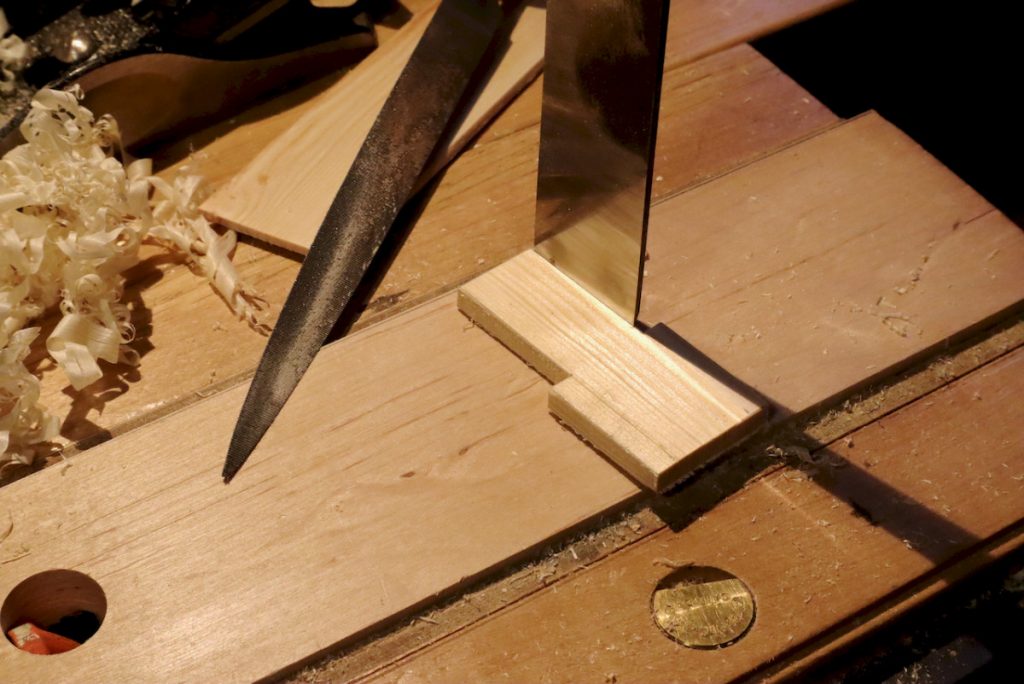

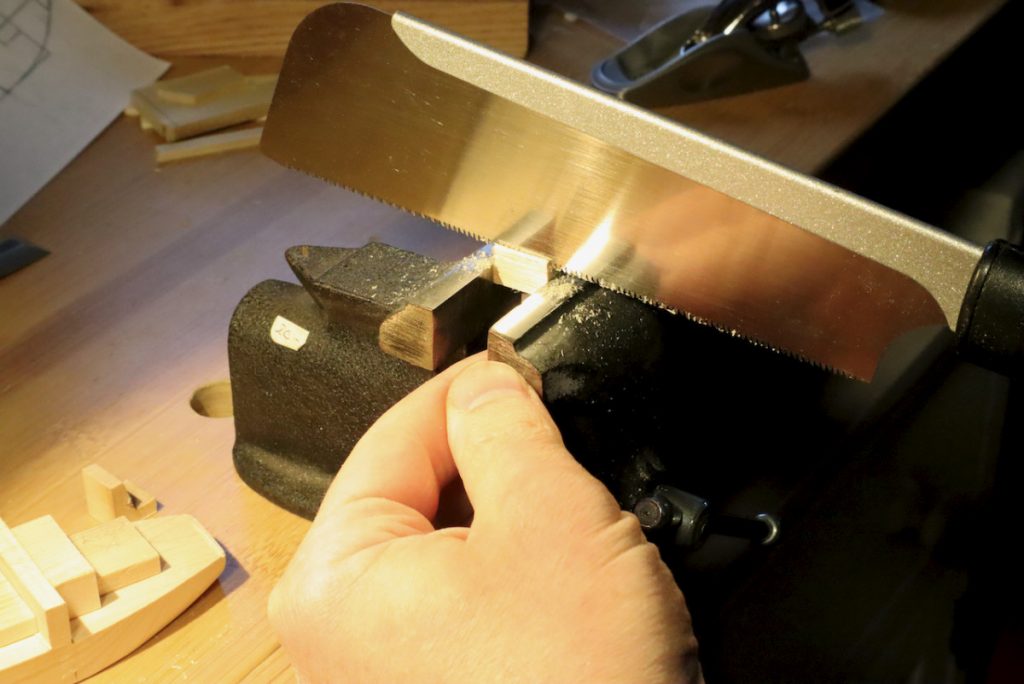
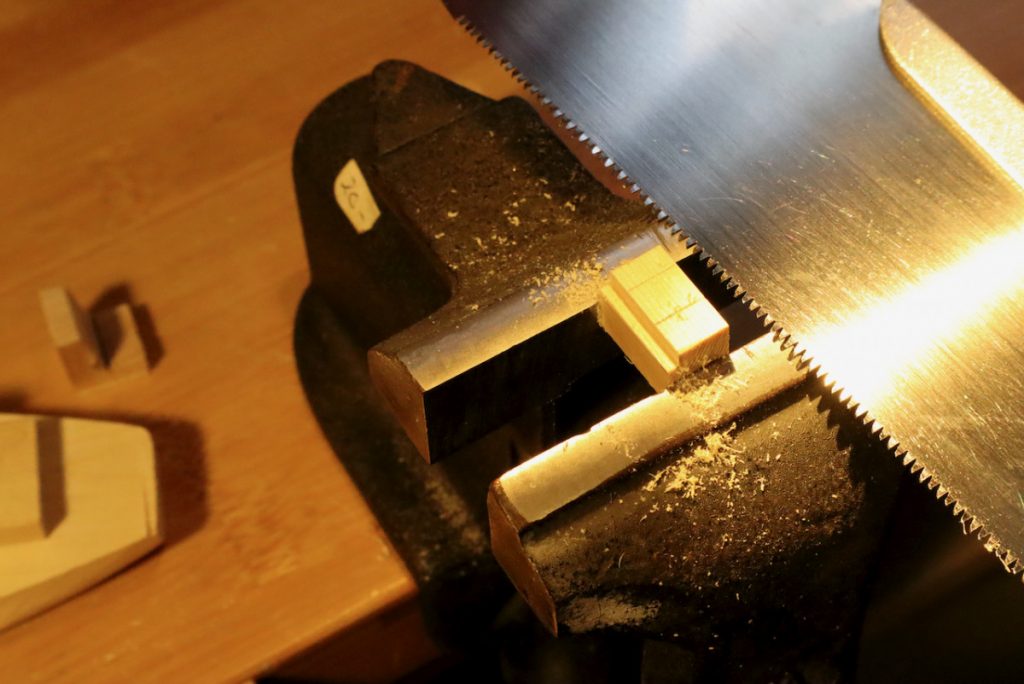
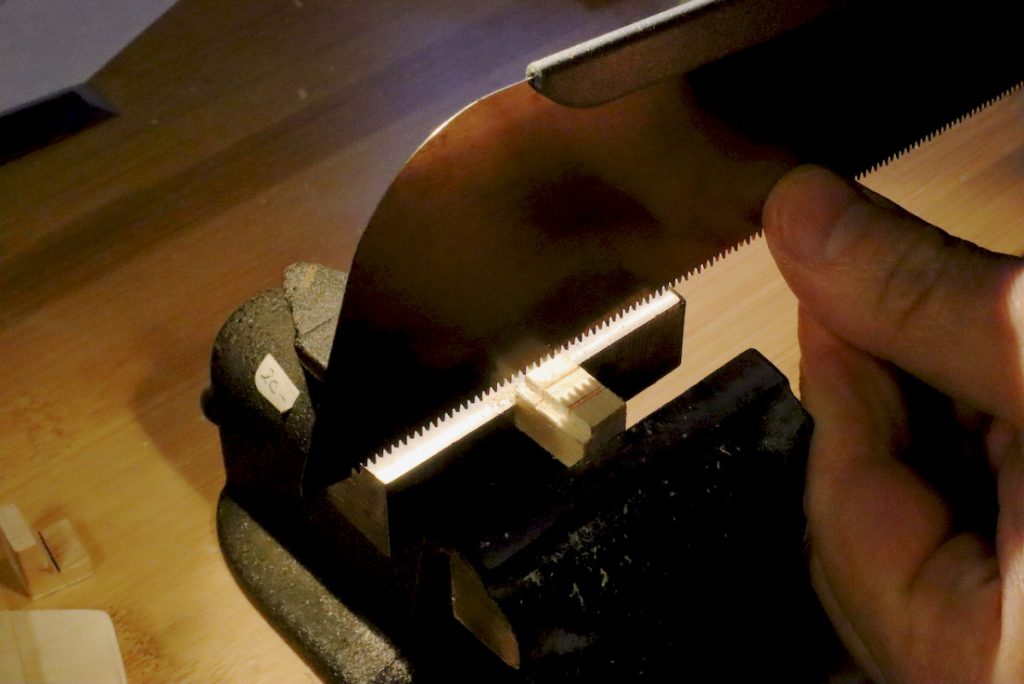
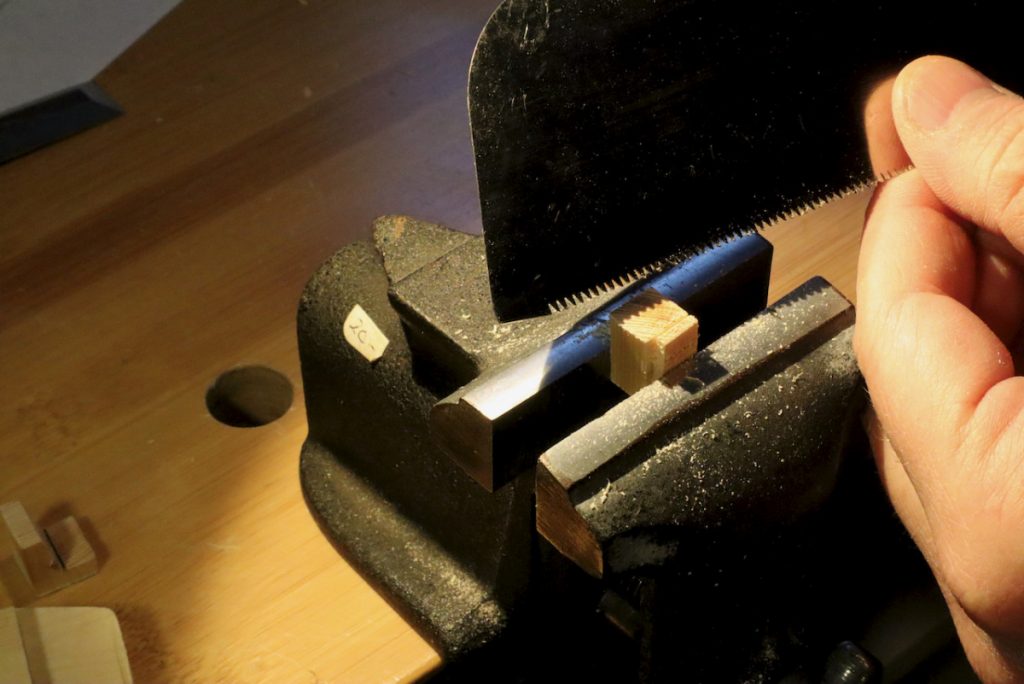
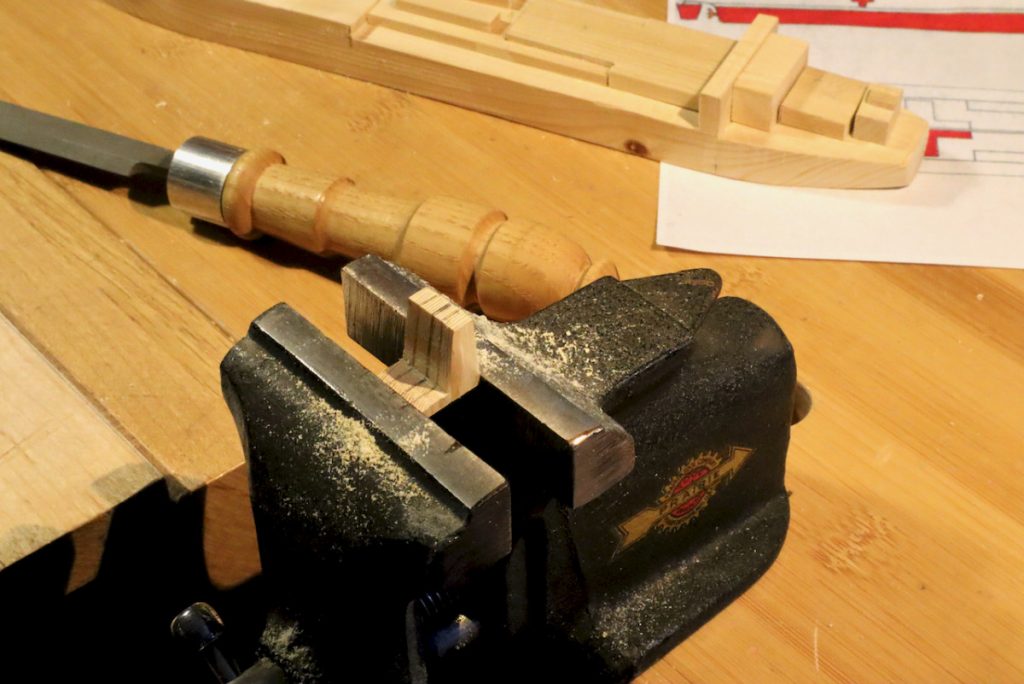
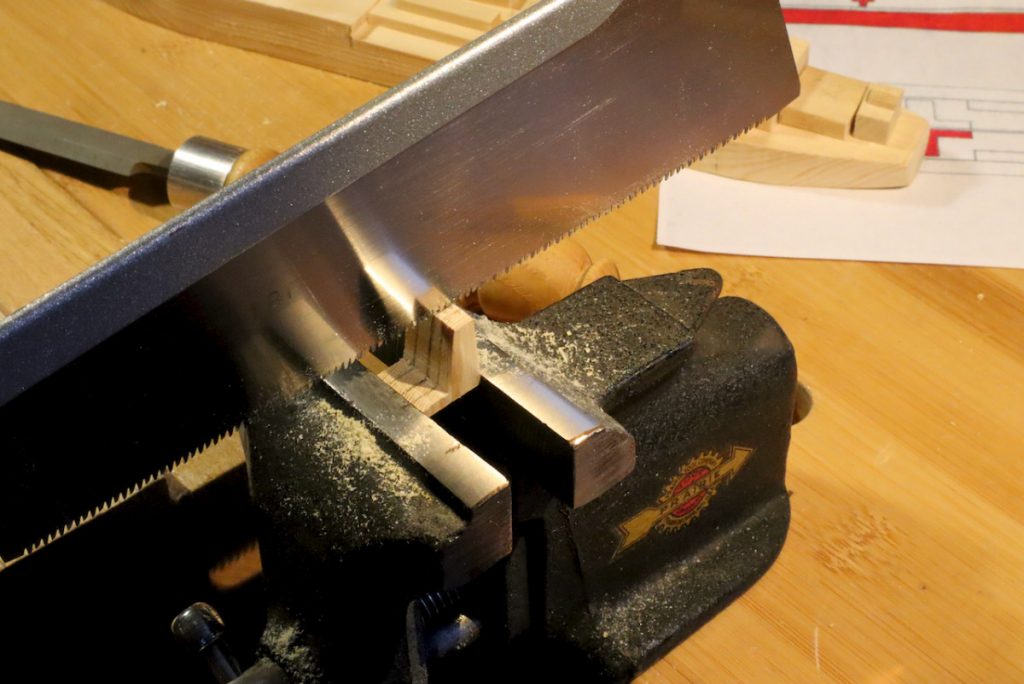
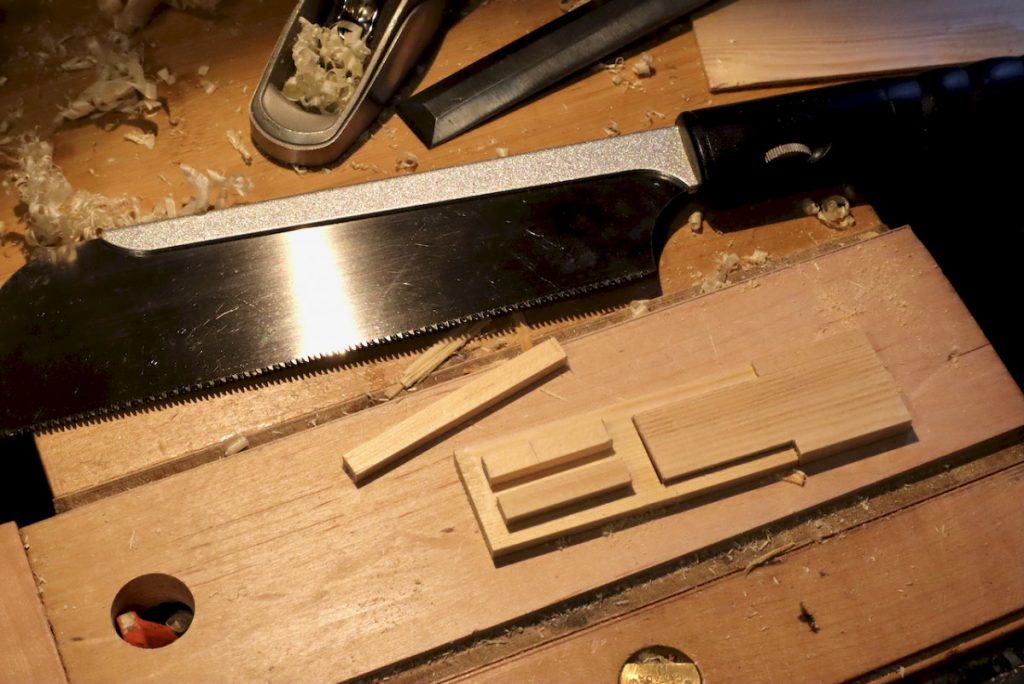 In the case of the aft’s box-like cooling structure (I speculate that this is what this structure is used for) I used both the bandsaw and my hand saw to shape its step design.
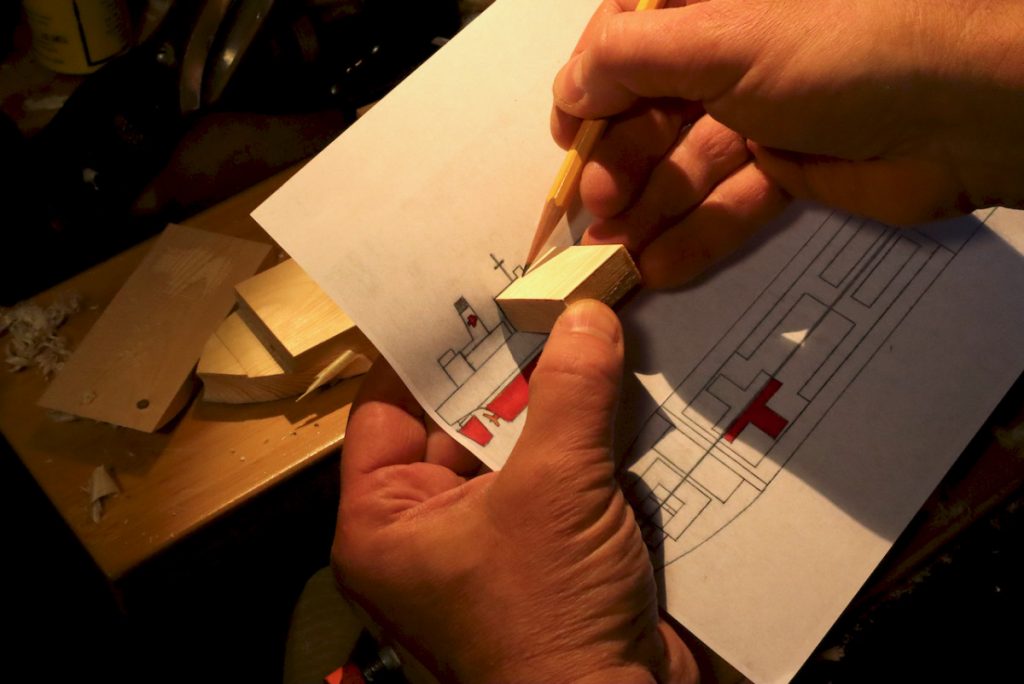
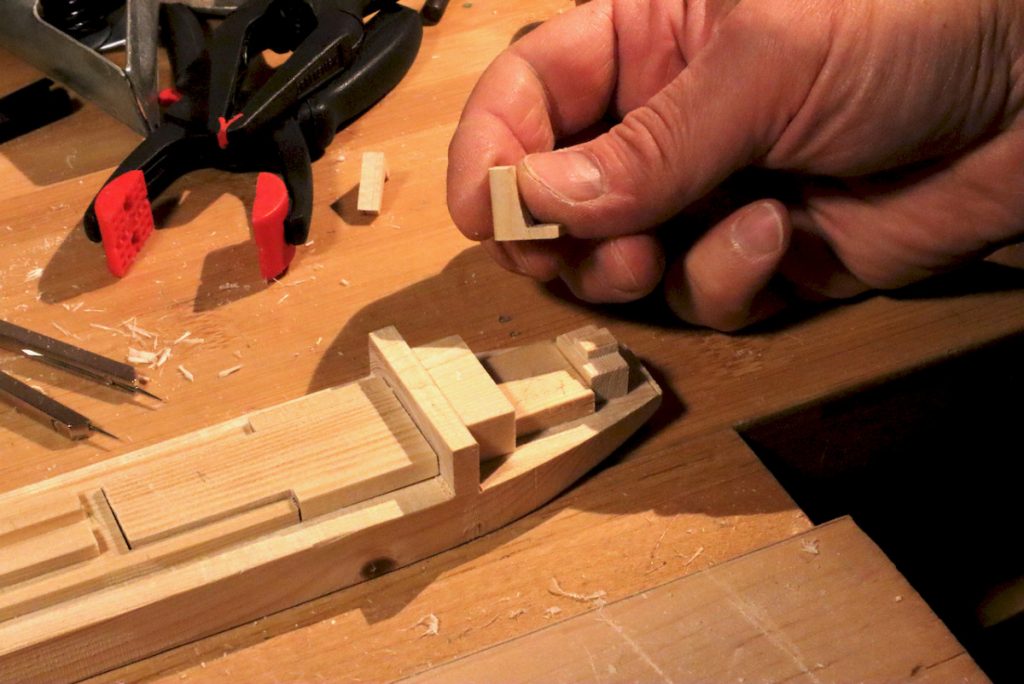
In this picture I am probing for the correct dimensions of Comfort’s original accommodation and bridge structure which was retrofitted later, as the ship was converted into a hospital ship. 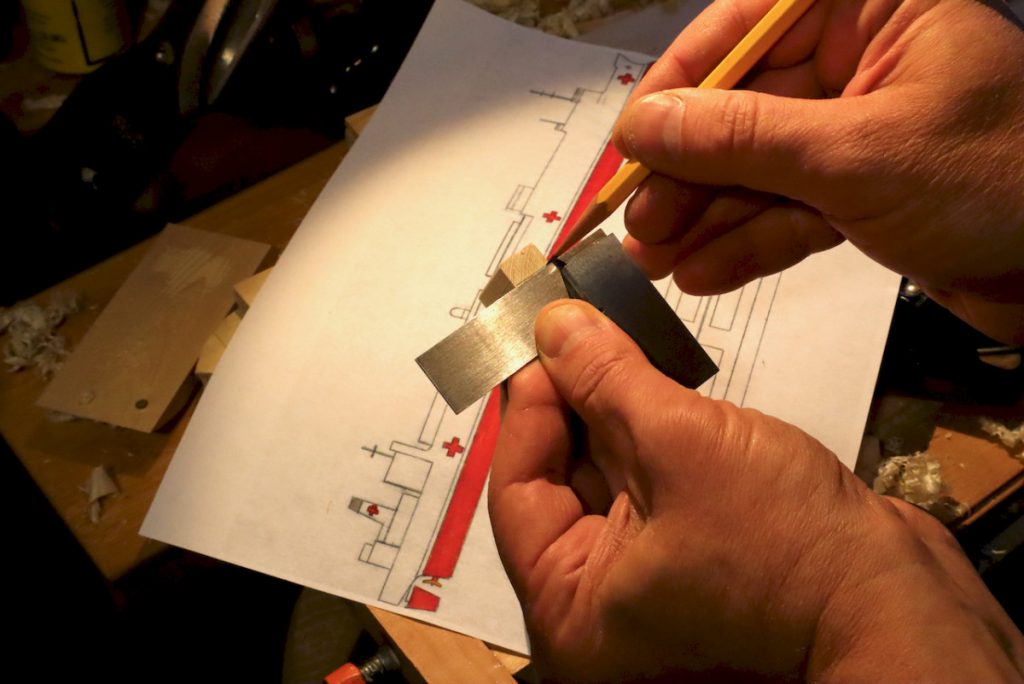
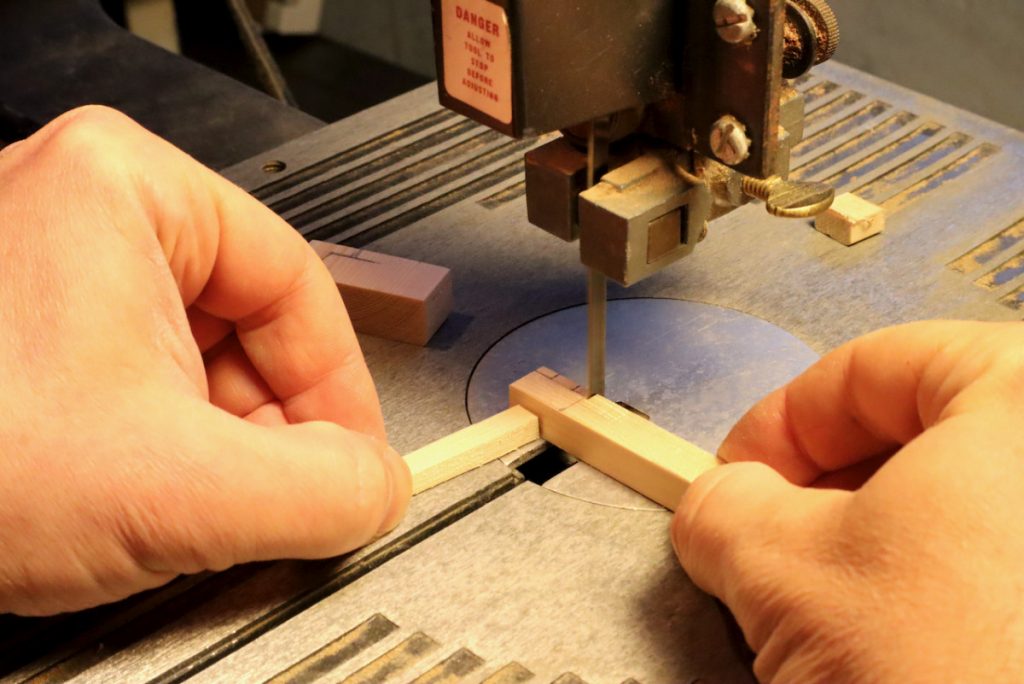
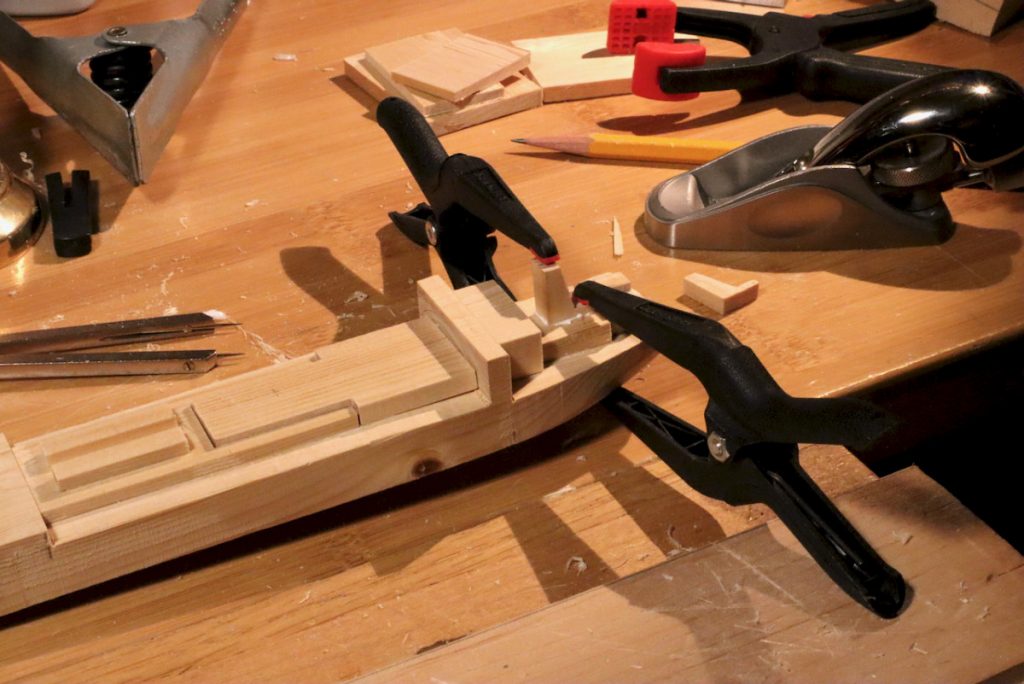
Working on the aft’s cooling or (tank?) structure.

The smoke stack was constructed in a similar way, but unlike all the other parts, the grain orientation of the stack was chosen to be perpendicular to the deck (top to bottom) and not horizontal.
After all the parts were cut to shape I glued them onto the deck using a WeldBond glue, and made a great effort to center them correctly. I used a divider to guide the glue up so the elements were spaced up correctly over the hull’s centerline.
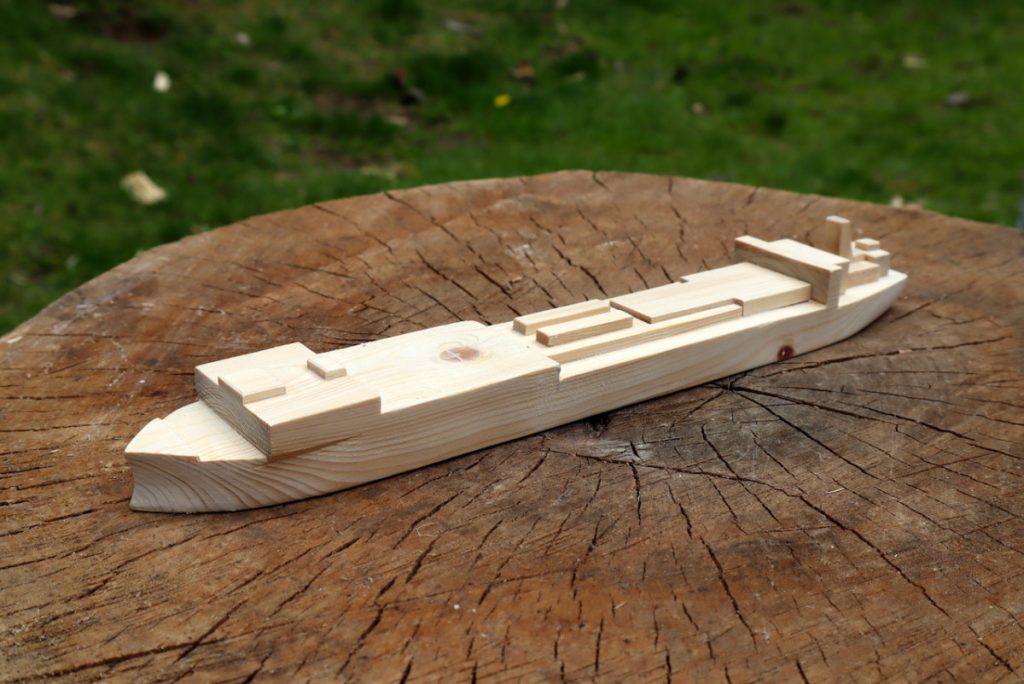
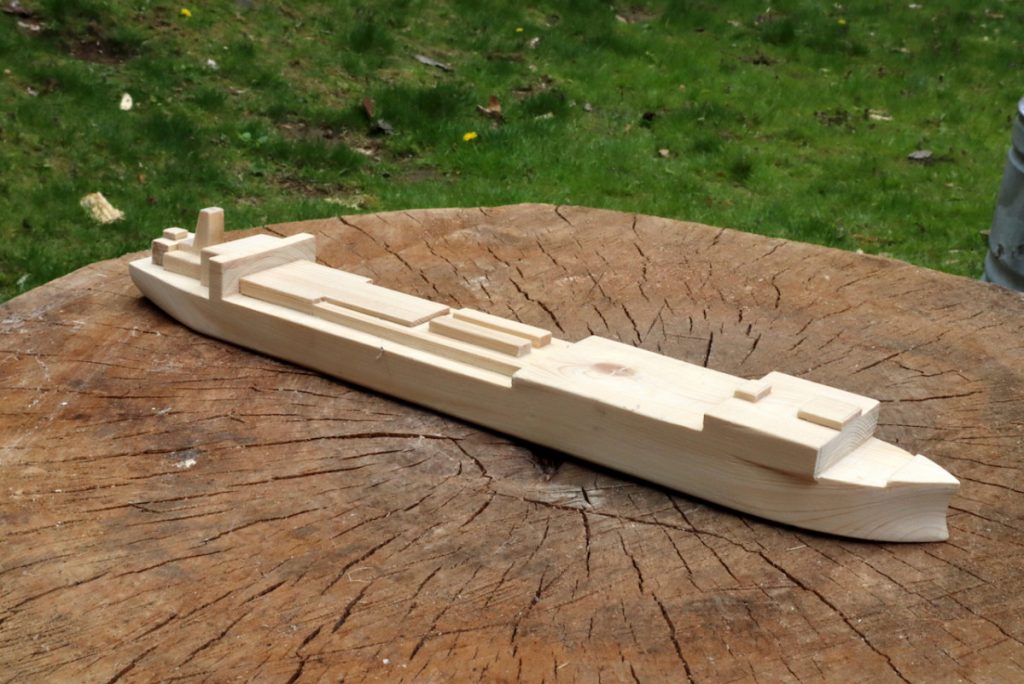
Next week I will show how I painted the hull.
Here are some supplies and tools we find essential in our everyday work around the shop. We may receive a commission from sales referred by our links; however, we have carefully selected these products for their usefulness and quality.