We may receive a commission when you use our affiliate links. However, this does not impact our recommendations.
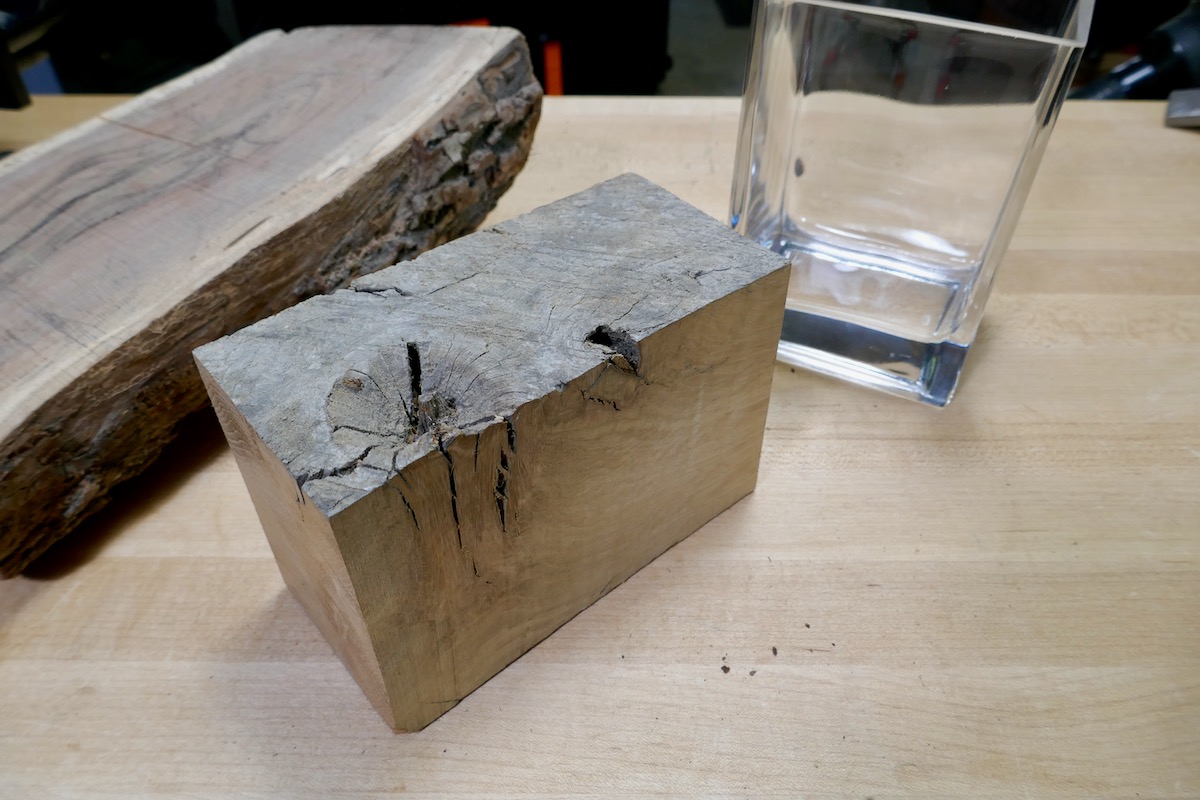 After considering various design options, including a grooved-around lid inspired by art deco designs and reminiscent of one of my favorite industrial objects—the high voltage glass and porcelain insulators—I rummaged through my pile of scrap wood. Eventually, I settled on an impressive block of reclaimed white oak cut-off that immediately caught my attention.

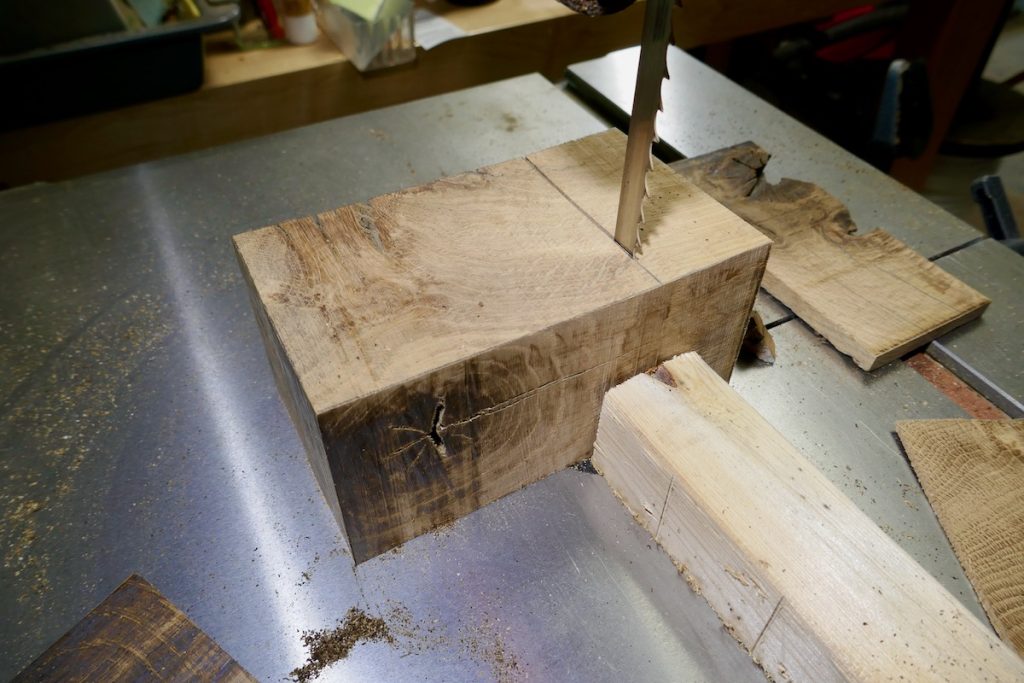
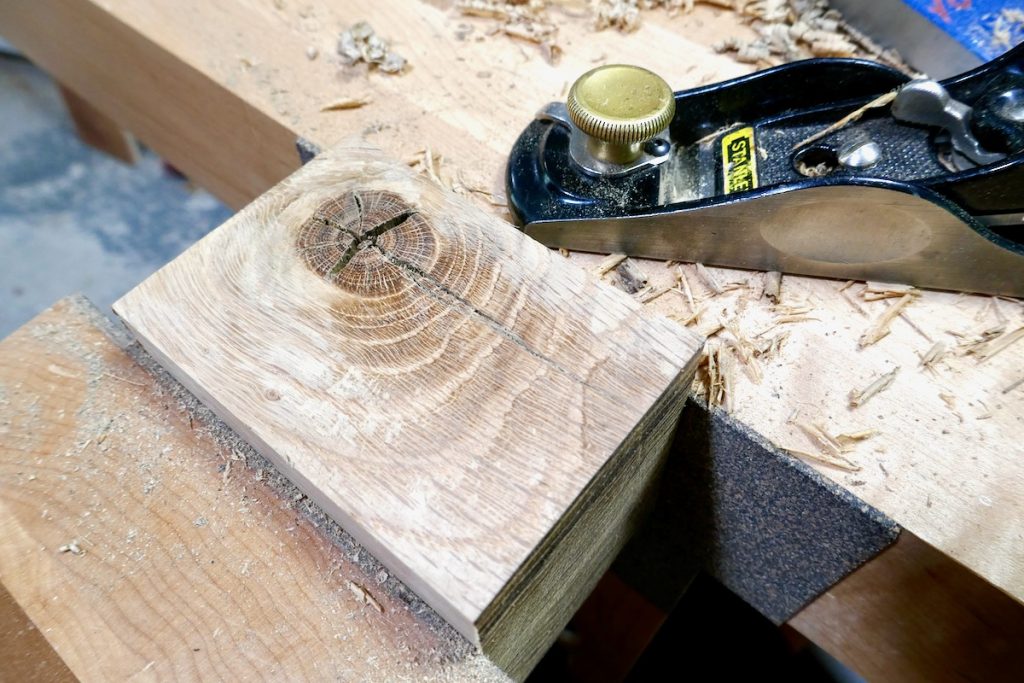
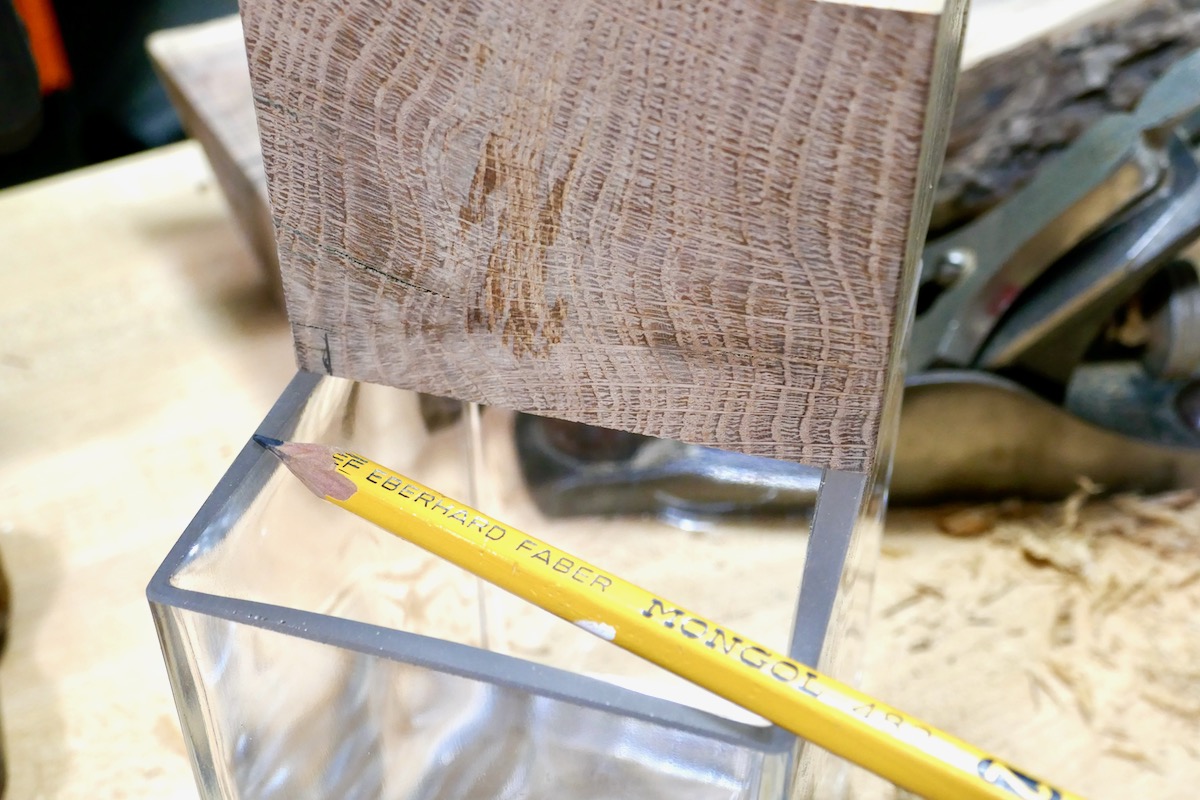
Given that the piece was too short to be processed on my jointer or run through the thickness planer, I had to use a hand plane to surface and true the first and second faces. Once done, I measured the overall dimensions of the glass vase top and traced a matching rectangular shape on the top face of the lid. Using a band saw, I carefully removed the excess wood (it’s always safer that way) and then planed the edges and facets of the lid until they were perfectly square and smooth.
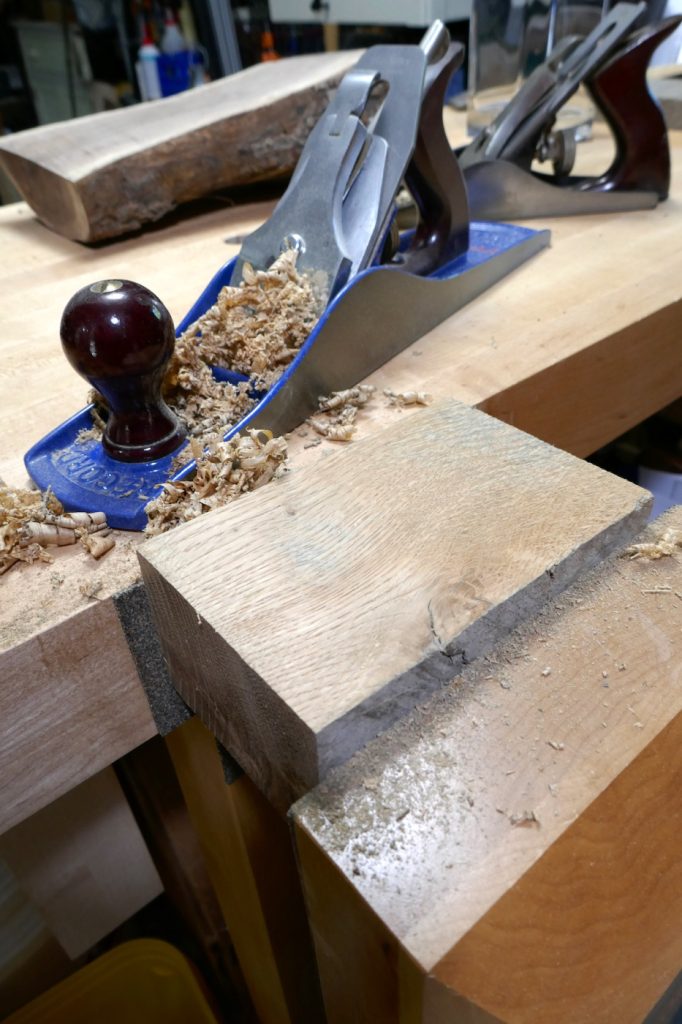

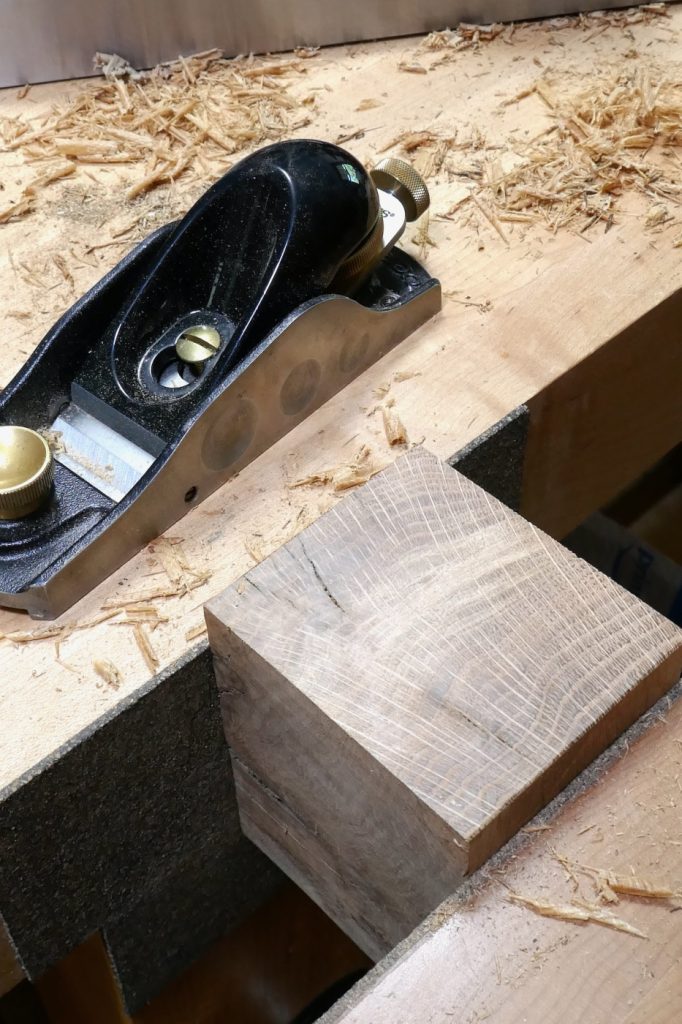

While I thoroughly enjoyed using my hand planes to shape the hardwood lid, it’s worth mentioning that working with end-grain hard oak, especially when encountering tough knots, can impact blade sharpness. In my case, the blades of my hand planes dulled slightly due to the demanding nature of the material. Therefore, it’s important to be prepared to sharpen or replace blades as needed when working with such challenging wood.
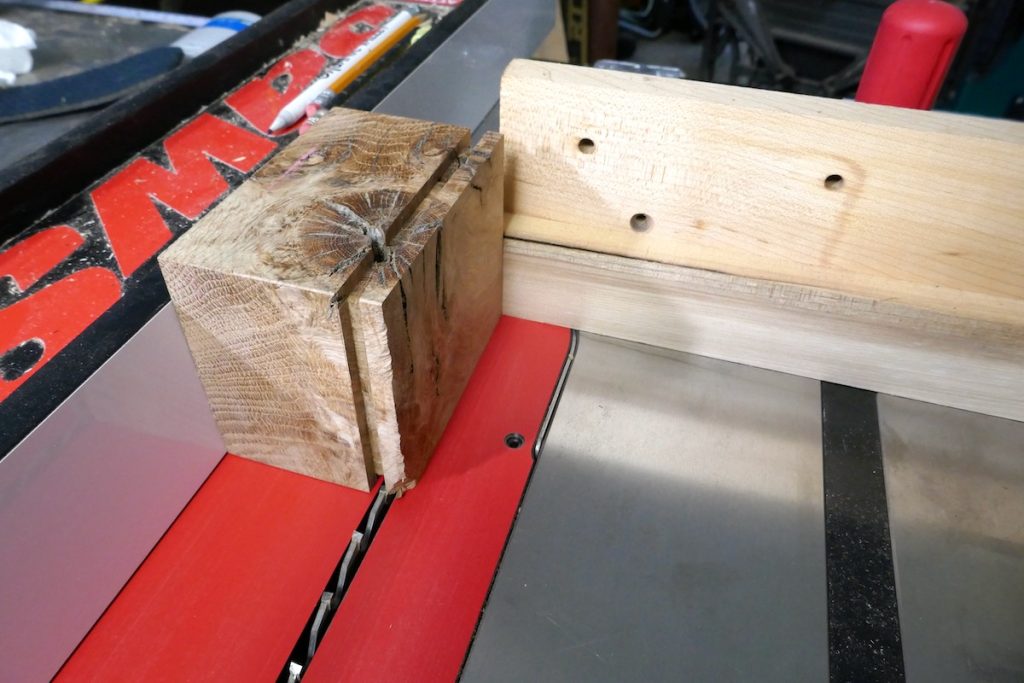
Next, I positioned the lid’s block over the glass rims and traced the thickness of the glass walls onto the block. I scored along the traced lines using a cutting gauge to mark the parameters. Armed with precise rabbet demarcations, I proceeded to cut the rabbet using my table saw. This step required extra caution, so I employed various jig tricks to provide ample support for the small block. One winning strategy was using a miter gauge and a sacrificial board clamped to it.
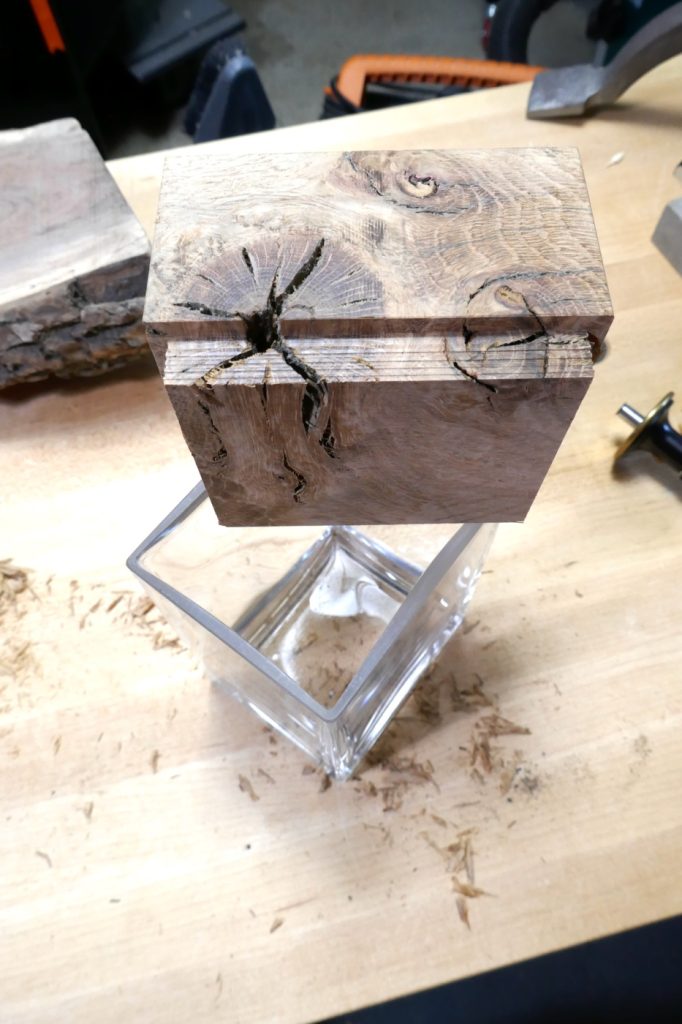
While the table saw alone couldn’t achieve the perfect fit, I employed my shoulder plane to fine-tune the lid’s dimensions.

When working with a solid block of wood like this, it’s crucial to keep one thing in mind. If you milled the wood during winter when the workpiece has a minimal moisture content, you could allow for a slightly loose fit for the glass opening. This is because, as summer arrives, increased humidity can cause the lid to expand across the grain, potentially leading to glass breakage. However, if you construct the lid in the summer using wood with higher moisture content, you can dimension it precisely to the opening’s geometry. As the wood shrinks in winter, the fit will become even looser. That being said, the length of the lid’s inner plug can be adjusted to achieve a snug fit without the risk of breaking the glass. Wood experiences minimal changes in length with variations in air humidity.


Inspired by the process of creating a hardwood lid for my own vase, I encourage you to explore your attics and uncover these ubiquitous vases, giving them new life as exquisite display boxes adorned with custom hardwood lids.
Here are some supplies and tools we find essential in our everyday work around the shop. We may receive a commission from sales referred by our links; however, we have carefully selected these products for their usefulness and quality.