


We may receive a commission when you use our affiliate links. However, this does not impact our recommendations.
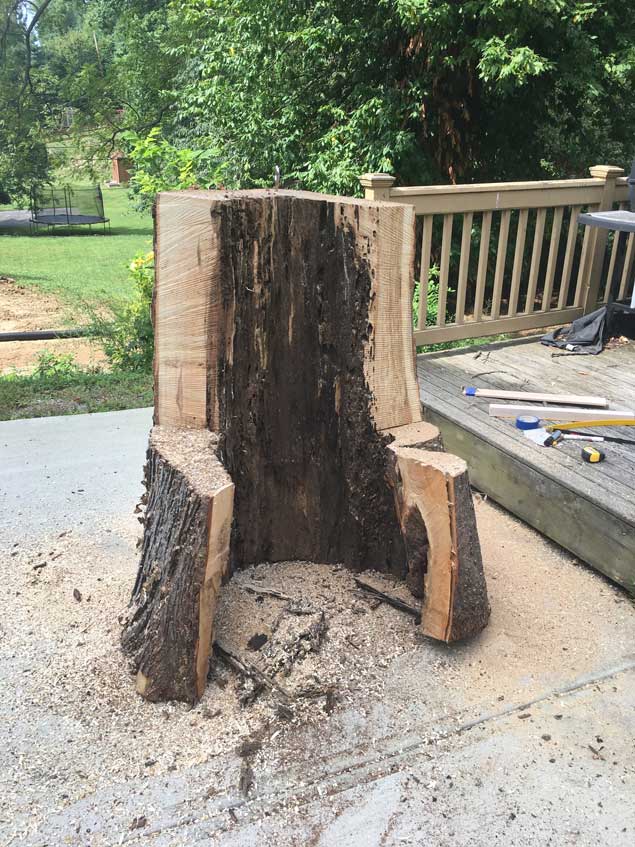
I laid out the shape of my my dugout chair in chalk. Then it rained.
The next day I laid out the shape of my dugout chair in lumber crayon. Referring to my CAD drawing (below), I drew in the seat at 17” from the ground. Then decided to put the arms 8” above the seat and have them slope back about 1/2” or so. The depth of the seat (and arms) is 17”.

For the “crest” of the chair, I decided to make it 16” wide. Then curve the edges of the backrest down to the arms.
Rather than do this all in one go, I first sawed out the waste above the arms – minus the section that will be curved. First I made the horizontal cut with the chainsaw. Then the vertical cut. This is the safe way to do it.
I also use the chainsaw to cut away some of the rotted interior that was protruding into the seat area. This will save on time with the angle grinder (I hope).
Next up, I’m going to cut the curves. My plan is to make horizontal stop cuts up each side of the back. Then I’ll connect these cuts, trying not to twist the bar of the chainsaw. It should work.
— Christopher Schwarz
Oh and if you want to build a real chair, check out this video on building a Welsh stick chair from Don Weber.
Here are some supplies and tools we find essential in our everyday work around the shop. We may receive a commission from sales referred by our links; however, we have carefully selected these products for their usefulness and quality.


I love following this build. And you CAD system cracked me up.
I’m seeing Chris in some sort of makeshift crown perched confidently on his dome as he does his best “Game of Thrones Ruler of the North” face.