We may receive a commission when you use our affiliate links. However, this does not impact our recommendations.
The doors on the rest of my kitchen cabinets were constructed with stub tenons. But the pantry doors that I (finally) hung over my holiday break are 82″ tall and will get used a lot (the pantry shelves were built in part to house boxes of kitty litter). Stub tenons aren’t up to the task; for these, I cut traditional mortise-and-tenon joints.
The poplar rails and stiles are 3/4″ thick x 2-1/2″ wide; the mortises are 1/4″ wide x 2″ long x 2″ deep, and centered on the stiles (as are 1/4″-deep grooves for the plywood panels). After using a slot cutter at the router table to cut the grooves, I used a hollow-chisel mortiser to cut the mortises (and used the grooves to align the mortising bit). The tenons were cut by hand.
That construction, done well, is plenty stout enough to last, but I wasn’t entirely happy with the fit of all of my tenons (that’s what happens when you don’t pick up a saw for two weeks running, I guess). I had three tenons that slipped too easily into their mortises, requiring almost no pressure to get them together; two were on the same door.
While three less-than-stellar joints out of 12 would likely cause no problems in the long run, well, I’m given to overkill.
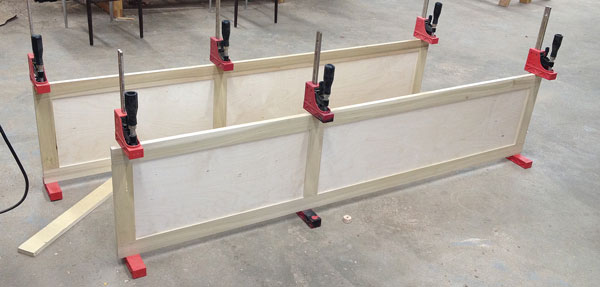
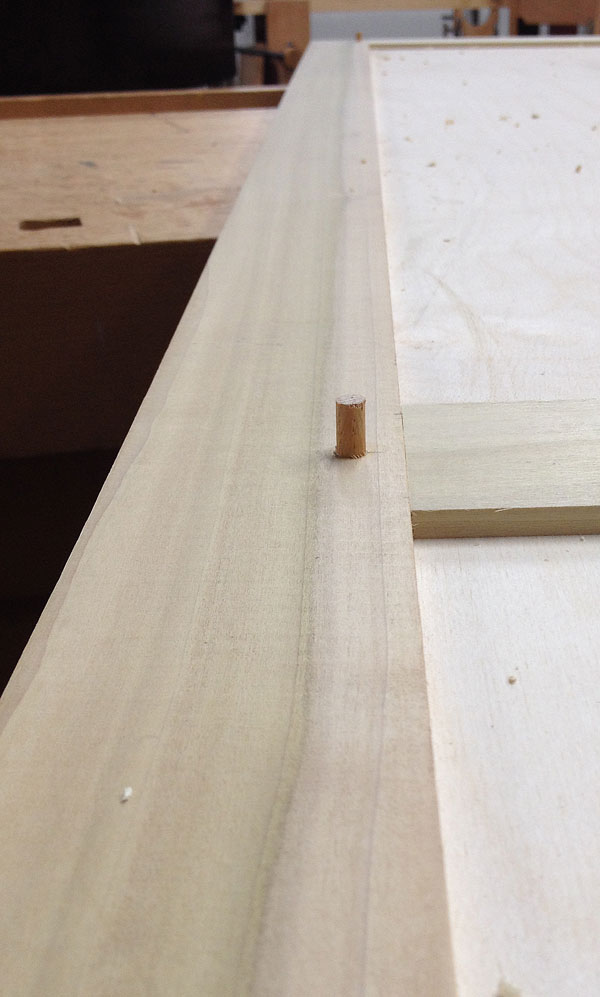
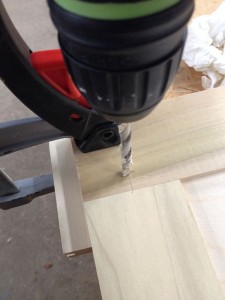 So, after gluing up the doors and letting them sit overnight, I drilled and pegged all the joints. These are getting painted (I’ll get around to it…someday!), so I could probably have gotten away with pegging only the three “bad” tenons.
But that overkill thing again…plus I forgot to mark the loose tenons, and by the time I took the doors our of clamps, I couldn’t remember where they were. Oops.
There’s also the possibility of the pegs showing through the paint – though you’d have to look closely to spot the end grain – so all in all, best to make everything look the same.
After marking the hole locations at each joint, I clamped a backup block on the backside of the work to avoid tear-out, then drilled holes to match the dowel stock I had sitting around.
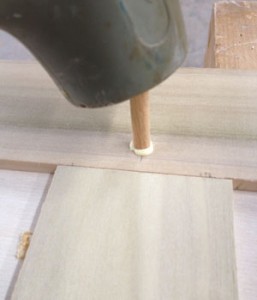 I cut matching pegs and chamfered one end of each a bit to ease their entry, then spread a little glue on the inside of each hole and on each peg before knocking them through the joint with a dead-blow mallet, though a wooden mallet is fine for the task, too (a metal hammer can more readily fracture a peg…a lesson I learned years ago the hard way).
After the glue dried (I’m pretty sure the week they sat on my bench was sufficient drying time), I used a flush-cut saw to level the pegs to the surface on both sides of the door…then let everything mellow in my house for two weeks before hanging them. I’d argue I simply wanted to give the wood time to acclimate, but that would be a lie.
Anyway, with or without the pegs, I’m pretty sure these doors will outlast me…or last at least long enough for someone else to move in and redo the kitchen. I read somewhere that a typical kitchen – no matter how consciously one plans for timelessness – gets updated on average every 15 years. (By that measure, mine was 20 years overdue.)
p.s. One of the most useful books I read before undertaking this project was Bill Hylton’s “Illustrated Cabinetmaking.” Kitchen cabinets aren’t typically built like the casework I’m used to, and Bill’s book helped me to better understand that…and thereby saved me a lot of time and effort (but oh that were shortcuts for the shortcuts…).
Here are some supplies and tools we find essential in our everyday work around the shop. We may receive a commission from sales referred by our links; however, we have carefully selected these products for their usefulness and quality.





It seems that this cabinetmaker has been listening to real estate agents far too long so that it has skewed her sense of purpose and priorities.
Talk about ‘built to last’… did you see this Japanese joinery? https://www.youtube.com/watch?feature=player_embedded&v=W1pvUlQgYtk
Since when is a mortise and tendon considered overkill? Traditional but not overkill. With some practice and the right tools it doesn’t take that long. Dowels are just a short cut that reduces the quality of your work. If it’s worth doing it’s worth doing right. Especially when you are putting your name on the work.
Danny: I really like the Dowel Max myself… not sure what dowels you’re using but I rely on a “compressed” dowel from Laurier in Canada… great product… their website – JustJoinery
Being a one man cabinet shop I’ve made plenty of these mission style type doors , and I agree stub tenon wouldn’t be enough and mortise and tenon is over kill, and would not be cost effective for someone trying to make a living at it. I simply use long dowels on each joint( cut with a Dowel Max jig ). Accurate, easier, quicker and plenty strong. Of course you could also do lose mortise and tenons with a router set up , but I still find it easier and quicker with the doweling jig.
I use a light metal claw hammer because I can listen to it as the peg is being gently tapped home. As the peg becomes more seated in makes lower pitched sounds and once experienced you will know when it is tight. I also spilt my peg blanks from the solid and then whittle them down to size. These don’t break unless the wood is flawed or a dead-blow mallet used.