


We may receive a commission when you use our affiliate links. However, this does not impact our recommendations.
Skewing at the beginning of the cut can eliminate skittering.
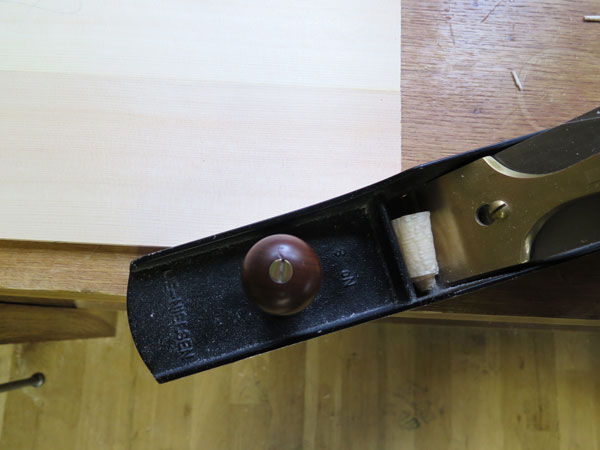
Skewing the body of the plane lowers its effective cutting angle, which can work in your favor or against you. Skewing also changes the relationship of the cutting edge to the wood fibers, which can change the surface finish of the wood.
While the above two statements might seem obvious, I’ve watched a lot of students struggle with the topic of skewing. Part of the problem is that any discussion of skewing seems incomplete without a virtual woodworker muddying the waters with a discussion of geometry.
So let’s skip the theorems (pretty please?) and focus on what happens at the bench.
When I discuss skewing with beginners, here are the points I make:
• Skewing makes the plane easier to push, but it can increase tear-out in some situations. In some rare reverse-grain situations, however, it also can reduce tearing.
• Skewing the tool at the beginning of a stroke is ideal because it reduces the chance that the plane will skitter across the first 1/2” or so of the cut. Skittering leaves ugly ripples. To avoid the ripples, skew the tool for the first couple inches of the cut, then straighten out the plane.
• Skewing can improve the surface finish when working across the grain, called traversing. If you skew the plane 20° to 30° when traversing, the surface will look much less “wooly” and have less tearing.

Skew at the beginning of the cut.
Straighten out in the middle of the cut.
Skew again at the end of the cut for a clean cross-grain finish.
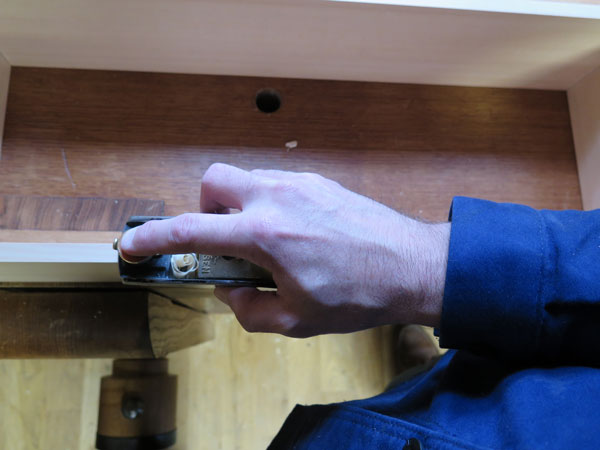
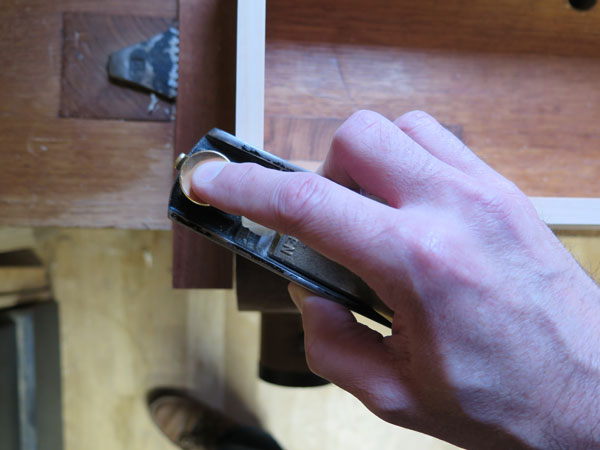
• Skewing can improve surface finish when planing around an assembled corner. This works on the same principle as a skewed rabbet plane, which can cut cleanly when working across the grain. If you skew the plane about 20° (or more) at the corners of the assembly you can reduce or eliminate cross-grain tearing. I also find it helps to lighten up and not use so much downward pressure at the corners.
Finally, remember that wood is weird. When I encounter a difficult area of a board I use the above guidelines to create a clean cut. More often than not, these guidelines work. But if they don’t work, I’ll try something else. And that “something else” is usually taking a break and sharpening the plane iron.
— Christopher Schwarz
While my book “Handplane Essentials” is out of print, you can still get a pdf version of it through ShopWoodworking.com. Check it out here.
Here are some supplies and tools we find essential in our everyday work around the shop. We may receive a commission from sales referred by our links; however, we have carefully selected these products for their usefulness and quality.


Skewing a plane also shortens the effective length of the plane, especially on something narrow like a drawer side.