We may receive a commission when you use our affiliate links. However, this does not impact our recommendations.

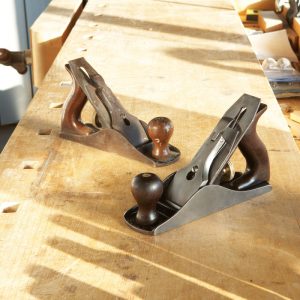
Friday, my fellow students and I got into a very sticky situation. That hide glue that Phil Lowe had us start cooking on Monday finally came into play. But first, we were directed to glue up our tabletops with a spring joint. I was elated , I actually knew how to do this (the first thing about which I felt truly confident all week). But after the glue set, Phil told us to flatten the top. With a smooth plane. My kingdom for a No. 5.

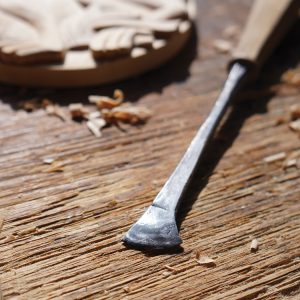
He then proceeded to use an 1-1/4″ chisel to very quickly cut a deep chamfer on the underside of his top, then cleaned it up with a spokeshave in just a few minutes. Very impressive. My top isn’t ready for a chamfer. It isn’t yet flat (but it sure is thinner). I’ll have to go in before class on Saturday to finish planing and scraping, before I can band saw the edge, clean it up and cut the chamfer. Our final task before packing up will be to attach the top with buttons, and I want to get that accomplished , in large part so the top of my wonky bridle joints are covered up, and the guys won’t have an immediate and obvious target for mirth.

So I set my top aside as we moved onto veneer. This was a lot of fun , and a hot sticky mess. After cutting the veneer pieces a little oversized, I opened the glue pot and swatted at the dozens of flies that immediately converged on my bench, glue pot, arms and substrate. Then I painted a layer of glue onto the bricked poplar substrate, laid down the veneer strip, added another layer of glue, then squeegeed it off the top and out from the bottom with a veneer hammer (a heavy hunk of metal with a 3″ – 4″ rolled edge and a handle , it has nothing to do with hammering). The glue tacks very quickly , to everything. While squeegee-ing in the demo, Phil scooped and scraped the excess neatly into his palm and calmly and cleanly returned it to the glue pot. While we were all squeegee-ing, we scooped and scraped the excess into and onto everything around us (my marking knife was at one point firmly attached to my forearm). But hide glue is easy to clean up , just a little hot water and my tools (and my forearm) were clean.
On Saturday, we’ll add the banding, and hopefully get through assembly. I’ll post of picture of my finished project on Monday , or at least a picture of however finished it may be. But I guarantee those bridle joints won’t be visible.
Read Part 1 of this series here. And Part 2 is here. Part 3 is here. Part 4 is here.


