Q:
I bought a new marking gauge to
cut across the grain when I lay out tenon
shoulders and dovetails. The problem is,
it doesn’t make a clean cut. All I get is a
raggedy line.How can I sharpen the tiny
cutting knife to make it work better?
A:
Marking gauges
come in two different
styles. One with a needle-
like pin works best
when following the grain
of a board. This is the
kind to use when laying
out the two sides of a
mortise, for example.
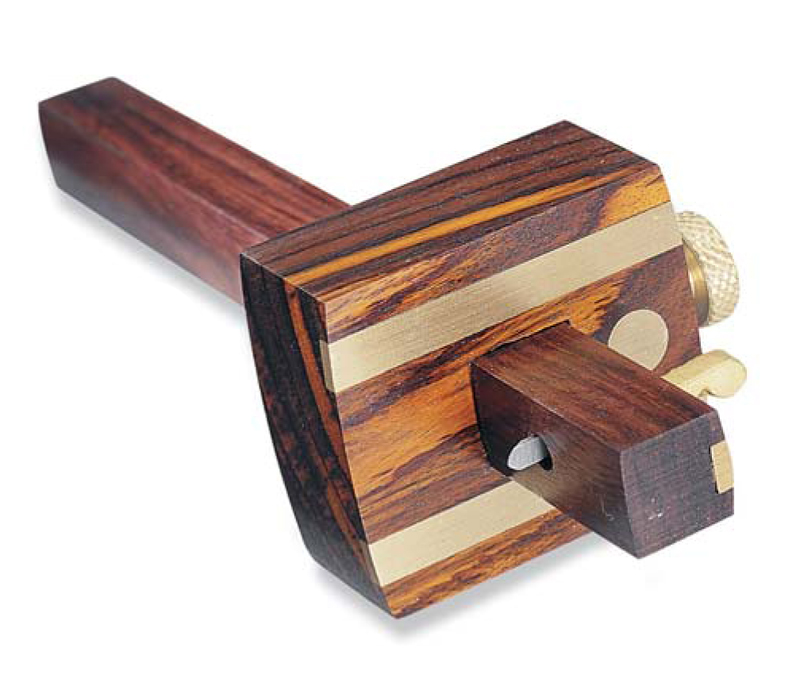
The style you bought
has a knife in it instead of
a pin, and is sometimes
called a cutting gauge. It’s
meant to be used across the grain, as you
describe. It should make a cut as clean as
one made by a razor blade. Here’s how to
fix yours:
You’ll have to change the profile of the
knife from pointed to round. A cutting
edge that is a single point dulls quickly.
A round edge will stay sharp longer
because there’s more cutting surface.
Also, change the double bevel to a single
bevel. A single bevel facing the gauge
head pulls the head tight to the edge of
the wood.
Remove
the knife from
the stock of
the gauge. If
the wedge
that holds the
knife is tight,
pound it out
from the bottom
with a
hammer and
punch. Then
flatten one
side of the knife on a piece of 220-grit
sandpaper. Next, make a holder from a
length of 3/8-in.-dia. dowel rod. Saw a
1-in.-long kerf in the end of the dowel to
hold the knife. A bandsaw cuts a kerf
about the right thickness. Insert the knife
into the kerf and bind with tape.
Bevel the knife with a grinder or belt
sander. Use a fine wheel or belt. A round
profile is created by rotating the dowel on
the tool rest. Grind past the old double
bevel until the new bevel intersects with
the side you flattened, and is round from
side to side.
The angle of the bevel should be about
30 degrees. Use a light touch when grinding
this thin piece of steel, so you don’t
overheat it and draw the temper out.
Take it out of the holder and remove its
wire edge on the sandpaper. |