We may receive a commission when you use our affiliate links. However, this does not impact our recommendations.
 It is fun to make a tool for your own use. When that tool becomes one of the handiest tools in the shop, you’ll be delighted that you took up that challenge. On the many occasions you hold it in your hand and mobilize it into action, you’ll look fondly at it and be proud of your achievement.
To make this awl, I ordered an awl kit from Taylor Toolworks. You can choose between a square awl and a round one (made by Narex in the Czech Republic); each kit includes an awl blade and a brass ferrule.
Taylor Toolworks also carries Japanese-made awls that are cheaper than the Narex but do not come with a ferrule.


The Design
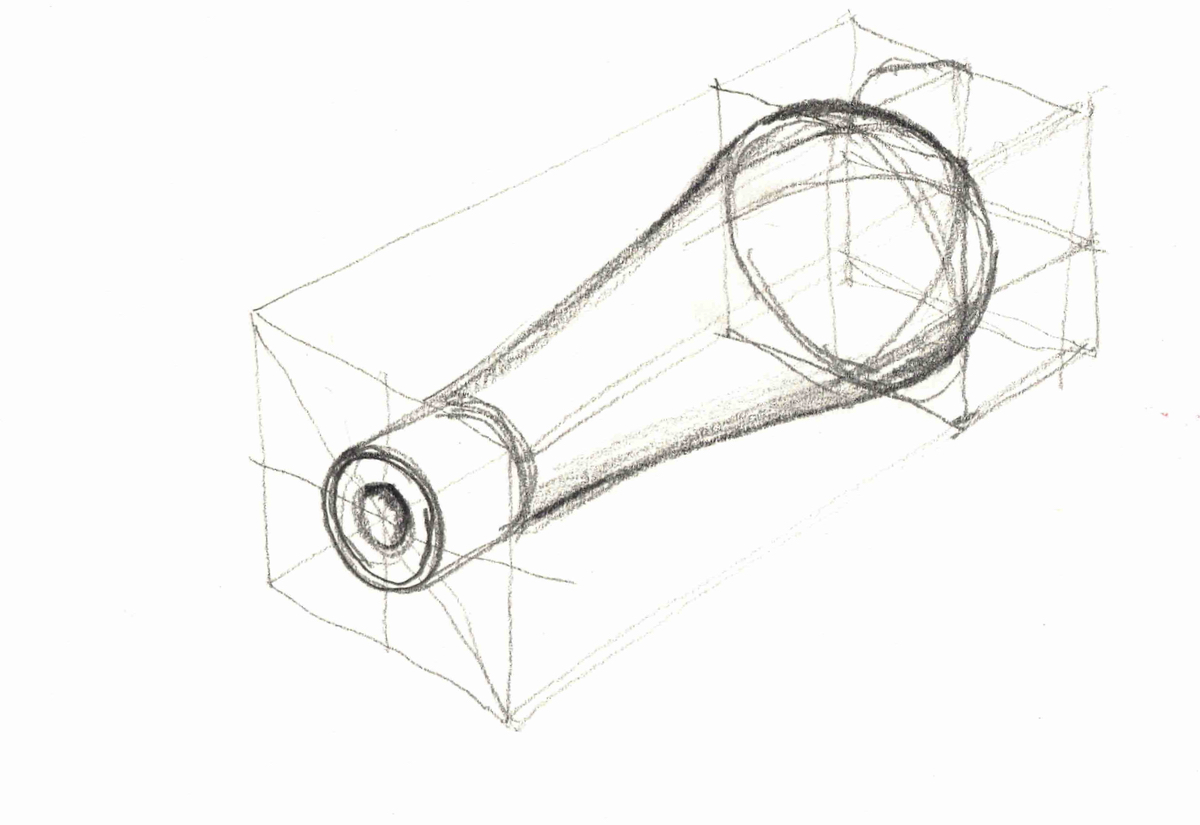
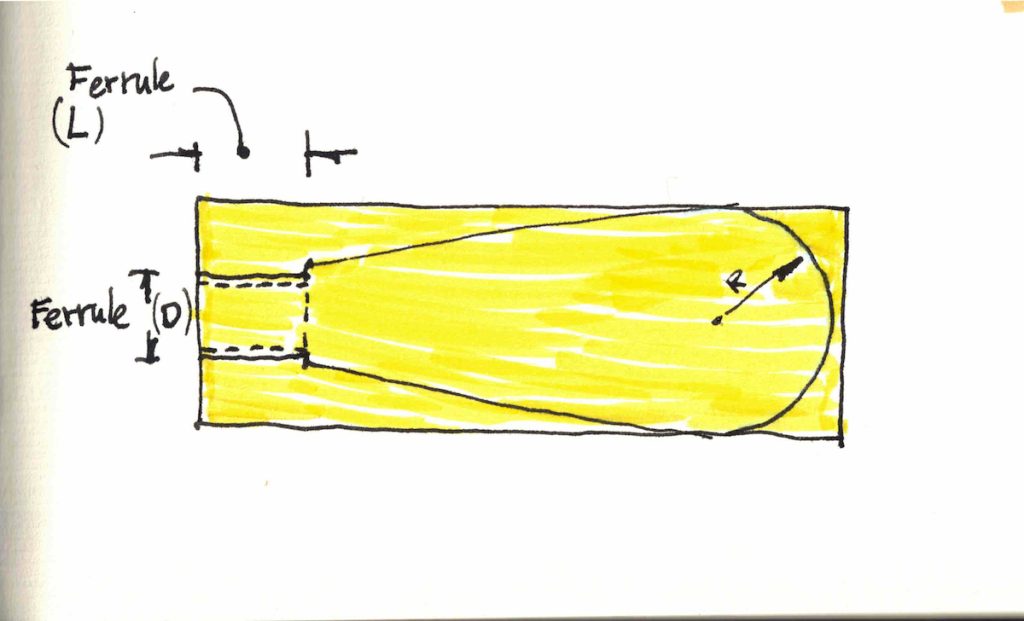
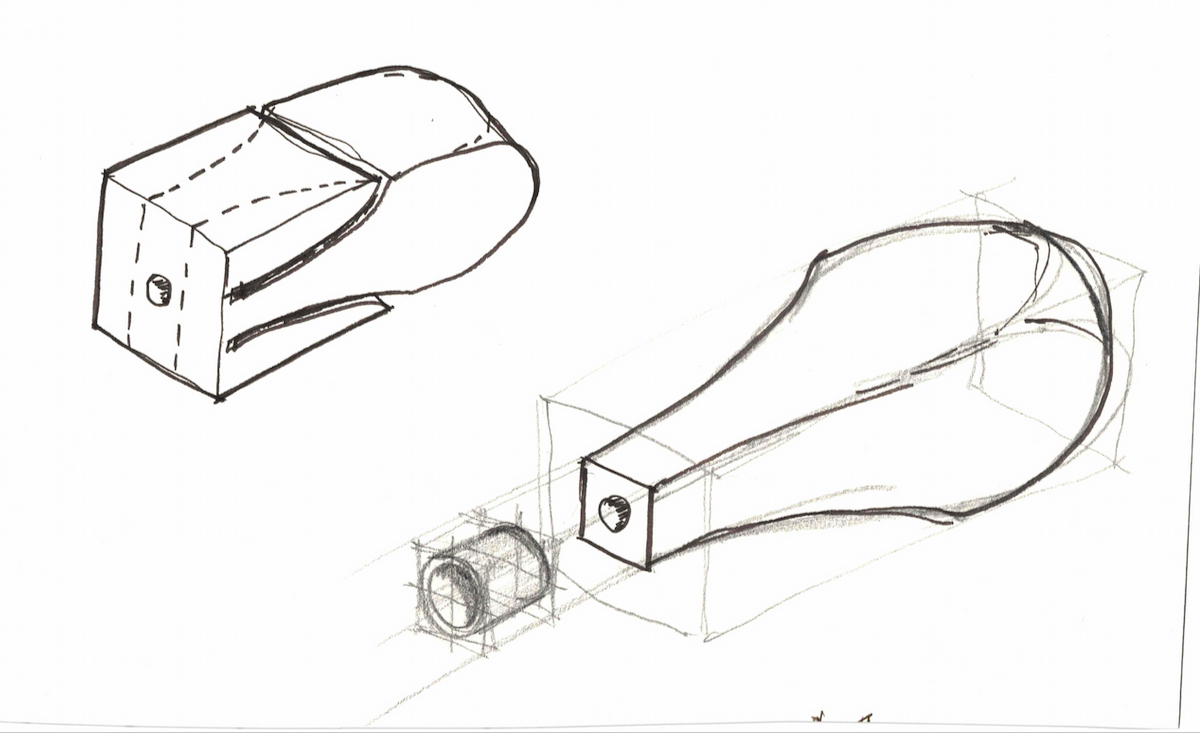
Before designing my awl’s handle, I looked at some of the awls I own and evaluated their ergonomics. I decided to base my design on the general pear shape, which is very comfortable. I also wanted to shape the awl handle with only a few tools to demonstrate that it can be done without a lathe – as many beginner woodworkers don’t own one. In my sketches, you can see a few pear-like handle proposals. Ultimately, the one I made looks more like a teardrop than a pear. I incorporated a brass ferrule and decided to keep the shape as simple as possible.


Shaping the handle
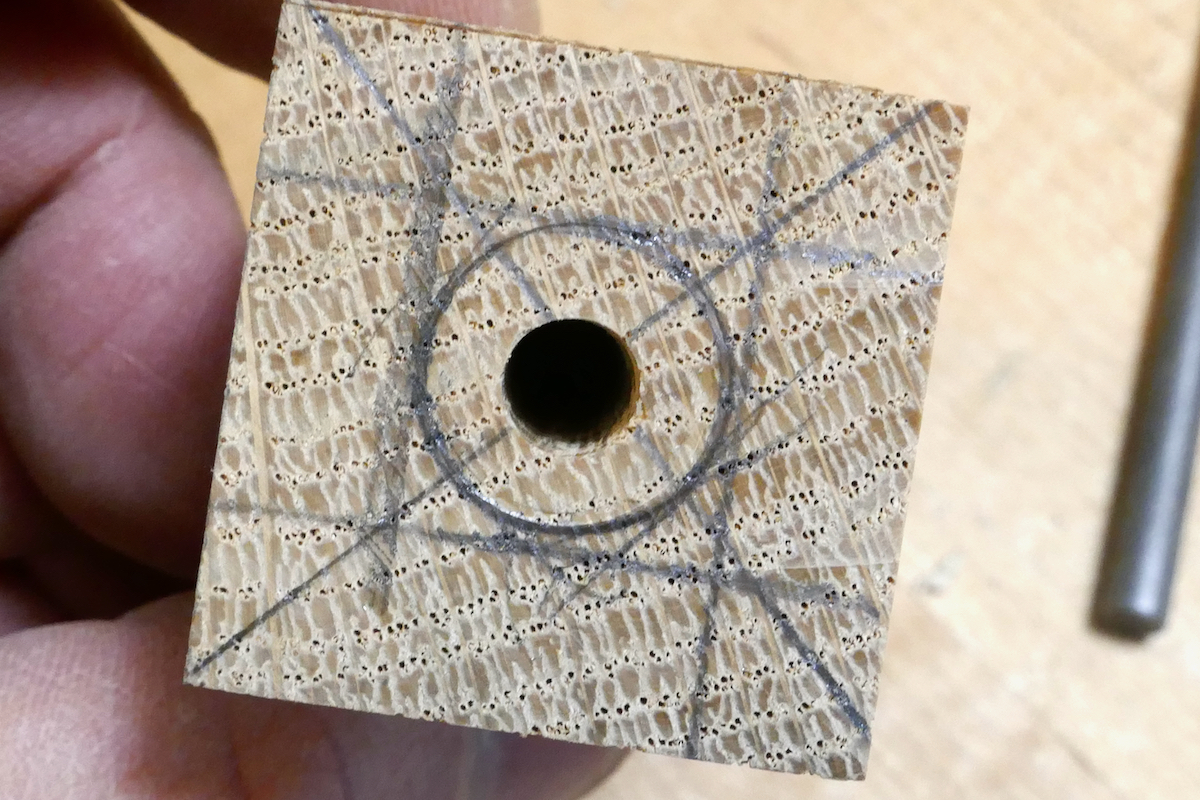
After finding and dimensioning a piece of white oak into a rectangular handle blank, I used a compass and drew half a circle on one end. I drew the dimensions of the handle’s neck and the ferrule and transferred these dimensions to the face of the handle. I then connected two lines from the ferrule’s back to the base of the back arch.


Drilling the hole for the awl
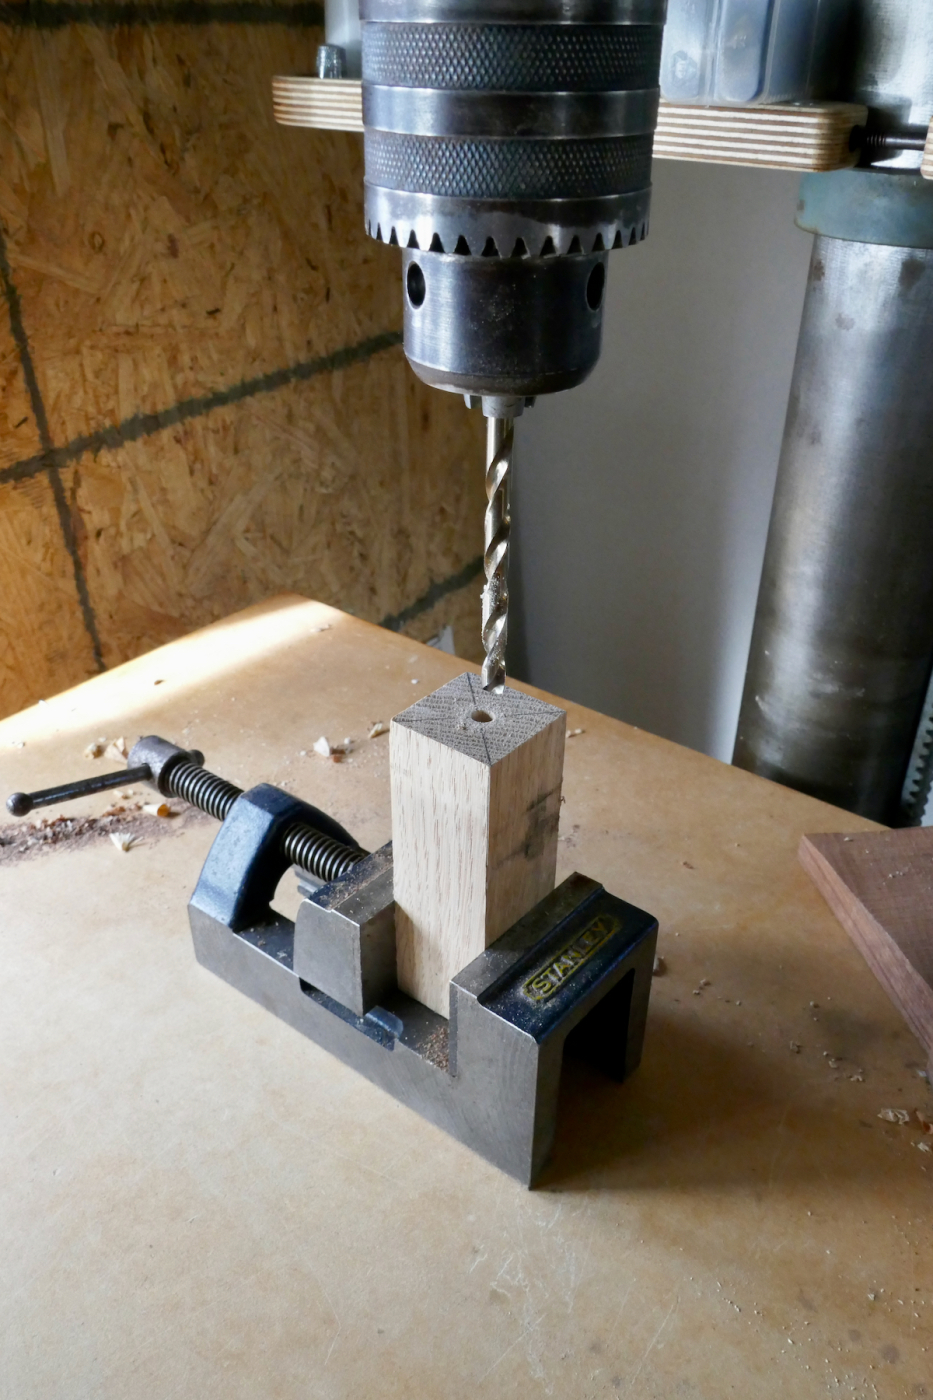
After probing the awl shank with a caliper and discovering that the measurement is (-¼”), I looked for a drill bit that was a tad smaller. The bit that I chose was 15/64”. I held the blank in a small precession vise and drilled the hole.

Using a table saw, I sliced four dados around the neck of the handle where the ferrule bottoms down.

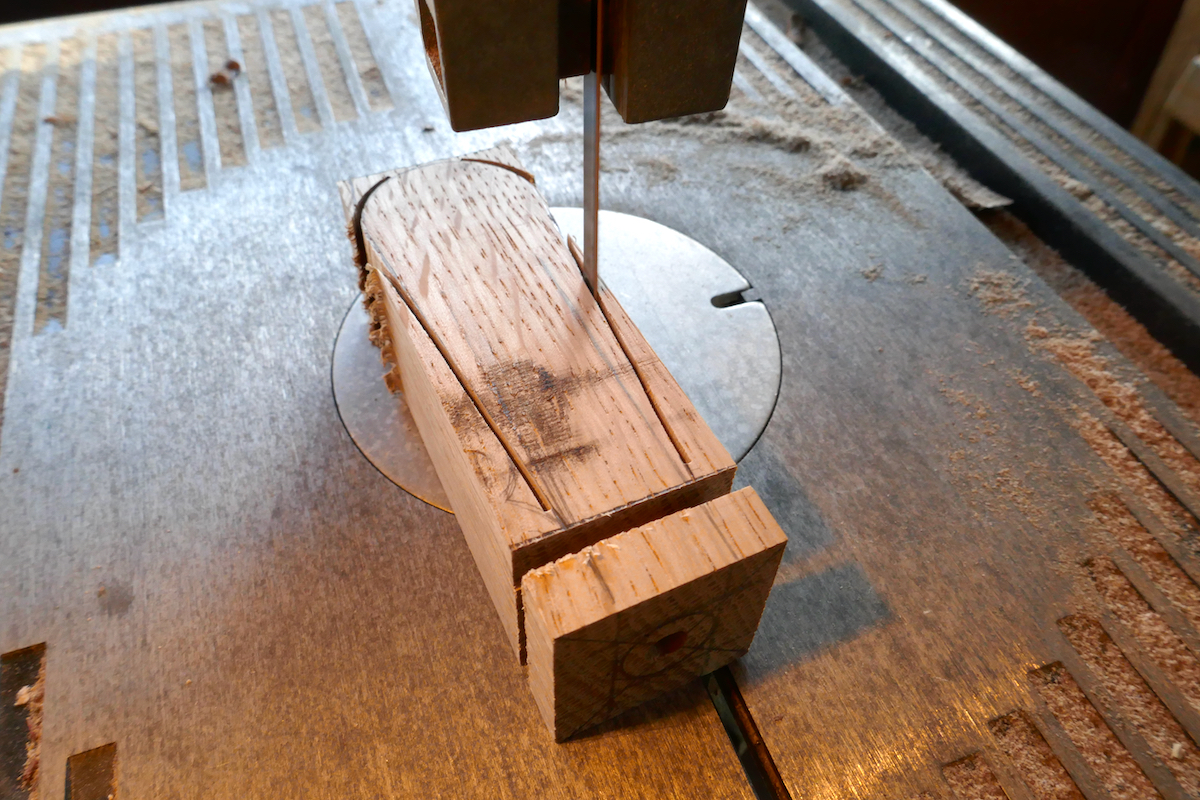
 Then I used my ¼” bandsaw blade to cut most of the design’s layout. I left some small snippets uncut to allow the blank to maintain its overall shape and prevent the leftover segments from separating prematurely. The reason why I didn’t completely cut these segments is two folded. First, leaving a flat surface on the face that needs to be sawn next retains an easy “canvas” upon which we can redraw the design. Secondly, the flat surface (facing down) makes sawing safer and easier than dealing with a blank with a complex topography on its underside.

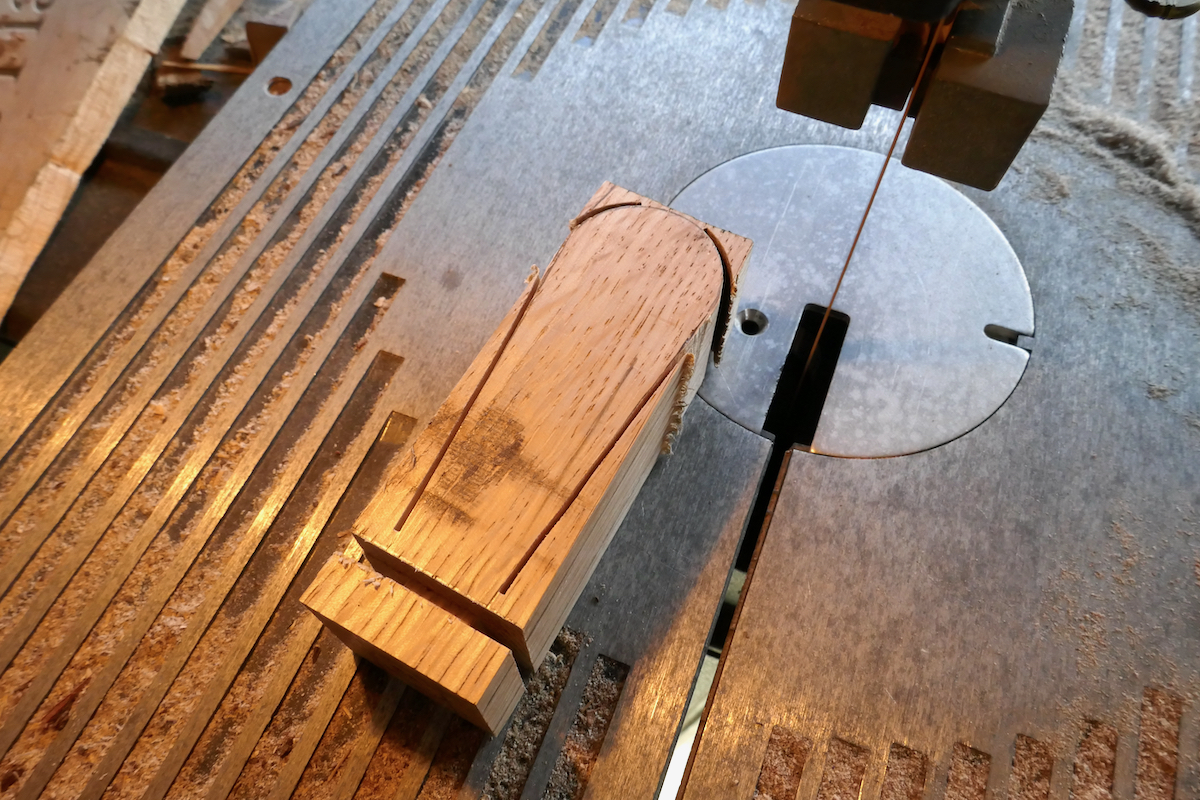
I left vestigial segments to help stabilize the sawn object while we processed it on the bandsaw.


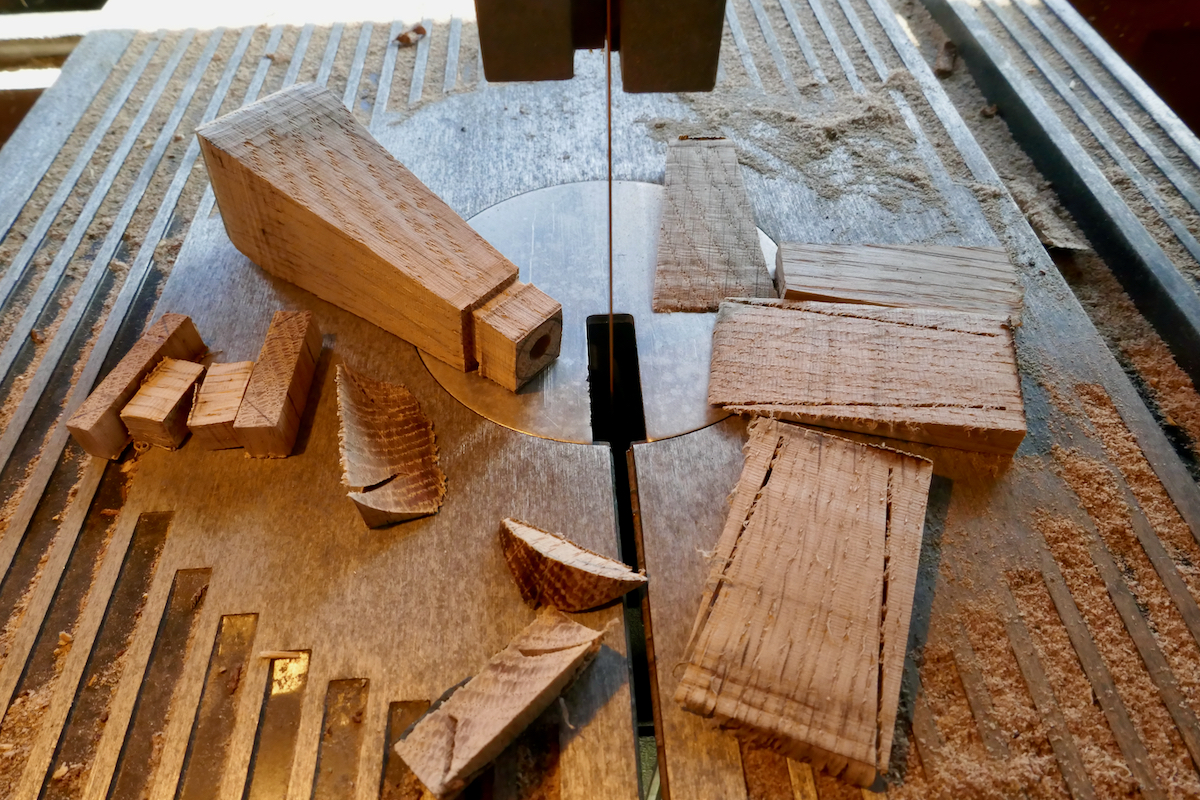
Once I completed that, I began shaping the handle, which I will elaborate on next time.
Here are some supplies and tools we find essential in our everyday work around the shop. We may receive a commission from sales referred by our links; however, we have carefully selected these products for their usefulness and quality.