We may receive a commission when you use our affiliate links. However, this does not impact our recommendations.

According to Wikipedia: “An arch is a pure compression form. It can span a large area by resolving forces into compressive stresses, and thereby eliminating tensile stresses…. As the forces in the arch are transferred to its base, the arch pushes outward at its base, denominated “thrust”.”
Since my early days in architecture school, I have been fascinated with masonry and stone arches. Arches are a wonder of both simplicity and complexity. How seemingly impossible is it that a group of stones, joined together oftentimes without any adhesive, span a distance and form a load-bearing vaulted structure, defying gravity and withstanding the elements for thousands of years?
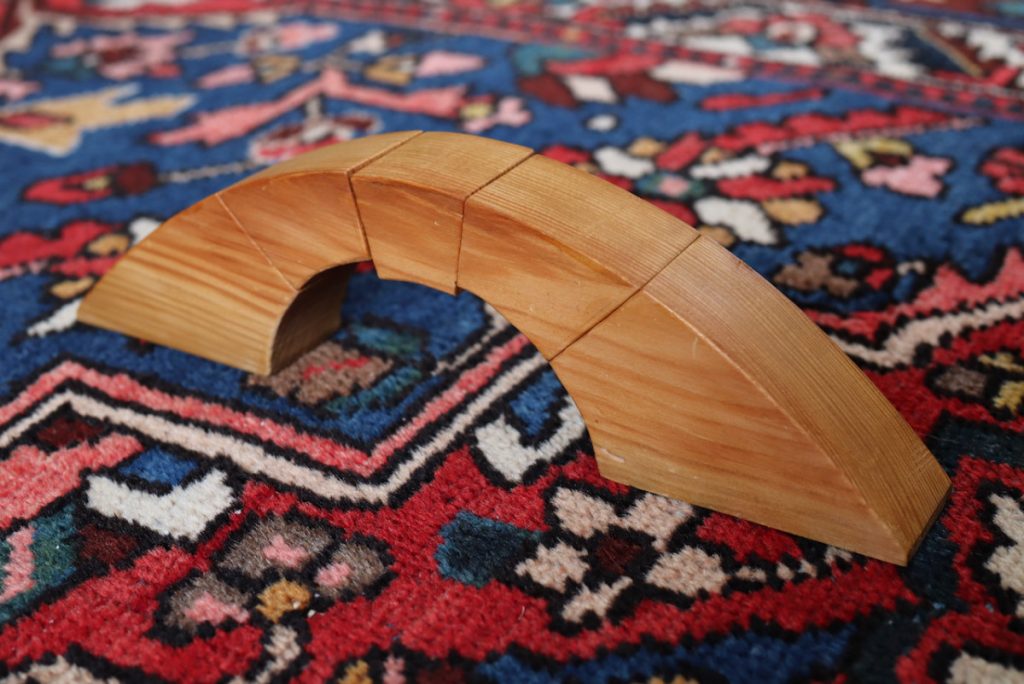
When my son Asher was three I built him a wooden arch and hoped that he would enjoy assembling it and perhaps wonder how this magical structure, in particular the keystone at its head, manages to hold on. The arch that I came up with resembles an arched bridge where the weight of each of its elements is transferred to the heavy base stones on the right and the left sides.
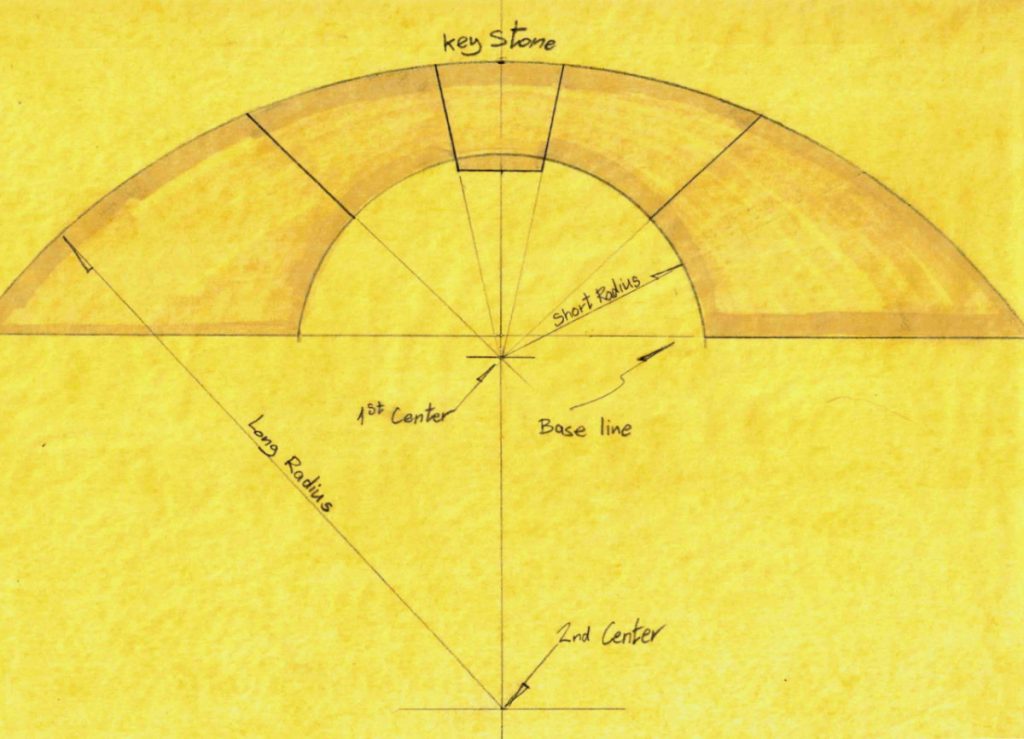
As for the keystone, when it is inserted it pushes downward but is arrested by the flanking stones that push against it.
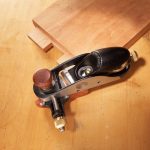
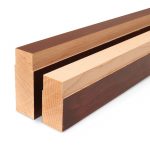
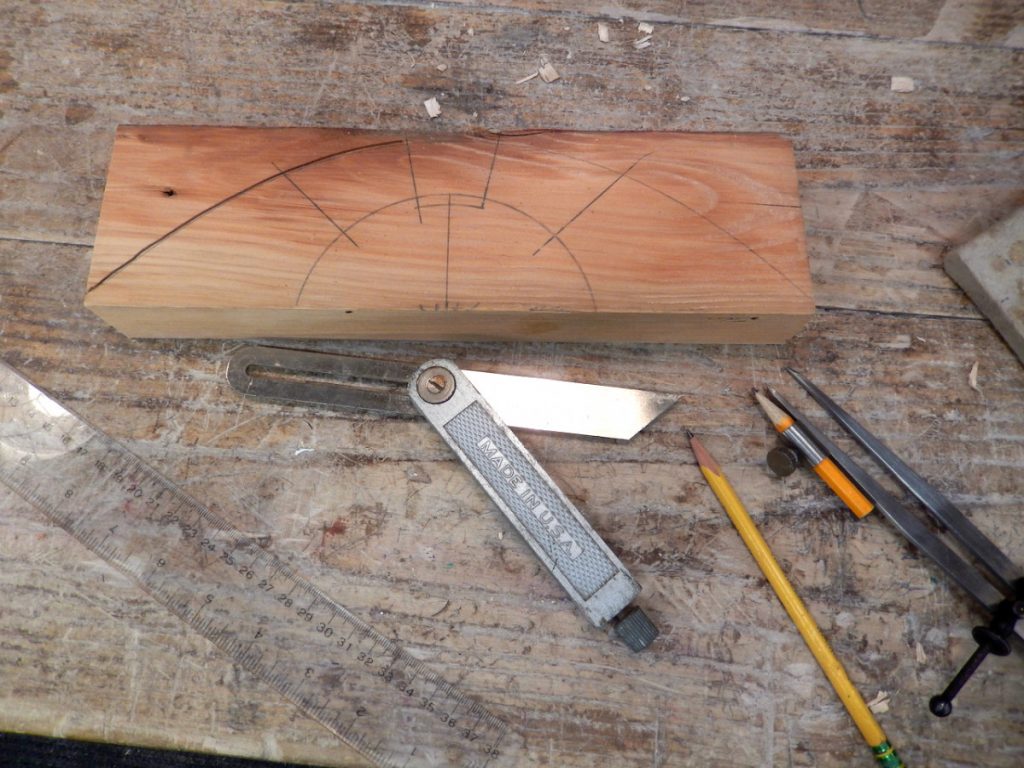
Building the arch was easy. All that I needed was a short segment of scrap from a 2×4 board, a compass, a sliding bevel, and a ruler.
A 2×4 scrap and some basic tools are all that you need to make an arch puzzle.
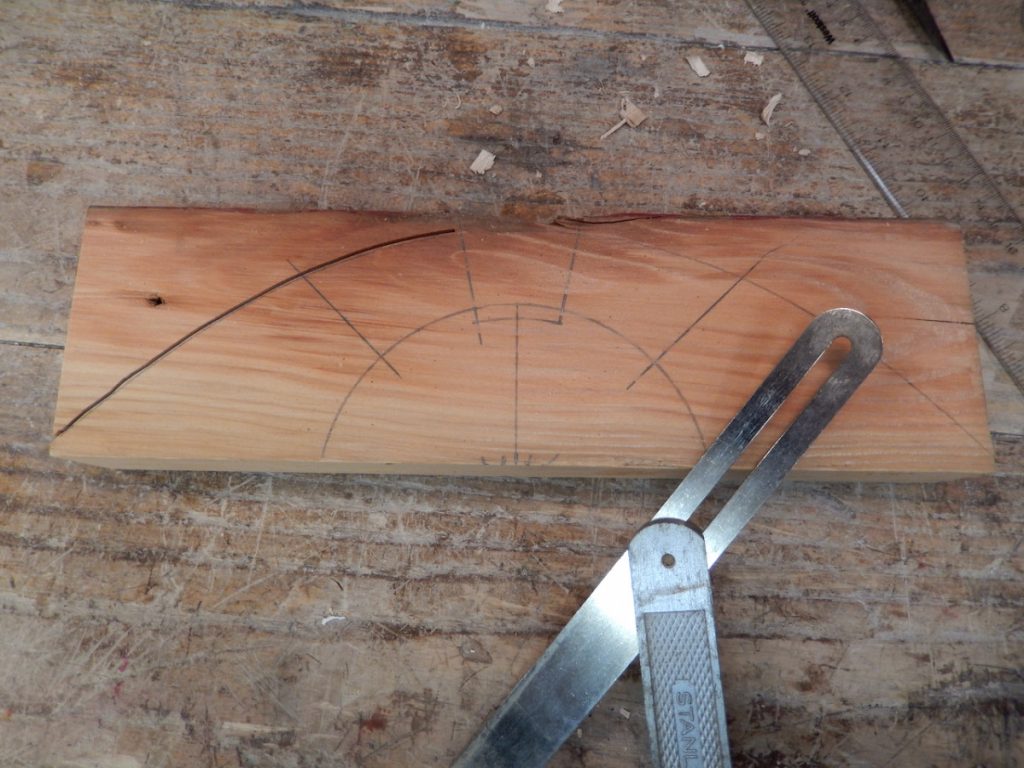
A sliding bevel can help with drawing the radiuses that dissect the arch.
The arch is made by drawing two arcs. A shorter arc (intrados) forms the arch’s inner opening, and above it, a broader arc, made by splaying the compasses legs to a longer radius and setting the new center to a much lower position than the center of the first arc (note that in the drawing the center of the first arc is about ⅜” below the baseline). This second arc (Extrados) forms the top circumfuse of the arch. Once the radiuses are drawn it’s time to create the stones. Place a ruler or a sliding bevel on the center of the short arc and dissect the arch a few times to create an odd number of sectors that fan out. Now cut the design on the band saw, shape and sand it, and even apply a finish on it.
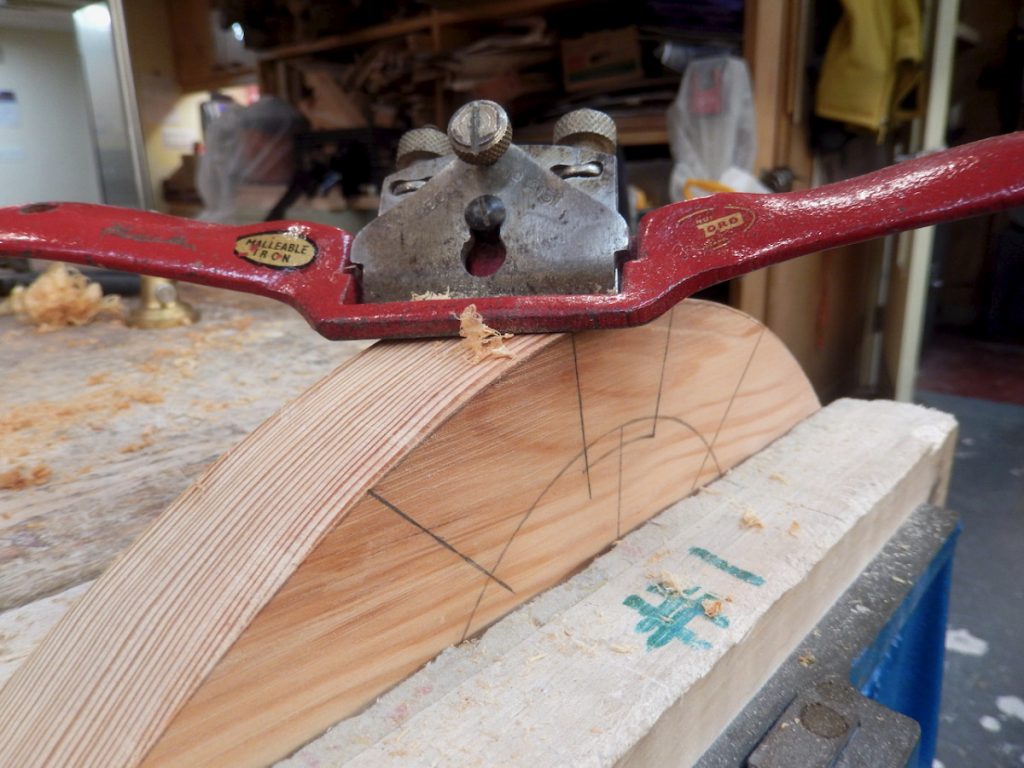
After cutting the external arc on the band saw I used a spokeshave to shape it smooth.
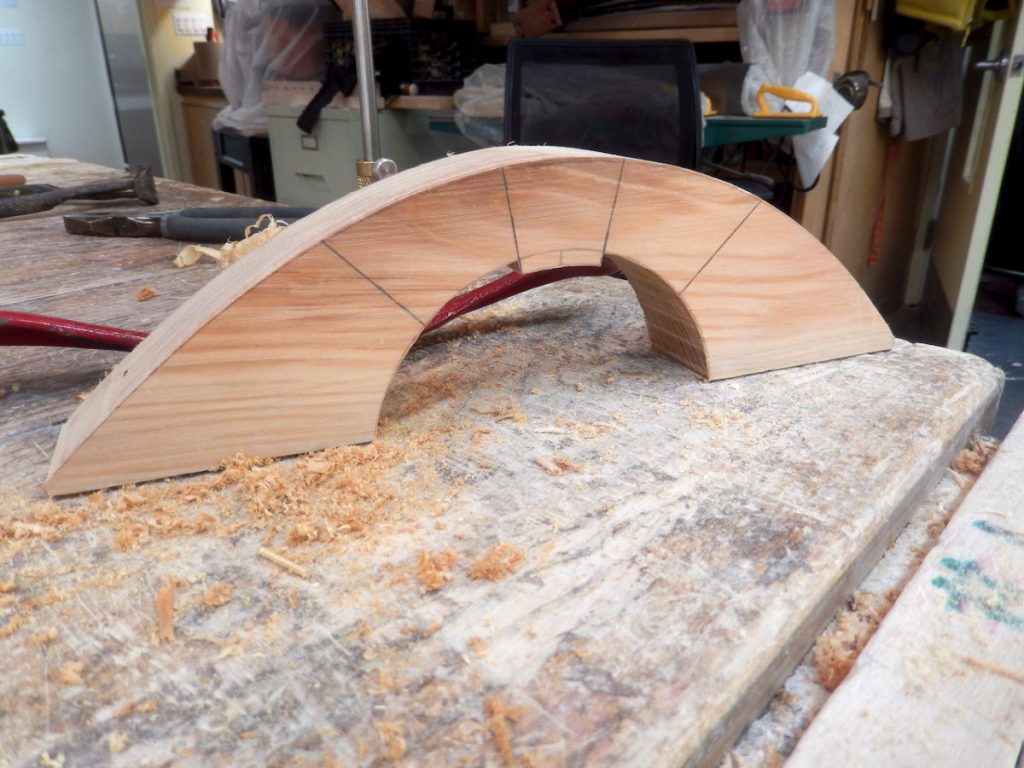
After sawing the inner arc you are ready to cut the sectors.
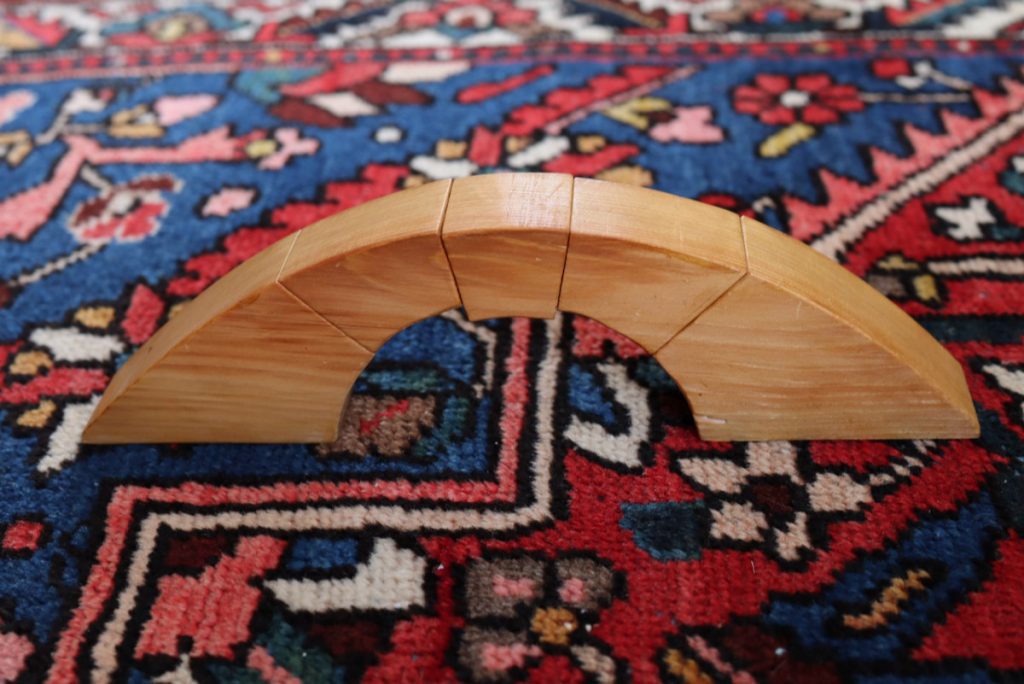
Assembling the self-supported arch.
Upon attempting to set up the arch, you will immediately realize that this process requires a minimum of three hands, so it fits perfectly as a fun and educational activity for a parent (or grandparent) and child. You will also notice that trying to erect the arch over a smooth surface is challenging since the weight of the stones will push the arch’s base stones sideways and causes it to collapse. However, If you build it on a carpet or on any other material that provides enough traction to negate the side forces, the arch will prevail. This last characteristic can generate a conversation about the forces of nature such as gravity, friction, and vectors.
To prevent the arch from sliding apart if placed on a smooth surface, just affix some traction liners to the underside of base stones. Alternatively, you can build a dedicated tray for the arch that will include a frame or dedicated recess to prevent the base stone from moving outward.
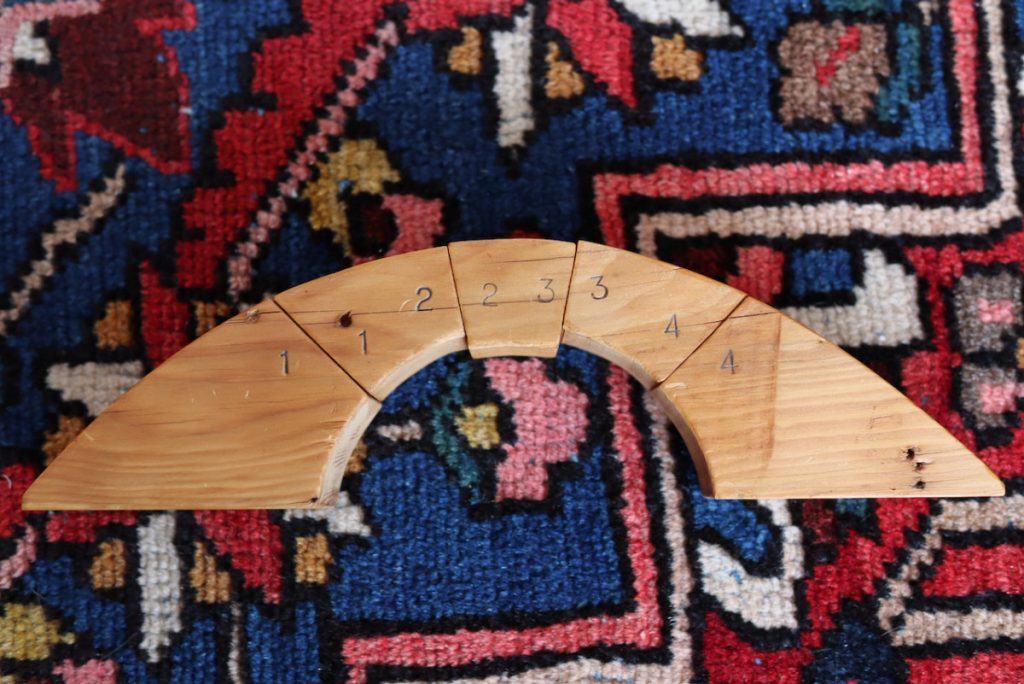
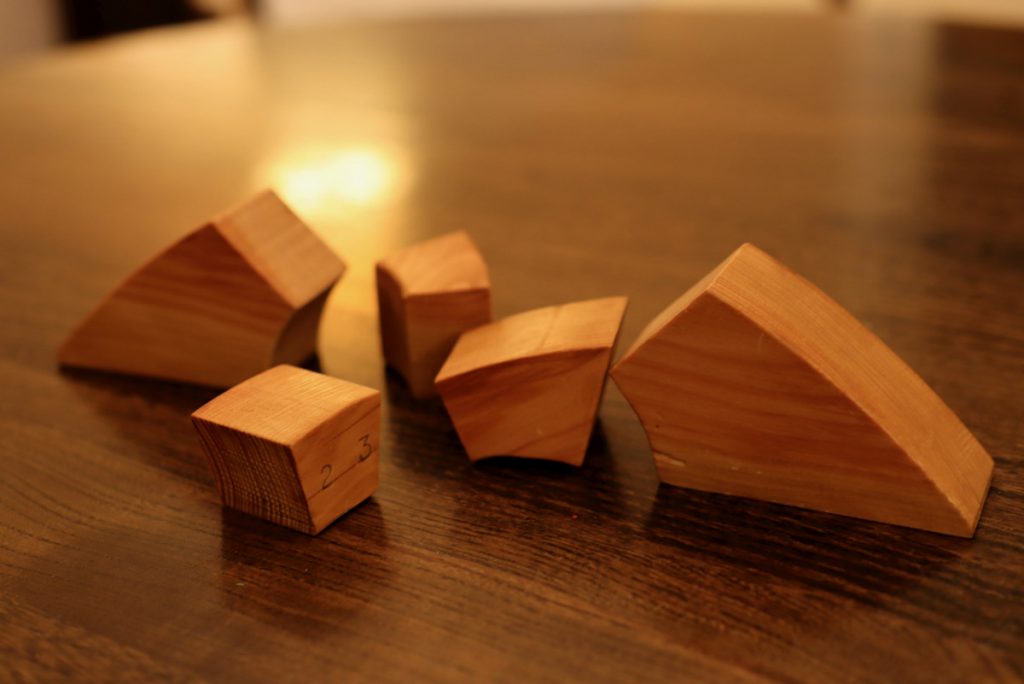
You can label the parts to help the child figure them out or leave the parts blank to make it even more challenging.
Happy building and playing.
Here are some supplies and tools we find essential in our everyday work around the shop. We may receive a commission from sales referred by our links; however, we have carefully selected these products for their usefulness and quality.


![Great Woodworking Gifts You Can Build [2023]](http://www.popularwoodworking.com/wp-content/uploads/bfi_thumb/dummy-transparent-olcy6s63it1p9yp7uhusjas7c8kahafrhg9su7q9i0.png)