We may receive a commission when you use our affiliate links. However, this does not impact our recommendations.
Hardware-store parts do the trick.
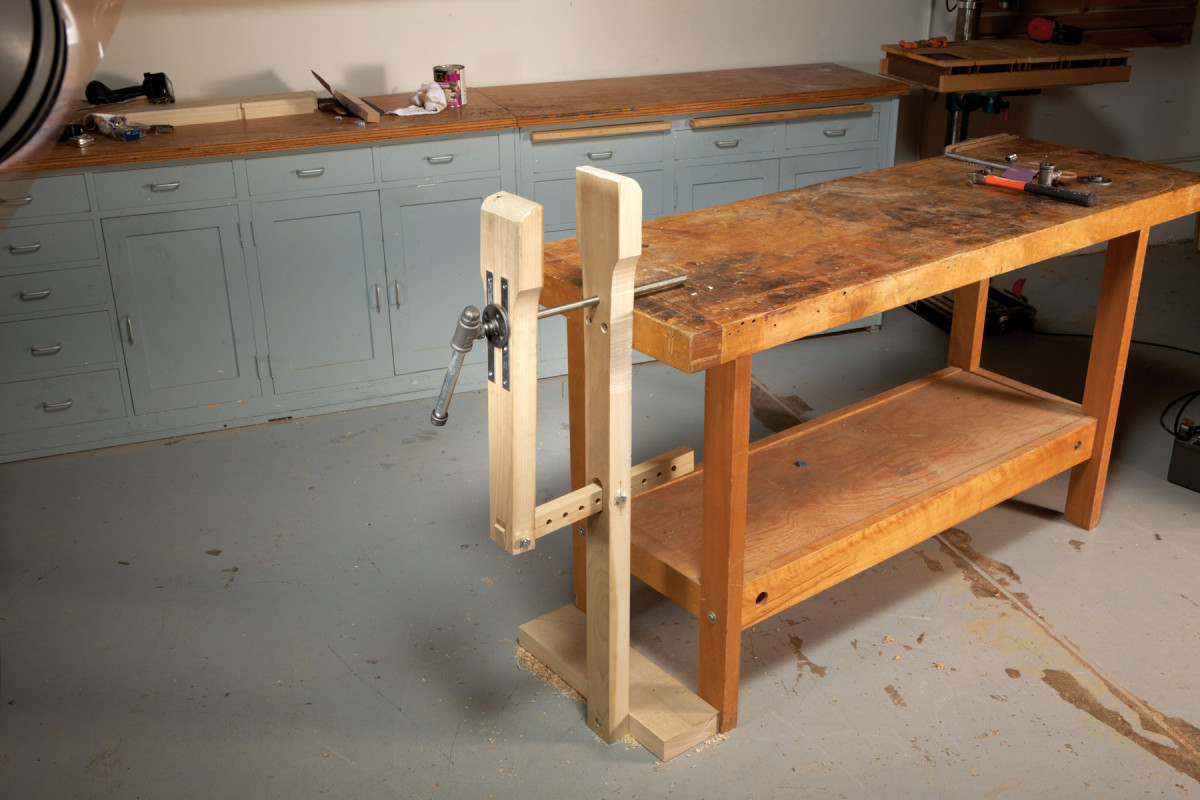
This simple leg vise is based on a traditional design still favored by many woodworkers. My version is built with inexpensive parts you can buy from any hardware store or home center.
Every bench should have a good vise. Why use a leg vise, rather than a commercial face vise? Aside from its low cost, this leg vise has three major benefits:
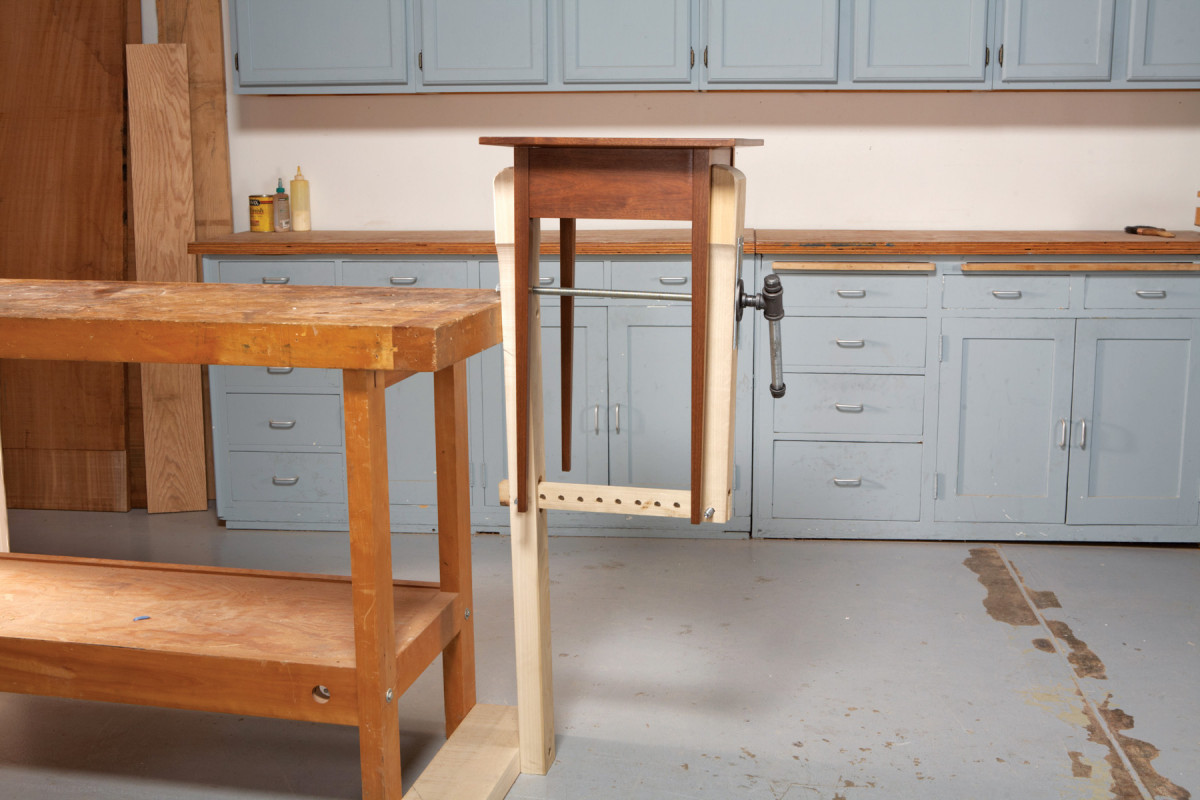 • Huge capacity. Many commercial vises don’t open very far, but a leg vise can extend up to 2′ or more. To keep the jaws roughly parallel, you change the position of the bolt in the adjustment arm.
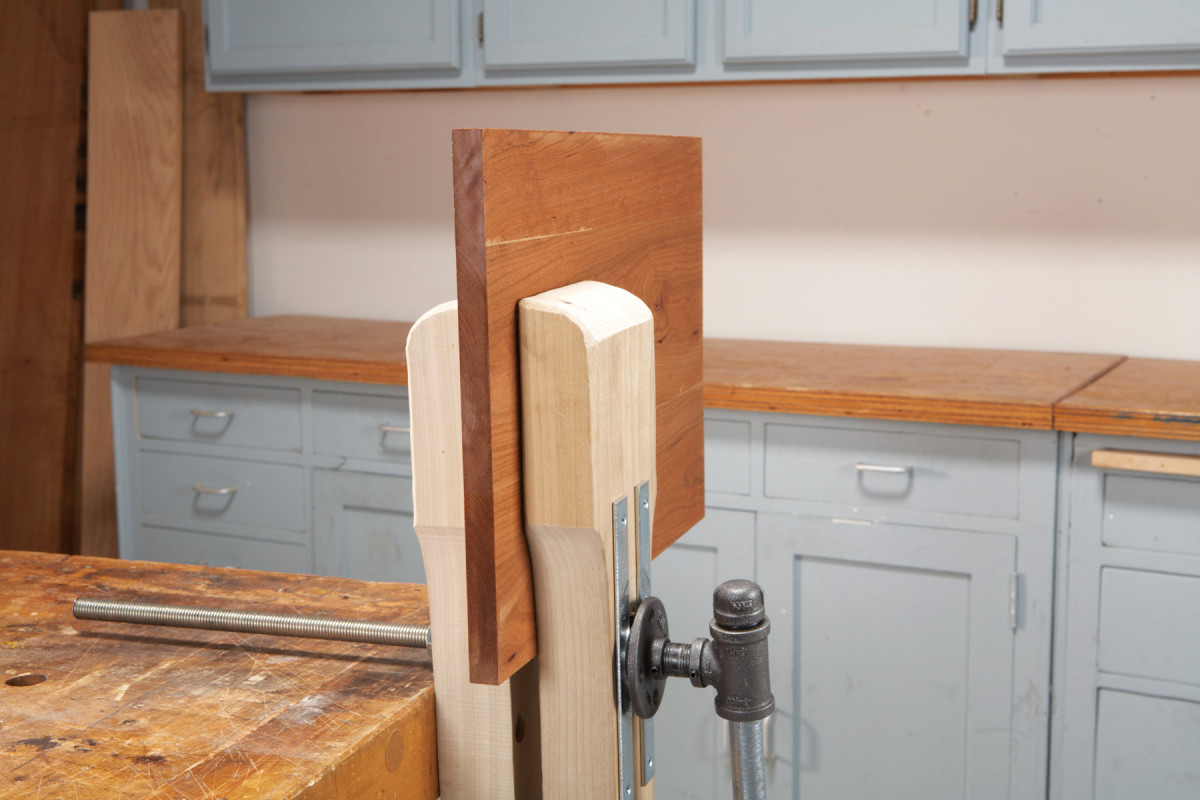 • Deep reach. Inexpensive commercial vises are very shallow, offering only a small amount of surface area. When you tighten a vise, you want a lot of surface area to contact the workpiece, to prevent the piece from moving. You can make the faces of this vise as deep and wide as you wish.
 • Convenient height. Commercial vises are mounted flush with the top of a bench. For some work, it’s better to elevate the vise. A tall vise helps prevent chatter when sawing, for example. A leg vise can be mounted at any height.
Building the vise
Cut the leg, front jaw (traditionally called a “chop”) and adjustment arm to suit your bench. Use a stiff hardwood, such as 6/4 maple or hickory. Douglas fir or Southern yellow pine are good alternatives.
Make the adjustment arm 1-1/2″ square. Cut a 1-1/2″ x 1-1/2″ notch in the chop’s bottom end. Cut a corresponding 1-1/2″ x 2″ mortise in the leg. (The extra height allows the arm to pivot.) Drill 1/2″ dia. holes in the front jaw and leg. Drill a series of corresponding holes in the adjustment arm, spaced 2″ apart.
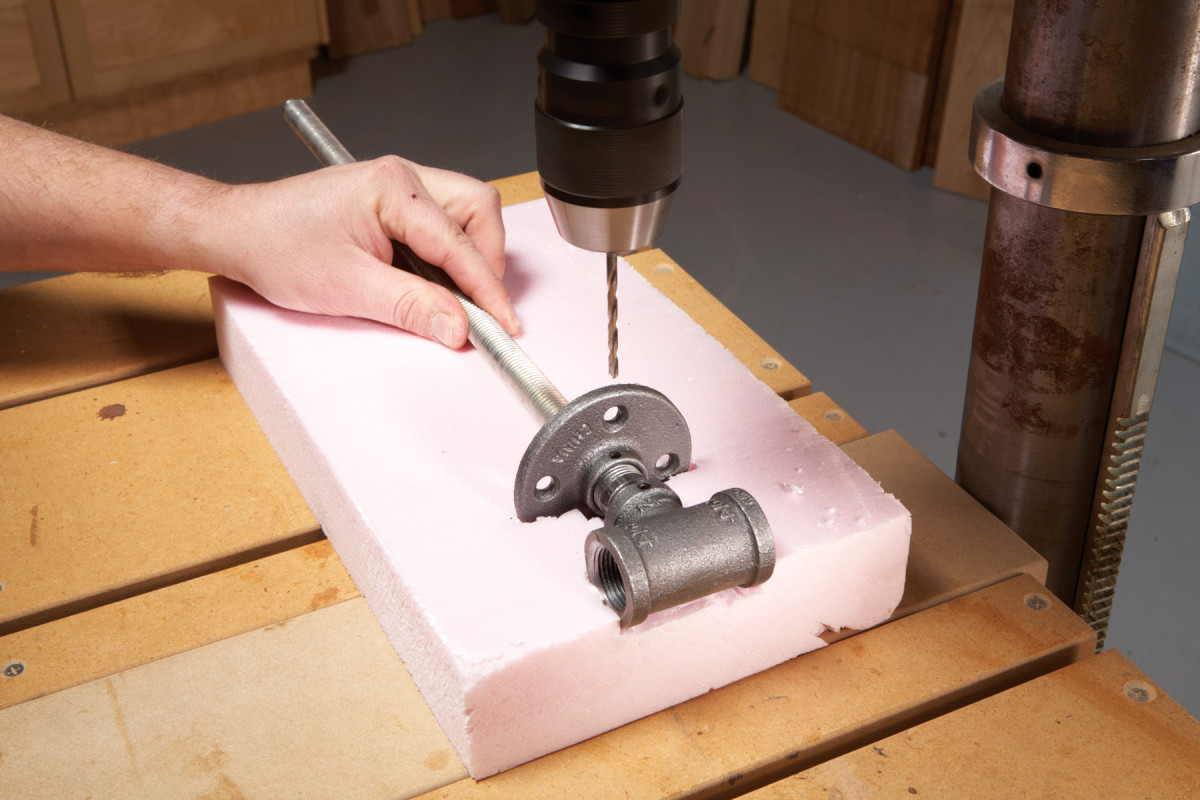
1. Drill holes for the roll pins. The pins fasten the handle assembly to the screw. To steady the work, use a utility knife to carve a “nest” in a piece of 2″ foam insulation.
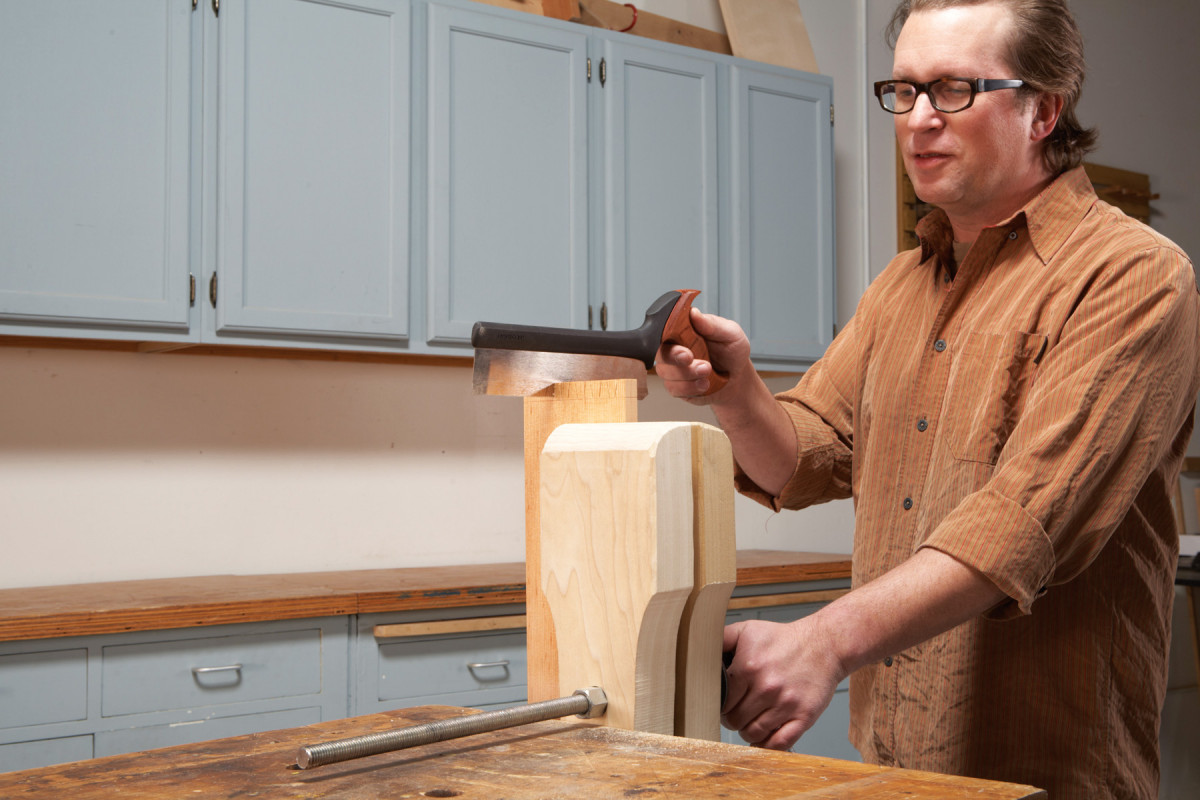
The vise’s threaded rod goes through a coupler nut in the leg. To capture the nut, drill a 1″ dia. hole, 1″ deep, in the leg’s back. Continue drilling a 5/8″ dia. hole through the leg. In line with this hole, cut a 1″ wide x 1-1/2″ tall mortise in the front jaw. (The extra room in this mortise allows the front jaw to pivot.) Bandsaw the leg and jaw’s shape and chamfer the edges.
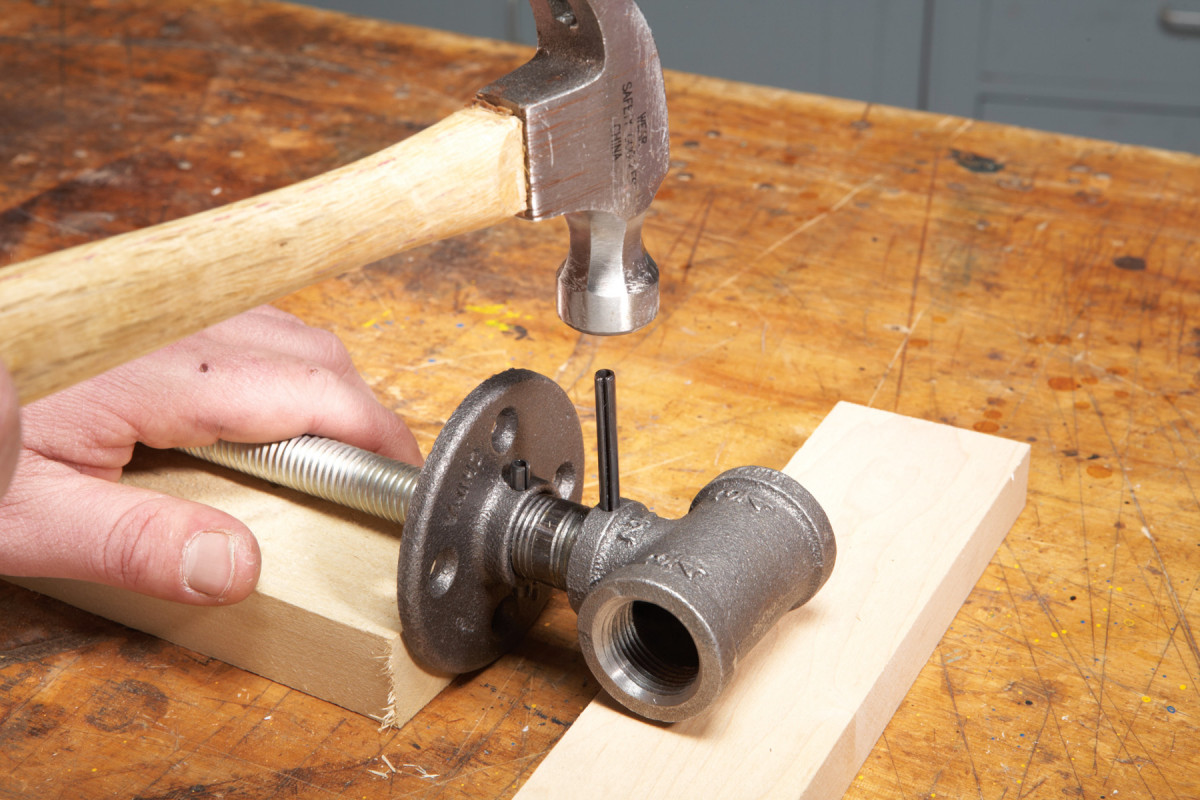
2. Tap in the roll pins. They’re split down the middle, to fit tight in the hole. Use wood blocks to support the screw and the tee.
To assemble the vise (Fig. A), pound the coupler nut into the leg. It doesn’t have to be epoxied—a tight fit will keep the nut from spinning. Thread the short pipe nipple into the tee and the floor flange onto the nipple’s other end. Insert the threaded rod all the way through the nipple. (You may have to file the rod’s threads a bit to make it fit.) Drill two holes for roll pins (Photo 1). One goes through the tee, nipple, and threaded rod. The other goes through the floor flange, nipple, and threaded rod. Go slow and use cutting oil. Tap in the roll pins (Photo 2). Pass the long pipe nipple (the vise’s handle) through the tee and add the O-rings and caps. When you rotate the handle, the threaded rod and flange will turn with it. Fasten the mending plates to the chop alongside the mortise—the flange bears against them when you tighten the vise. For additional support, you could cut a third mending plate in half and mount the two pieces between the plates shown here.
Fasten the leg to your bench. Mount the adjustment arm on the chop and pass the handle assembly through the chop’s mortise. Slide the adjustment arm through the leg and thread the screw through the coupler. The vise is easy to remove if it occasionally gets in your way.


Here are some supplies and tools we find essential in our everyday work around the shop. We may receive a commission from sales referred by our links; however, we have carefully selected these products for their usefulness and quality.