


We may receive a commission when you use our affiliate links. However, this does not impact our recommendations.

When beginning woodworkers rank the difficulty of the different dovetail joints, they usually think of the through-dovetail as the “bunny slope.” The half-blind dovetail is the “expert slope” – perhaps a blue or a black trail if you are a snow skier.
So what’s the full-blind dovetail? Or the secret-mitered dovetail? Throwing yourself off a cliff without a parachute?
In my view, the through-dovetail is actually the most difficult joint of all because it has to fit seamlessly on both the face grain and end grain areas of the joint or your friends will ask to see your “big jar o’ wedges.”
The half-blind dovetail is easier because you have only one joint surface that ever shows. And the full-blind dovetail? Ha. It’s the easiest of all. None of your dovetailing ever shows. It’s all structural, as if your joints were covered in moulding.
For the last 30 months, I’ve been cutting a lot of full-blind dovetails because the campaign-style furniture I’ve been building uses this joint a lot. The bookcases, trunks, tea chests, shaving kits and writing slopes were all commonly built with this joint.
It’s actually a difficult joint to identify in the wild – at first. But once you know to look for slight sawing overcuts on the inside of the joint you can tell exactly how everything was laid out and cut. And it’s easy to cut.
Here are some tips on the joint.
1. Layout. Because these joints are structural, you don’t get any kudos for skinny pins. I try to make the tails and pins about equal in size. I make the tails a little wider than the pins, however, so it’s easy for me to tell one from the other when cutting and chopping things out.
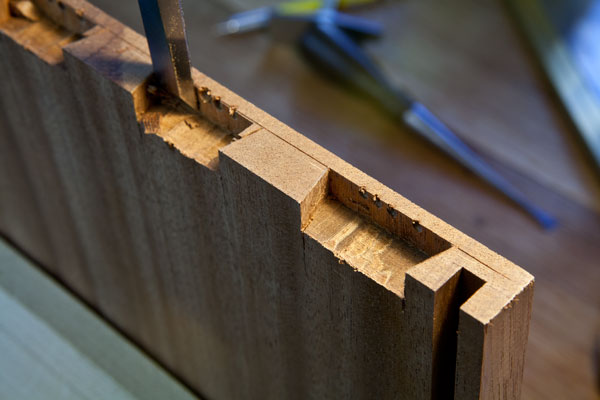
2. Rabbeting. One of the boards needs a deep rabbet on its ends. The rabbet is what lips over the mating board. When you cut this rabbet, make it about 1/4” wide and leave about 1/4” of material left (for example, if your material is 3/4” thick, the rabbet would be 1/4” wide x 1/2” deep).
3. Removing waste. I use a drill press to remove most of the waste with these joints. The waste is usually boxed in by three walls of the joint, so chopping it out can require aggressive mallet work and can result in splits. I use a Forstner bit to hog out the waste, and I clamp a fence to the drill press’s table to control the cut. You can see a video of the process here.
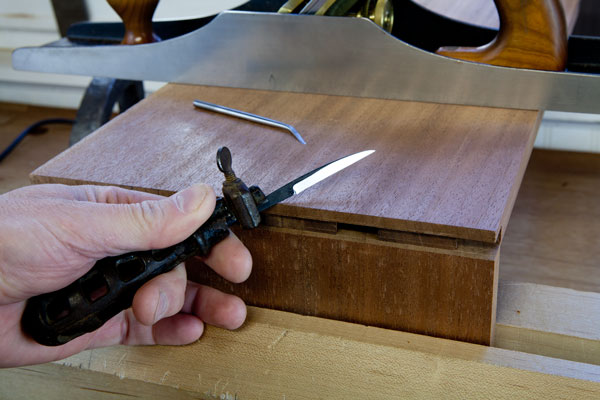
4. Transfer the shape. I cut my tails first. This makes transfer a little tricky. If you cut your pins first, you’ll have an easier time of it and will be able to use a pencil to make the transfer.
If you are stubborn (like me) and cut the tails first, you’ll need a drop-point knife, chip-carving knife or a scratch awl with a purposely bent tip to transfer the shape of the tails onto the pin board. It’s actually not all that hard to do. But a typical spear-point knife won’t reach into the joint.
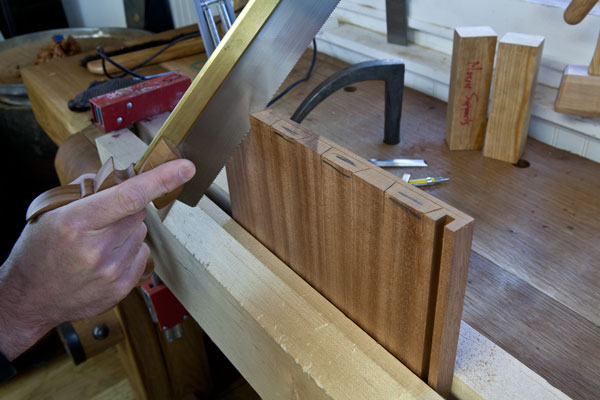
5. Sawing. When you cut the tails and pins for this joint, it can be tricky for beginners to start the cut right on the corner. So try chiseling a little notch in the waste that allows you to drop the saw into the cut. You’ll outgrow this dodge after a few joints.
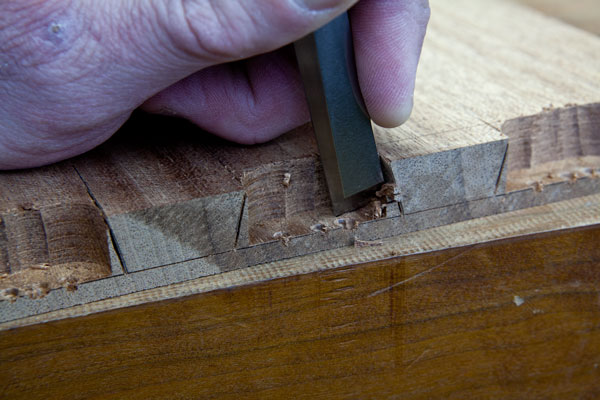
6. Drill and chop. Like I mentioned above, I remove most of the waste with a drill press. Then I chop each socket to loosen up the waste. This chopping makes it easier to pare out the rest of the junk in the socket.
7. Paring. Work vertically with the chisel to pare out as much of the waste as possible. Then use the chisel held horizontally to finish the job.
The joint works on an interference fit. And that’s a beautiful thing. You don’t need to get each wall of the joint to compress perfectly against its mate. You just have to get the dang thing to knock together. If you can do that without splitting the work, you win.
— Christopher Schwarz
If you want to take your dovetailing to the next level, check out Chuck Bender’s “Dovetail Mastery” DVD at ShopWoodworking.com. Good stuff.
Here are some supplies and tools we find essential in our everyday work around the shop. We may receive a commission from sales referred by our links; however, we have carefully selected these products for their usefulness and quality.


What kind of marking knife is that? Seems like it does better in tight spaces than my current knife.
Some dovetail can see? I believe traditionally this type of joint was called “secret” or “hidden,” and when in the miter form, secret miter or hidden miter. And “sliding dovetails” — “all dovetails slide” — we called housed or when tapered housed tapered. I know that type of joint was not mentioned in this post, but just to be fully pedantic.
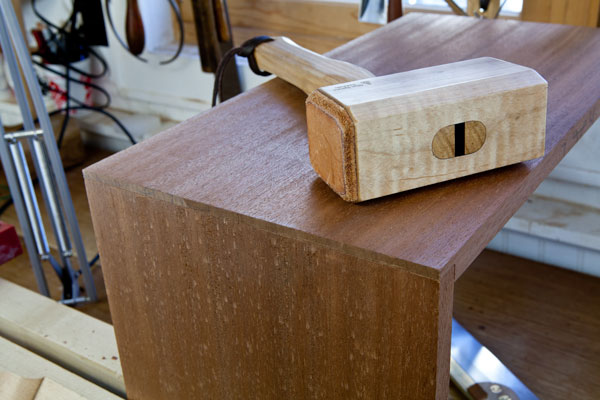
Hooray for Sapele, the unsung campaign furniture wood.
I could do that with a rebate and a couple of biscuits.
(Just kidding)
Seriously that’s rather nice.
Somethin’
Hey – watcha making there?