We may receive a commission when you use our affiliate links. However, this does not impact our recommendations.

Board-Stretching Joint
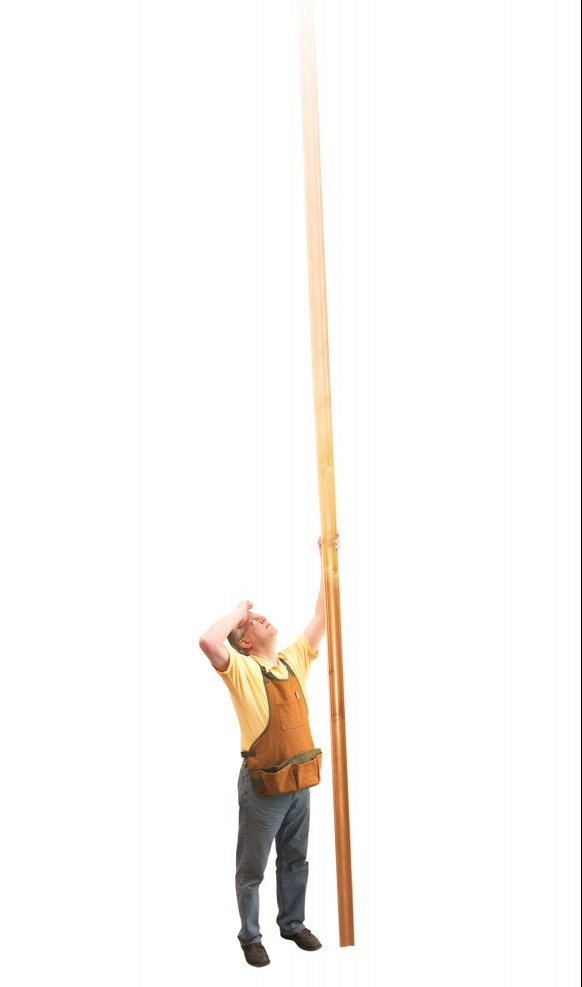
I bought a planer/molder so I could make my own moldings. My living room required one 28‘.-long molding, but all I had to make it were 12‘. boards. I didn’t want to settle for separate 12‘. molding sections mitered during installation. I wanted this molding to be one continuous piece. Joining the boards with diagonal scarf joints before molding them was the solution.
 To make a scarf joint, lay out the angles using at least a 4-to-1 ratio-4“ of run for every 1“ rise. Increasing the ratio strengthens the glue joint. The joint will be inconspicuous if you match the boards’ grain direction and pattern. Use your handsaw or a circular saw to cut the angles. Then joint the edges by attaching a fence and routing with a flush-trim bit.
Glue the boards together on a flat surface. Install the clamps perpendicular to the joint to keep pieces from sliding. You may have to notch the edges of the boards to hold the clamps at the proper angle. —Dave Olson
Here are some supplies and tools we find essential in our everyday work around the shop. We may receive a commission from sales referred by our links; however, we have carefully selected these products for their usefulness and quality.


