We may receive a commission when you use our affiliate links. However, this does not impact our recommendations.
Hand tools are the way to go for this traditional joint.
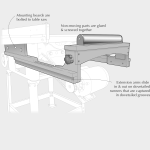
Tapered sliding dovetails are multipurpose joints traditionally used for drawer dividers, holding legs in place on a pedestal table and attaching tops to case pieces.
The primary reason for a tapered joint (instead of a straight joint) is the reduced friction over its length. The tapered sliding dovetail gets tight only during the final fit, when it is ready to seat home. This reduced friction makes fitting much easier.
Once the joint is seated, it is extremely tight and often requires no glue. Hand-cutting this joint is easier and quicker than the lengthy process of setting up a jig and machine.
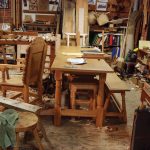
After incorporating tapered joints into much of my furniture, I’ve found them strong and multifunctional; I believe you’ll enjoy their benefits, as well as the challenge of cutting the joint, as much as I have.
Below, I’ll show you how to create a small tapered sliding dovetail, such as would be used for a drawer divider.
Tail Layout
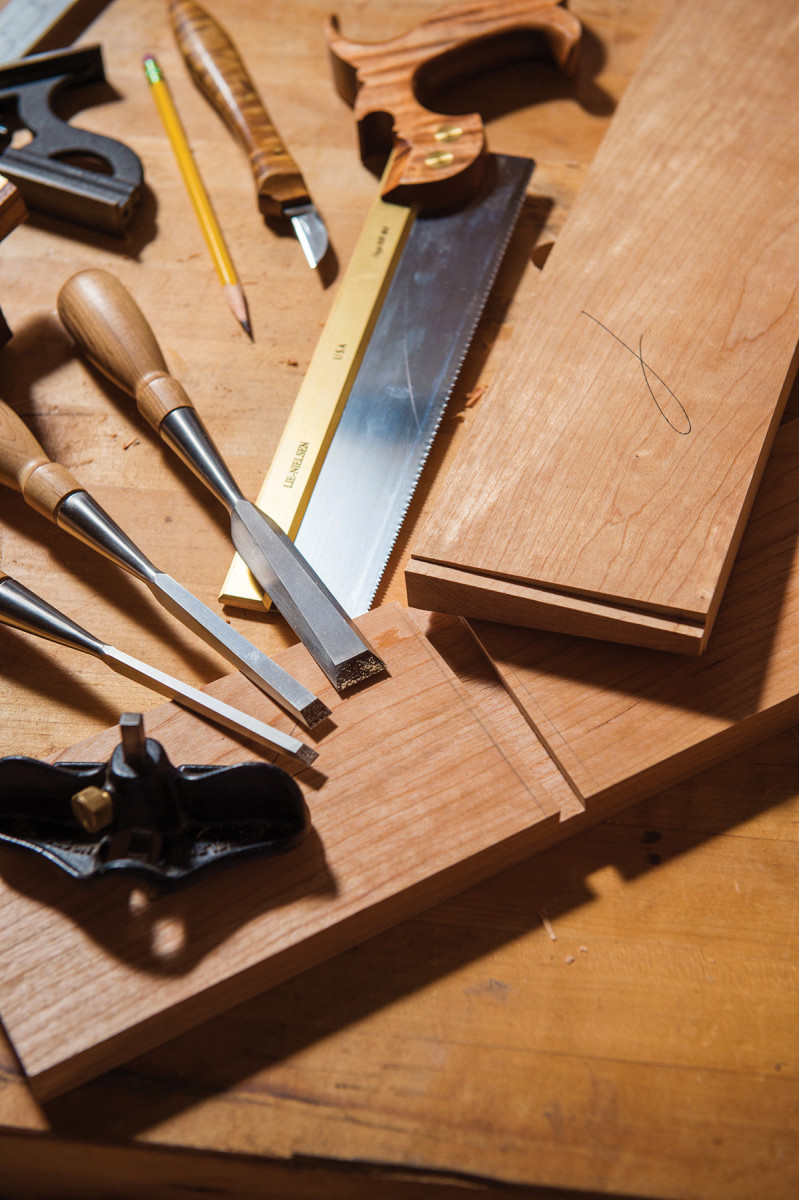
For this exercise, I use two 3⁄4″-thick x 4″-wide cherry boards (a typical size for a drawer divider).
The first step is to cut the tapered tail (after making sure that the end of your board is perfectly square).
Set a cutting gauge (not a pinned marking gauge, which would tear the fibers rather than cutting them) to 1⁄4″ and scribe all around the end of the tail board to mark the baseline. On the board’s edge, the sliding dovetail appears identical to a regular dovetail. However, from above, there will be a taper.
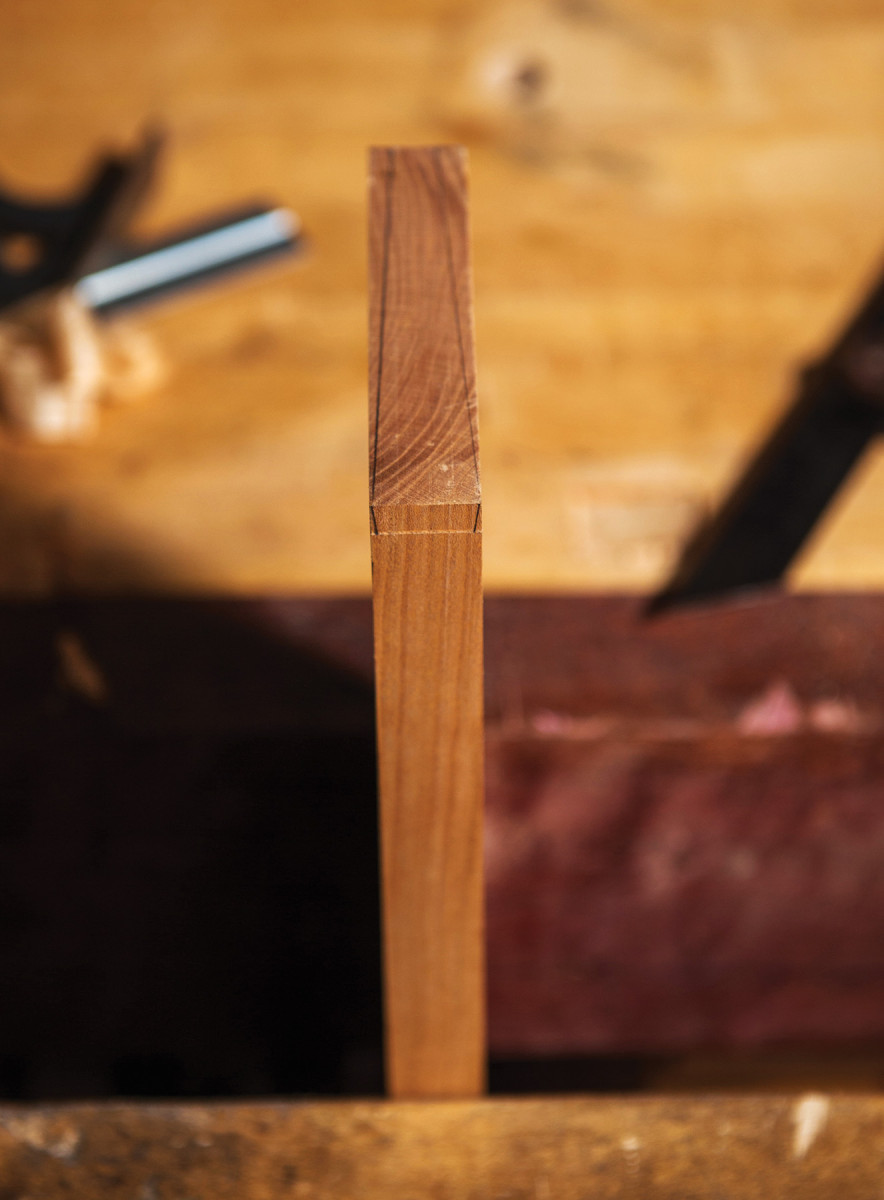
Tail layout. After marking the baseline at 1⁄4″, mark the taper on the end grain.
Place the tail board upright in your vise in preparation for marking tapered lines on the end grain. Starting with the end facing you, place a straightedge on the outside edge. Angle it toward the other end of the board, with a slope of about one-quarter the thickness of the board; in this case, that will be 3⁄16″.Draw a tapered line with a pencil along the straightedge. Repeat this process for the opposing side.
Using a dovetail marker or bevel gauge, draw the lines for the tail on the edge of the board. (I like a 1:7 angle.)
Cut the Tail
Cutting the angles on the top is a bit of a challenge, but no more than sawing a tenon cheek. Starting at the back, cut partway down your line, shift the saw to the front and make another partial cut, then join the two cuts. It is helpful to apply pressure between your thumb and the side of the saw to keep it aligned.
Tail cuts. I use a dovetail saw to make the tapered cuts; notice how I use thumb pressure against the saw to keep it correctly aligned to the cut.
It’s important that the two tapers on the end grain are straight and that the angles that make up the tail are cut accurately. Remember – you are only cutting down 1⁄4″.
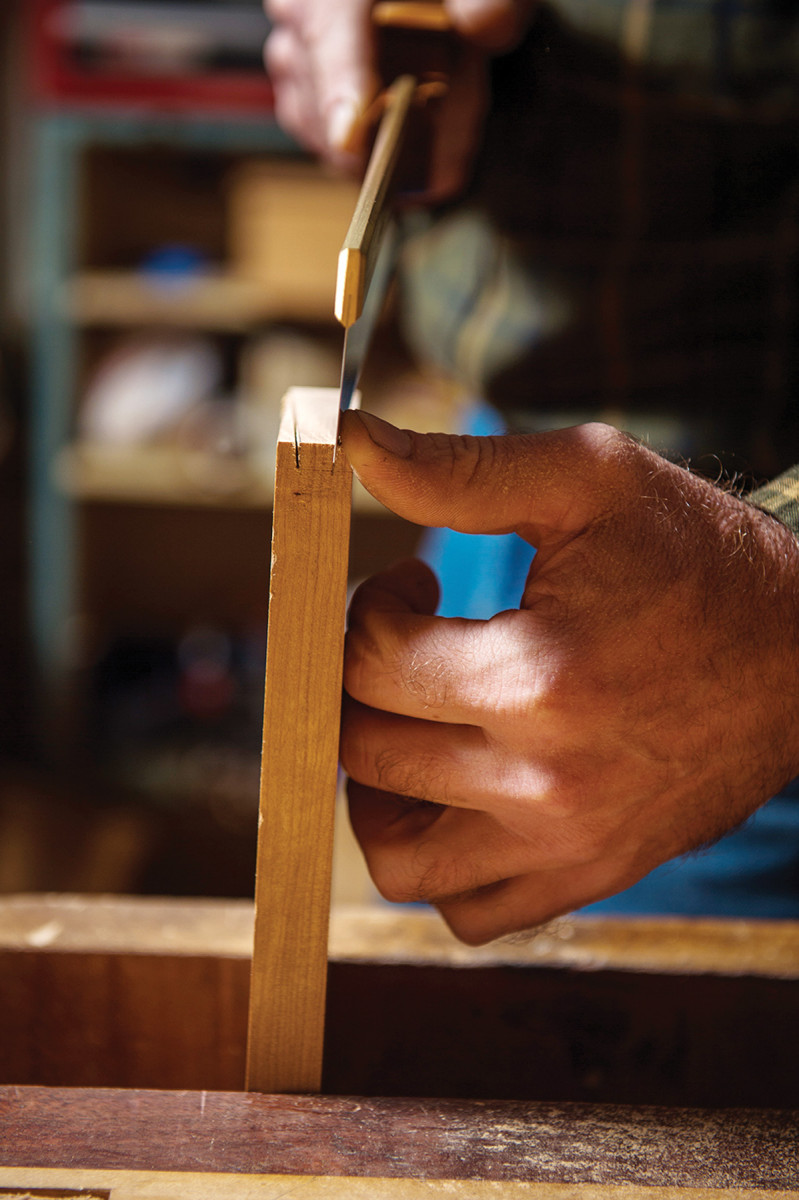
Cut the Shoulder
With a knife, deepen the shoulder line that you marked with your cutting gauge.
Now use a chisel to create a wall right against the knifed line. That creates a nice shoulder to set your saw against to use as a guide for accurate cutting. (This method is effective for extreme accuracy in cross-grain cuts.) But don’t overcut! Inspect the tail to ensure that the shoulders are crisp and clean.
Chiseled wall. Use a chisel to create a “wall” against which you can register your saw.
On occasion, I use a sliding dovetail plane to cut the tail, but I’ve found it not as effective for a narrow tail such as this one. (However, if you’re creating a long sliding dovetail, such as on a tabletop, the plane is essential.)
Mark & Cut the Pin
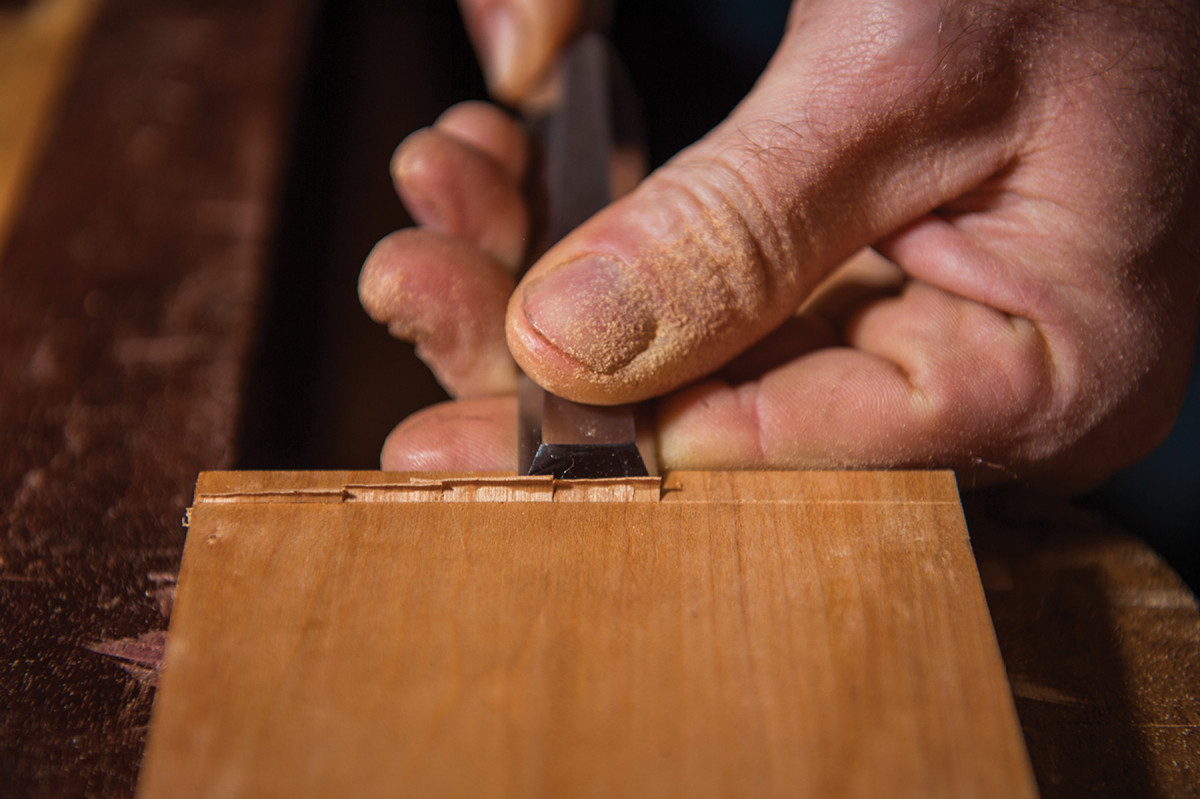
The next step is to transfer the tail to the pin. Mark two pencil lines square across the pin board to indicate the width (3⁄4″) and placement of the tail board. Draw a face mark on the inside of your pin board on the right-hand side and another one on the right-hand side of the tail board. These marks should face each other; they will help you keep the alignment correct.
Lay your tail board on edge with the small dovetail end touching the pin board, with the end grain facing you. With your knife closest to the shoulder, mark the small end of the tail on both sides. Now flip the tail board end to end so the end grain faces away from you. Mark the large end of the tail on the edge of the pin board closest to you, marking both sides right at the shoulder.

Narrow, then wide. First, mark the small end of the tail. (Note that your knife position is critical here, and be sure to mark both sides.)
The key is transferring an image of the narrow section of the tail onto the pin board.
With a straightedge, join the marks for both tapers front to back. Then with a knife, lightly scribe along the straightedge. Remove the straightedge and go over the knife cuts several times to deepen the lines. Transfer the 1:7 angles of the tail onto the edge of the pin board.
Then mark the wide end on the other edge of the pin board.
Using the same 1⁄4″ setting on your cutting gauge, mark the depth of the pin recess.
As you did for the shoulder cuts, use a chisel in your layout lines to create a wall for your saw to follow, then saw down the length of the taper line, carefully following the angle of the tail. Be sure not to overcut.
Working from both sides, remove the waste using a 3⁄8″ and a 1⁄4″ chisel, with the bevels facing up.
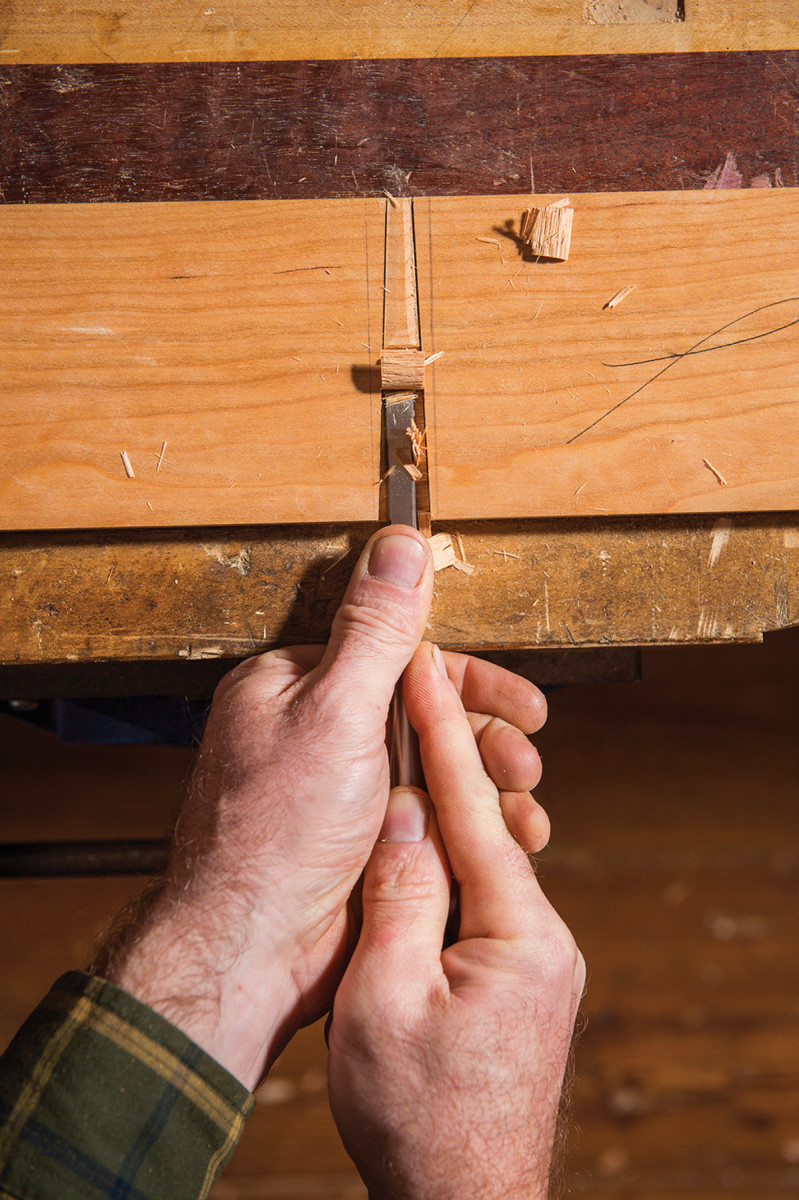
Waste removal. Work in from both sides to remove the waste. On the wider side, a 3⁄8″ chisel is the best choice; working from the narrower side, switch to a 1⁄4″-wide tool.
With a small router plane, remove any excess material, bringing an even depth to the floor of the pin.
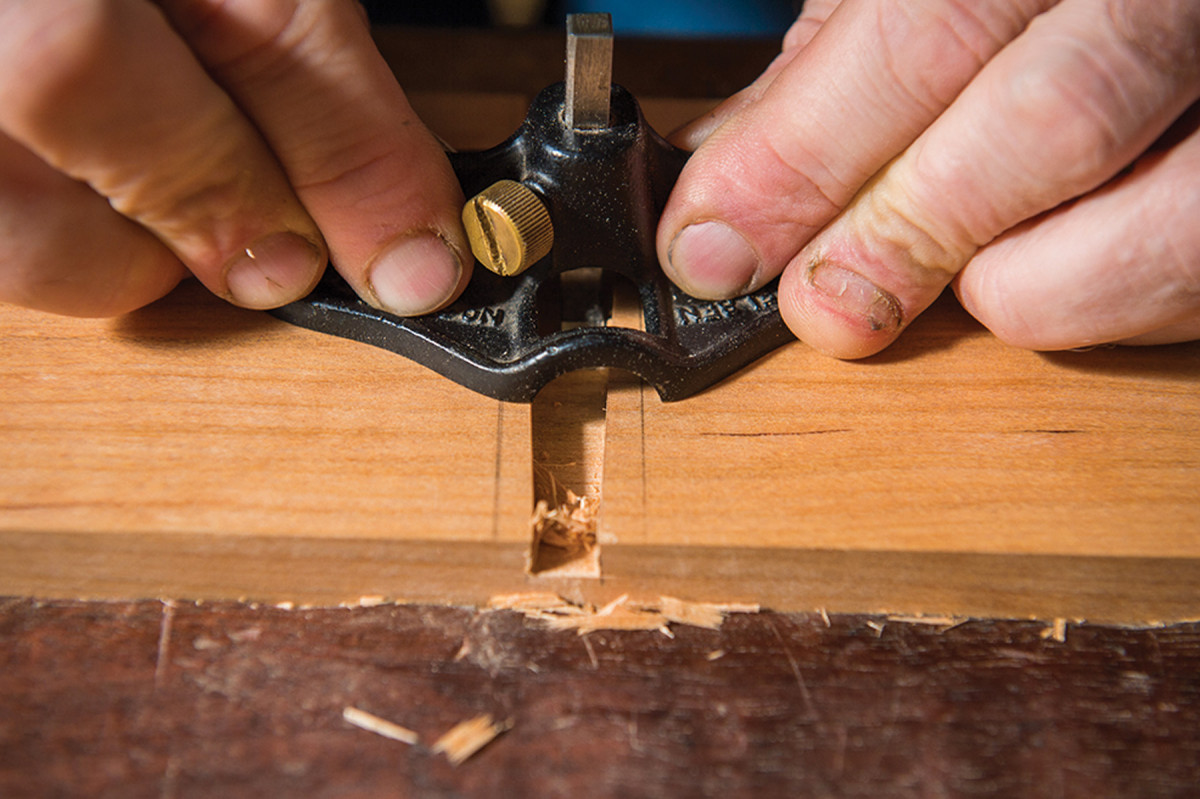
Cordless router. Level the floor of the socket using a small router plane.
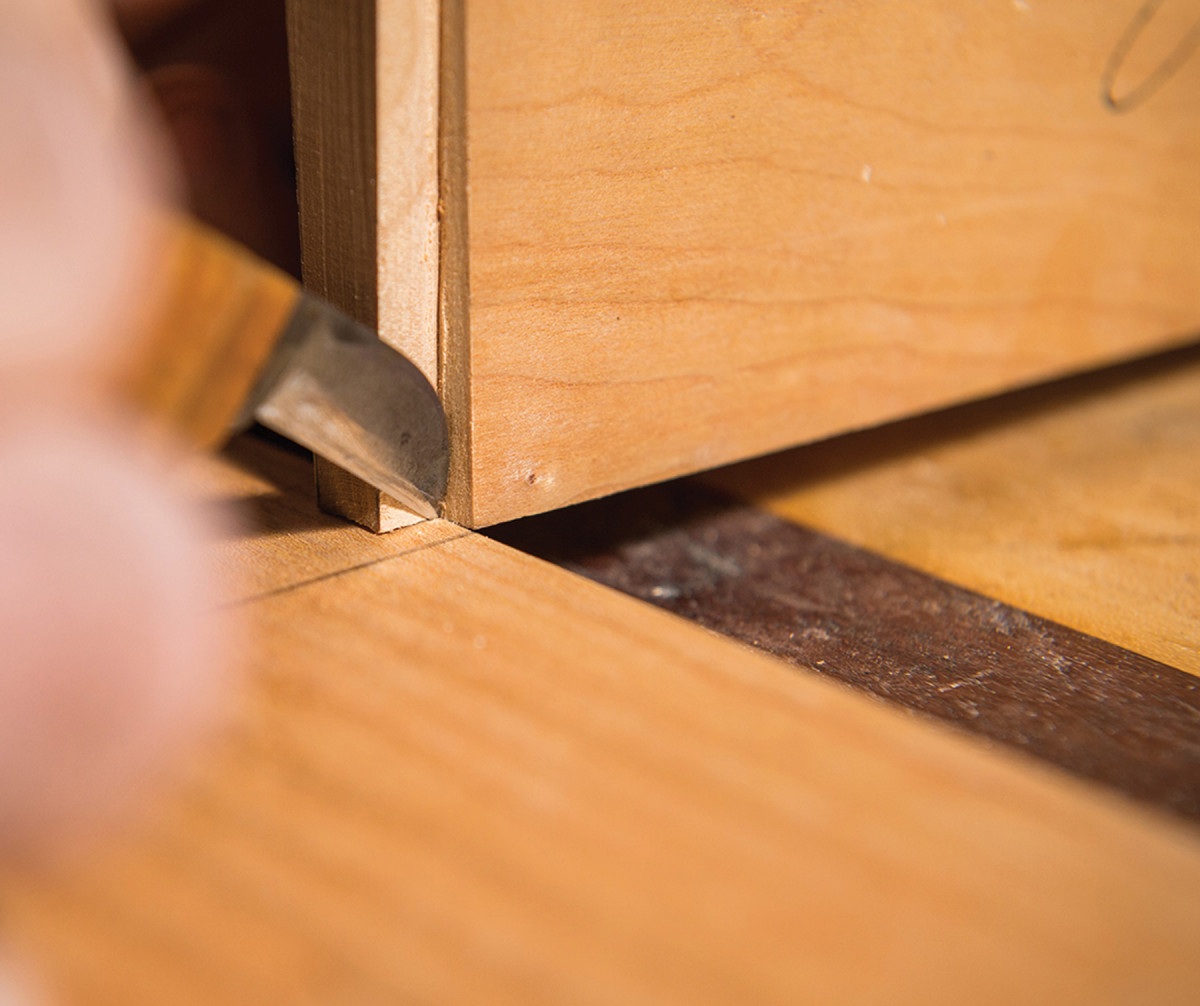
Now the moment of truth! Slide the tail into the socket and use a hammer to seat it tightly. If it’s too tight and doesn’t go all the way home, that’s a good problem. Look at both ends, and you can usually tell where the problem lies. If it’s too tight on one end, simply chisel away the material on the pin board. (If it’s too loose, start over with a fresh pin board.)
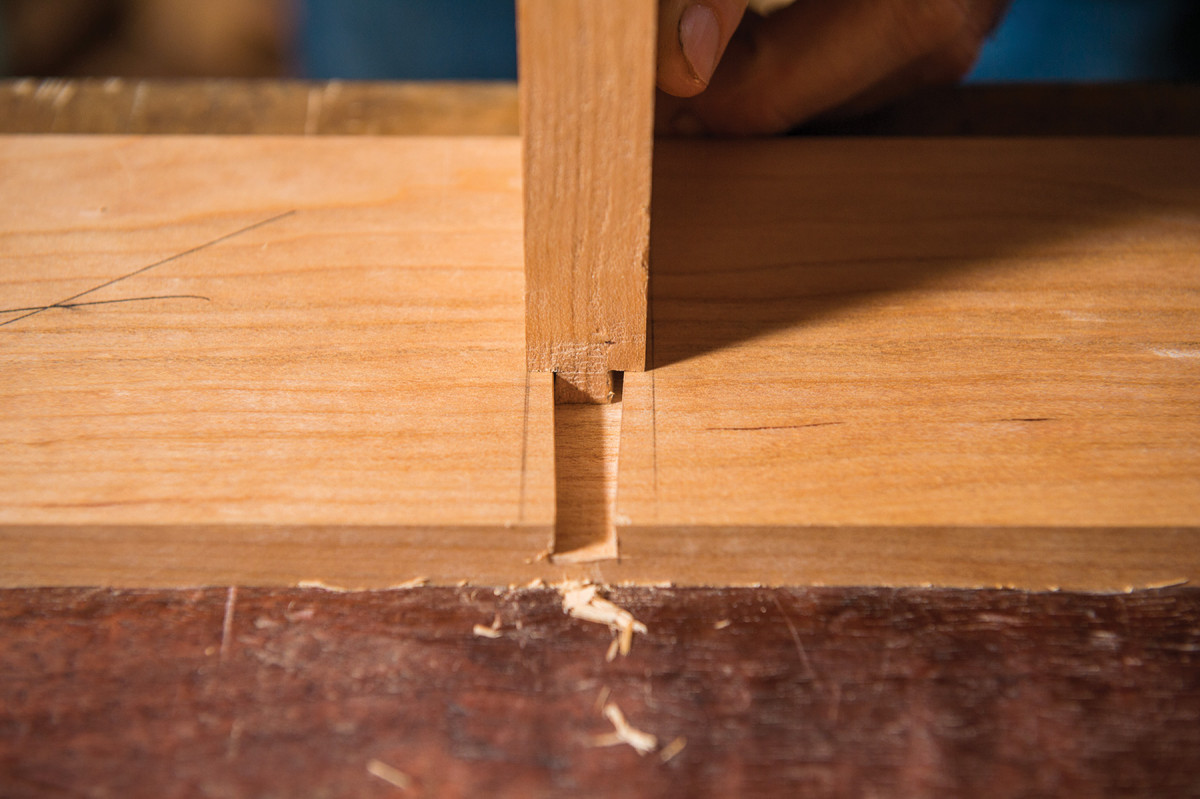
Test. Now slide the tail into its socket; use a hammer to knock it home.
And don’t worry if your joint isn’t perfect on the first try; it took me several practice sessions the first time, too.
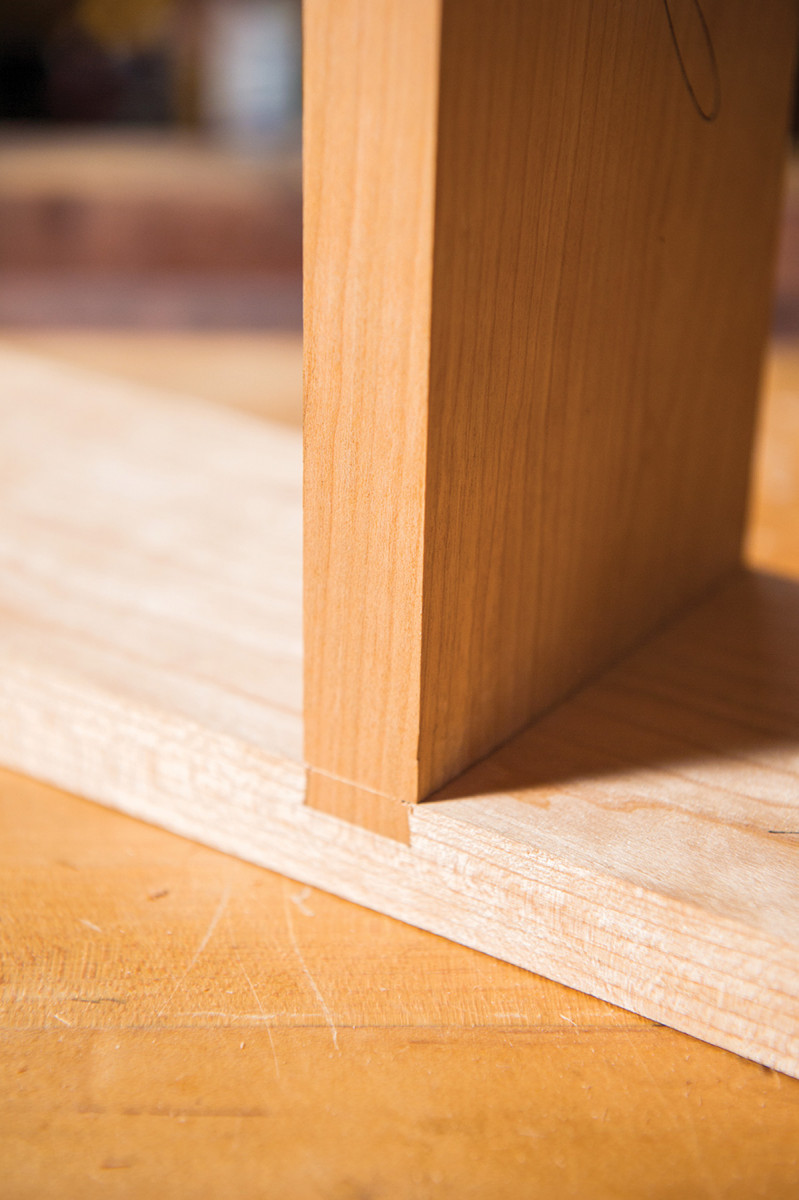
Truth. The finished sliding dovetail joint should seat firmly in place. If you’ve cut it perfectly, you don’t even need glue.

Great divide. The tapered sliding dovetail is my joint of choice to divide casework drawers.
Here are some supplies and tools we find essential in our everyday work around the shop. We may receive a commission from sales referred by our links; however, we have carefully selected these products for their usefulness and quality.