We may receive a commission when you use our affiliate links. However, this does not impact our recommendations.
Q: Is there ever a time in the hand drafting process when you use paper with lines on it, such as graph paper?
A: If I am out in the field and do not have a portable drafting setup, then graph paper is desirable paper to have on hand. The most common graph paper is 1/4″ squares, but better office/drafting supply companies will offer it in various sizes. I like to use this sort of paper for taking field notes and making quick sketches – this is great for looking at pieces in a museum setting as it helps keep your drawing to a rough scale. (And if you bring your drafting scale with you, or one of those small 6″ mobile architectural scales that can fit in a pocket, you’ll be able to make a pretty good field sketch.) With the field sketch and measurements in hand I can go home to my drawing board and render a nice full set of drawings.
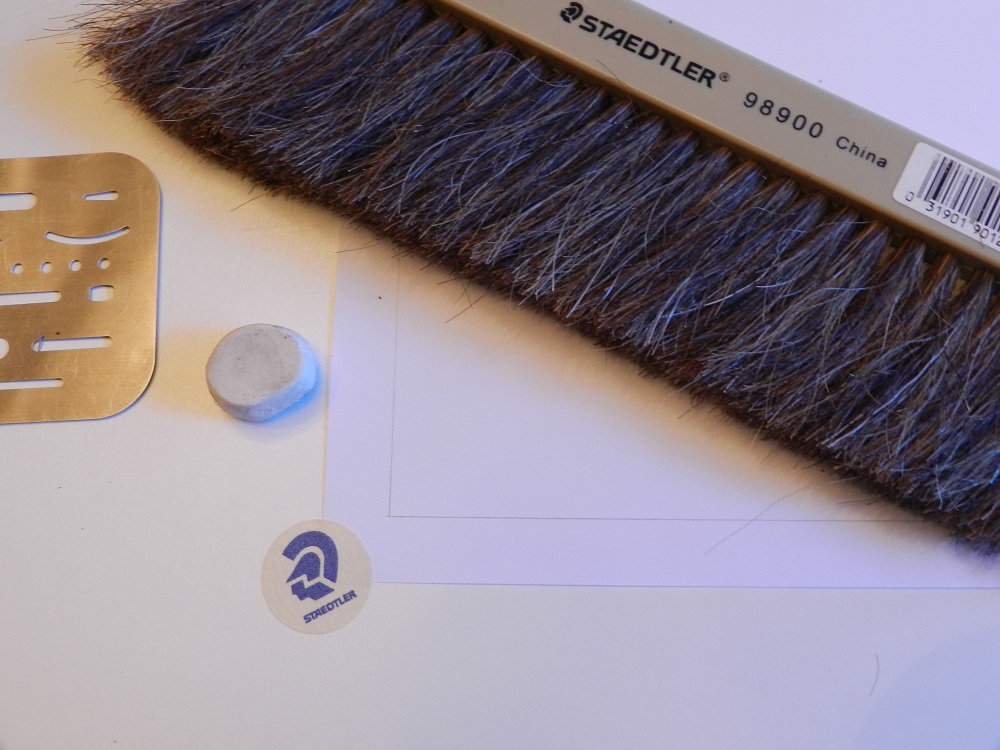
Hand drafting brush and eraser shield

Two hours of expert instruction from Bill Rainford on hand drafting. Learn more about what’s covered and watch an excerpted video here.
Q: How do you make sure any intersecting lines meet up cleanly and do not have white space? (i.e. in corners etc.)
A: Use a sharp hard lead, say 4H or 6H, to lay out the initial drawing. If you overshoot a line you can quickly and easily erase any extra bits. What was erased will not show up in the final drawing. When you go back over the drawing and apply the proper line weights you have your thin 4H/6H lines as a guide and thus you can more easily make sure your heavier lines meet at the appropriate intersections.
Q: How do you draw a line that is longer than the square you are using?
A: If this problem comes up a lot for you I’d first recommend investing in a larger square, as that is a huge time-saver and ideally you want to draw your lines in a single motion. (You can also build a thin square from wood.) But in practice if I need to draw a very long line I would draw as much as I can with the square, then move the parallel bar as necessary, re-position the square and use the lead holder in hand to line up with the existing line before continuing the drawing. (Even partially moving my hand to make sure I will be in line with the existing line.) When I am lined up with the existing line I will continue the line in a continuous stroke. If your leads are sharp and you are rotating the holder in your hand to maintain consistent line thickness, you should produce a nice consistent line – and you should not be able to tell the line was made in two motions.
If there are additional hand drafting questions you can submit them as comments below or contact me via my own blog. Good luck and may your leads always be sharp and your drawings stay clean.
Here are some supplies and tools we find essential in our everyday work around the shop. We may receive a commission from sales referred by our links; however, we have carefully selected these products for their usefulness and quality.