We may receive a commission when you use our affiliate links. However, this does not impact our recommendations.
 Did you know that feeler fauges are not just for machinists or for checking and adjusting our steel and cast iron woodworking equipment? How do I know this? Because I recently found out that a set of feeler gauges can be very handy in setting up the exact amount of play (tolerance) that was needed for a router jig that I built.
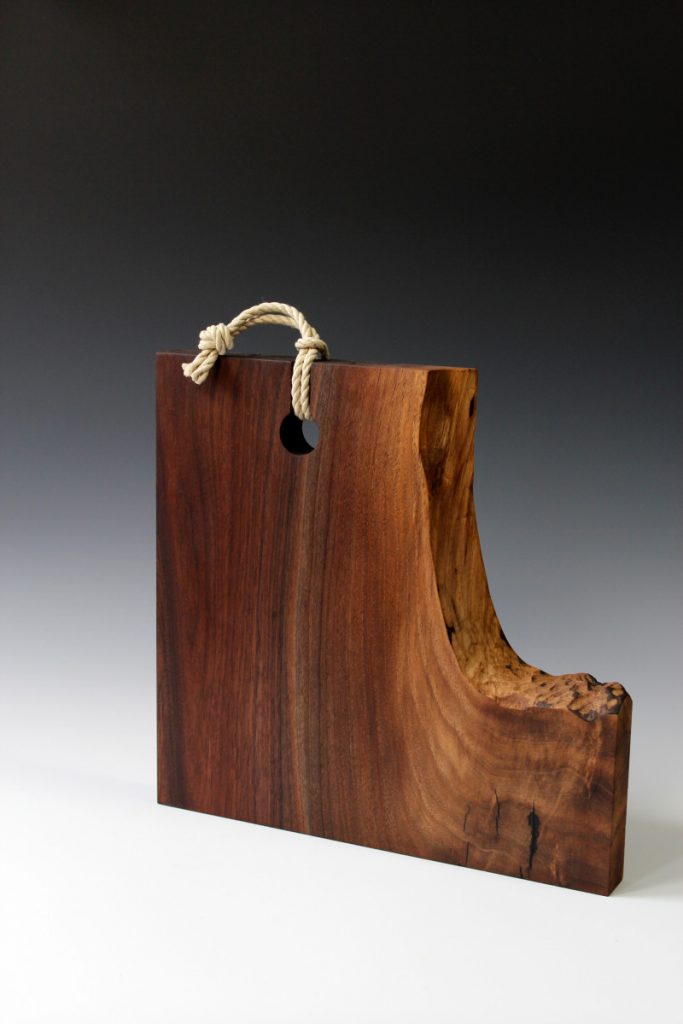
This week I built a jig to help me in routing the two grooves at the head of my signature cutting boards. My cutting boards have two grooves that intersect with the wide hole and enable the hanging rope to nest in them.

To help me rout the grove I constructed a template that guides my Ryobi router. The plan was to mount two hardwood battens over the plywood panel to flank and direct the router in its pass.
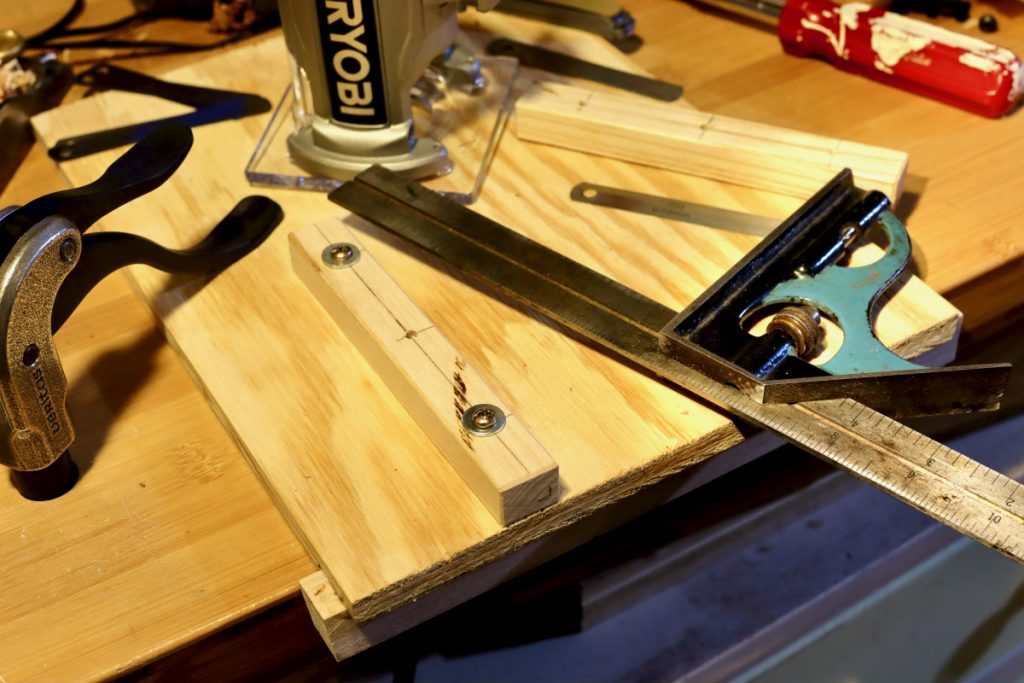
I affixed the first batten with two pan head screws and washers.
After screwing the first batten onto the plywood plate I tucked the router base against it and introduced the second batten to the other side of the plastic plate. I moved the router and sensed the drag or the friction that the two battens created. It felt excessive so I decided to provide a small gap in between the router’s plate and the battens.
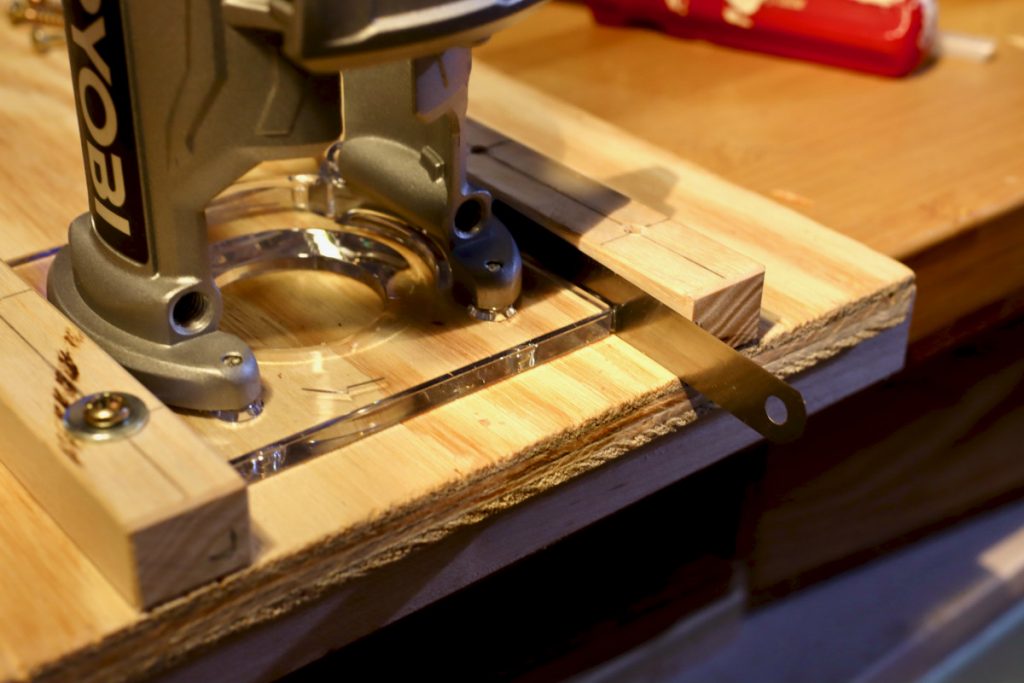
I placed a shim in between the plastic base and the second batten, clamped that batten down, removed the shim, and tried to slide the router. I repeated this a few times with two other shims until I found the right thickness. I then secured the second batten with screws and removed the shim.
Many woodworkers use paper or money bills when in need of this kind of shimming. However, I wanted to find the ideal amount of tolerance so I decided to use a feeler gauge.
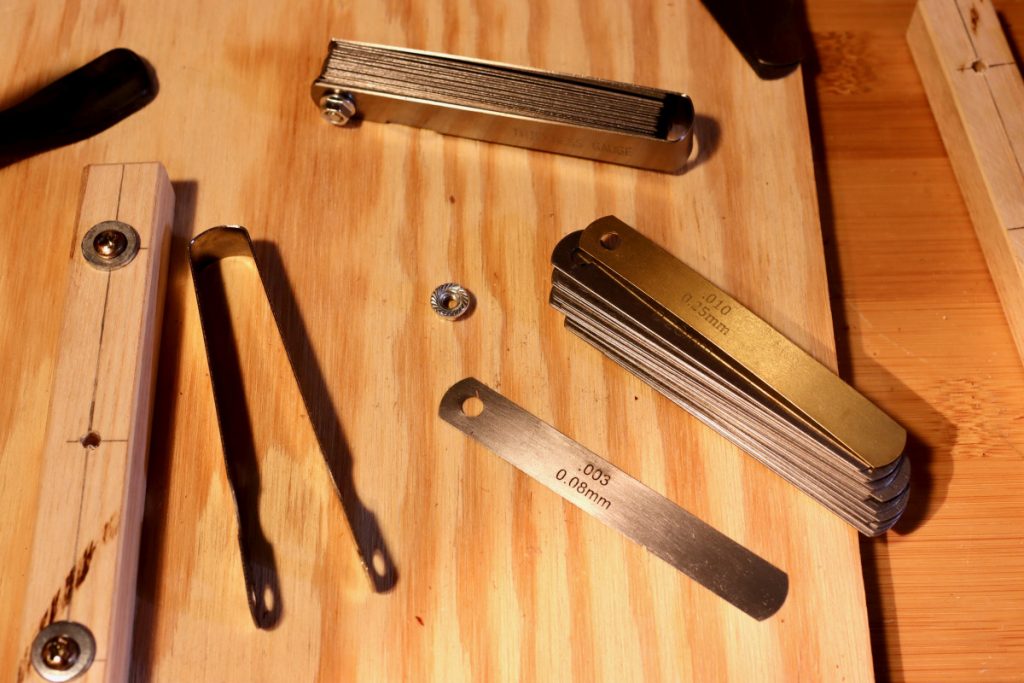
These feeler gauges set (a pair for $10 at Amazon) can be separated into individual blade leaves.
After making sure that the router base is pushed tight against the first batten I placed a steel shim against the base’s other side and pushed the second batten towards it. I held the batten down and removed the shim. Then I tried to slide the router and assessed the play. I repeated this process a few more times with shims of different thicknesses until I found the right one. I brought the shim back, tucked the batten tight against the router, clamped the batten, and screwed it in. After removing the shim I tested the setup – The router slid perfectly and with just the right amount of play.
 A few more points to remember
Wood is a working medium that swells or shrinks in correlation to the amount of humidity in the air. So you have to incorporate the shims in an informed way when setting up tolerances for moving parts or for parts that will swell or shrink. It might take trial and error (parts that were set up in the winter might get jam or stuck in the summer), so try to find the sweet spot for the right amount of play. Another good idea is to build into the design some setup flexibility. For instance, drill wider through holes for your hardware to allow for adjustment later on. In my case, I used plywood and ash battens. I don’t anticipate any jamming this summer but if it happens I will loosen one of the battens, tuck a thin shim in between the router base and the loose batten and retighten the batten’s screws. It is worth noting that you should use screws that have a pan head rather than flat head screws which are designed to center themselves into the hole.
One last point. The holes in these inexpensive feeder gauges like the one I got are stamped and the rims might rise up and add unintended thickness to this area. So either avoid using the shim’s hole area or sand it flat before you tuck it in between your parts.
Here are some supplies and tools we find essential in our everyday work around the shop. We may receive a commission from sales referred by our links; however, we have carefully selected these products for their usefulness and quality.