We may receive a commission when you use our affiliate links. However, this does not impact our recommendations.
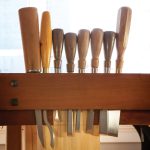
 After completing step (F), I used a gouge to hollow out the cove portion of the molding. I selected a gouge with a sweep that matched the cove radius and carefully shaved the wood in the direction of the grain (G).


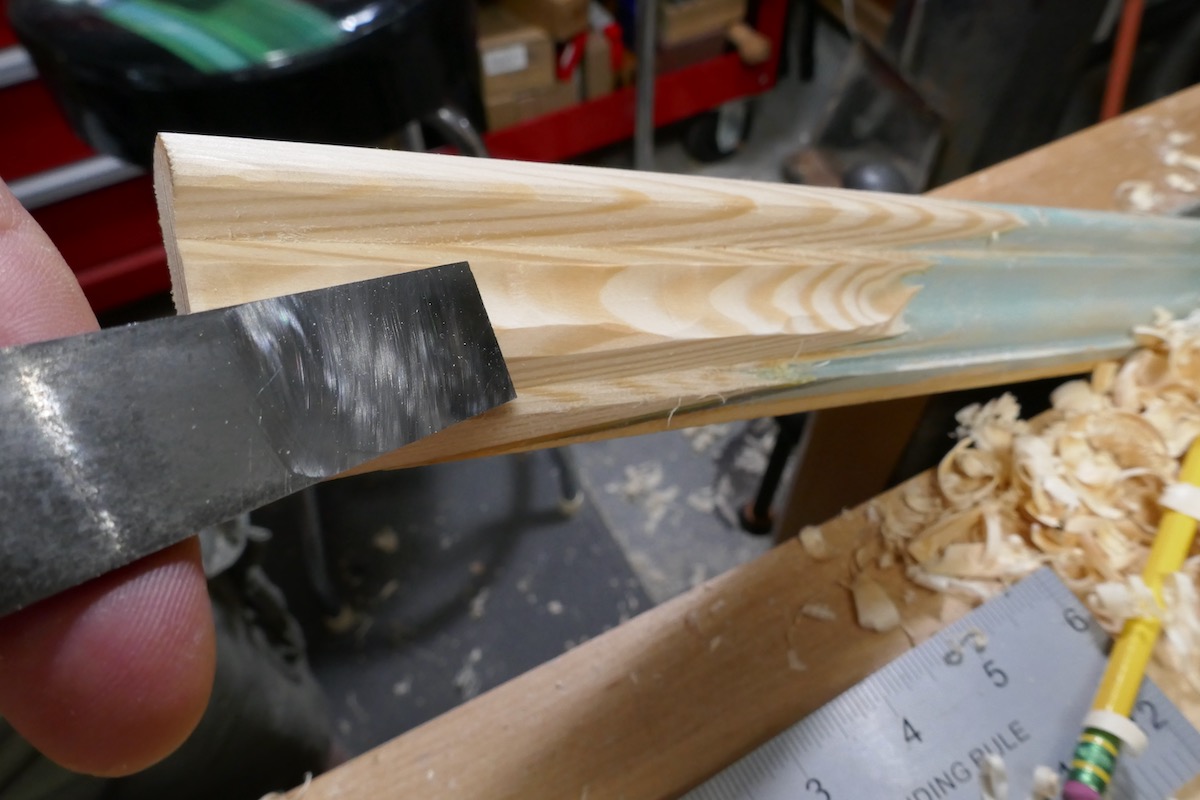
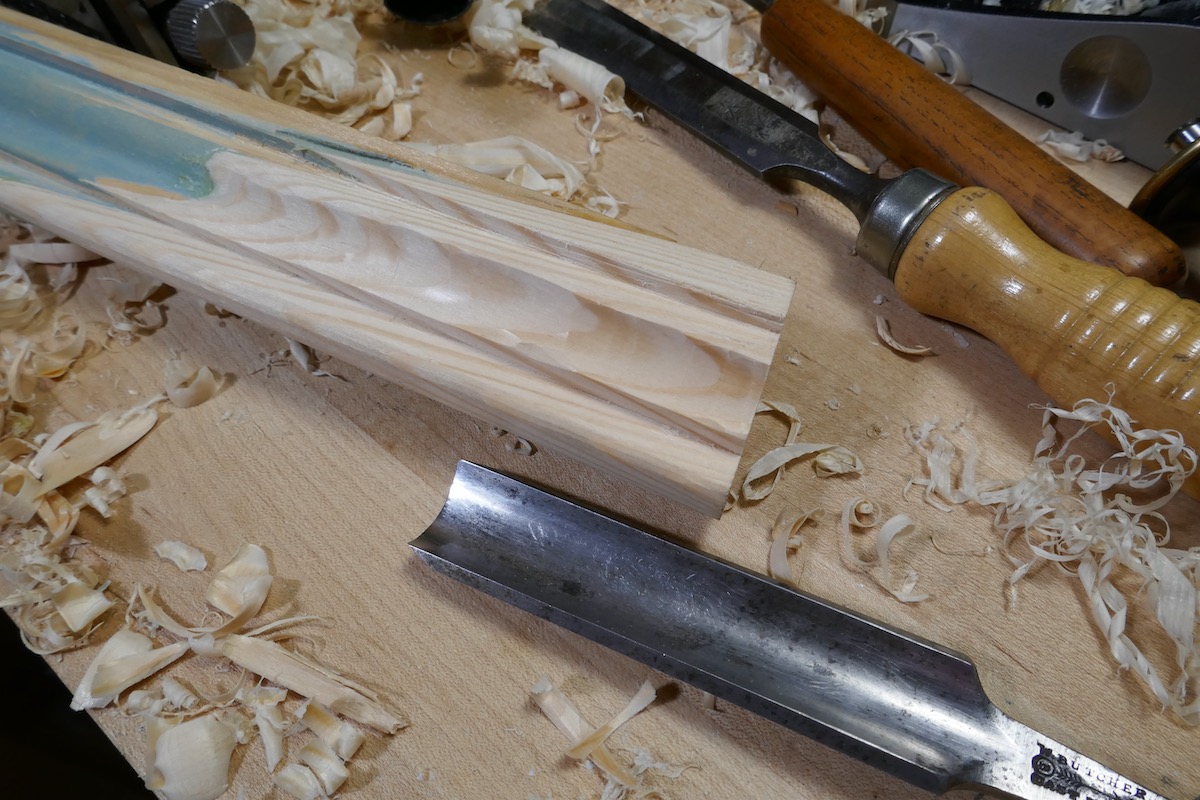 Next, I used chisels and a shoulder plane to round over the corners of the cove to blend nicely with the remaining details (H).

The prominent corner that requires much more attention and rounding is the lower own. The top corner (underneath the Thumb detail )needs only a small amount of corner braking and sanding.

 The final shaping step was sanding. I used a rubber form from a profile kit, wrapped sandpaper over it, and sanded the cove and the rounded corners.


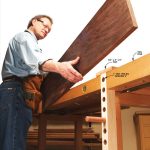
At this point, I glued the repaired molding back onto the case top.
 Note that my repair did not include the tip of the molding’s miter edge. That corner received a different treatment—a bridging rounded part that extended from the other side of the broken molding, which I will show next time.
Here are some supplies and tools we find essential in our everyday work around the shop. We may receive a commission from sales referred by our links; however, we have carefully selected these products for their usefulness and quality.