


We may receive a commission when you use our affiliate links. However, this does not impact our recommendations.
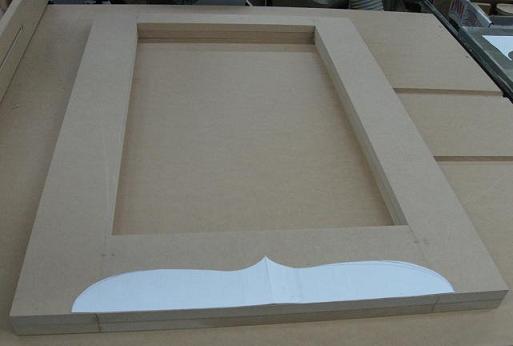
As I did on the sides, the lower front rails will have a decorative cut. So I take the time to make a router pattern guide to get identical and smooth cuts on both hutches. Here is the paper pattern that I crafted to make my router pattern guide. To see all steps on making such symetrical pattern, click here.
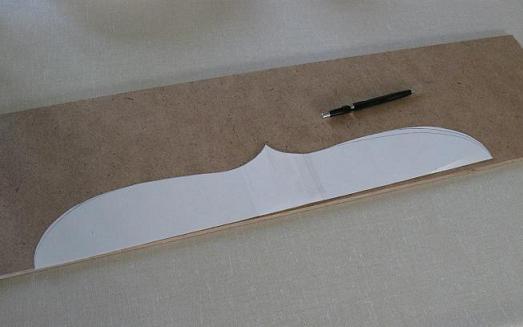
I’m tracing the pattern on a 1/4’’-thick piece of hardboard (Masonite). This hardboard must be large enough to leave required room for the router to slide on and also for the clamps.
Here is the rotary tool that I use to make the cut.

This is a picture of my rotary tool kit.
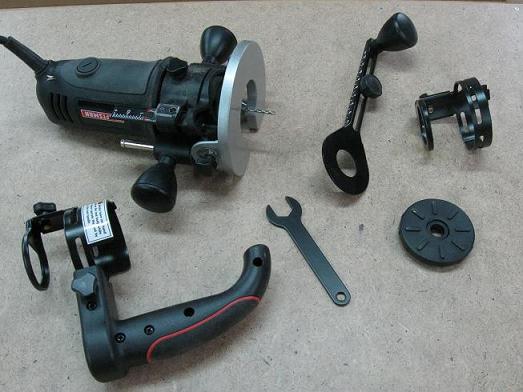
To see a similar kit from a big store, click here.
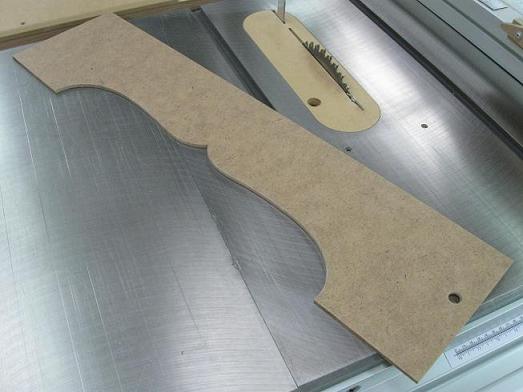
To get a smooth cut that will guide the router later, I use my shopmade spindle sander that I built right here in my workshop.
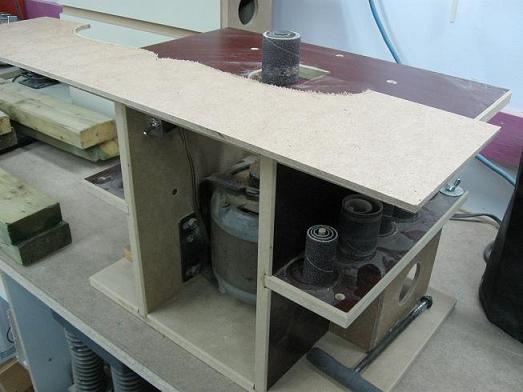
The cut completed, I drill one end so I could hang my router pattern guide and use it on a future project, if need be.
For more details, pictures and a short video of making this pattern guide, click here.
Best,
Serge
www.atelierdubricoleur.spaces.live.com
Here are some supplies and tools we find essential in our everyday work around the shop. We may receive a commission from sales referred by our links; however, we have carefully selected these products for their usefulness and quality.


