We may receive a commission when you use our affiliate links. However, this does not impact our recommendations.
We may receive a commission when you use our affiliate links. However, this does not impact our recommendations.
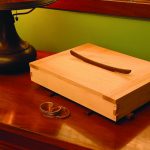
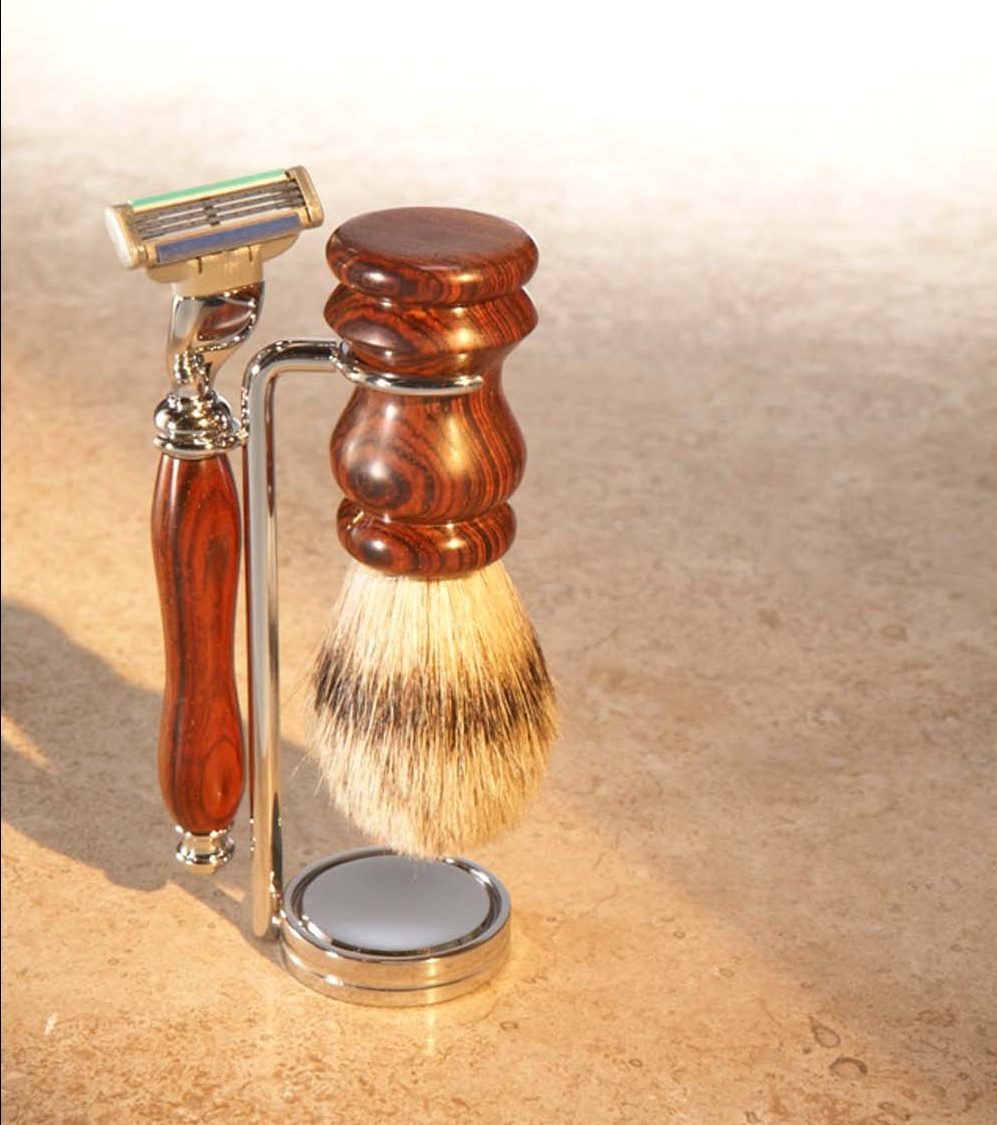
At 6 am, the bathroom is yours, because everyone else is asleep. So rather than rushing, why not pamper yourself with a great shave? Forget cold foam from a can. Instead, massage your face by applying hot, soothing lather with an old-style shaving brush that perfectly fits your hand. Then switch to a razor that’s equally well-fitted to deftly whisk away that unsightly 6am shadow.
With this shaving brush and razor set, you can repeat this refreshing scenario every morning. Your brush and razor will get wet on a regular basis, so choose water-resistant wood for the handles, such as cocobolo (shown here), which is naturally oily. Other dense hardwoods will also work well if you apply a durable water-resistant finish.
Shaving Brush
This project starts with a brush head (also called a “hair knot”). The wide variety of available brush heads—made from such things as badger hair, boar bristles and nylon—is one indication of the artful shave’s renaissance. I use 12 x 24mm silvertip badger brush heads, which are thick, with extra stuffing for softness and fullness (other grades and sizes are available). These heads absorb water and work with either shaving soap or cream to whip up a rich, warm lather and deliver it to your skin, lifting and softening your beard. Ahh!
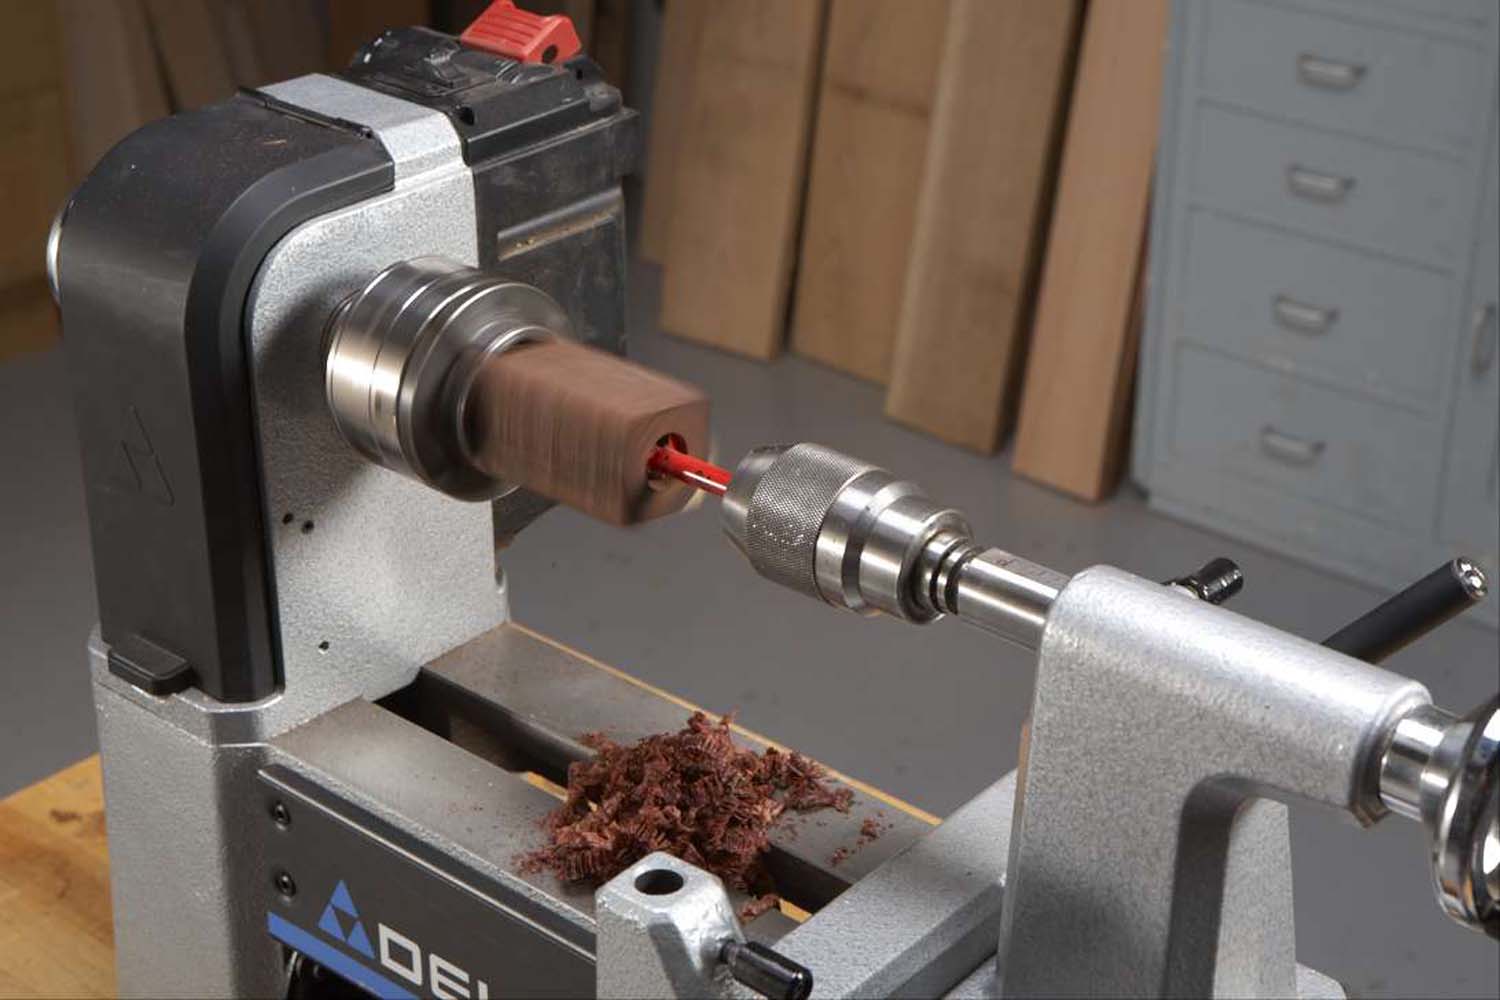
Photo 1. Drill a shallow hole for the brush head after mounting the handle blank in a scroll chuck and installing a Jacobs chuck in the tailstock. Then use a roughing gouge to round the blank.
Each brush head is unique, so it has to be custom fit to the handle. Mount the handle blank in a 4-jaw scroll chuck and turn it round, using a roughing gouge. Next, install a drill chuck and drill a 7/8″ dia. x 1/2″ deep hole in one end (Photo 1). Then use a square-end scraper to widen the hole to fit the base of the brush head (Photo 2).
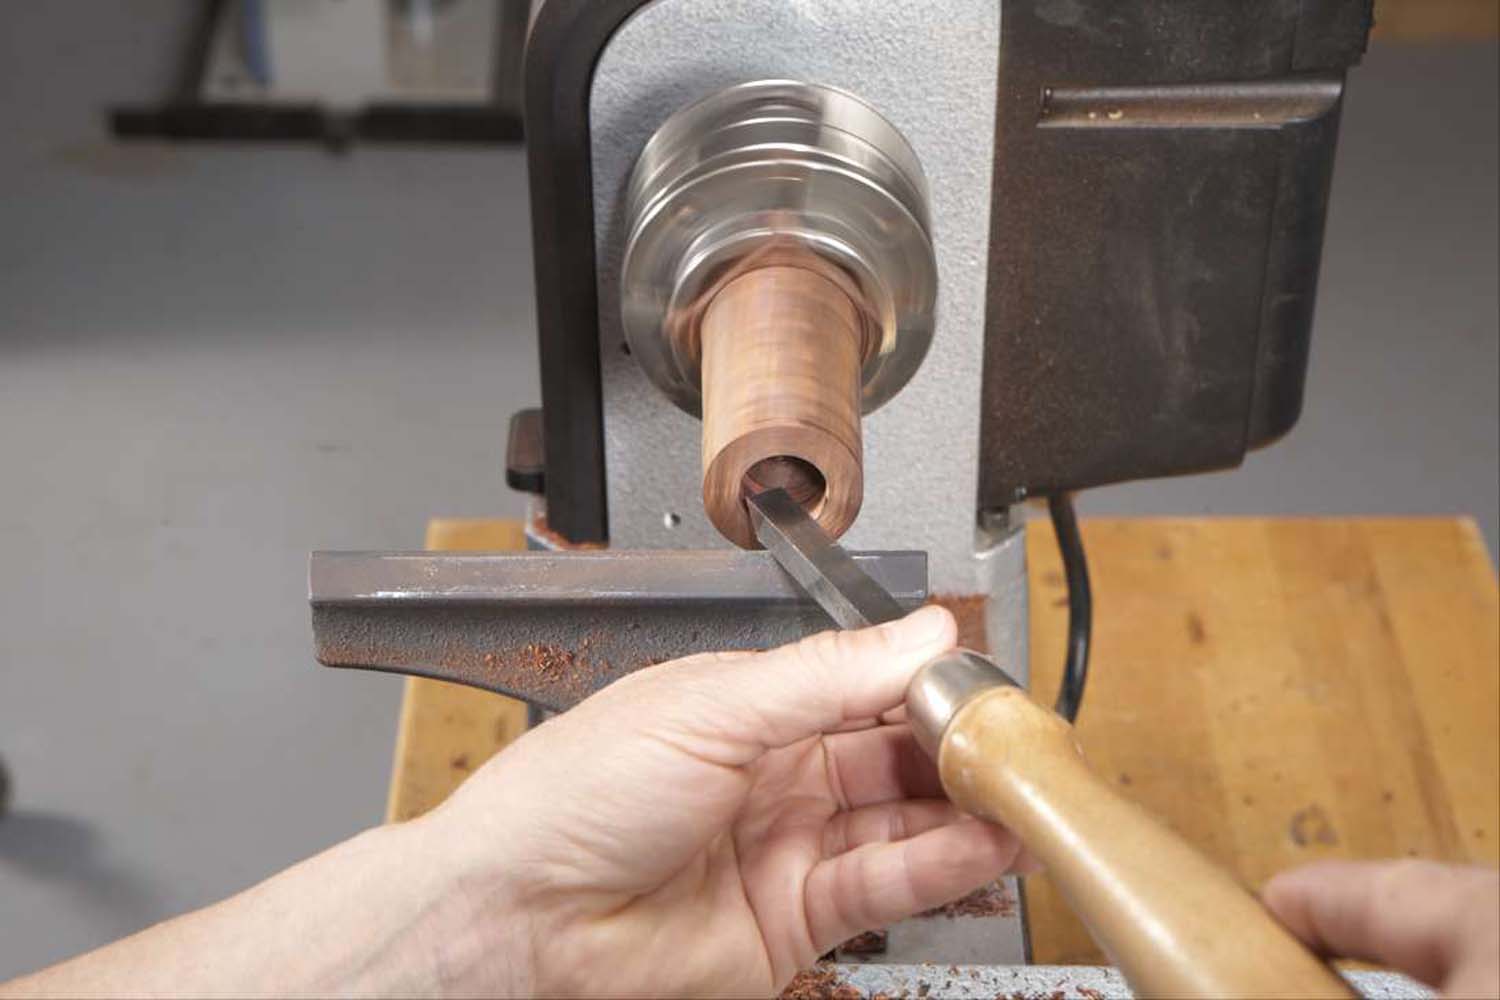
Photo 2. Widen the hole as necessary to fit the base of the brush head. The bases aren’t consistently sized, so each hole has to be custom-fit.

Photo 3. Use a detail/spindle gouge to establish transition points that define the handle’s beads and concave neck.
Shape the handle so it’s narrow enough at the neck to fit the stand and comfortable to hold—a rounded shape at the base feels good, for example. The handle shown here has beads at both ends and a cup-shaped middle. Install a cone center in the tailstock to support the drilled-out blank. Then use a detail/spindle gouge to establish transition points and start shaping the beads and cup (Photo 3). Switch to the parting tool to establish the handle’s bottom end (Photo 4). Cut in only about 1/8″—any further will weaken the blank. Use the roughing gouge to shape the narrowest part of the cup (Photo 5). Then return to the detail/spindle gouge to finish shaping the handle.
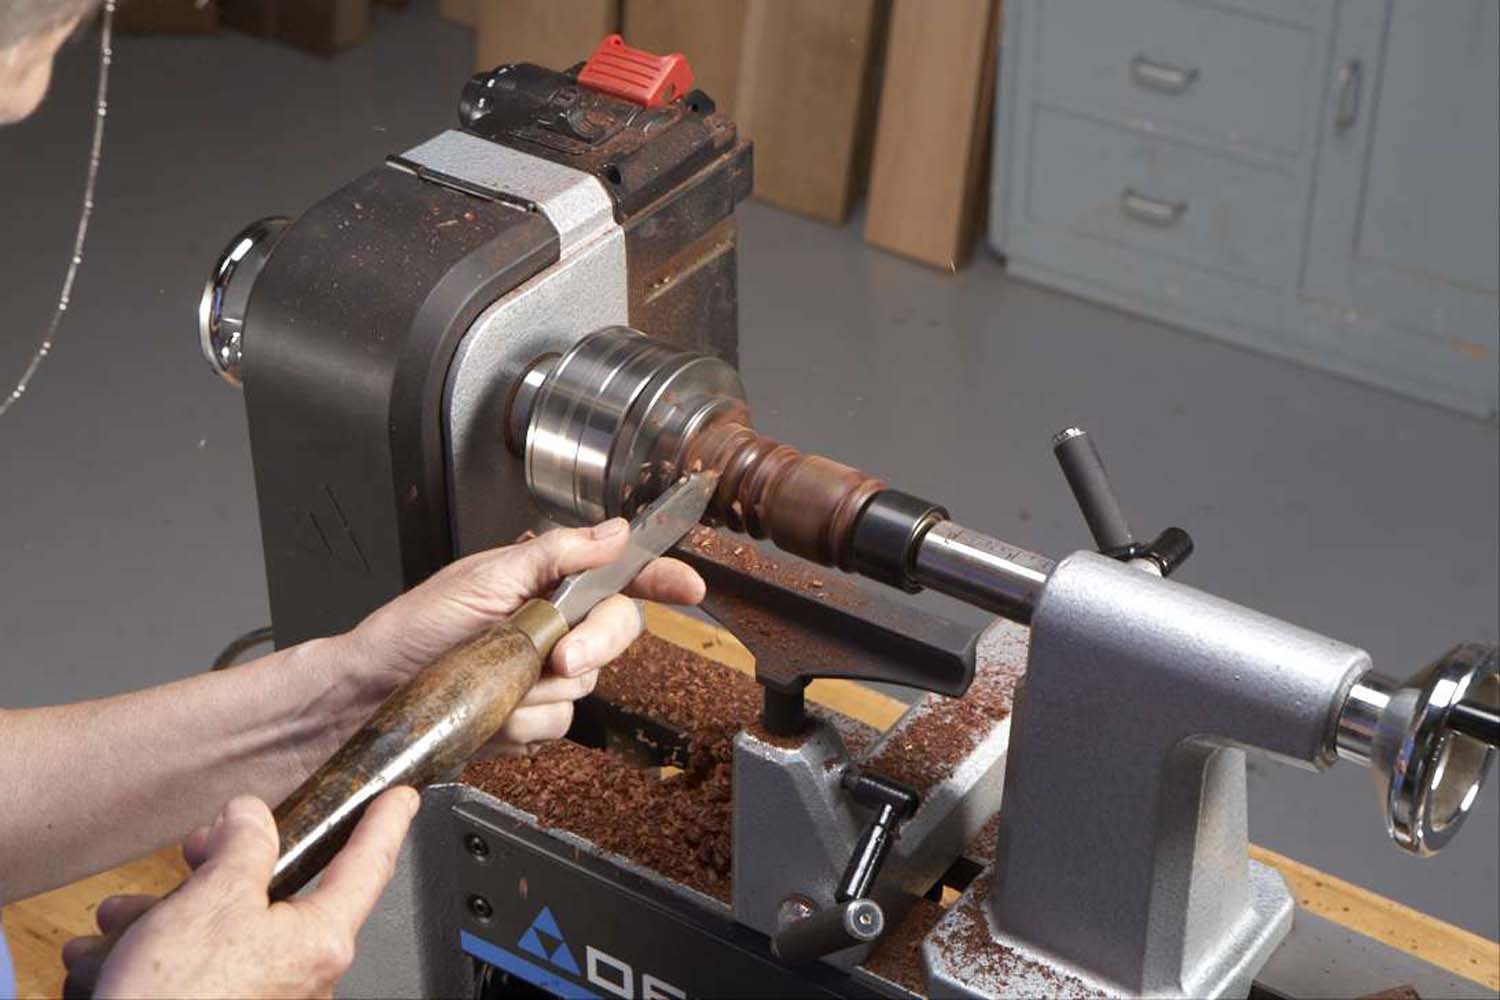
Photo 4. Define the end of the handle by cutting in about 1/8″ with a parting tool. Widen the cut sufficiently to provide enough clearance to finish shaping the bottom bead.
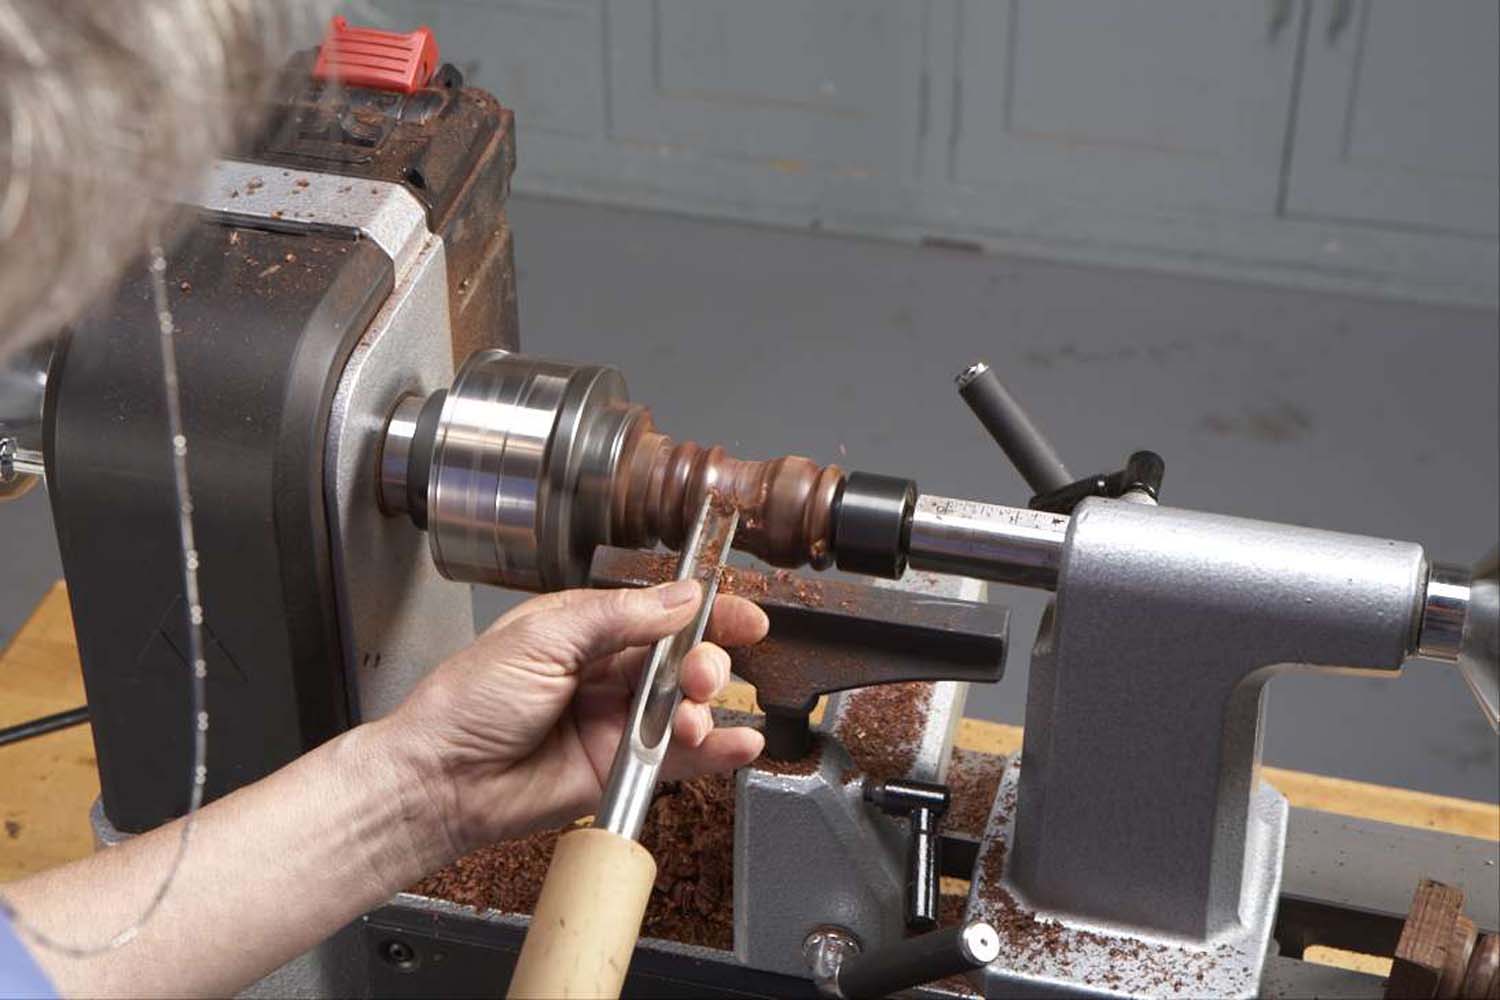
Photo 5. Use the roughing gouge to shape the handle’s narrow neck. Switch to the detail/spindle gouge to refine the shapes and complete the turning.
Sand and finish the handle while it’s still on the lathe. Start with 180-grit sandpaper and work up to 400-grit. For oily woods, such as this cocobolo, a buffed wax finish is sufficient. For non-oily woods, I make a finish that’s tough, durable, water resistant and easy to apply with a soft cloth, by thinning Behlen Rockhard Table Top Varnish by 50% with mineral spirits. Three light coats, sanded between with 600-grit paper, provides adequate protection. It’s best to wait 6 to 8 hours between coats.
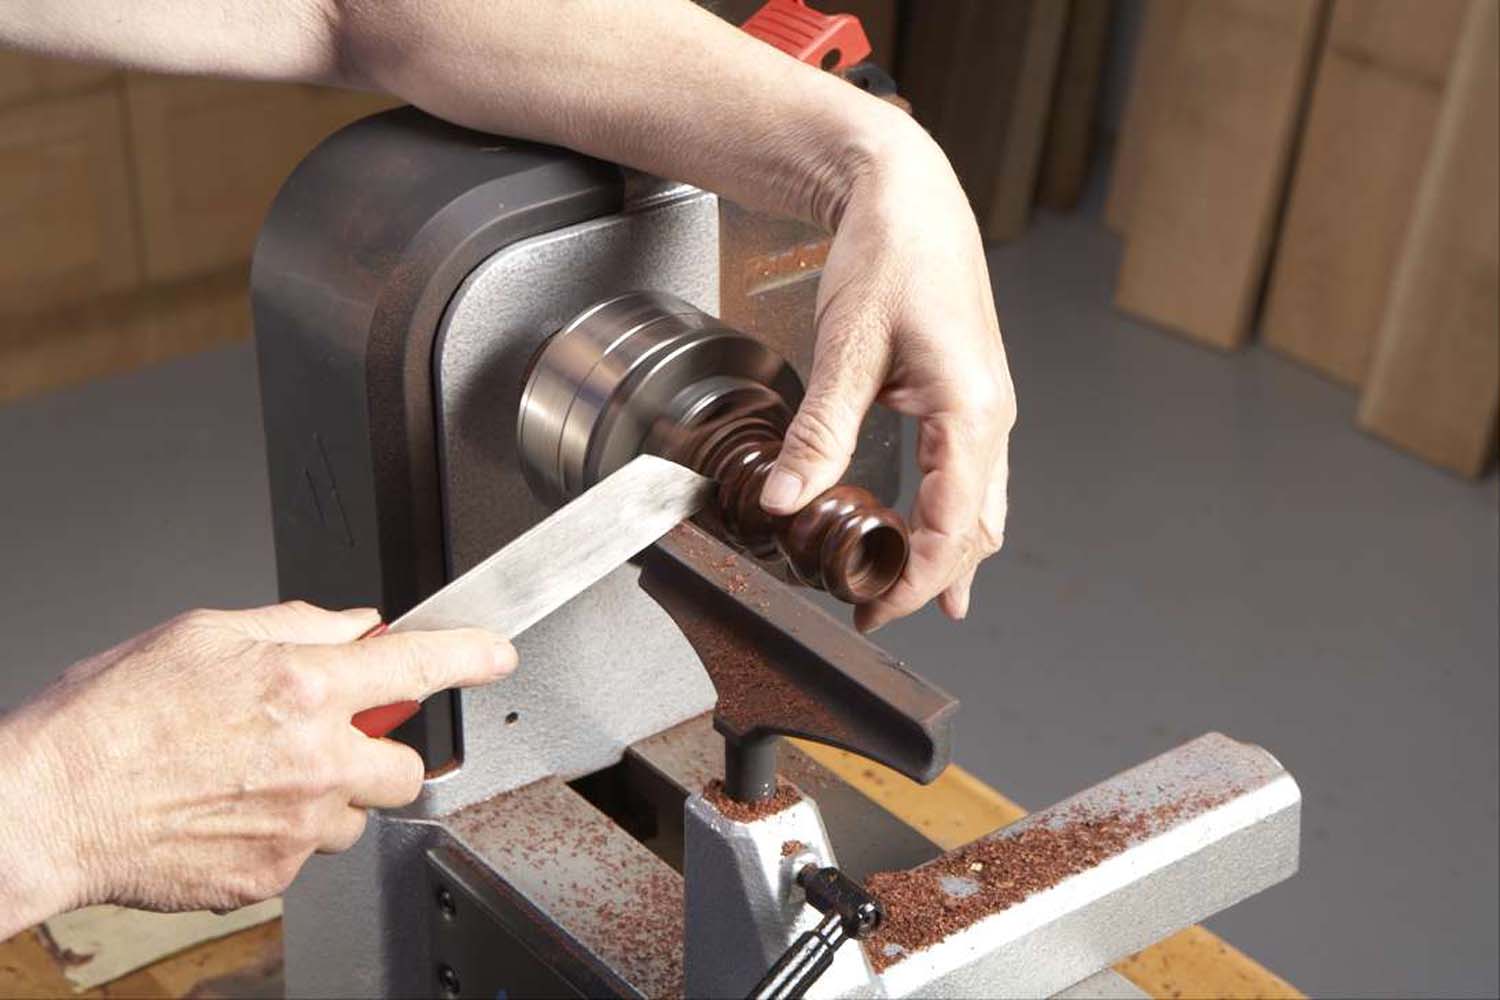
Photo 6. Cut the handle from the waste block after sanding it and applying the finish. Sand and finish the end after the handle is cut off.
Part off the finished handle (Photo 6). Then sand the parted end by hand and apply the finish. Use 5-minute epoxy to glue the brush head into the handle (Photo 7). To keep water from soaking into the end grain at the top of the handle, use a toothpick to apply a small bead of glue around the base of the brush head.
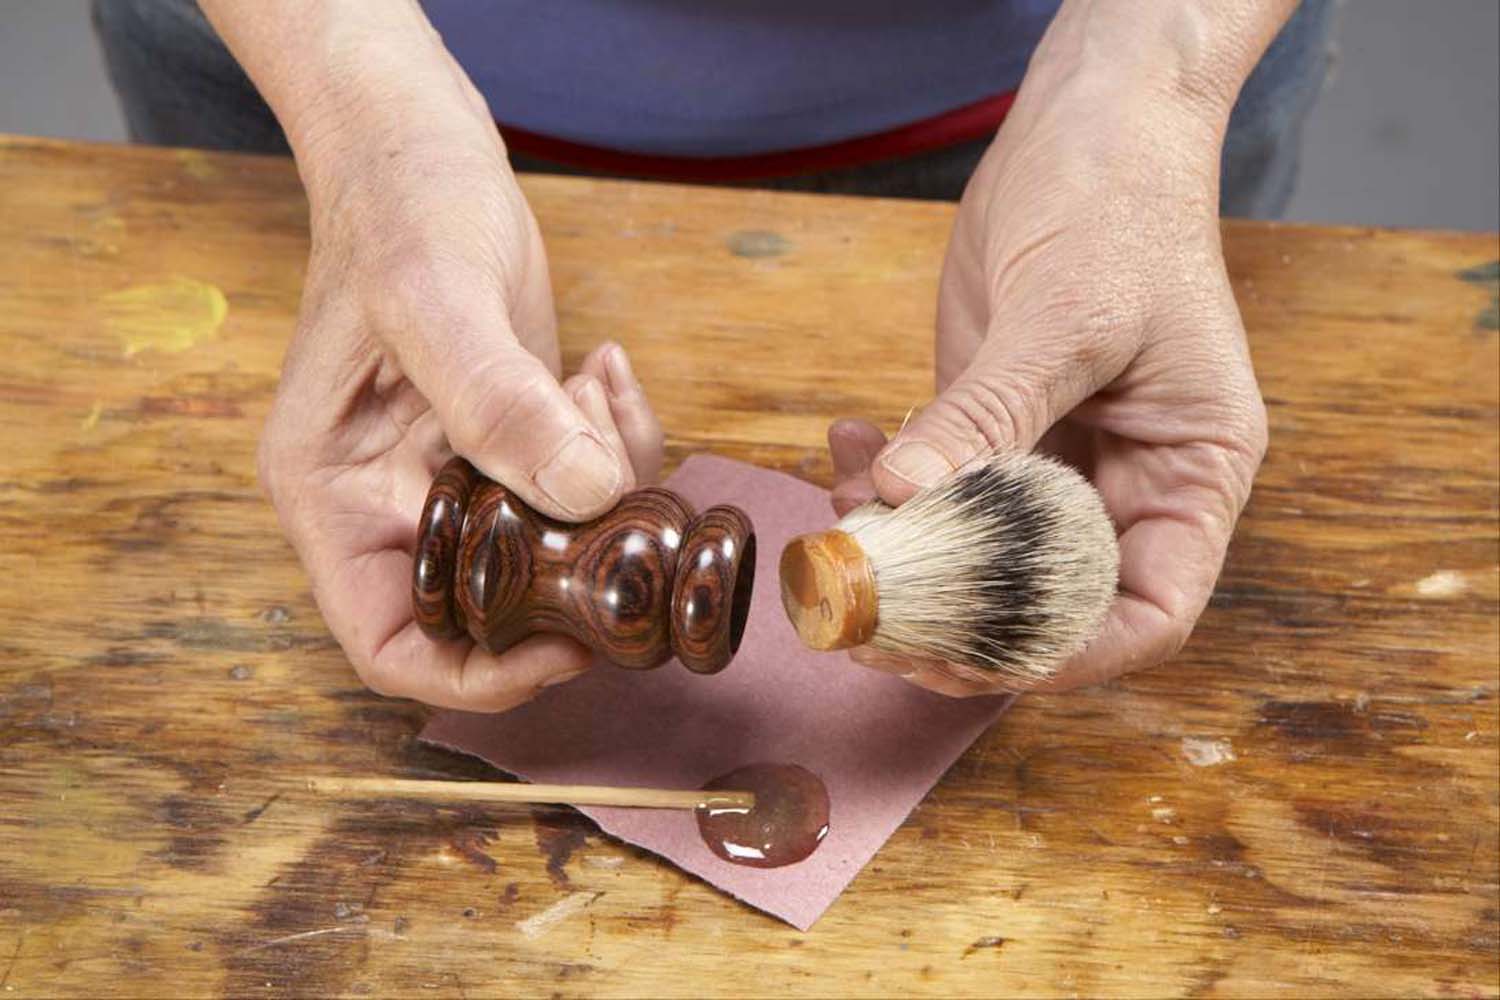
Photo 7. Glue the brush head (hair knot) into the handle using 5-minute epoxy.
Razor
The razor kit shown here is designed to hold Gillette Mach 3 blades. Other kits are available for different types of blades—including old-fashioned safety razor blades!
To make a handle for the razor, cut a 1″ square blank the same length as the brass tube that comes in the kit (2-5/8″ long, in this case). Mark the center of the blank at both ends. Then mount it on the lathe between centers and cut a short tenon on one end. Remove the blank and install the scroll chuck and the drill chuck on the lathe. Then remount the blank in the scroll chuck, using the tenon on its end and drill a centered 9/32″ hole all the way through it.
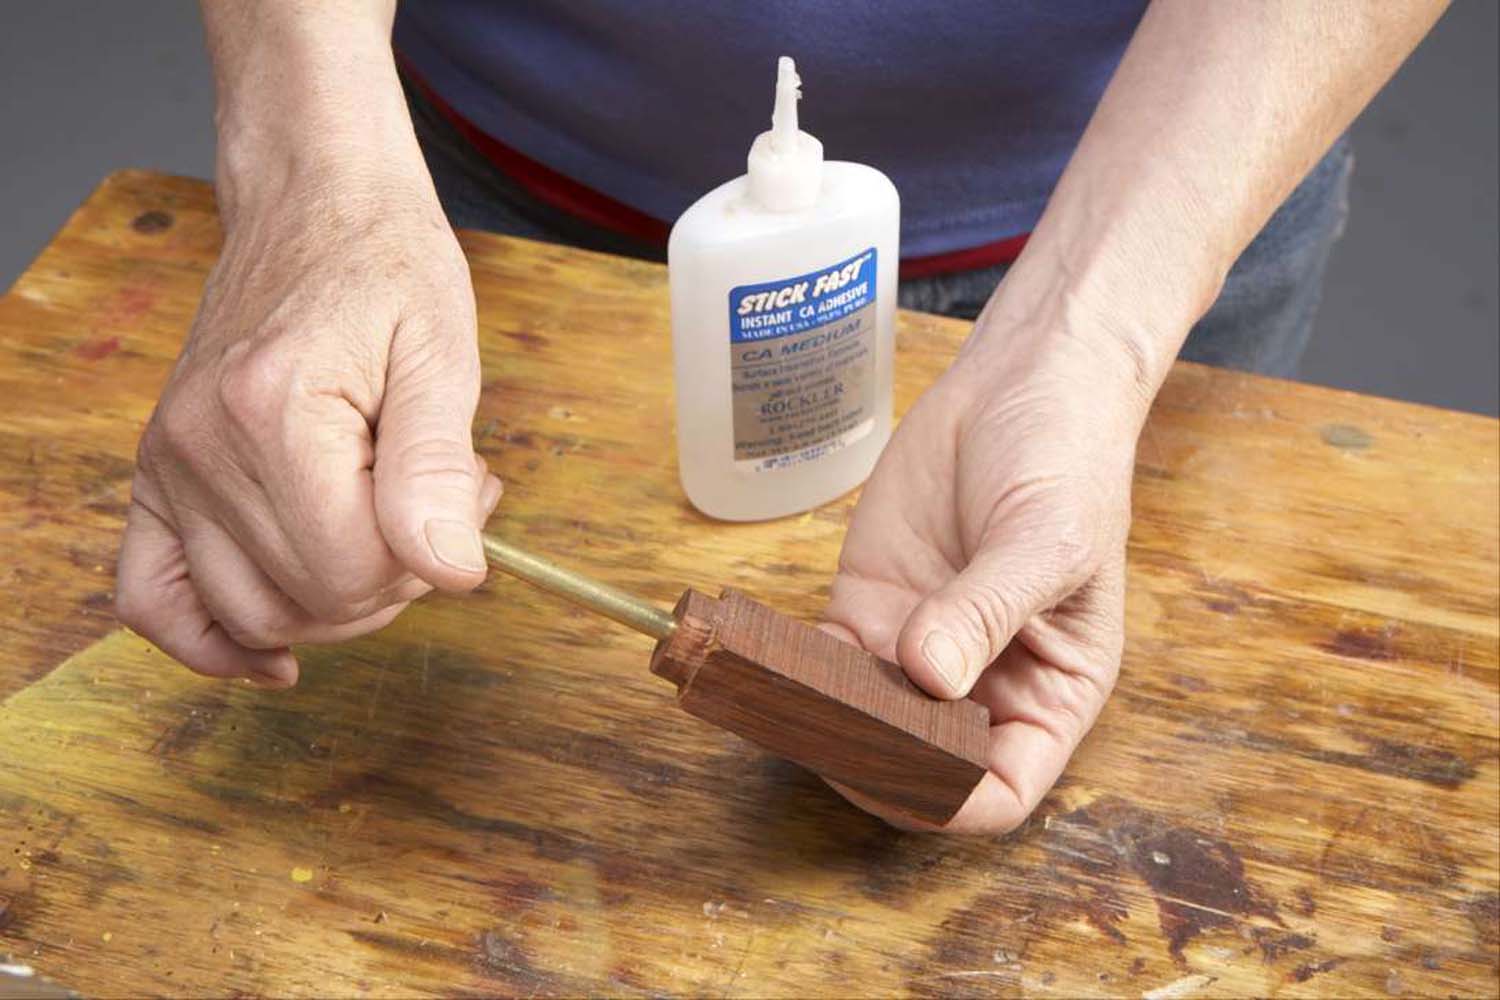
Photo 8. Glue a brass tube in a hole drilled through the razor handle blank. To spread the glue evenly, apply it to the tube and then spin the tube as you slide it into the hole.
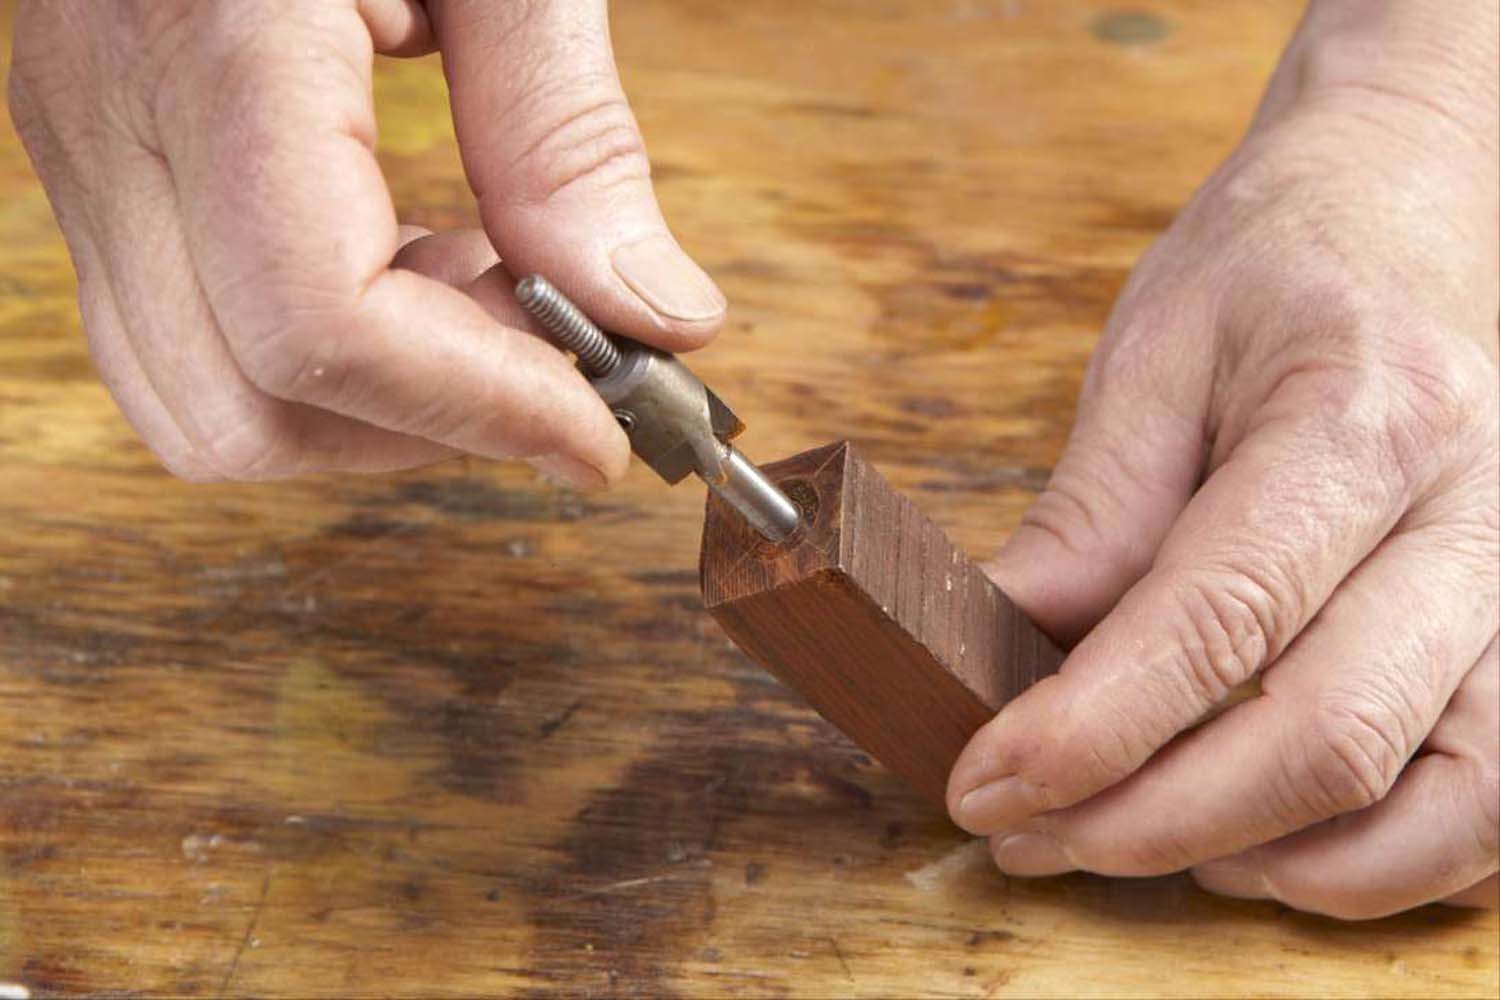
Photo 9. Flush the ends of the blank with the brass tube using a 7mm barrel trimmer.
Remove the blank to glue in the 8mm brass tube. Either super glue or 5-minute epoxy will work (Photo 8). Use a 7mm barrel trimmer to square off the ends of the blank flush with the brass tube (Photo 9). Mount the blank on a 7mm pen mandrel with sizing bushings installed at both ends. Shape the handle with the detail/spindle gouge (Photo 10). Swelling one or both ends makes the handle easier to grip. Turn both ends down to the bushings. Then finish-sand the handle and apply wax or the wipe-on finish described above.
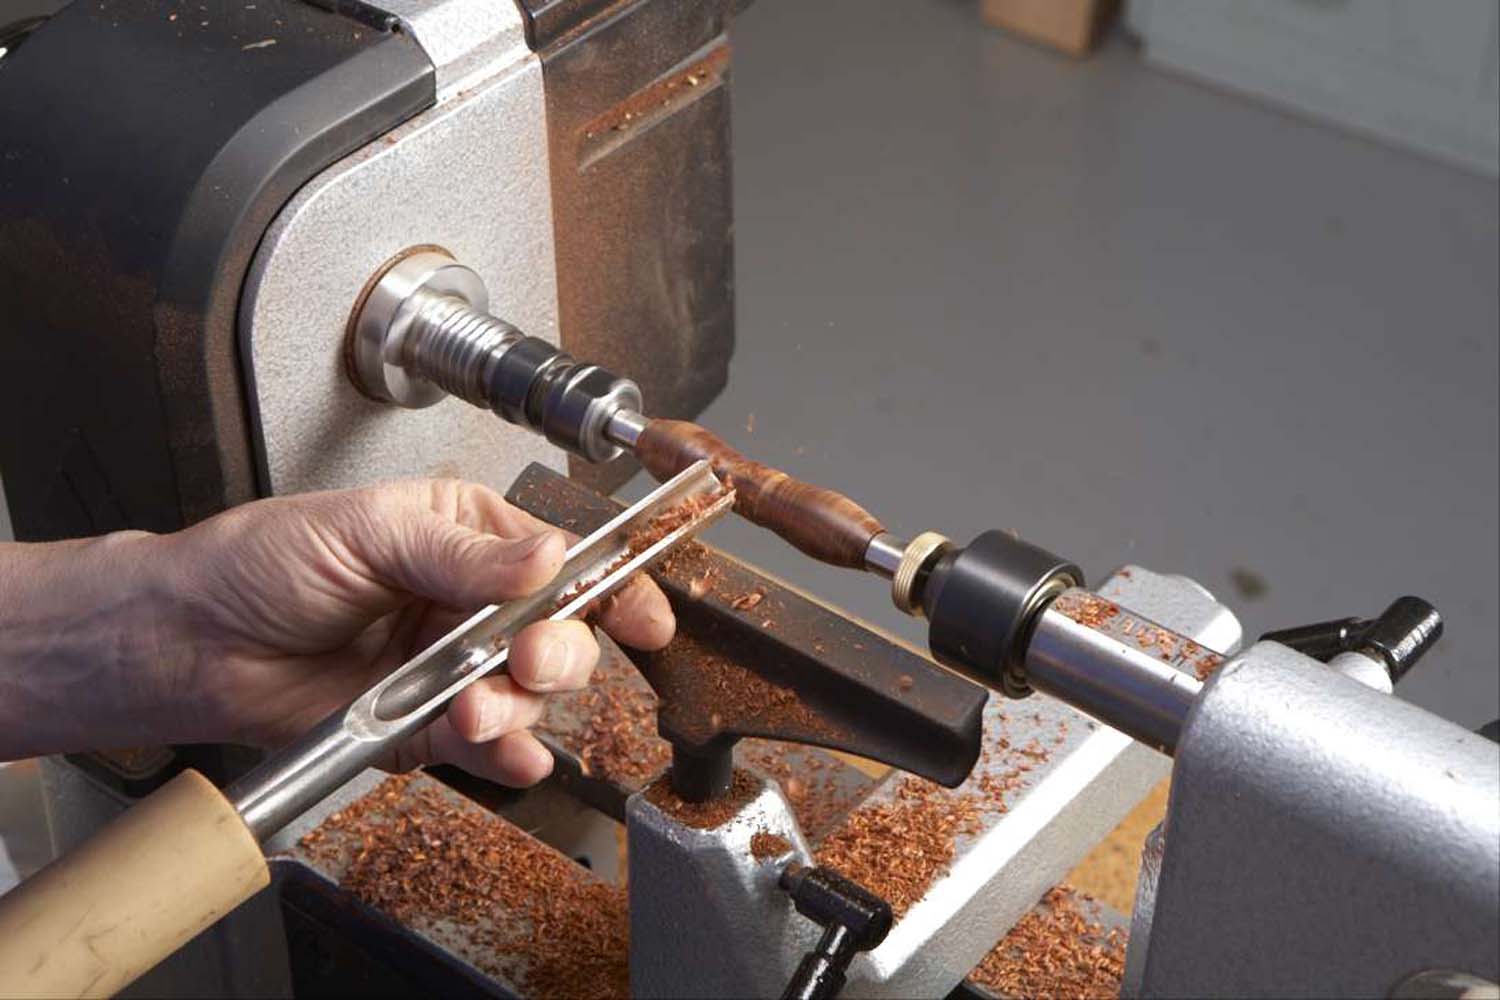
Photo 10. Shape the handle after mounting the blank on a pen mandrel between specialized sizing bushings. Turn both ends down to the bushings. Then sand and apply the finish.
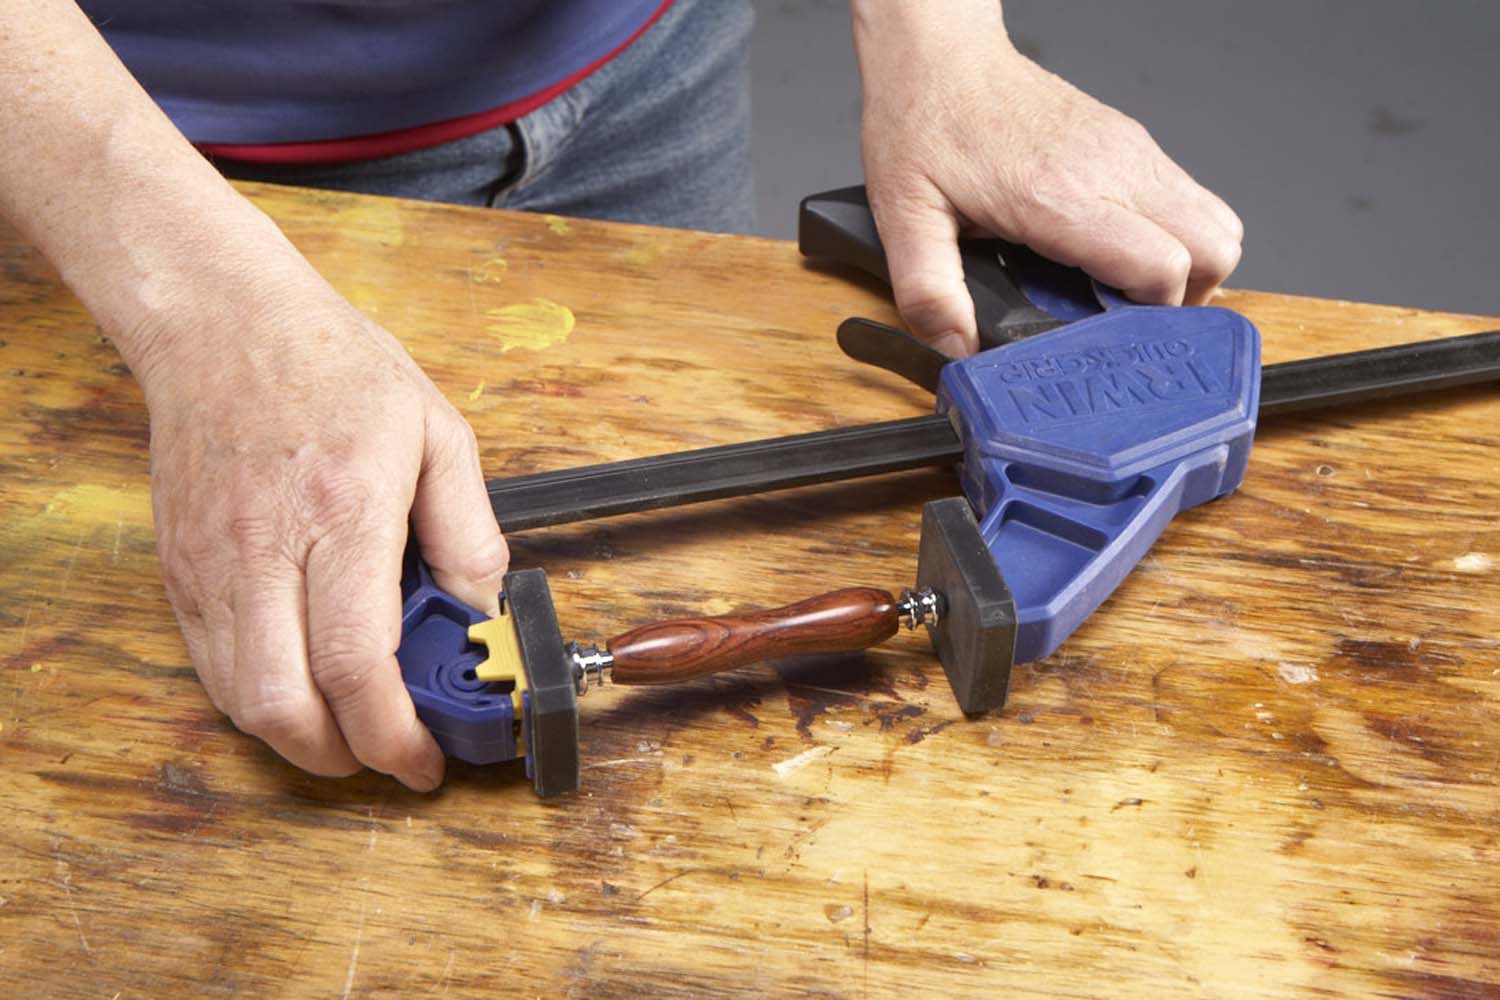
Photo 11. Install the coupler and lower cap by pressing them into both ends of the handle.
Before assembling the razor, screw the razor holder all the way into the coupler and install a set of blades. Place this assembly on a flat surface and position the handle behind it with its grain oriented for the most pleasing appearance—with the annual rings at top-dead-center, for example. Gently press the coupler into the handle until it stays put; then remove the blades and the holder and install the coupler and lower cap (Photo 11). All that remains is to clip the blade onto the razor holder (Photo 12).
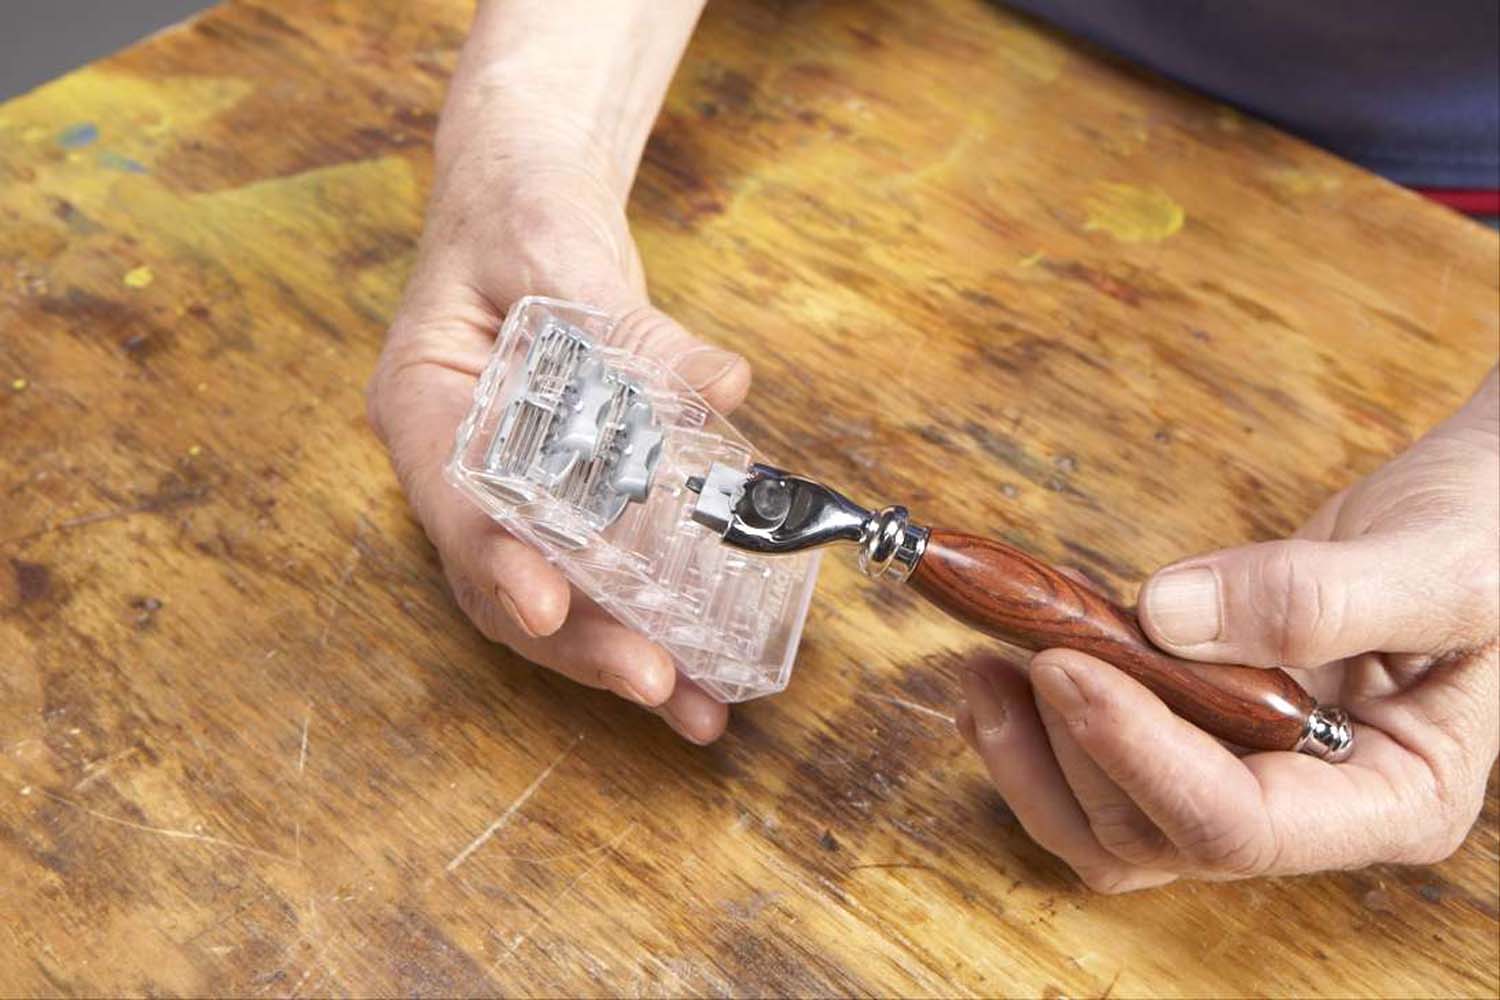
Photo 12. Blades clip onto the razor holder, which screws into the coupler.
Brush Care
- The brush may shed some at first. This is normal.
- The brush head is sterilized. Don’t boil it in an effort to clean it.
- Don’t use excessive pressure when you lather up; so doing will break brush hairs and cause shedding.
- Rinse the brush well after use and shake it to remove soap and excess water.
- Let the brush air-dry on the stand with its bristles facing down, so water doesn’t seep into the handle. Don’t put a wet shaving brush in a shaving bag or other enclosed space.
Bio
Mary Lacer has been turning wood for over 30 years. She has taught in a number of turning programs across the country and lives near River Falls, WI.
Here are some supplies and tools we find essential in our everyday work around the shop. We may receive a commission from sales referred by our links; however, we have carefully selected these products for their usefulness and quality.