We may receive a commission when you use our affiliate links. However, this does not impact our recommendations.
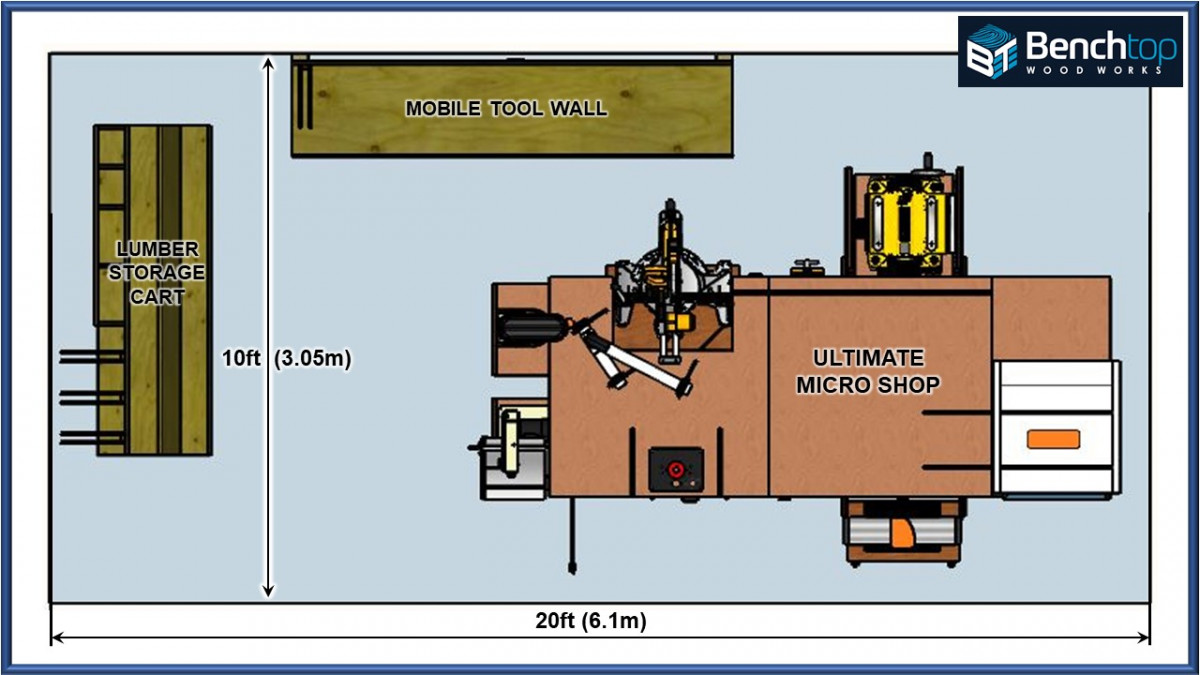
 My shop is in a single car garage bay that occupies approximately 10ft x 20ft (~3m x 6m). I designed my layout to be mover-friendly, while preventing many of the limitations that often come with working in a small space.
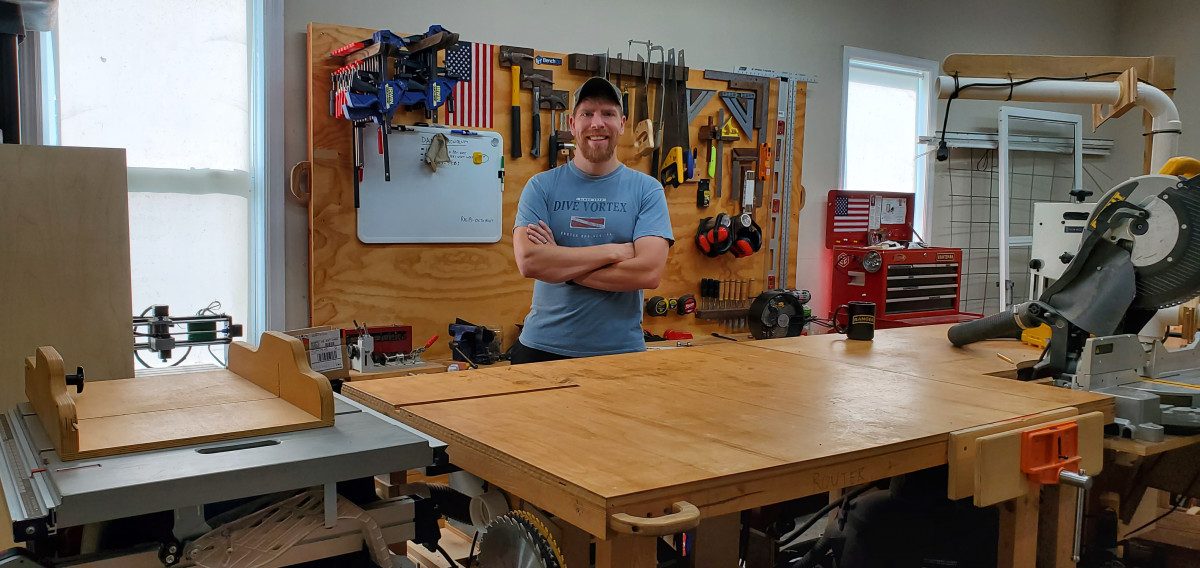
I grew up woodworking and apprenticing under my father. He was a shop teacher for 33 years, and a woodworker his entire life. Some of our best memories were in the shop and on the jobsite. I’m a life-long student of the craft, and I love learning from others. I’m a mechanical engineer by training, but leader by trade. I’ve moved around six times during the past ten years for my job in the Army. I’ve renovated several houses and built pieces of furniture for family, friends, and customers along the way. Making has always been my creative outlet, and keeping some form of workshop is important to me.
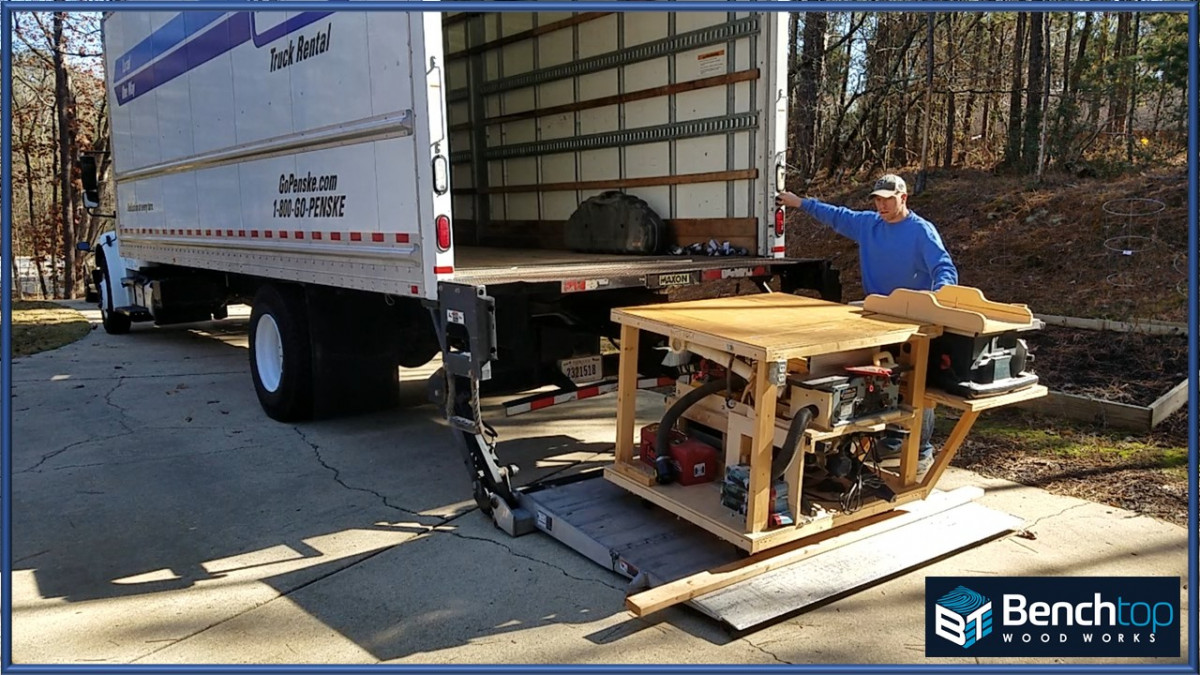
 It’s not easy to keep a shop that’s both fully capable and moves easily. I designed my layout to achieve most of my needs and still fit within a single-car garage bay. I’m absolutely obsessed with workflow, engineering design, and process optimization. In 2012, while stationed in Alaska, I made it my mission to design the most space-efficient garage shop I could come up with. I spent several years planning and sketching my current shop layout in the back pages of my Army notebooks. We had a single car garage at the time that forced me to shove all my tools to the side and rear to park in the garage.
When I set out to refine my shop, I considered the priorities below. I ultimately decided to build all my primary tools into one bench. My original intent was NOT to build an all-in-one type bench; in fact, I used to think those types of layouts were short-sighted and flawed. The early versions I saw on Pinterest etc. always seemed to have interferences that would limit the capabilities of one or more of the machines in a fundamental way. Some designs had ‘clever’ storage mechanisms, but I saw that as impractical for quick transitions between machines …or just as time intensive as rolling a cart out from along a wall.
Original design goals for the layout:
1. Occupy a single car garage bay. I wanted to be able to park a vehicle under-roof in a two car garage.
2. Minimize setup time. I wanted to have most of my tools and machines organized and ready to go. I needed to make the most of the free time I had working, rather than setting up and cleaning up.
3. No artificial limitations. I didn’t want to have interferences between any of the machines for standard operations. I thought working at each machine should feel like a dedicated workstation and also allow the full potential uses of each machine.
4. Mover friendly. I move…a lot. My shop must break down for moving.
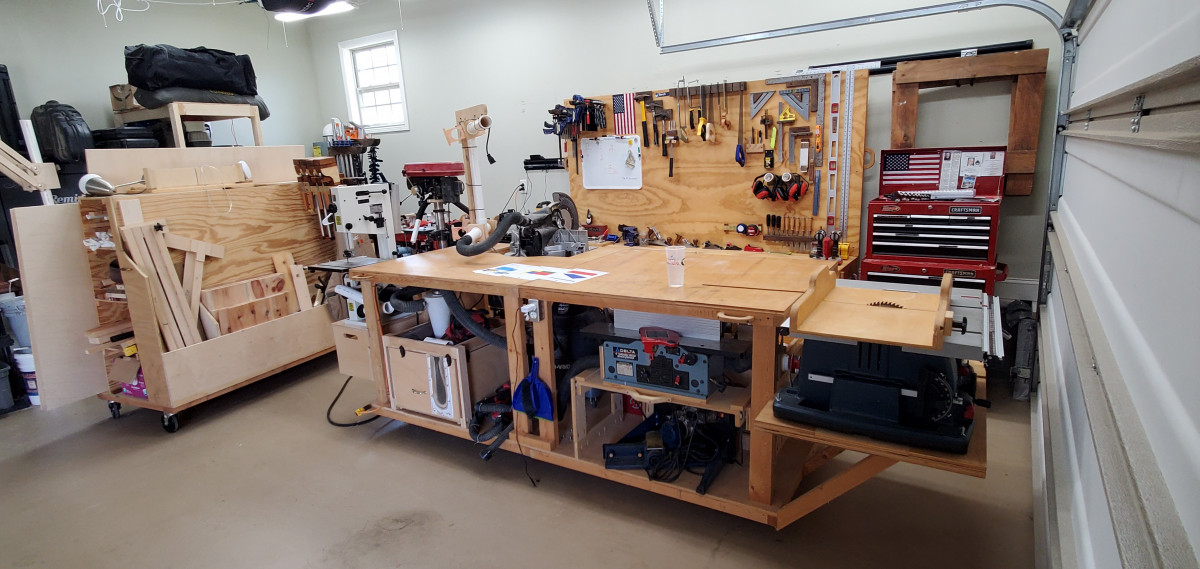
5. Integrated power and dust collection. All my machines are plumbed and wired on my existing bench. I didn’t necessarily want everything mounted to one bench, but transitioning electrical and dust collection had to be seamless.
6. Modular. Life happens, things change, machines break or improve. I need my shop to adapt. After deciding on a single cart, I felt keeping the cart open and accessible preserved the most flexibility.
 As I thought through my goals of keeping a functional shop with shared power and dust collection, I couldn’t help myself from thinking that there might be an arrangement for a mobile bench that might work. I wanted to accommodate my full array of benchtop machines without annoying interferences or limitations. I realized there were also benefits to having shared outfeed and space.
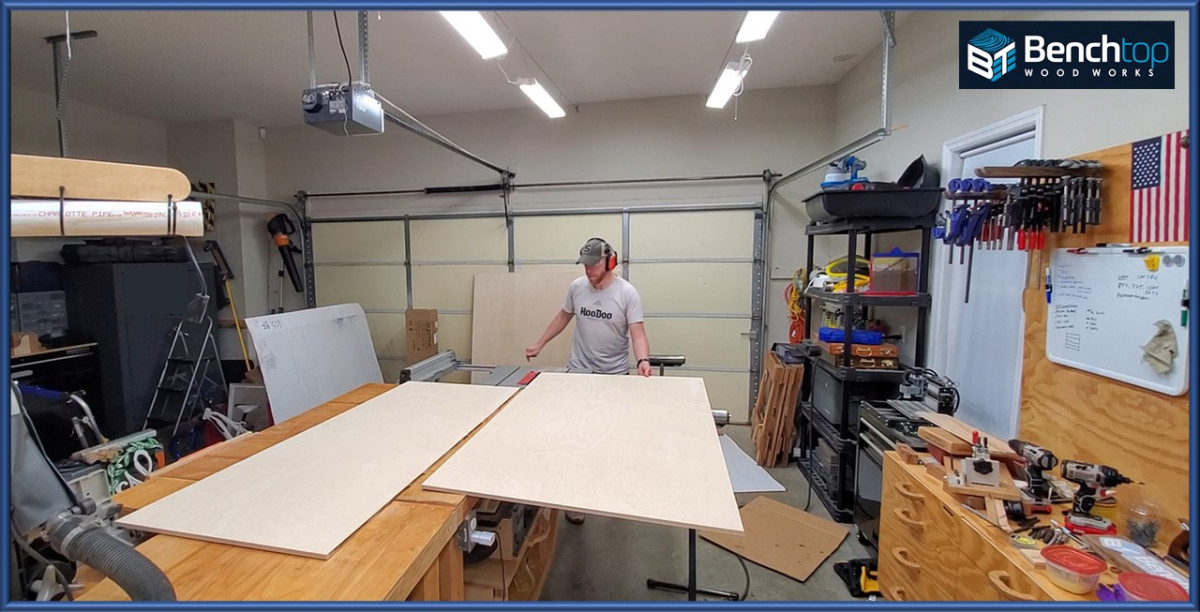
In early 2013, I began to sketch several versions of layouts and compare the benefits and trade-offs of each. I quickly determined that keeping the primary runs of each machine parallel was critical. Locating machines on the perimeter of an eight-foot table allowed me to maximize the capacity of each while minimizing interferences. The shared central space allowed for a long outfeed for each machine in the same shared footprint. Similarly, dust collection and power could be centralized and remain hooked up, similar to a full-size shop.
 My next task was to determine the optimal location for each machine. I set about sketching literally every possible layout that I could come up with to integrate a table saw, jointer, planer, drill press, router, bandsaw, and miter saw with power and dust collection. I tried to consider the full range of cuts for each machine and allow for full-size materials through each. I also planned the cart to break down for moving. Over time, I also realized that many of the principles I had worked with were scalable to larger shops. They are also commonly observed in production workflows.
Plenty of outfeed space for the table saw.
The following is a list of key ways to maximize usable shop space. I think these can apply to most shops, independent of shop size and type of work. These concepts were central to my own design, and I think each is critical for preserving usable work space. I have observed them in use from garage shops to commercial production lines:
1. Keep the long axes of machine runs & workflows parallel. Consider interferences between machines.
2. Align “dead-space” or non-usable parts of machines adjacent to each other.
3. Think “3-D”. Make sure you maximize the cubic space you have. Store or mount things under and above benches or work areas, or high along walls.
4. Mobility is key. The more things are on wheels or movable, the more flexible your workspace can be to adapt to specific project needs.
5. Plan for assembly space and tool storage. Keep assembly areas and tables central to the workspace to allow for parts to move from one operation to the next efficiently.
 In 2015, I was encouraged to share some of my experience and passions for teaching, woodworking & doing so in a ‘small’ footprint. This was when I launched my business (aka publicized my hobby), Benchtop Woodworks via YouTube, and my website. The ‘business’ centers around designing solutions and plans to help other woodworkers make the most of their spaces. I’ve developed a simple and freely available shop layout guide to help you create a digital diagram of your own space, or re-arrange it virtually with scale templates. I also write and produce instructional material to teach the fundamentals of shop safety on my woodworking resources page. Selling some of my plans helps me keep my website going and justify the time I spend editing.
Thank you for taking the time to tour my shop. I hope you gleaned a few tips to help you maximize your shop space! I am extremely passionate about helping other woodworkers however I can.
All of my links to my free shop layout guide, videos and other resources can be found here.
Here are some supplies and tools we find essential in our everyday work around the shop. We may receive a commission from sales referred by our links; however, we have carefully selected these products for their usefulness and quality.