We may receive a commission when you use our affiliate links. However, this does not impact our recommendations.
Three quick steps to a silky-smooth finish.
Brushed-on finishes such as varnish provide superior protection, but they dry so slowly, airborne dust and renegade hairs are almost sure to settle on the damp surface. Fortunately, the process I use to remove these minor imperfections is both fast and simple—the table top shown here took less than 10 minutes to complete—and it leaves the finish looking and feeling like nobody’s business. The trick is to apply a low-sheen finish, let it dry thoroughly and then use a gentle touch and the appropriate fine abrasives to rub it out.
Rubbed-out vs. hand-rubbed
While the terms are similar, a “rubbed-out” finish and a “hand-rubbed” finish are distinctly different. Abrasive rub-out methods are typically used on film-building finishes that are susceptible to debris getting stuck in the film as it dries. A hand-rubbed finish usually refers to a wipe on/rub off process that does not involve building a film above the surface of the wood.
Rubbing a film finish with fine abrasives allows you to subtly control how light is reflected, for a warmer, more inviting and refined appearance. Using fine abrasives to remove minor imperfections in the finish will also give your project an elegant feel that makes it hard for people to keep their hands off.
Most rub-out methods include difficult, labor intensive processes with a fairly high level of risk that problems will occur. For example, the first step in many of these methods is “leveling the finish” to remove all the wood texture. This step is risky because it’s so aggressive. For anyone, even an experienced finisher, rubbing through the top layer of finish or even right down to the wood is a distinct possiblitly.
My rub-out method carries almost no risk, because leveling the surface isn’t required. Leveling is only really necessary when the goal is a high-gloss sheen, as in a “piano finish.” My method produces a satin sheen.
Start with satin varnish
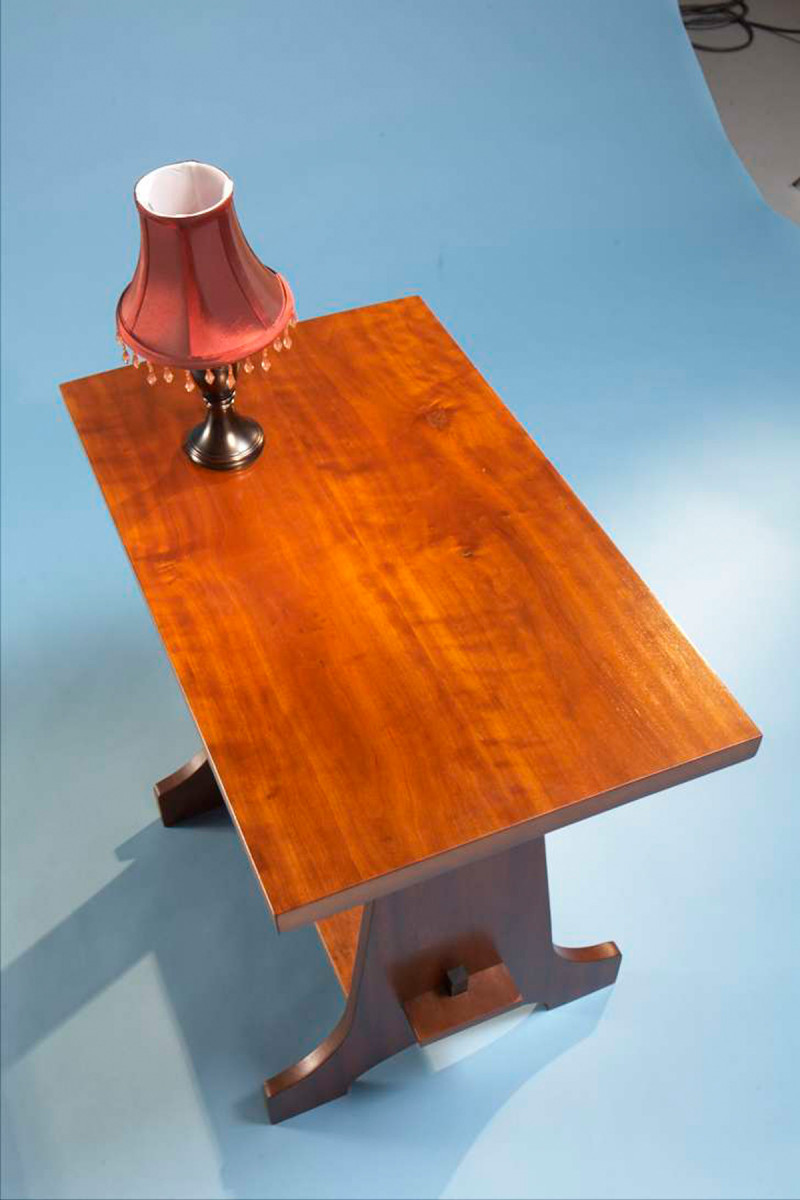
It’s important to start with a satin- or flat-sheen varnish, so that the pores and low spots in the texture of the wood don’t appear shiny after the finish has been rubbed out. The table shown here is made of figured cherry that has been finished with General Finishes Arm-R-Seal satin polyurethane, applied with a foam brush (see Sources, page 66). This product flows out nicely due to its thinner viscosity, so there are no visible brush marks to remove.
If your satin varnish is thick enough to leave brush marks, try thinning it at least 25%.
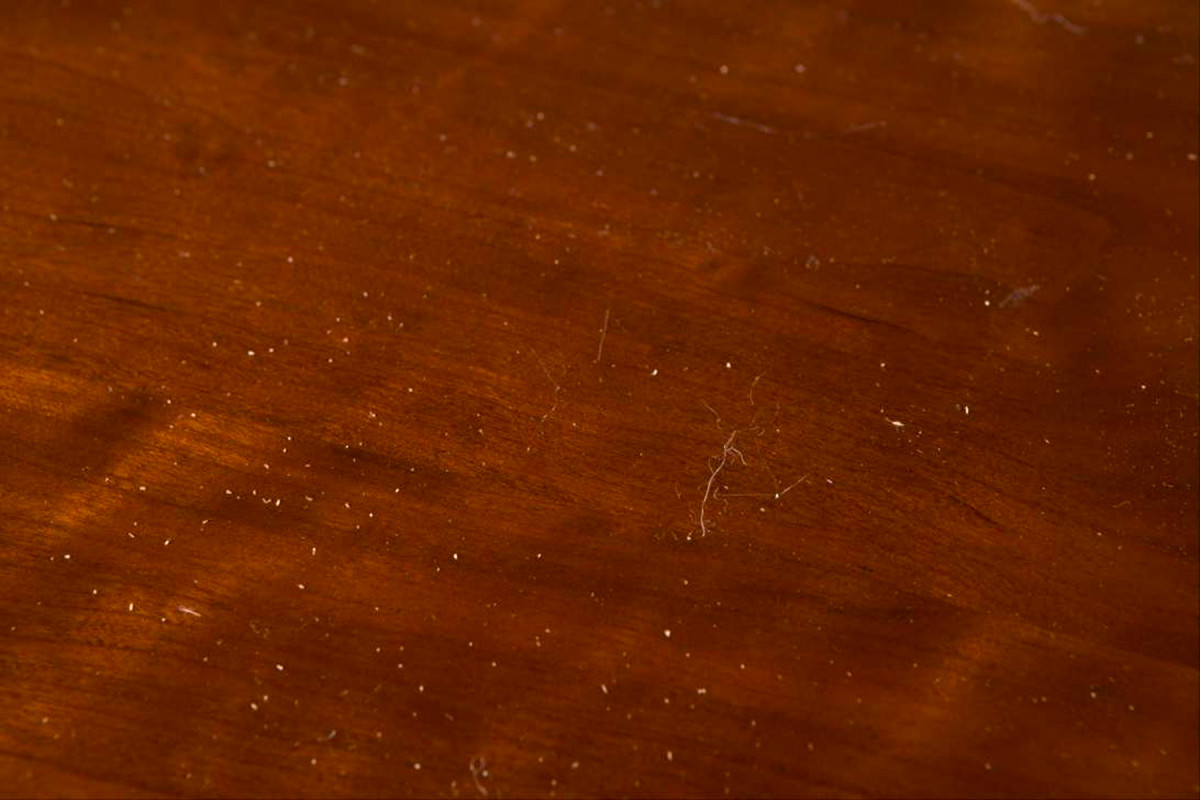
1. Embedded hairs and dust nibs are almost impossible to avoid with film-forming finshes. Removing these imperfections and creating a smooth, lustrous finish is easier than you might think.
I’ve applied three coats everywhere but the top, which has a fourth coat because it will be subjected to more wear and tear. Unfortunately, my dog stopped by to check things out while the last coat was still wet (Photo 1).
Before rubbing out the finish, you must allow it to dry for at least three days in optimal conditions (above 60 F with relative humidity at 50%), but it’s better to wait a week. Allow even more time when the relative humidity remains above 80%.
Silky-smooth in three steps
This rub-out technique has only three steps. There’s no reason to worry about the confusing range of abrasive sheets, pads, powders and compounds used in more involved processes. All you need is satin Arm-R-Seal, 400 grit or finer sandpaper, a felt sanding block, good-quality steel wool (made by Liberon or Briwax), and a few drops of dish soap. These products are available online or at woodworking specialty stores (see Sources).
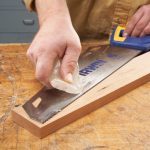
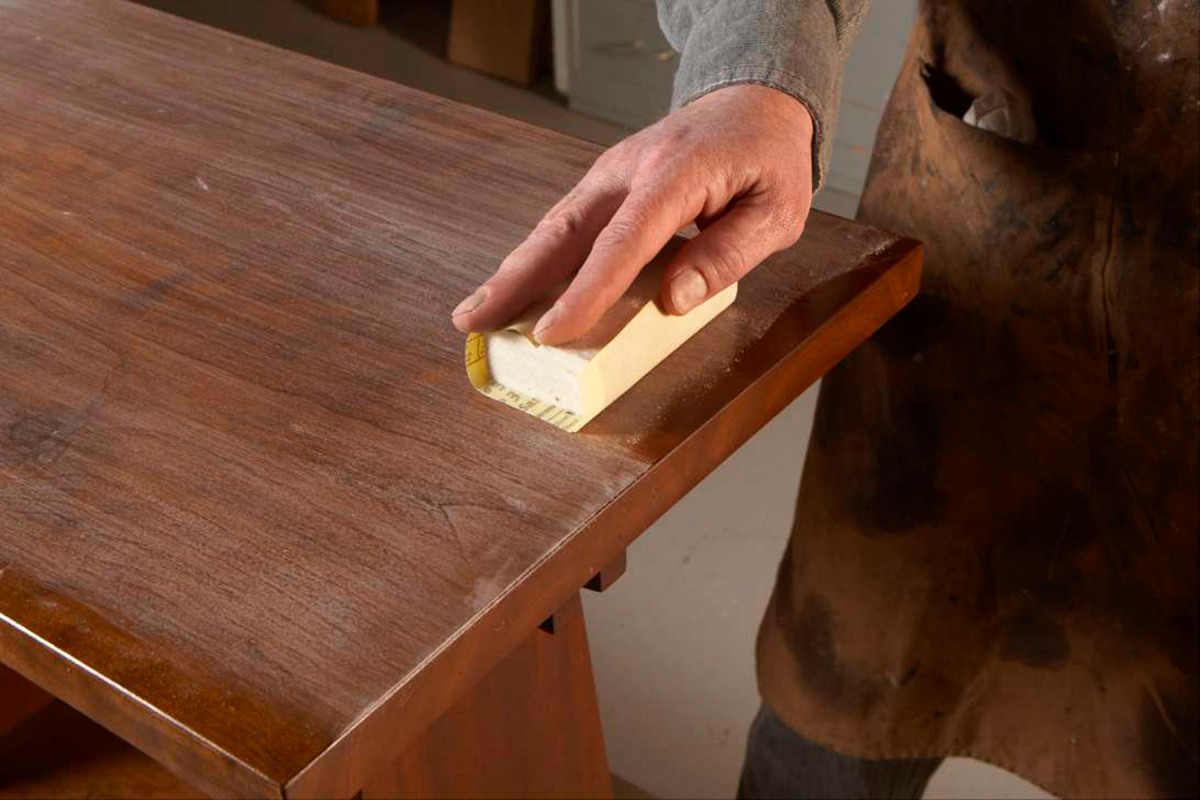
Step 1: Remove dust nibs, hairs and very small imperfections above the surface. Very fine sandpaper is the most effective tool for shearing off these buggers, because it’s important not to remove any more of your carefully applied finish than necessary. Use 400 grit or finer sandpaper cut to one-quarter sheet size (not torn with rough, scratchy edges). For consistent cutting action, wrap the sandpaper around a soft, pliable sanding block. The best blocks for this job are made of felt or neoprene rubber. (Neoprene blocks of assorted density and pliability are available through automotive suppliers.)

2. Start by sanding very gently with the grain using a felt block wrapped with 400 grit paper (or finer). Removing dust and hairs requires only a few strokes.
Sand very lightly with the grain to shear off dust and hairs (Photo 2). This process requires very little pressure—maybe as much as the weight of your hand. It feels more like dusting or gentle cleaning than sanding. It doesn’t take long, either. Two or three strokes will often do the trick.
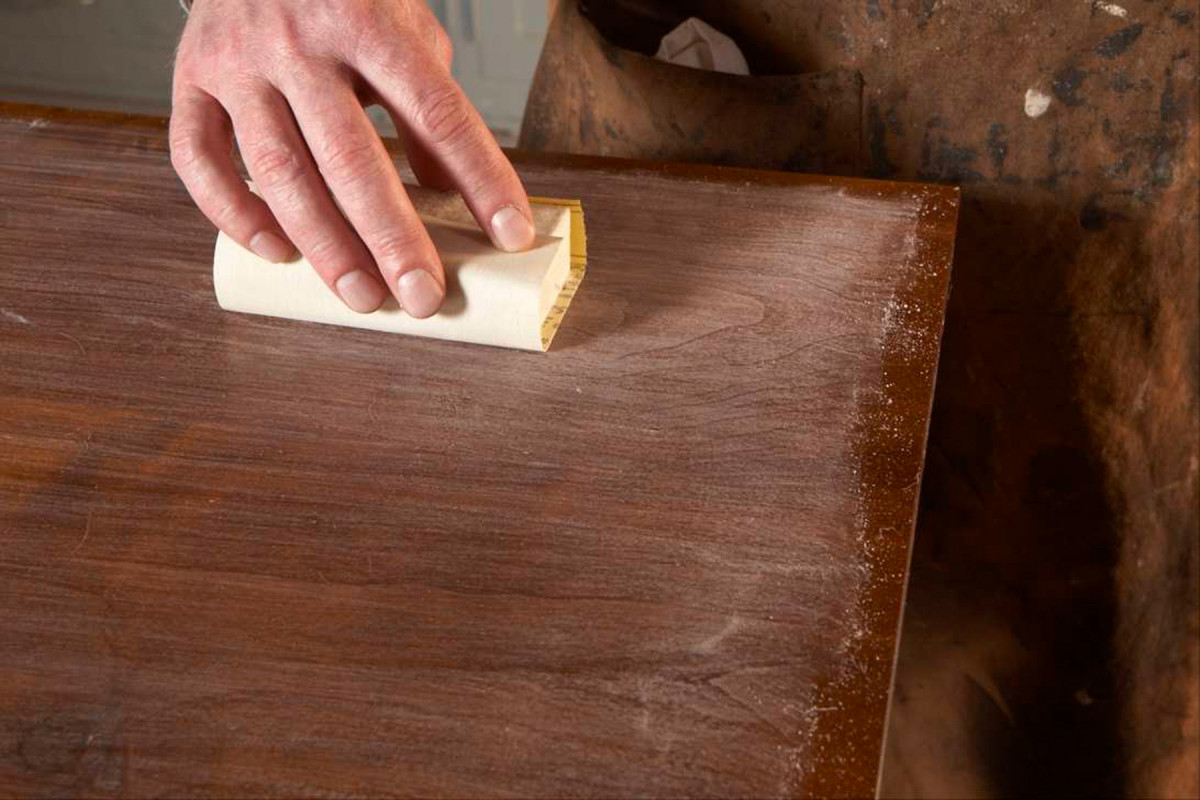
3. Consistently work the surface while carefully staying about 1/2″ from the edges. Sanding gently leaves smaller scratches that are easier to remove.
Applying the minimum amount of sanding pressure keeps the sanding scratches as small as possible. Pushing down harder than necessary creates bigger, deeper scratches that require more work to remove in the steps that follow. Feel the surface as you go and stop sanding as soon as it feels smooth. Completing this step on an average-size dining room table should take between five and ten minutes.
4. Sand to the ends using two or three short, light strokes, lifting at the end of each stroke so you don’t cut through the edge.
In all three steps of this process, it’s best to work carefully to within about 1/2″ of the edges to avoid cutting through (Photo 3). Then finish the work around the edges separately and cautiously (Photos 4 and 5). Consistency is very important for an even sheen. Wipe the surface clean with a damp cloth. You should see a consistent visible scratch pattern that shows on the high spots in the texture of the wood.
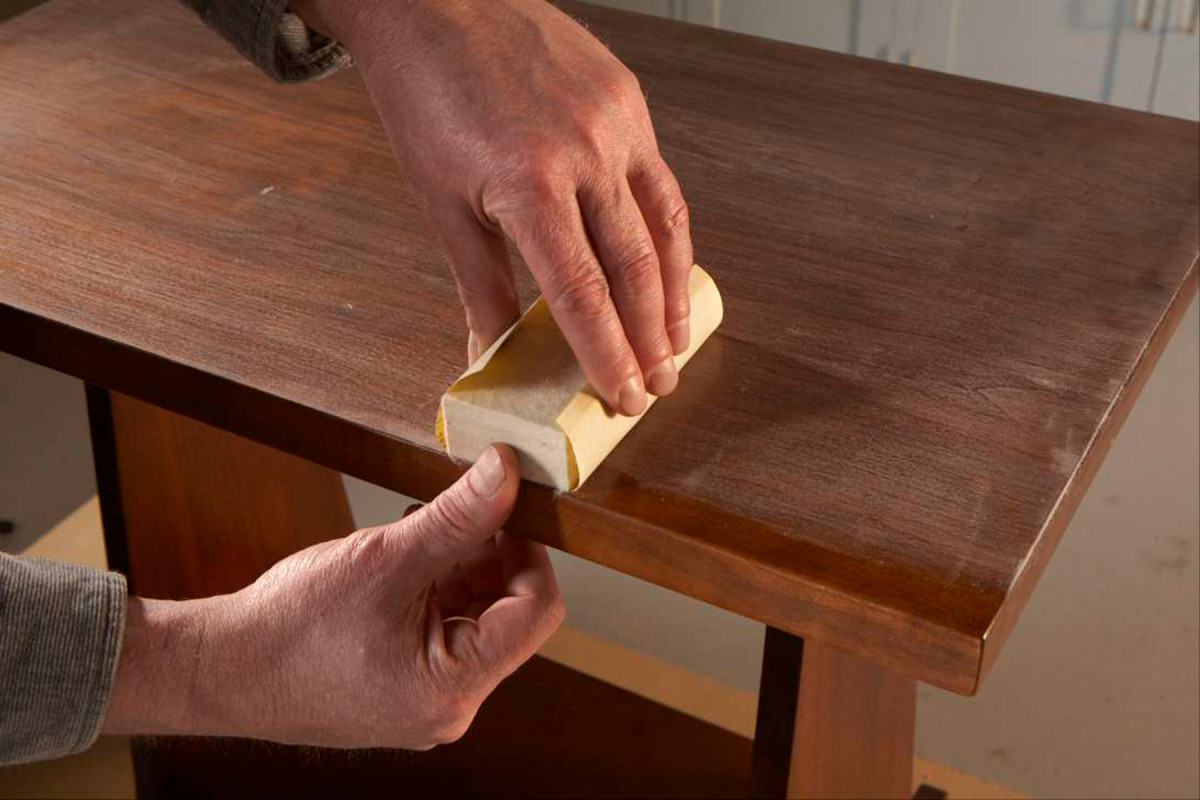
5. Sand to the sides, working with the grain and using your thumb as a guide to keep the abrasive away from the vulnerable edge.
Step 2: Remove the visible scratches from sanding and replace them with smaller scratches. For this step you must have good quality #0000 steel wool that’s specially made for rubbing finishes.
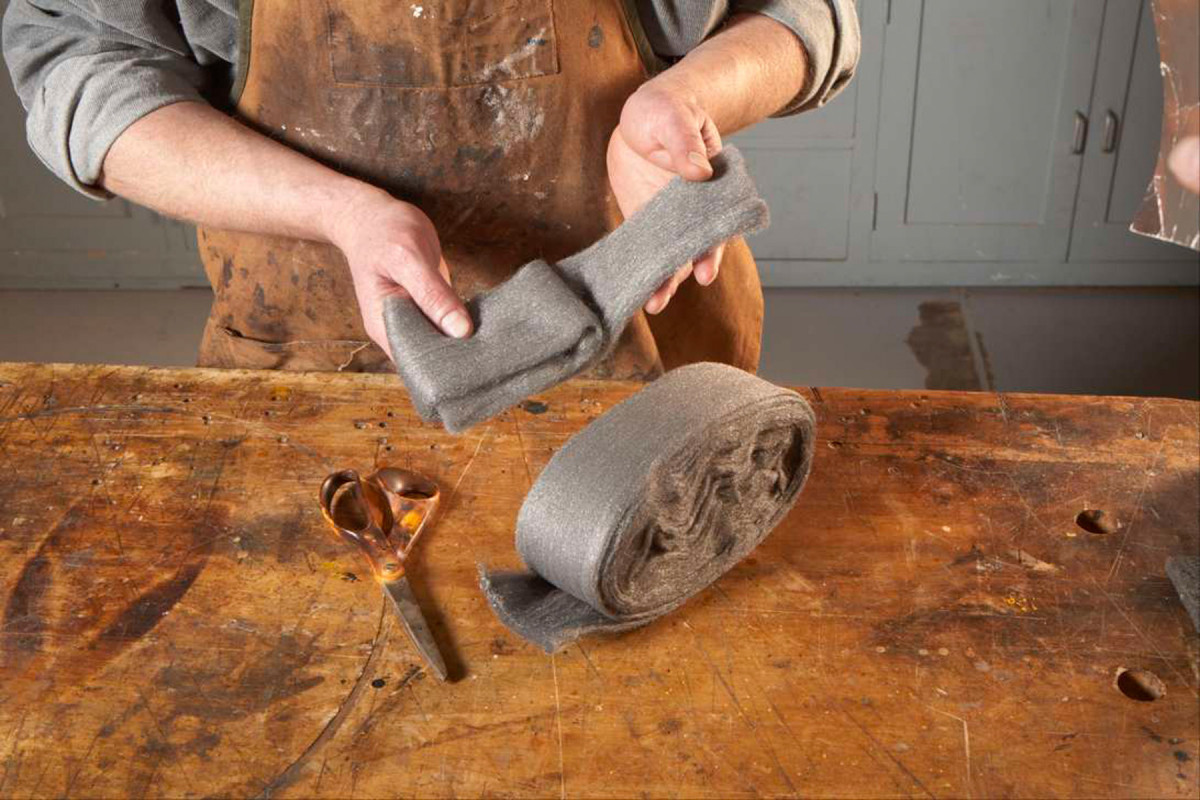
6. Carefully cut and fold good-quality #0000 steel wool to make a consistent abrasive pad. Folding the wool allows you to renew the cutting surface by unfolding fresh layers.
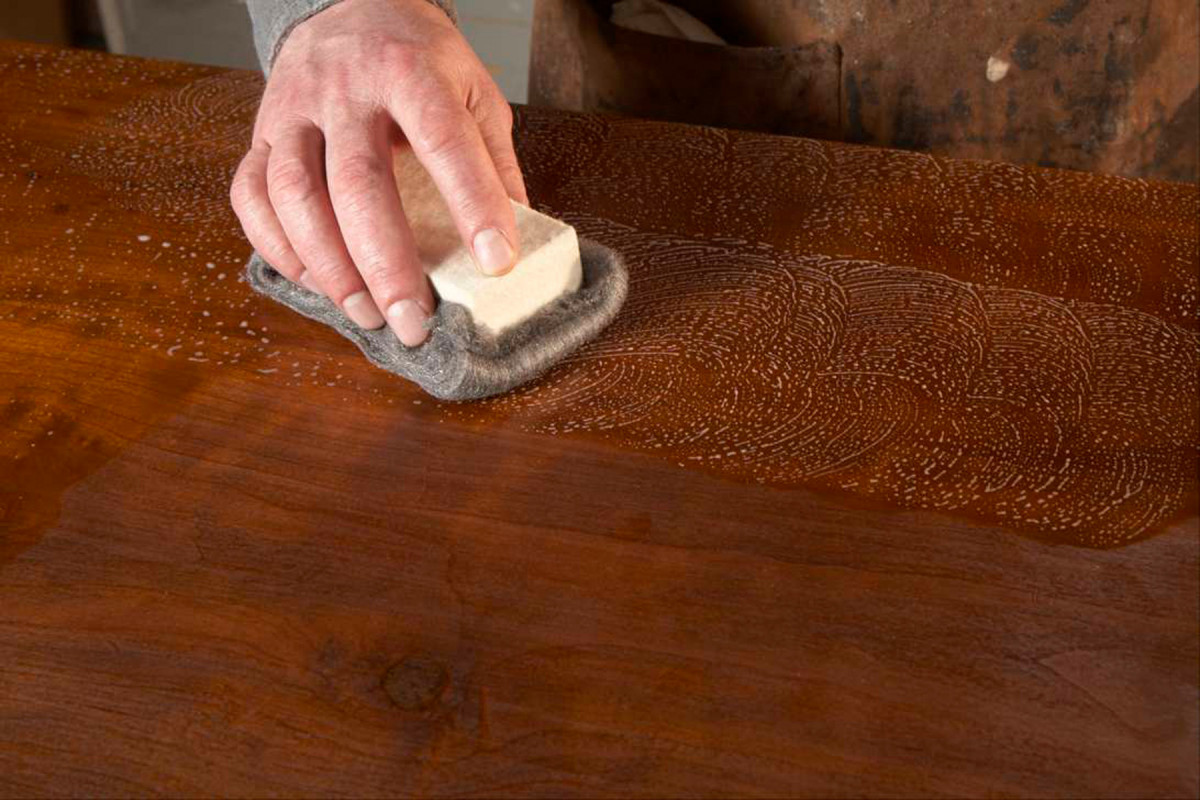
It’s important to cut and fold the steel wool carefully to create a good, consistently-abrasive surface (Photo 6). An 18″ to 20″ length of wool folds into an effective four-layer pad. Use your felt or neoprene block to back up the steel wool. As with the sandpaper, this provides a much more even and gentle cutting surface. Work the surface carefully and consistently to create an even appearance (Photo 7). As with the first step, this step requires very little pressure. Once again, save the edges for last. Wipe clean with a damp cloth. This step should take 10 to 20 minutes.
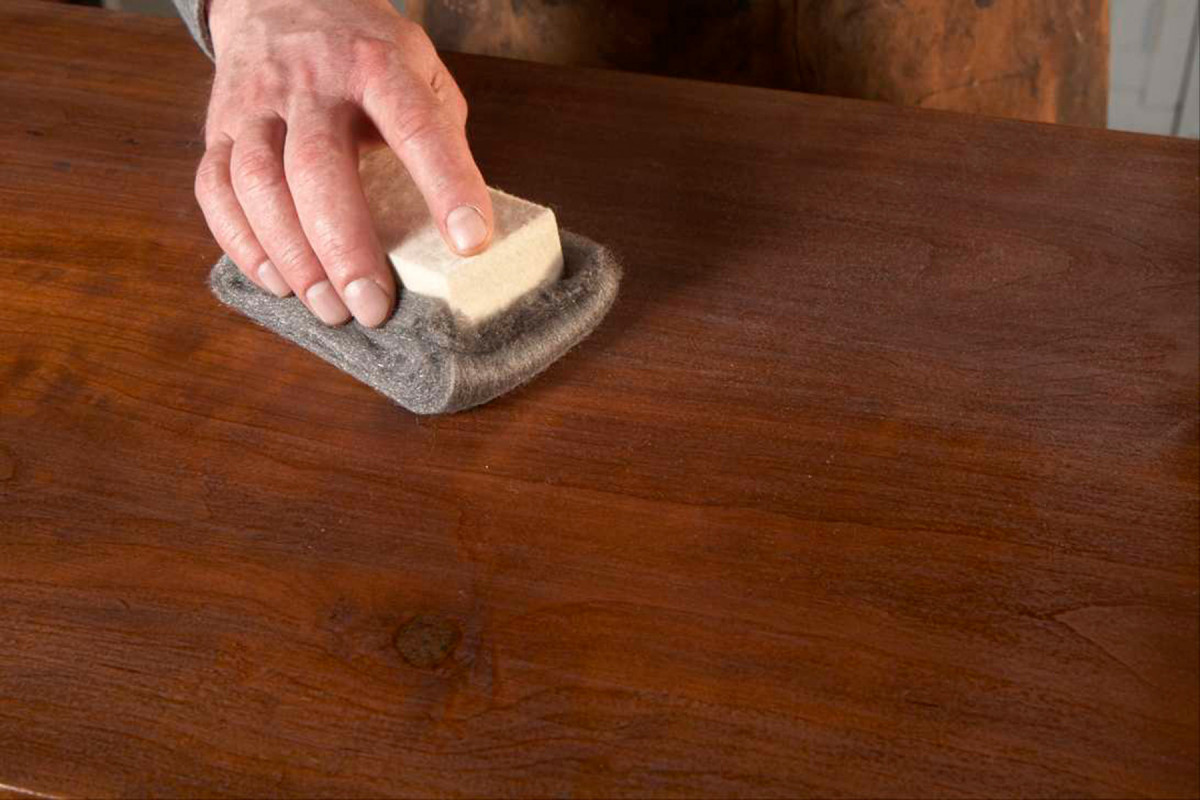
7. Remove the sandpaper scratches by working with the grain using the steel wool. Back the wool pad with the felt block to create a more consistent rubbing tool.
To rub turned legs or shaped moldings, use the sandpaper on only the straight portions. On the shaped portions, skip the sanding and go straight to the steel wool (Photo 8).

8. Go straight to the steel wool on the shaped portions of turned legs and moldings. Be careful to avoid cutting through delicate edges. It’s OK to sand the flat portions, but stop short of any curves.
Step 3: Remove the scratches made by the dry steel wool and replace them with scratches that aren’t visible to the human eye. Scratches that are easily visible create a hazy appearance. Moving from these scratches to scratches so small they’re not detectable is what makes this step different from the first two.
9. Finish the job with a fresh wool pad, soapy water and a circular rubbing pattern. The lubricated wool removes the scratches from the dry wool and leaves no visible marks behind.
Start with fresh steel wool prepared as in the previous step, with the soft felt block to back it up. Mix a couple drops of mild dish soap or hand soap in a small dish of water. Use just enough to get some suds going. Dip the steel wool in the soapy water or just sprinkle drops around on your surface. Work the wool in a circular pattern using the same gentle approach as in the first two steps (Photo 9). Add a drop of soap to the surface anytime you need more suds. Move across the surface in an overlapping pattern. After one complete pass over the entire surface, repeat the pattern two more times, then wipe dry with clean, soft paper towels. Let the water evaporate and then carefully assess your progress. Repeat this last step as needed to create a consistent satin sheen. This step should take 10 to 20 minutes.
Types of Steel Wool
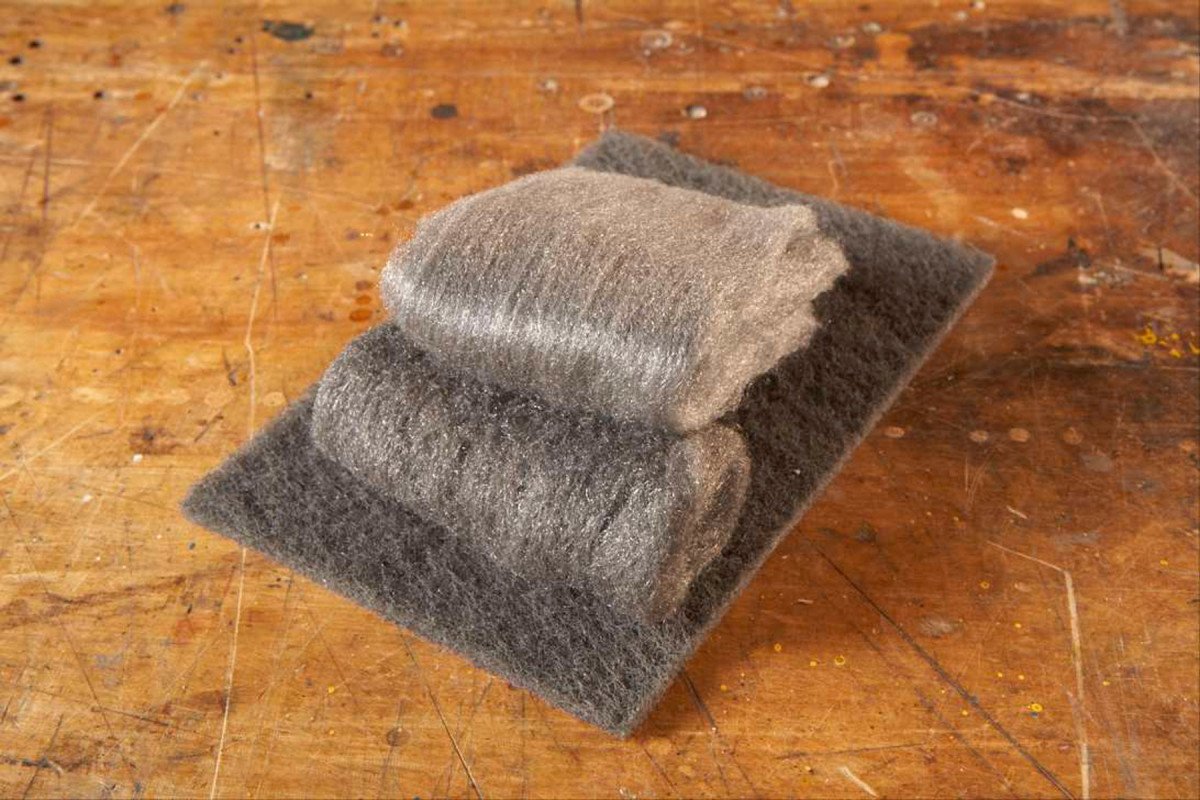
Top to bottom: Good, Long, consistent fibers. Ordinary, Short, inconsistent and crumbly fibers. Nylon, Matted, inconsistent fibers.
The fibers in good-quality steel wool are long and very consistent. That makes it far better for rubbing finishes than ordinary steel wool, because it provides consistent cutting action and produces a consistent scratch pattern. It also lasts longer. Good-quality steel wool is more expensive than ordinary wool and harder to find (see Sources, above).
Ordinary steel wool has shorter fibers that are visibly inconsistent. It often feels greasy with residual oil from the manufacturing process and it has a tendency to crumble.
A quick look at the cutting surface of a nylon abrasive pad shows that it’s significantly different from good-quality #0000 steel wool. Although it’s a useful finishing tool, a nylon abrasive pad isn’t appropriate for the process shown here, because it doesn’t cut the same way that good-quality steel wool cuts.
SOURCES
General Finishes Satin Arm-R-Seal, Norton 3X Sandpaper, 400 grit, Felt Block, Liberon #0000 Steel Wool
Here are some supplies and tools we find essential in our everyday work around the shop. We may receive a commission from sales referred by our links; however, we have carefully selected these products for their usefulness and quality.