


We may receive a commission when you use our affiliate links. However, this does not impact our recommendations.
 A few weeks back I posted about router bit storage. At the end of the post I suggested that readers send me photos of their storage solutions and I would write a follow-up post showing those photos.
Many readers shared photos of how they store router bits. I must say that the solutions were innovative and creative. But I was a bit disappointed that no one shared any of the totally-over-the-top setups that I’d hope to see. Maybe most of us are more practical and not so showy. I’ve selected a few photos to share.
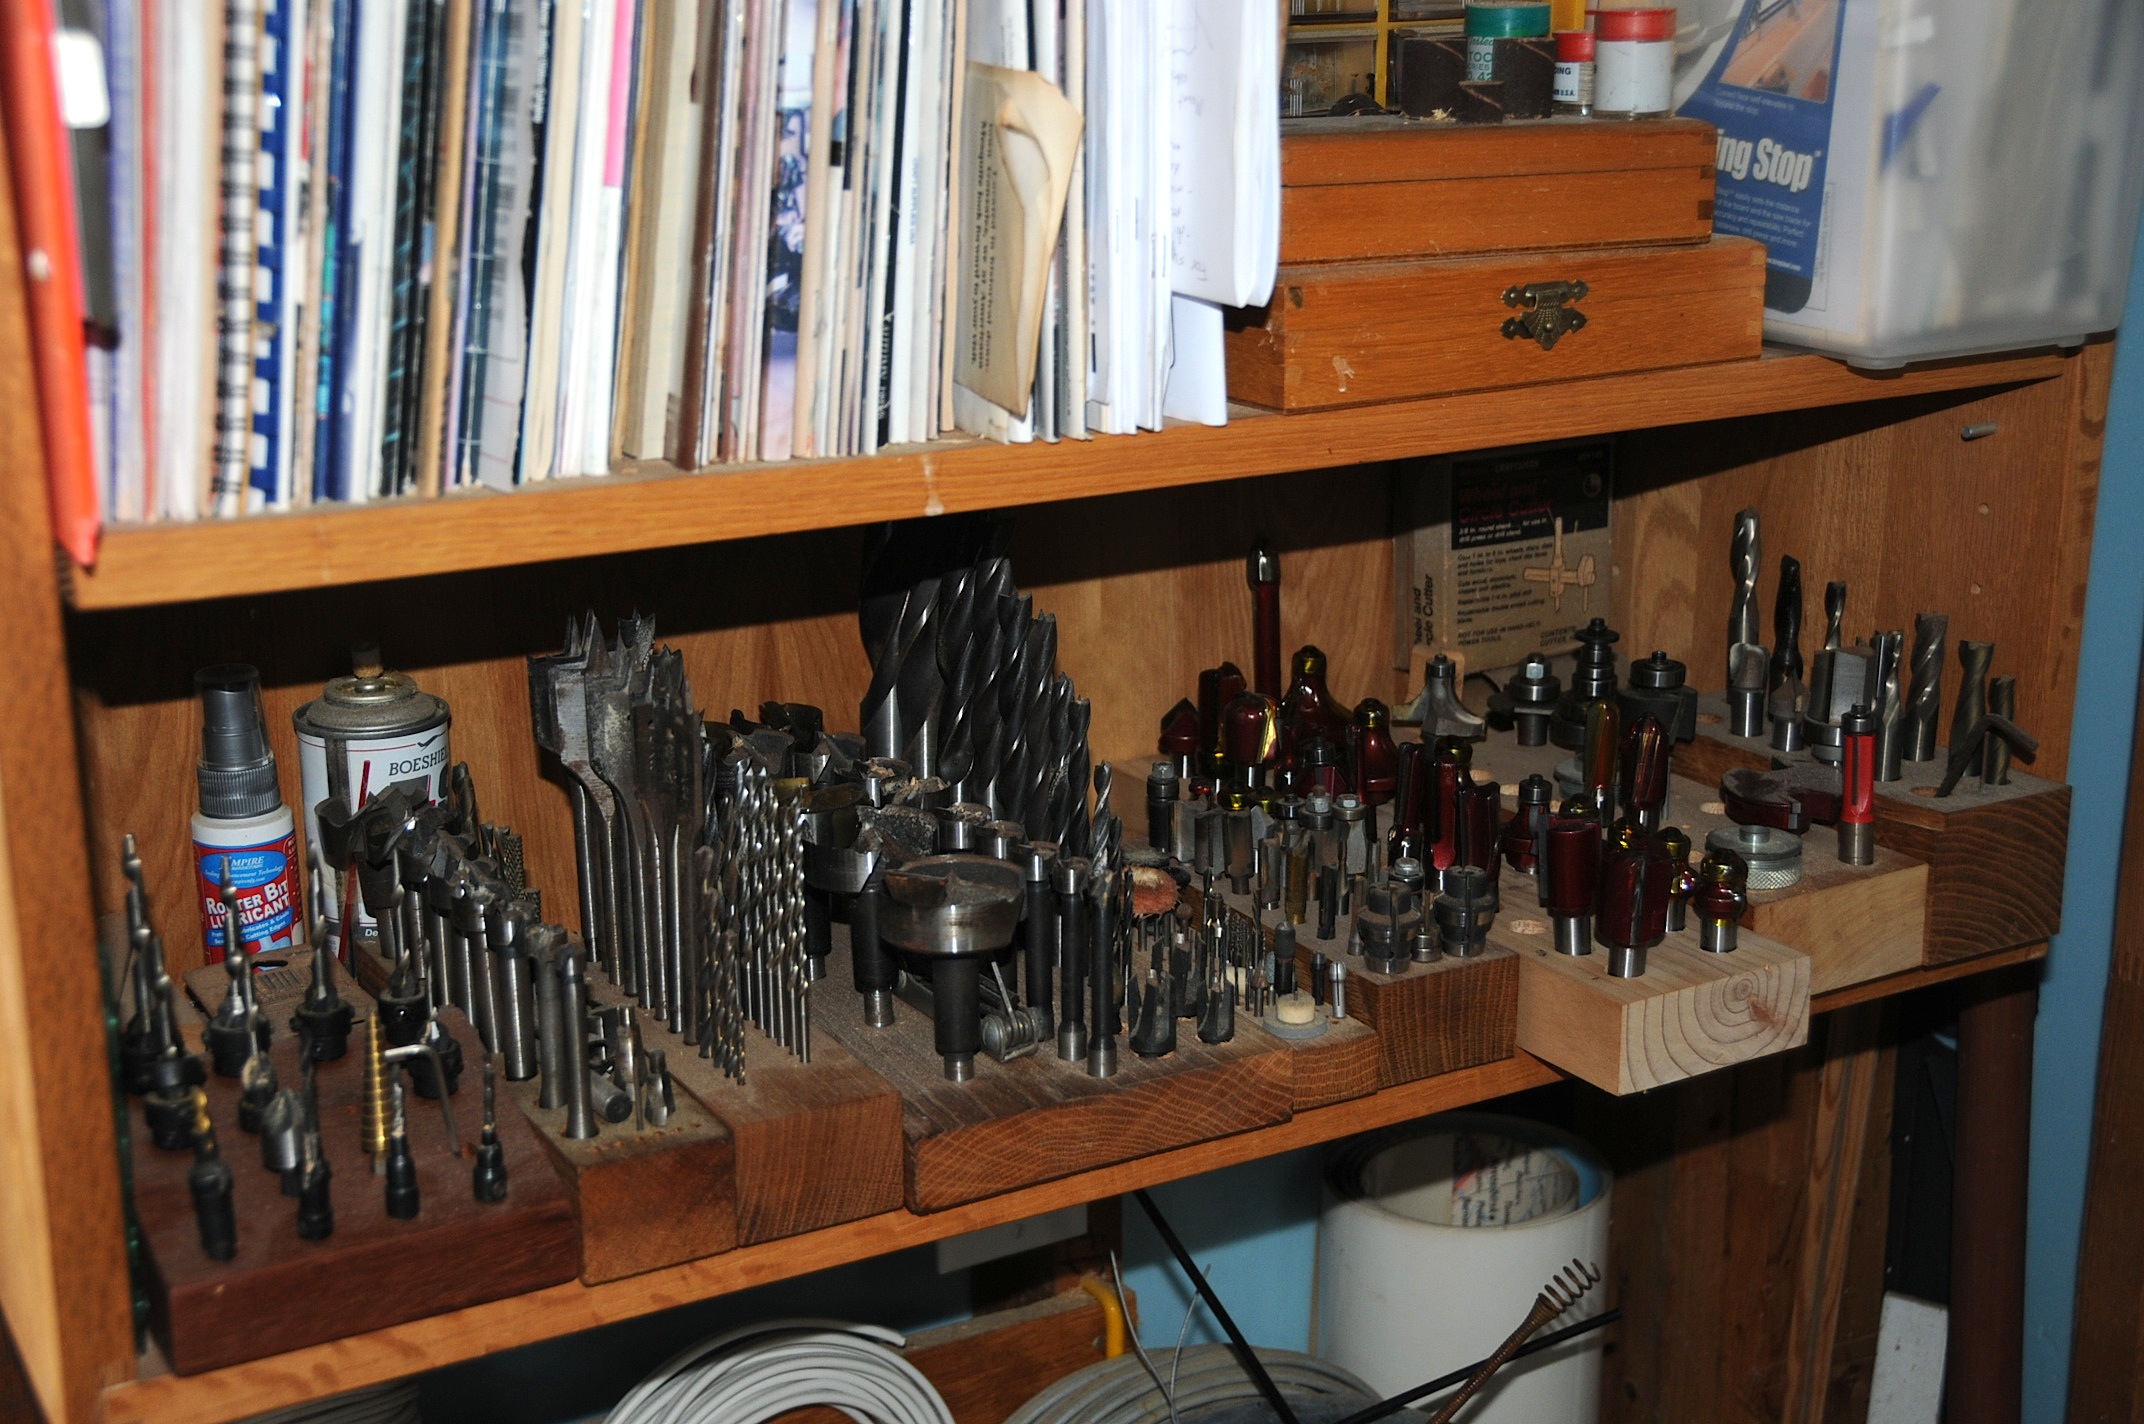
In the opening photo, you don’t see creative or innovative. What you see is more. Steve Wylie has used leftover pieces or cutoffs from memorable projects to store his bits. In addition to the bits being easily found, he is reminded of great projects each time he changes bits. Plus, the ends of those boards look cool, too.
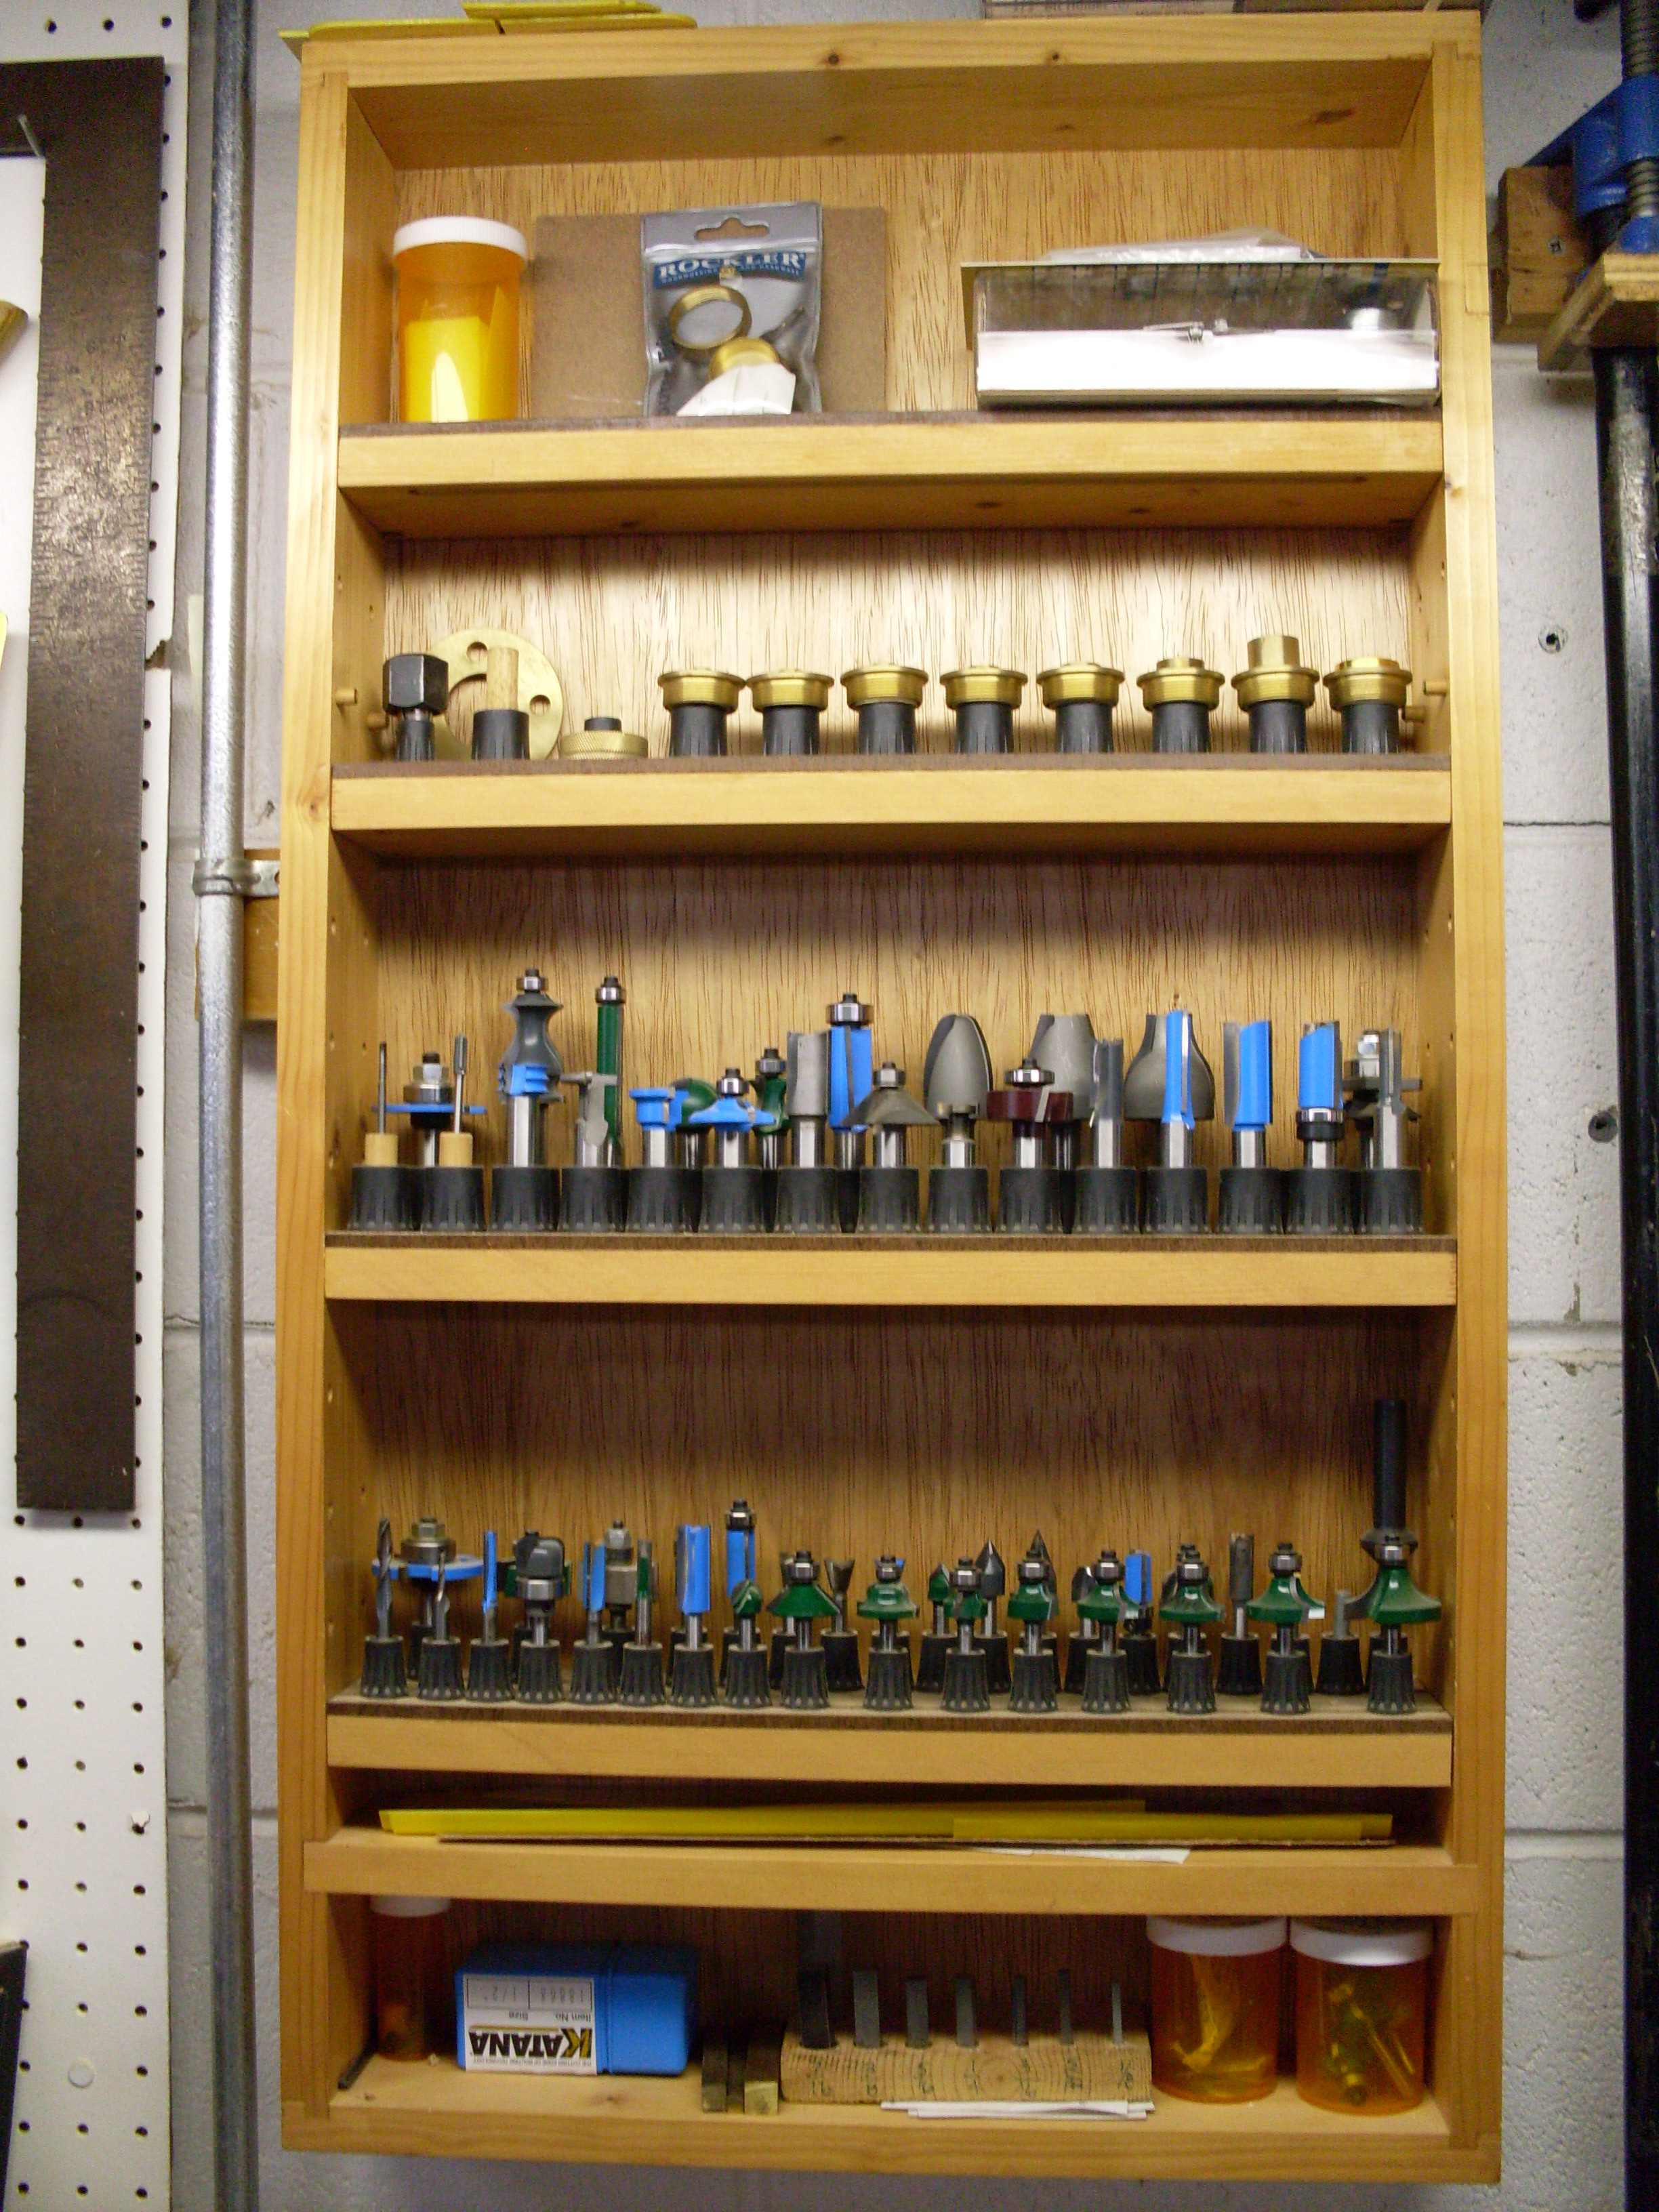
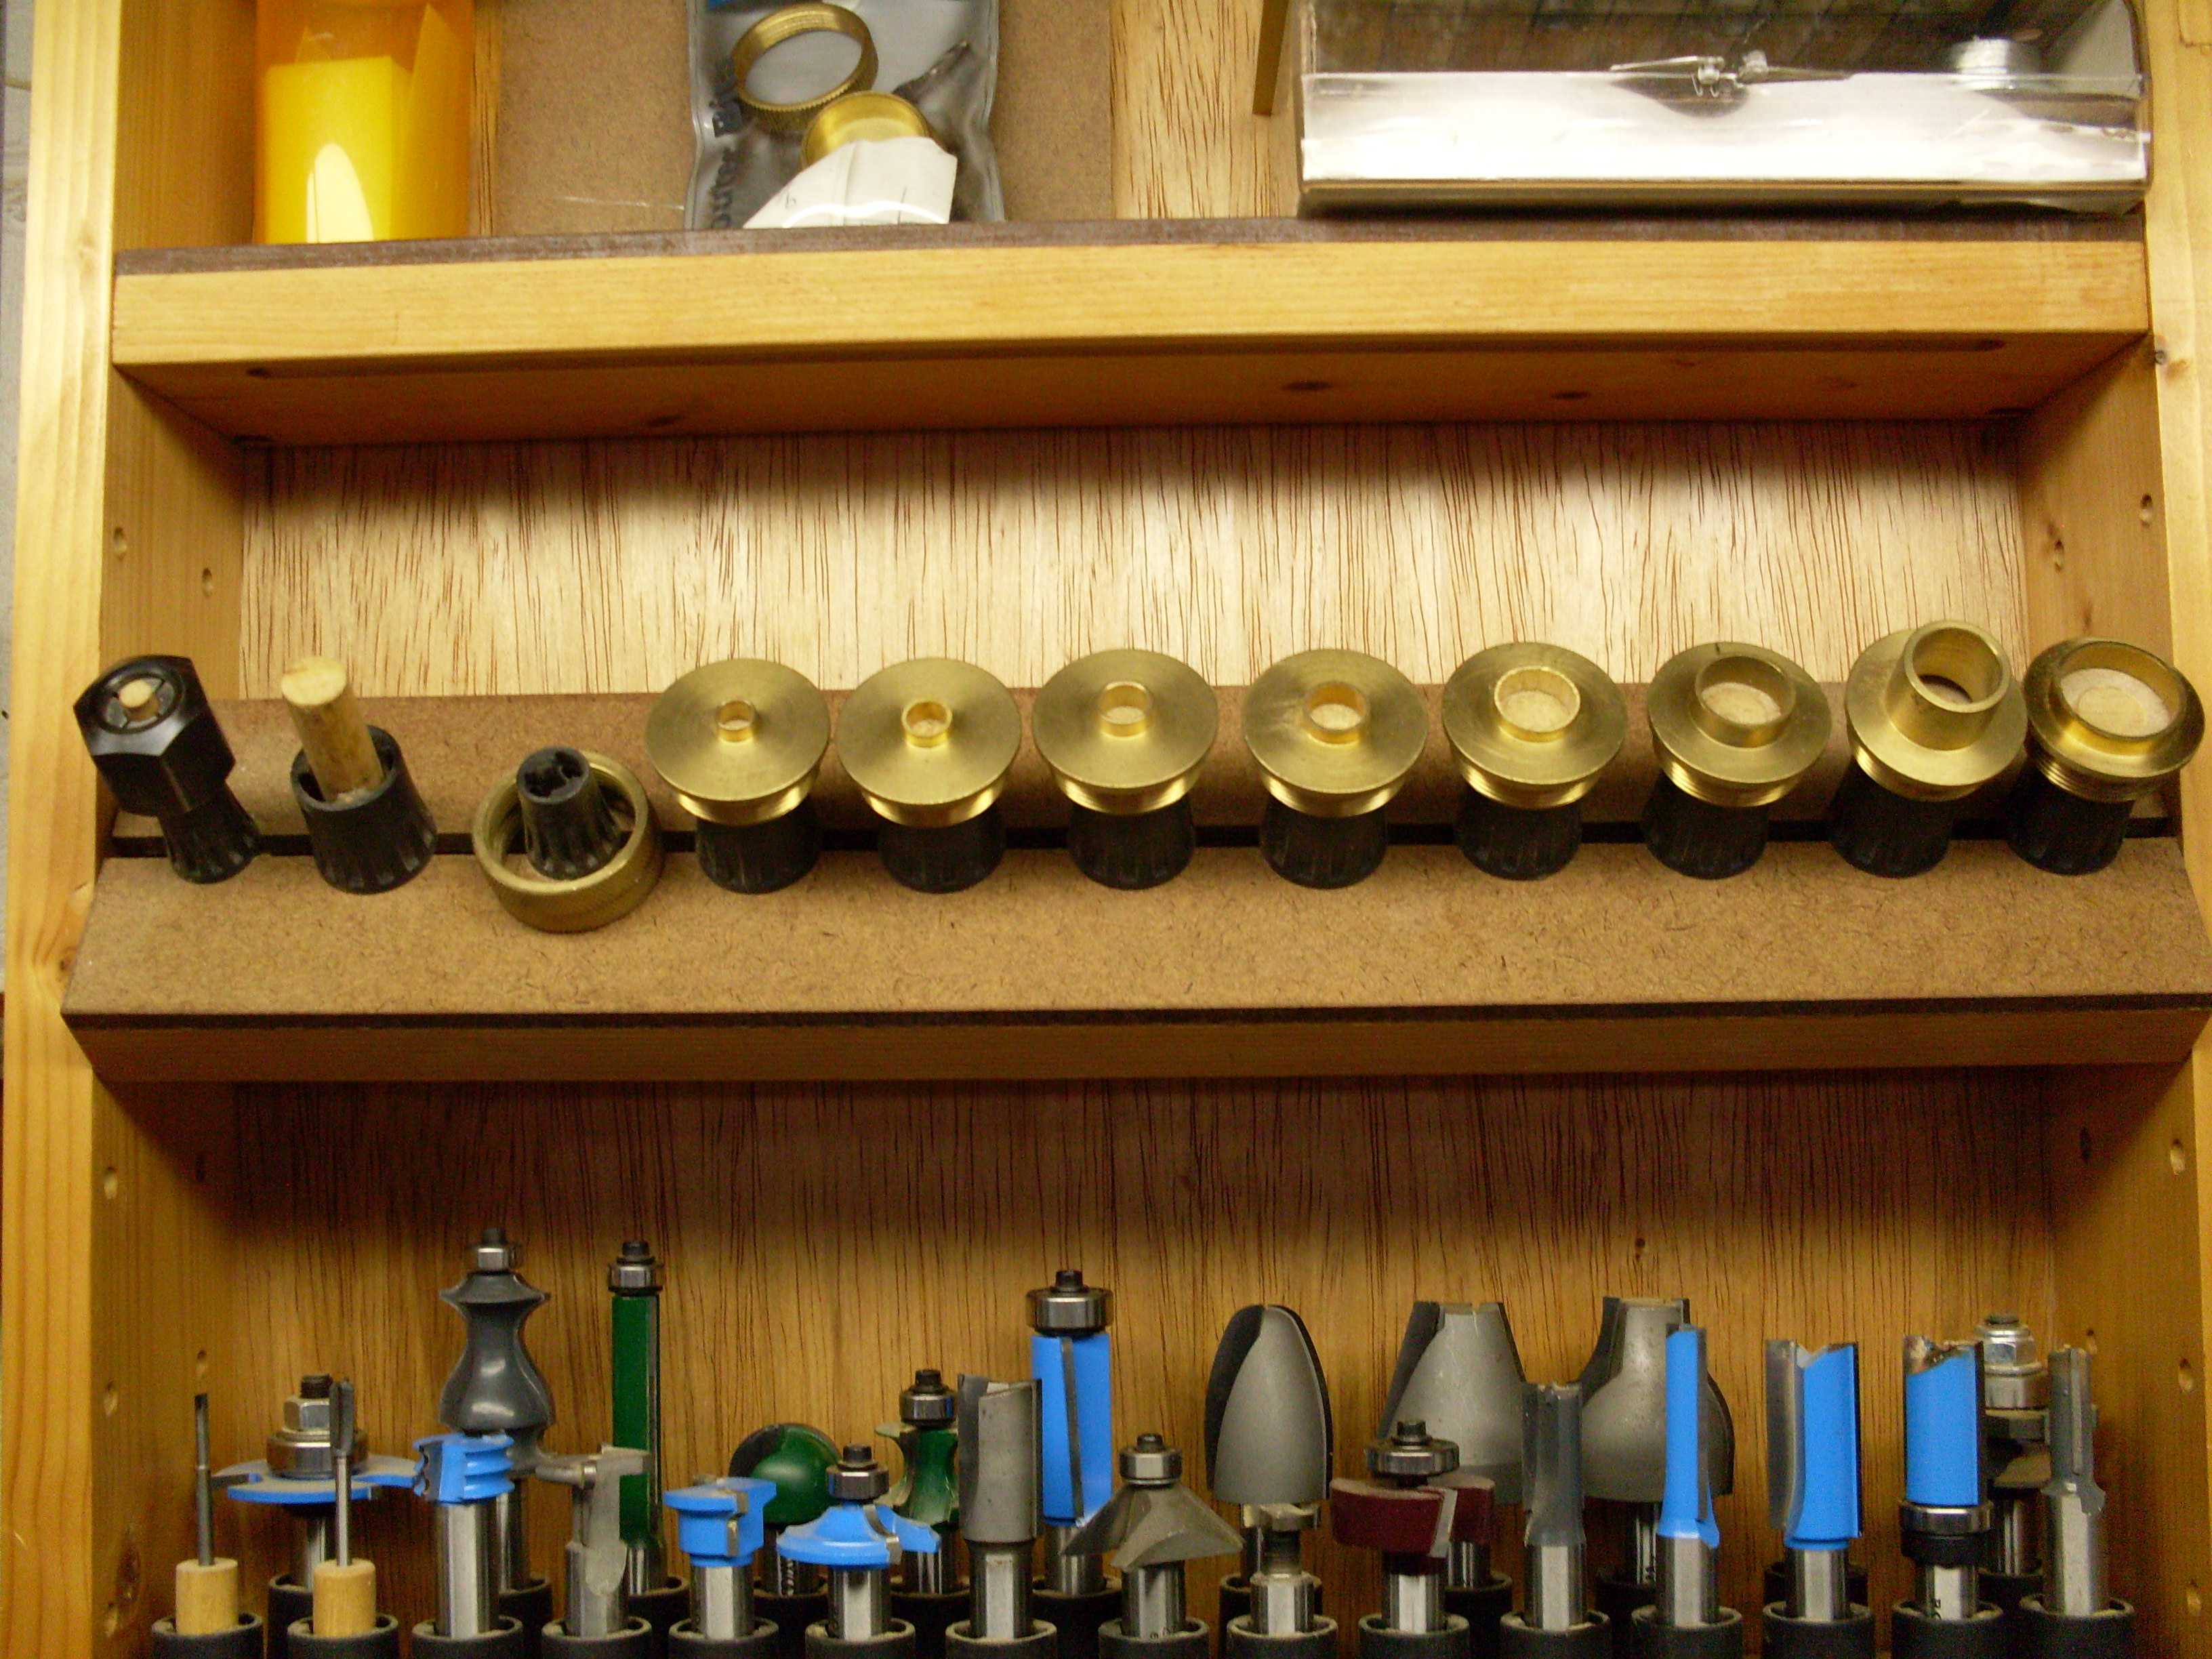 Dennis S. Cropper’s photo is about what I envision for most router-bit storage shelves. The bits are easy to access, but the design, while classic, is a bit underwhelming. Upon a closer look, however, you see an innovative idea. A couple of his shelves tip forward which makes getting to the rear line of bits much better. Dennis writes, “Tilt a shelf by pulling it forward until the rear pin is in the exit slot and lift up. To remove the shelf continue pulling forward until front pin is in the exit slot, lift up and out.”
  He has two dowels per side that fit into a groove cut in the end of each movable shelf (see drawing at right). Very clever, indeed.
Ken Kennedy’s cabinet also has a special effect focused around the shelves. When small hooks at the ends of the shelves are undone, the shelves can be pulled out. That adds a nice feature to the setup over and above accessibility to router bits and whatever else you choose to store in your cupboard, such as guide bushings, extra bearings and collets. 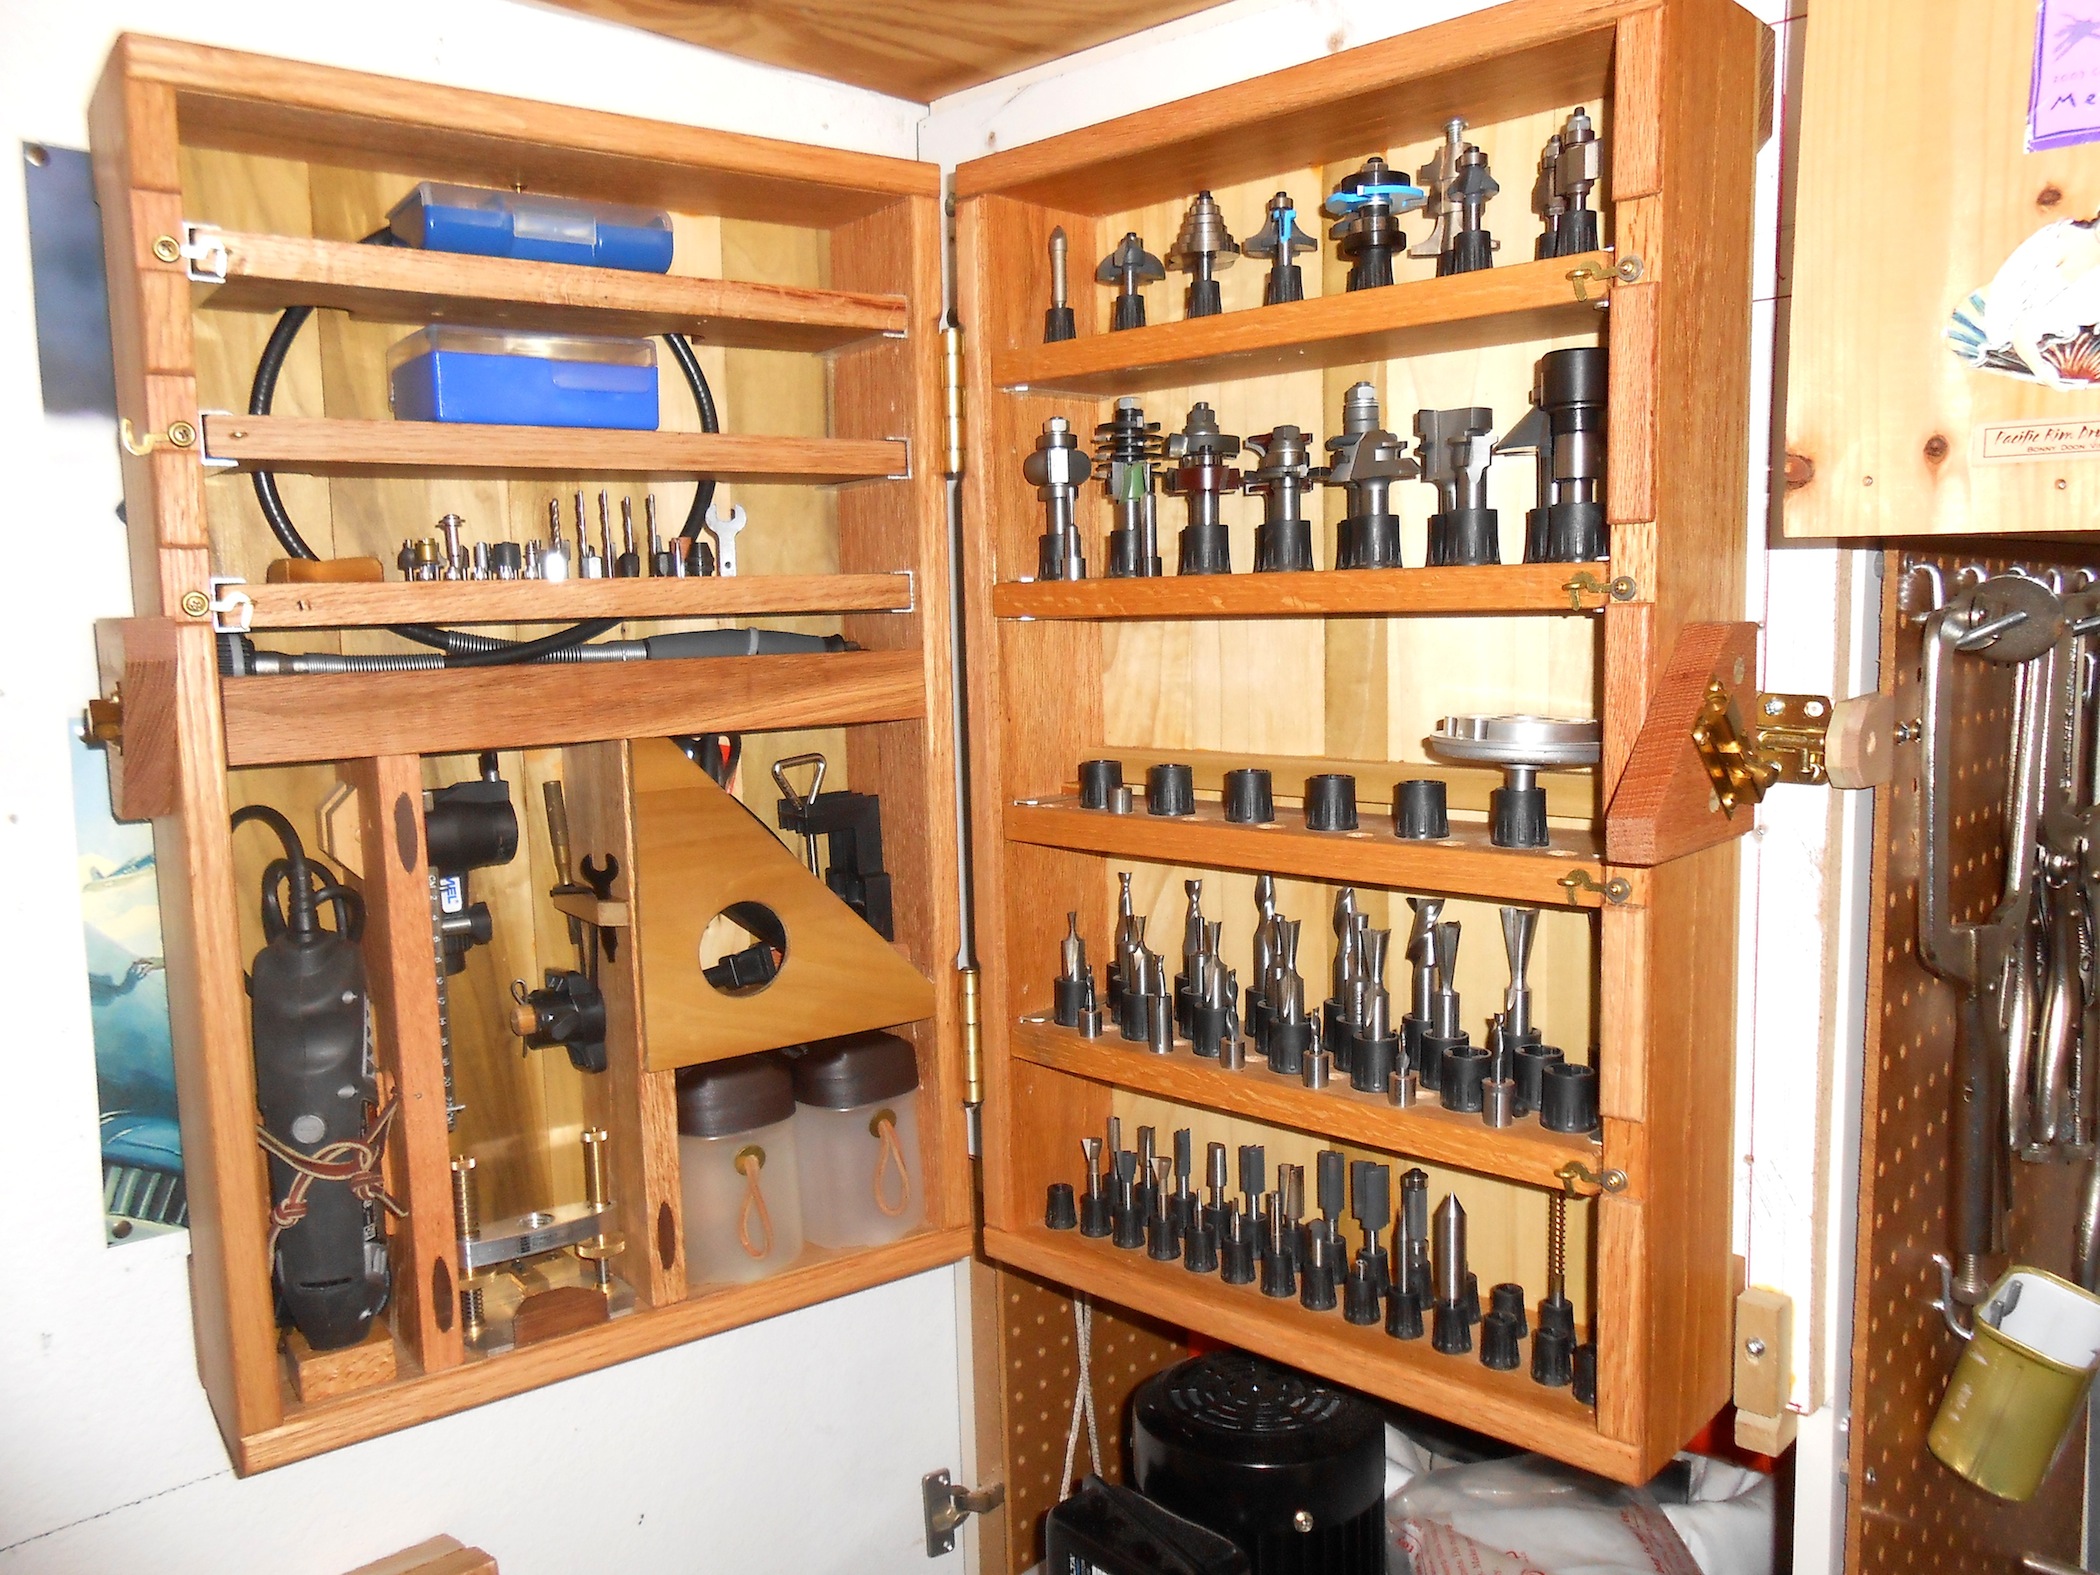 It adds mobility. A free-to-move shelf full of bits can be carried directly to the router table or workbench, if you’re operating a handheld machine. Plus, Ken decided to add a frame around the door panel so he could increase his storage area. As you can see in the photo, that’s a great spot for his rotary tool and all its accoutrements.
 Last but not least is the storage facility from Bruce B (or Woodchuck to people that know him). Woodchuck admits that he is one of the guys that clerks recognize as he enters the store, so they lead him directly to the router bits. His router bits are on display behind Plexiglas. What appears to be shelves are actually narrow drawers that slide out the side. Each drawer runs on a sliding dovetail. Bruce is a thinking man.
I have a few other photos to share, but if you’re late to the party and want to send me a photo of your setup, click my name below.
And if you make routers any part of your woodworking, you need to take a look at the current kit we’ve assembled. The kit includes two DVDs, a download of Bill Hylton’s book on routers, a second book from the team at American Woodworker magazine that includes buying advice and discusses different router types, a recorded web seminar presented by Colin Knecht, the entire seven-part series from Popular Woodworking Magazine’s Woodworking Essentials column and a 3/4″-diameter pattern router bit from Whiteside that I picked for the kit (see the company’s catalog here). That router bit is probably the second-most used router bit in my shop.
The entire kit costs less than $80; you save more than $85. Do the math. That’s more than 50 percent off retail. Click here to read more about what’s included in the kit.
Here are some supplies and tools we find essential in our everyday work around the shop. We may receive a commission from sales referred by our links; however, we have carefully selected these products for their usefulness and quality.


Great article, thanks. Is there a way you could post larger photos? The first two and the diagram had hyperlinks to enlarge them (a little bit), but not so for the others. It’s frustrating for these old eyes to see the photo, but not be able to really take a good look at (and appreciate) the detail. 🙁
Any chance you guys will bring back Woodwork to more than a once per year publication? That was by far the best woodworking magazine when it was being produced.