


We may receive a commission when you use our affiliate links. However, this does not impact our recommendations.

Blum Tandem slides are a fabulous innovation for built-in cabinetry with drawers and pantry pull-outs. They’re smooth, silent, invisible and they come with a little person inside who pulls the drawer shut for you. (OK, not really, but there might as well be someone in there considering how well they shut themselves.)
As with most innovative hardware, there’s a range of accessories you can buy to ease installation. When I first started using Blum Tandem slides, I bought both of the jigs available at the time: one for drilling the hole at the back of the drawer, the other for the front corners, where the locking devices fit. Before long the locking device design had gone through not one, but two phases of improvement; as a result, one of the jig’s holes has become obsolete. I no longer use it.
Each passing year seems to bring new jigs to market, among the latest the “MINIFIX,” which holds the slide square to the cabinet face while you screw it in place. I’ve come up with my own system, which works well and allows for some variations in slide installation depending on whether the drawer faces are inset, half overlay or full overlay.
The first is a quick depth setting jig for the slides. For full overlay drawers (the type for which “European” mechanical hardware was originally developed), the slides should be mounted 4 mm, or just over 1/8″, behind the front of the face frame.
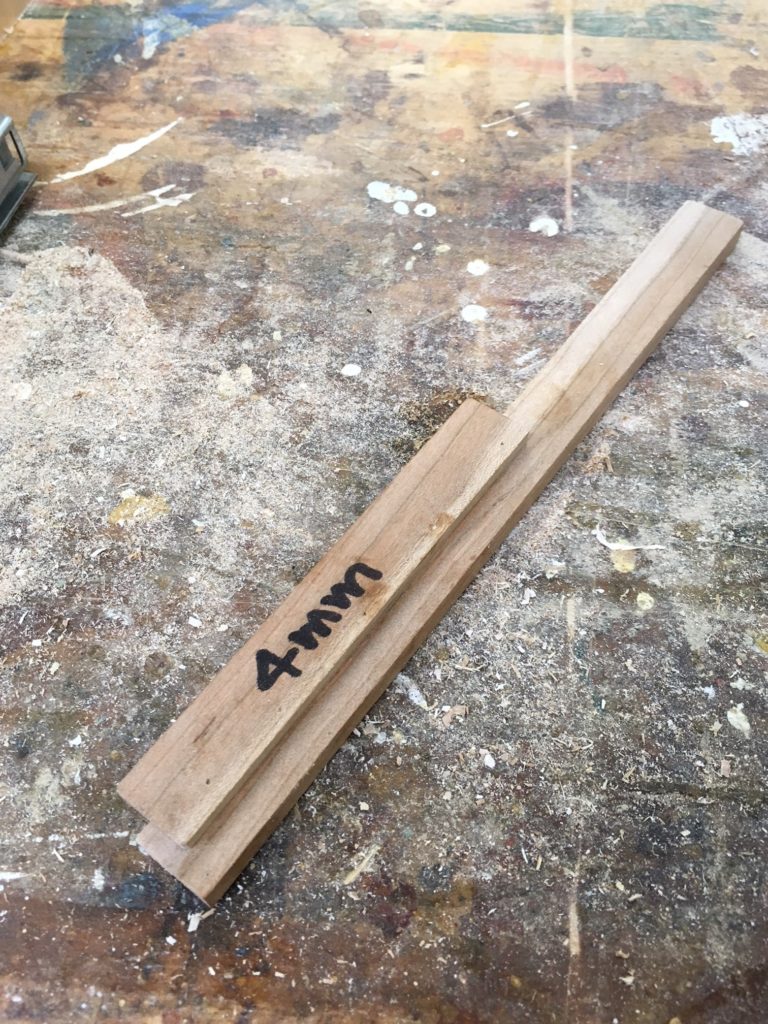
This is my high-tech depth setting jig: a piece of scrap the thickness of whatever inset I need, plus the 4 mm the hardware manufacturer recommends.
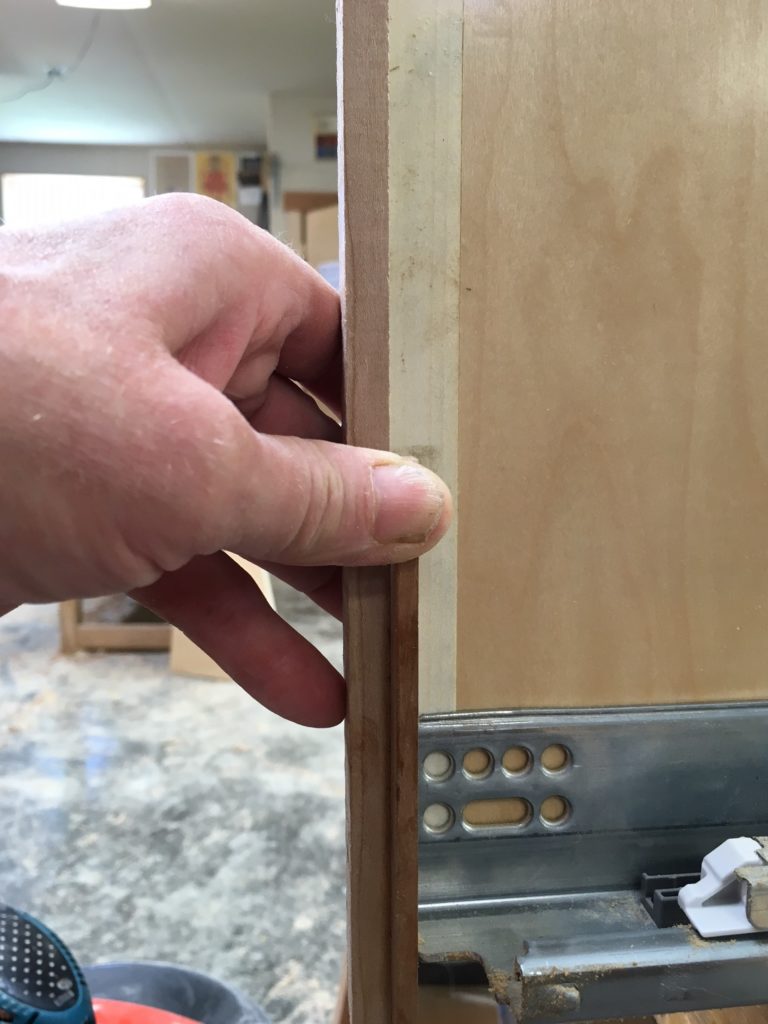
Here’s the depth setting jig in action: Simply hold it against the face frame at the side of the cabinet so that the slide is inset by the desired amount (in this illustration, where the drawer faces were full-overlay, the slides were inset 4 mm).
For cabinets with drawer faces fully inset, make your jig the thickness of the drawer face (typically 3/4″) plus the recommended 4 mm, i.e. approximately 7/8″. For faces that are “half-overlay” (i.e., faces that are rabbeted around the edge so that only 3/8″ of the thickness is proud of the face frame, with the remaining face thickness inset), your jig will be 3/8″ plus 4mm, or approximately 1/2″.
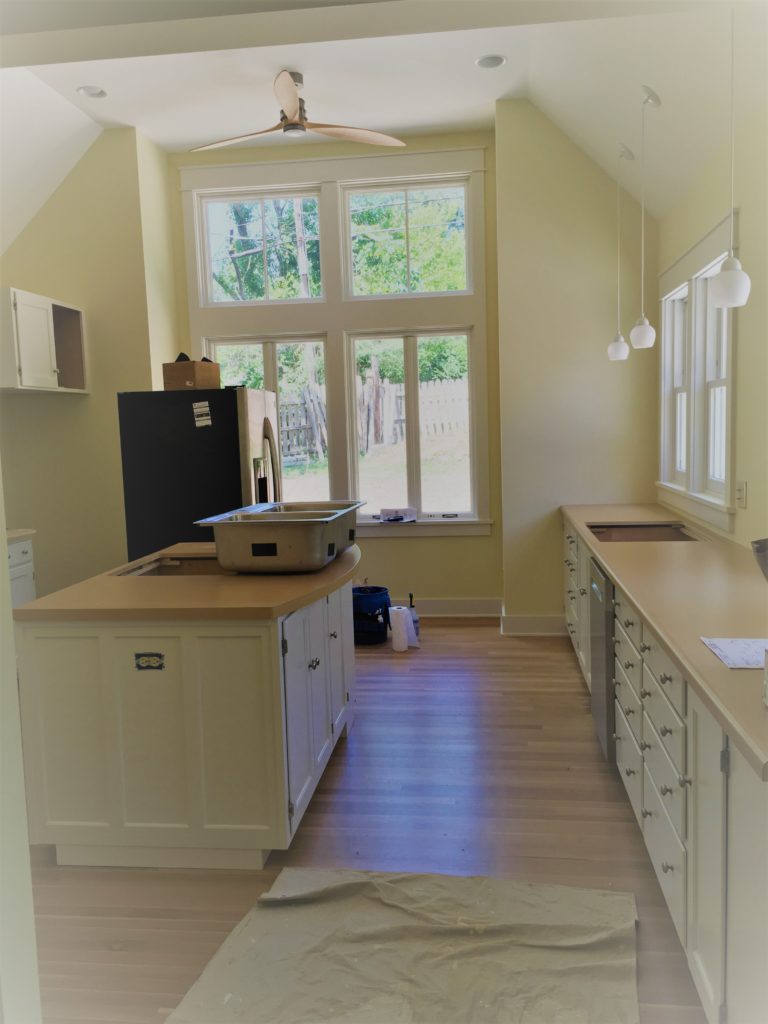
The kitchen I just finished has half-overlay drawers and doors. See the drawer face lying on top of the cabinet in the picture below? That’s what I’m talking about. So I made a depth setting jig 13 mm thick, or just over 1/2″.
Before screwing the drawer slides in place, I make up another quick jig to support the drawer slide and hold it square to the face while I screw it in place. This works like a charm provided that your cabinet floor is square to the face. “Jig” may be a little fancy for this bit of apparatus; it’s really just a piece of scrap wood or plywood cut to length so that when the bottom of the piece is standing on the cabinet floor, its top comes just above the drawer rail. It will work equally well if your cabinet doesn’t have drawer rails; just cut your support piece long enough that when your slide sits on top of it, it’s where it needs to be.
The top drawer slide goes in first with this method. This way you can reuse the support “jig” for the drawers below, simply cutting it to the requisite length each time.
Step One
Start with the top slides in each cabinet. These will use the longest piece of plywood scrap. It’s best to use the widest piece you have available, for maximum consistency in the height from front to back. If you don’t have a piece at least 8″ wide, use two — one towards the front, one towards the back. In the picture above, the slide is resting on the scrap and set to the necessary depth (behind the face frame) using a jig like the one above, but made with a setback of 13 mm. (I’m not showing the setback jig, because it would obscure the front of the slide.) When I’m installing these, I rest the drawer slide on the support “jig” (i.e., plywood scrap) and push it to depth using my depth setting jig.You can hold both the depth setting jig and the front end of the slide to keep it from falling with one hand; the other hand holds the drill, then screws the slide in place.
At this stage it’s best to attach each slide through the elongated screw holes (one toward the front, one toward the back) to give yourself a bit of depth adjustment. Once you have the drawers in place you can finish up with set screws.
Step Two
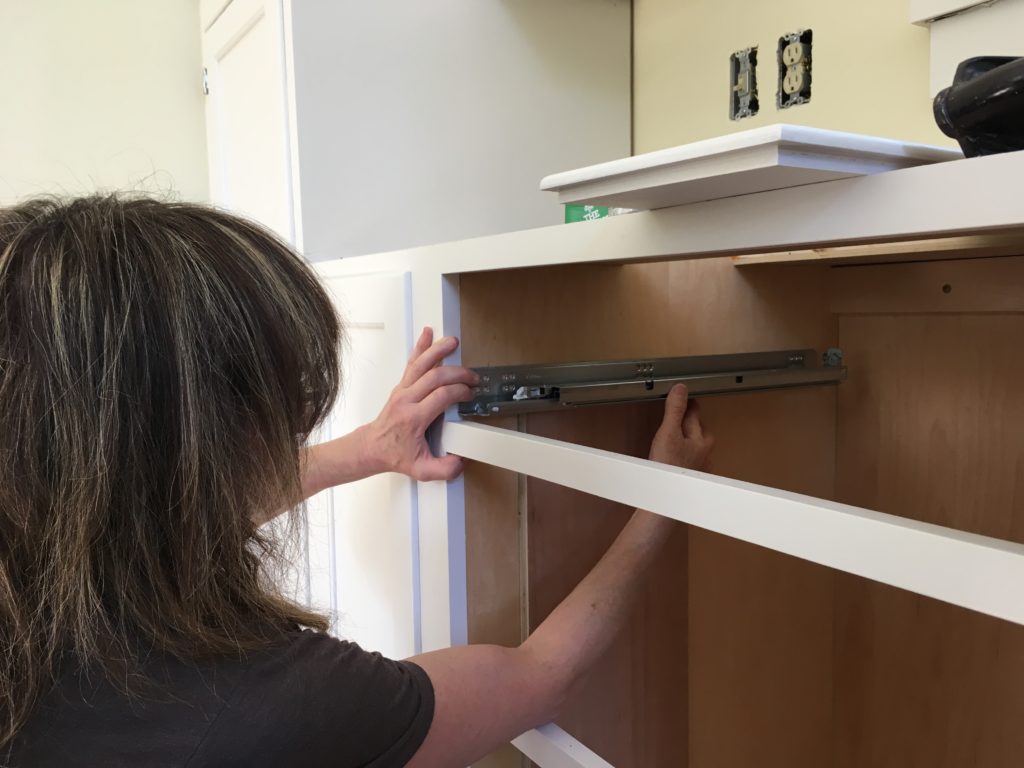
After you’ve installed the top slide on each side of the cabinet, you can either re-use the scrap slide supports in any other cabinets with drawers at the same height, or cut them down for the next drawer, as shown in the next picture. The slides should be just above the face frame rail, if there is one. The height isn’t all that critical; what really matters is that (a) the front of the slide needs to be above the rail, not below it, in order for the hardware to work) and (b) you bear in mind that the higher the slide in the cabinet, the less vertical space you’ll have available for the contents of the drawer.
Here, the second slide is being screwed in place.
You can keep cutting your slide support scraps to whatever length you need as you get lower down in the cabinet. You won’t need them for the bottom drawer in most cases, as the slides can just sit on the cabinet floor. In this case, just set the slide depth using the depth setting jig, then insert the screws.
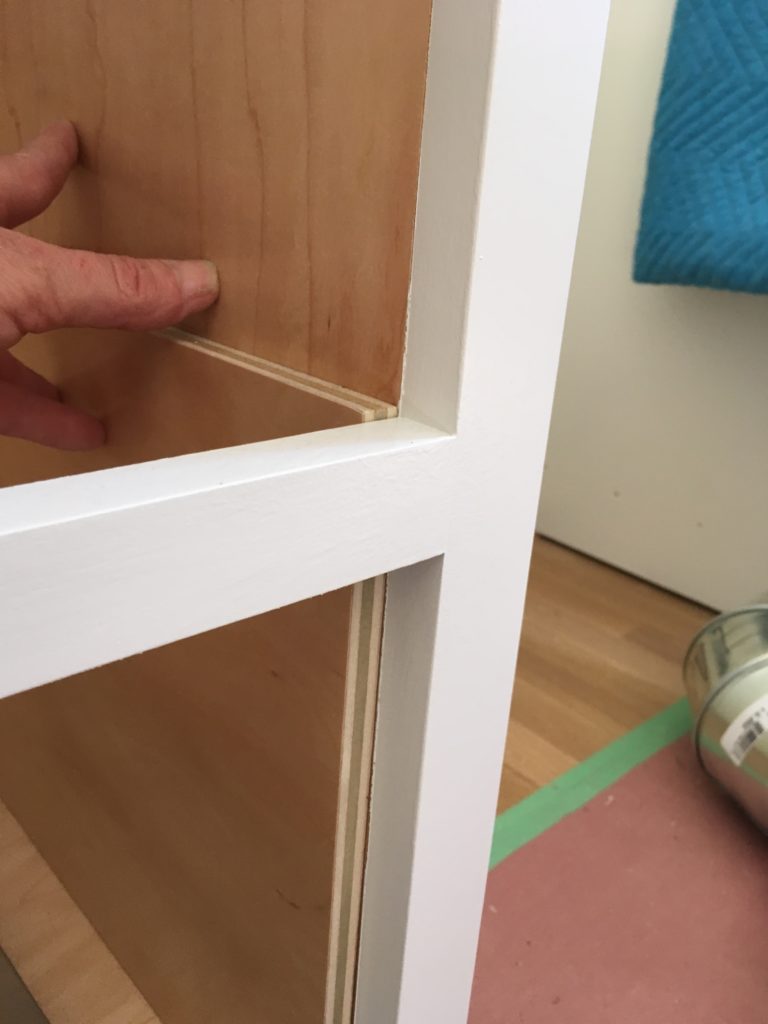
The height of the slide is not super critical. It just needs to be at or slightly above the drawer rail, if there is one, so that the locking device will clear.
And it’s (almost) a wrap — at least for the cabinetmaker.
Here are some supplies and tools we find essential in our everyday work around the shop. We may receive a commission from sales referred by our links; however, we have carefully selected these products for their usefulness and quality.


Of course, the cabinets have already been leveled, so the drawer does not want to crawl back out.
That one over the fridge looks like the one I made for mine, which is the depth of the fridge, so no one can stack things in front of the cabinet making it almost worthless. I installed a 30″ Susan inside of it. The excess room to the side is a great place to store things like trays.
Thanks for the tips and tricks.
What a timely post! I have 15 pair of these to install next week. Thanks for the tips.
Yep. Simple solutions are usually the best–maybe because they tend to be moron-proof.*
Do you ever install slides before the boxes are built?
*if you have friends or family who are morons, I apologize.